To stay up on the latest, be sure to
SUBSCRIBE to my YouTube Channel!
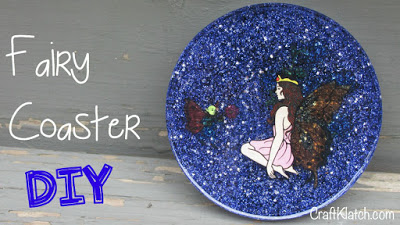
It’s time for another coaster Friday! I picked Fairy Coaster out of the fishbowl last week. Things did not go quite as well as planned. I tried something a little different and my first attempt didn’t go as well as hoped. The second was better, but also, I might have done a thing or two a little better. Oh well…..you can’t win them all!

You will need:
– Glitter – I used chunky black, fine blue, chunky silver
– Transparency film **FYI: I have now been told by two fellow crafters that the inkjet transparency film works great with the resin.
– Resin
Here is the video tutorial:
Directions:
1. Prepare two ounces of resin an mixed in chunky black glitter, fine blue glitter and chunky silver glitter. I think you can get away with one ounce, but just be careful about the amount of glitter you add, if you do.
2. Pour into mold and pop bubbles with a lighter or a straw.
3. Allow to cure a minimum of 12 hours.
4. Print out the fairies on transparency film and cut to fit the size of the coaster cavity.
5. Prepare more resin – I did one ounce – and pour into the mold.
6. Take your cut out image and press it into the resin, making sure all the bubbles are pressed out from under the transparency.
7. Pop bubbles as needed.
8. Allow to cure a minimum of 12 hours before unmolding.
That’s it! Thanks for stopping by! Happy Crafting and stay safe!
Mona
