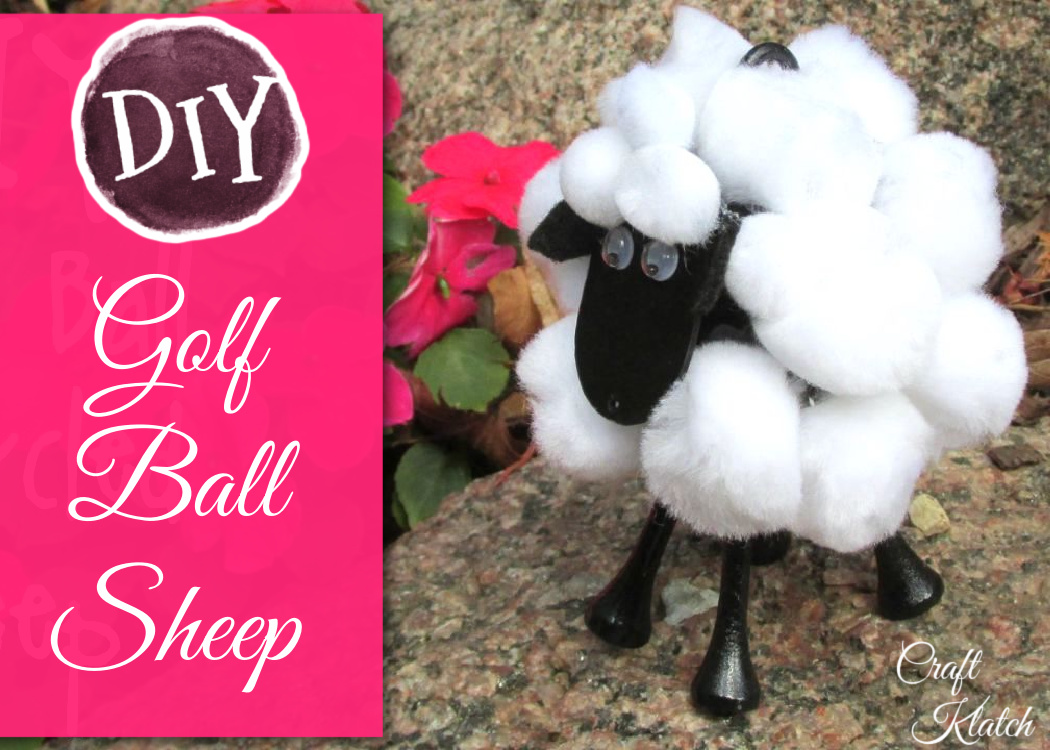
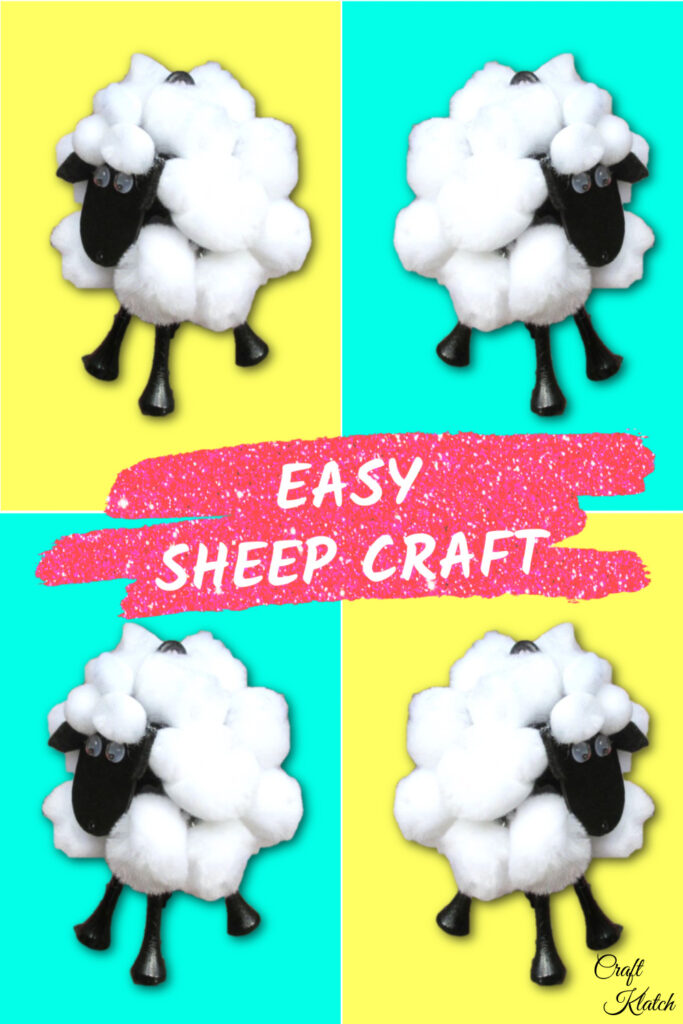
It’s time for another golf ball critter! Today we are doing a fluffy sheep! Sheep to help you sleep!

Supplies You Will Need to Make the Sheep
*This blog uses affiliate links. As an Amazon Associate I earn from qualifying purchases, at no additional cost to you.
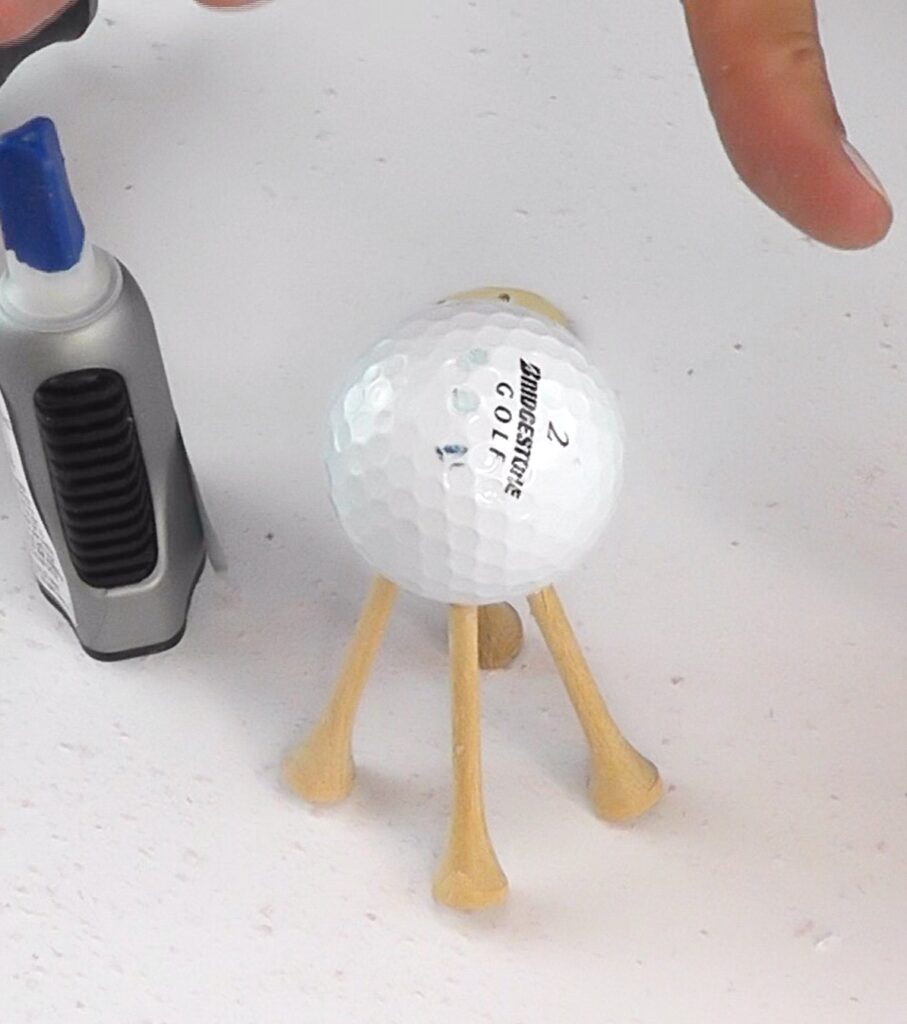
- Golf ball: https://amzn.to/2QYe9QP
- Pom poms (small and medium):
- Black paint – I used spray paint: https://amzn.to/2QZmnrK
- Four golf tees: https://amzn.to/2QUHFqz
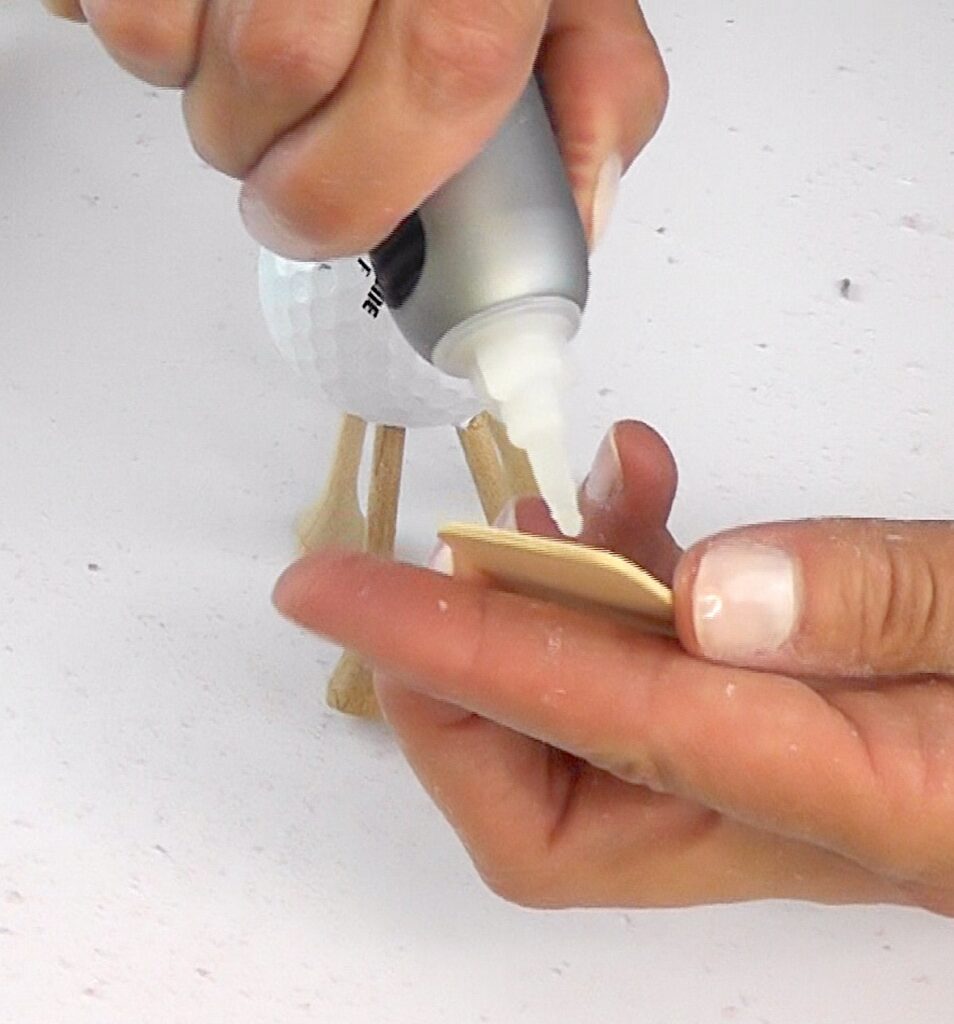
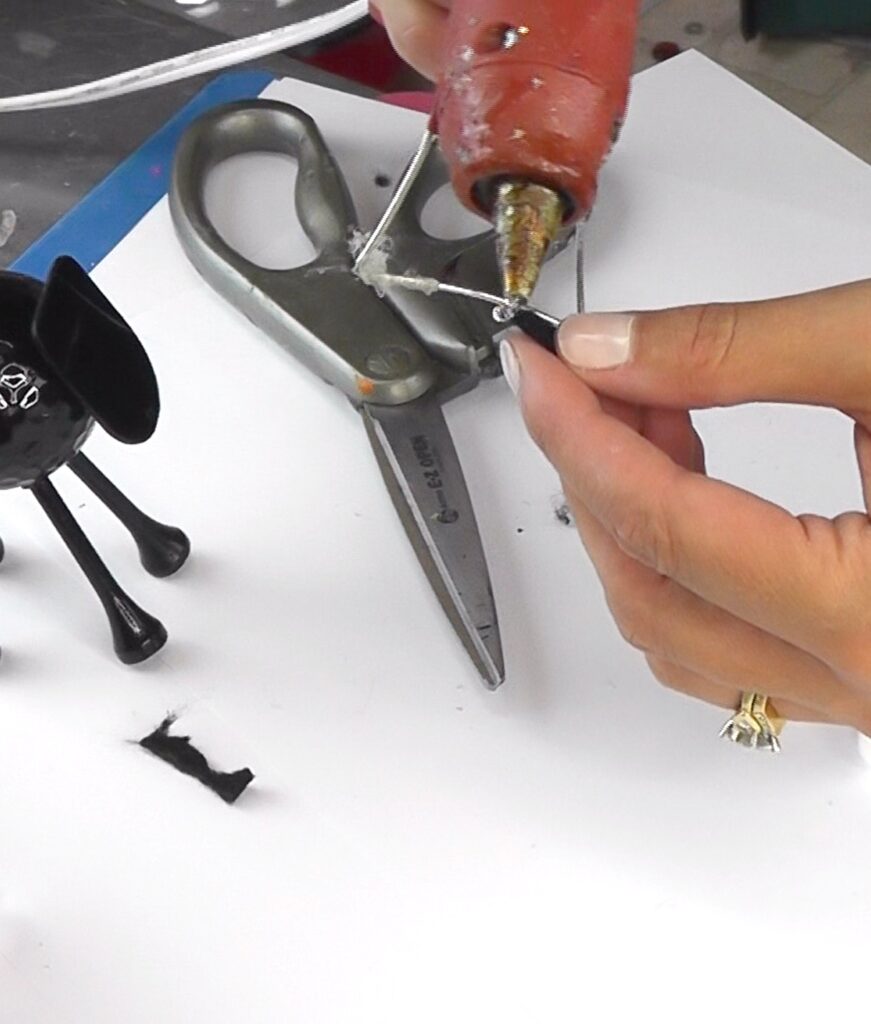
- Glue: https://amzn.to/2QZzQQs
- Black felt: https://amzn.to/2BmxYHG
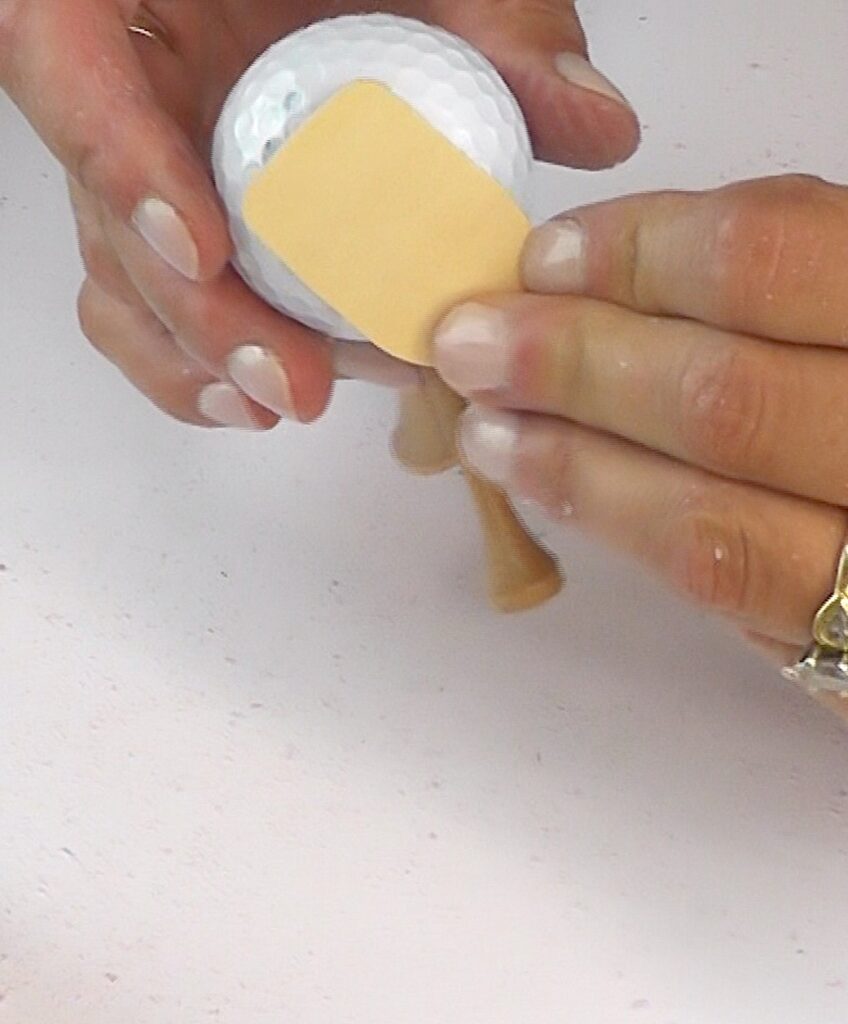
- Wood tag (from the craft store): https://amzn.to/2RYMD2S
- Two googly eyes: https://amzn.to/2Bmy5mL
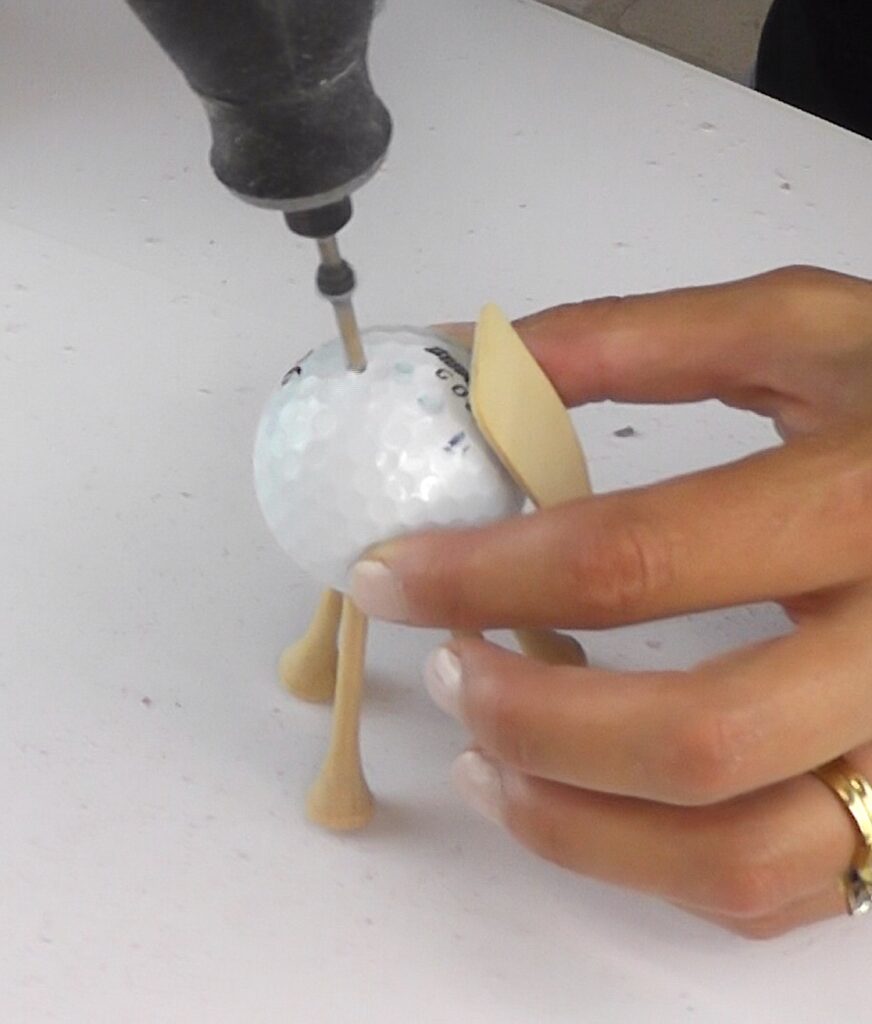
- Eye screw (optional): https://amzn.to/2QUVBkj
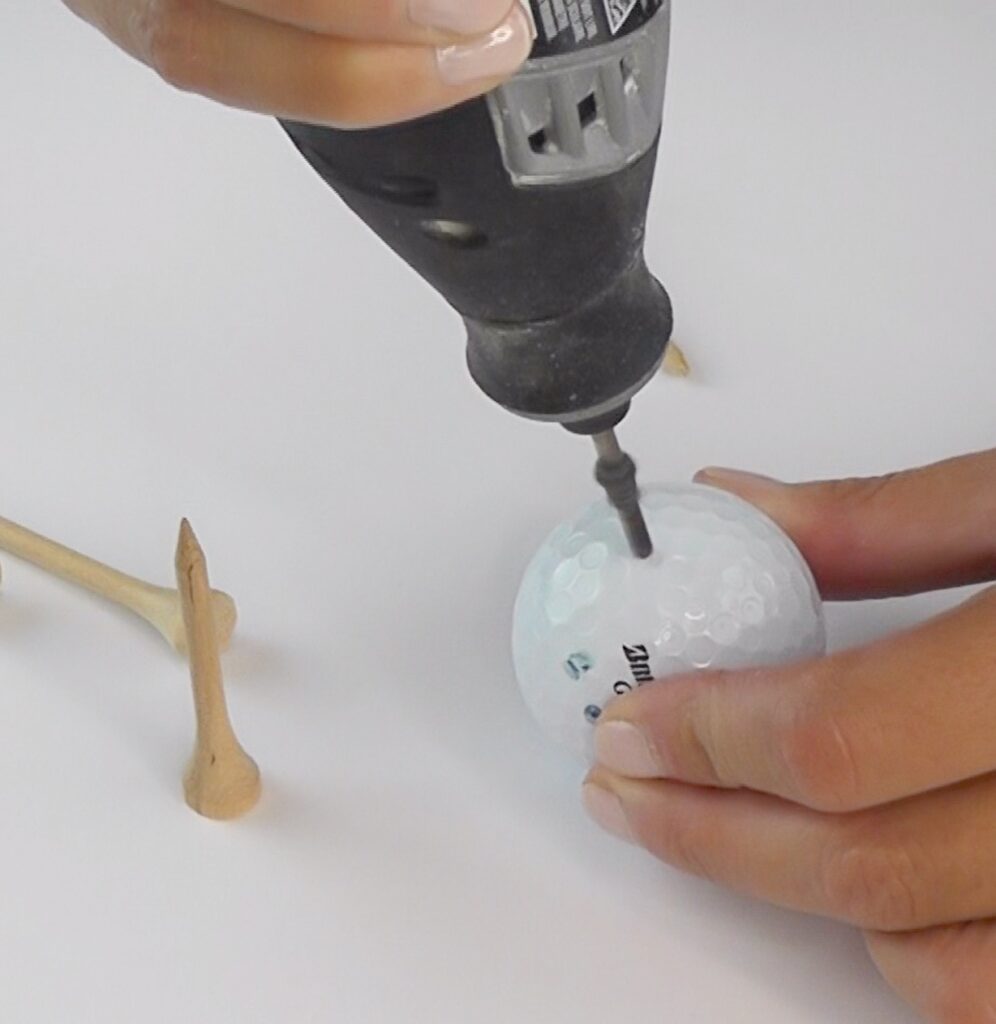
- Something to drill holes with (I used my Dremel)
Here is the Sheep Video Tutorial
Sheep Directions
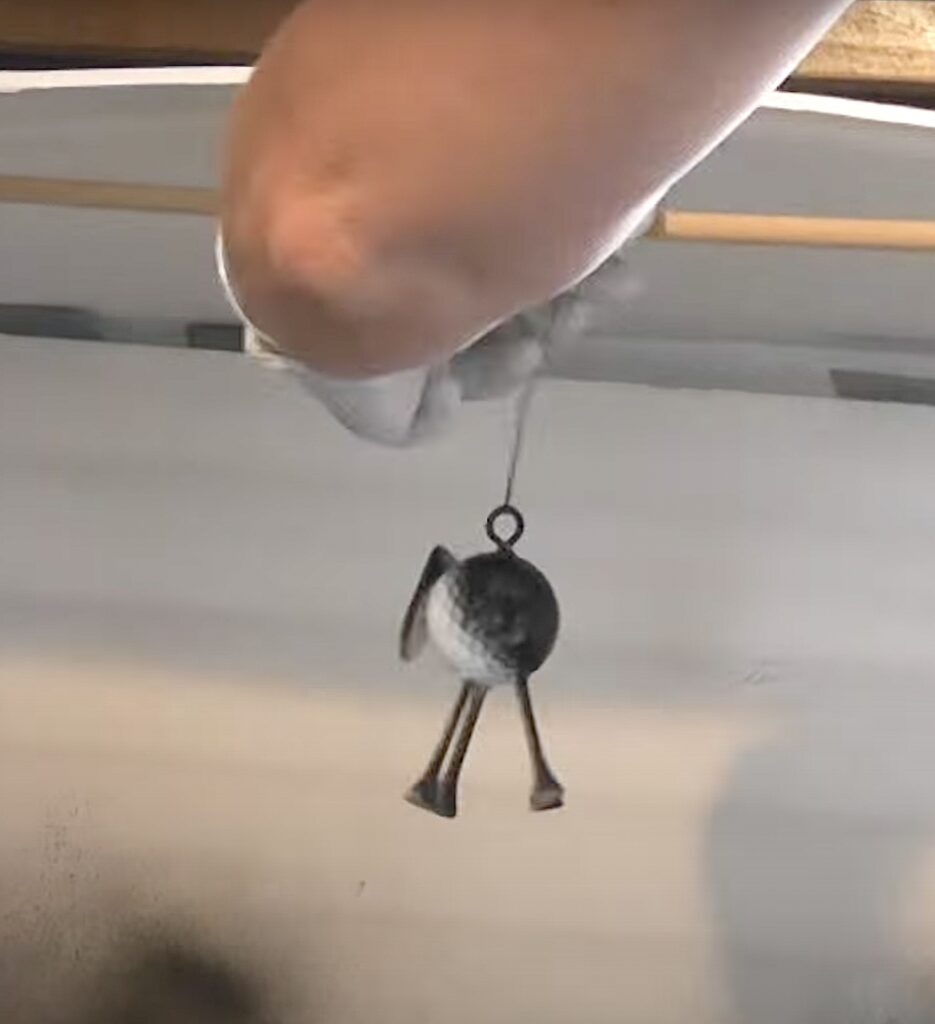
1. Drill holes into the golf ball for the legs.
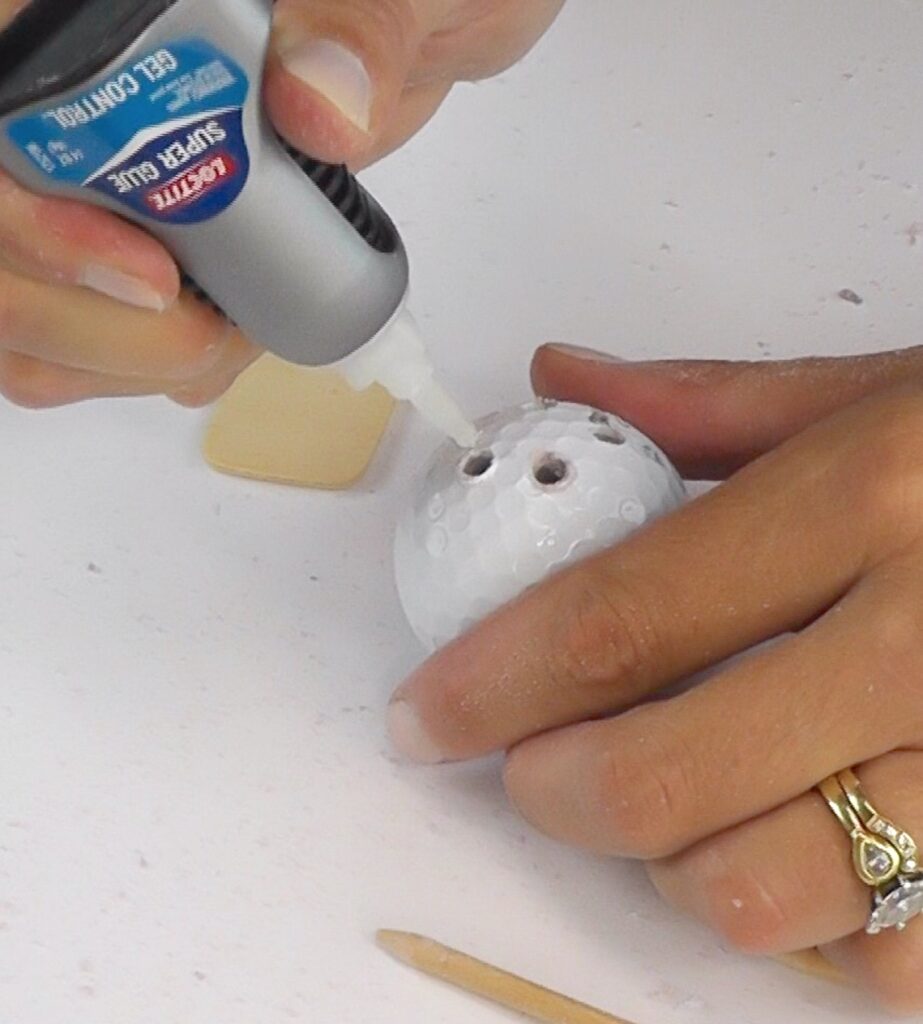
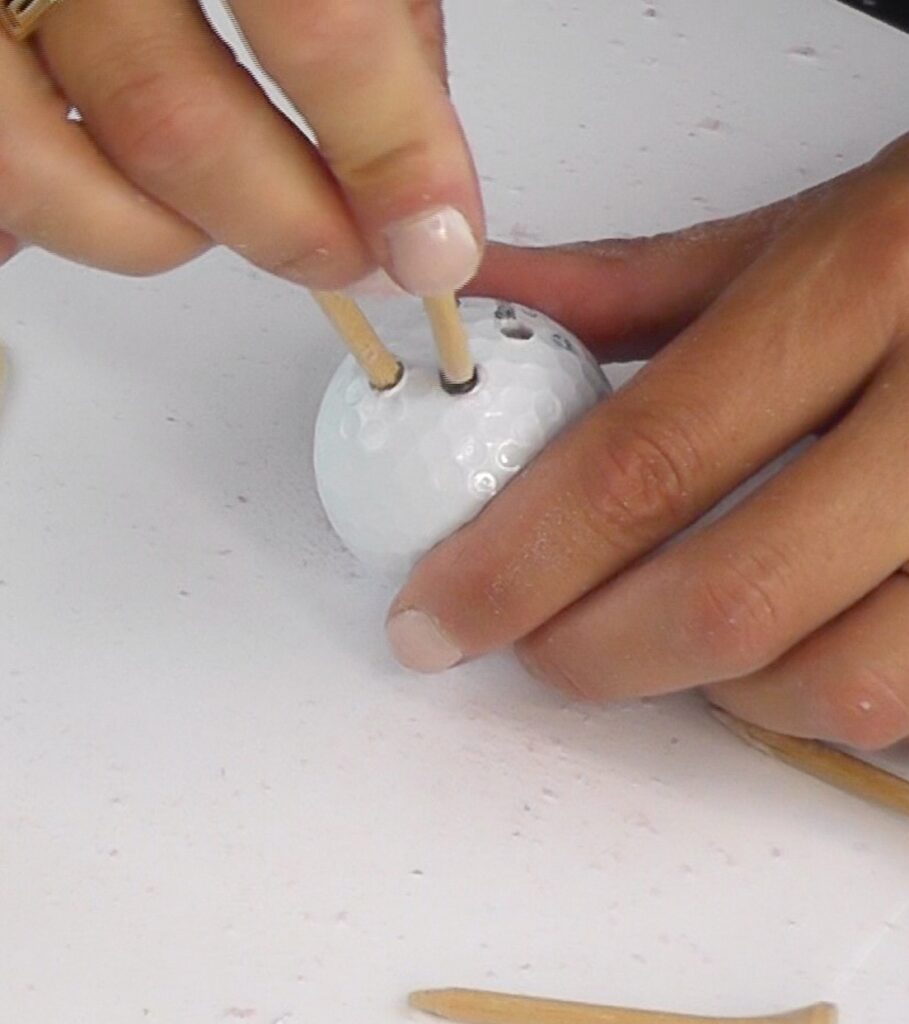
2. Put glue in the holes and then put in the golf tees.
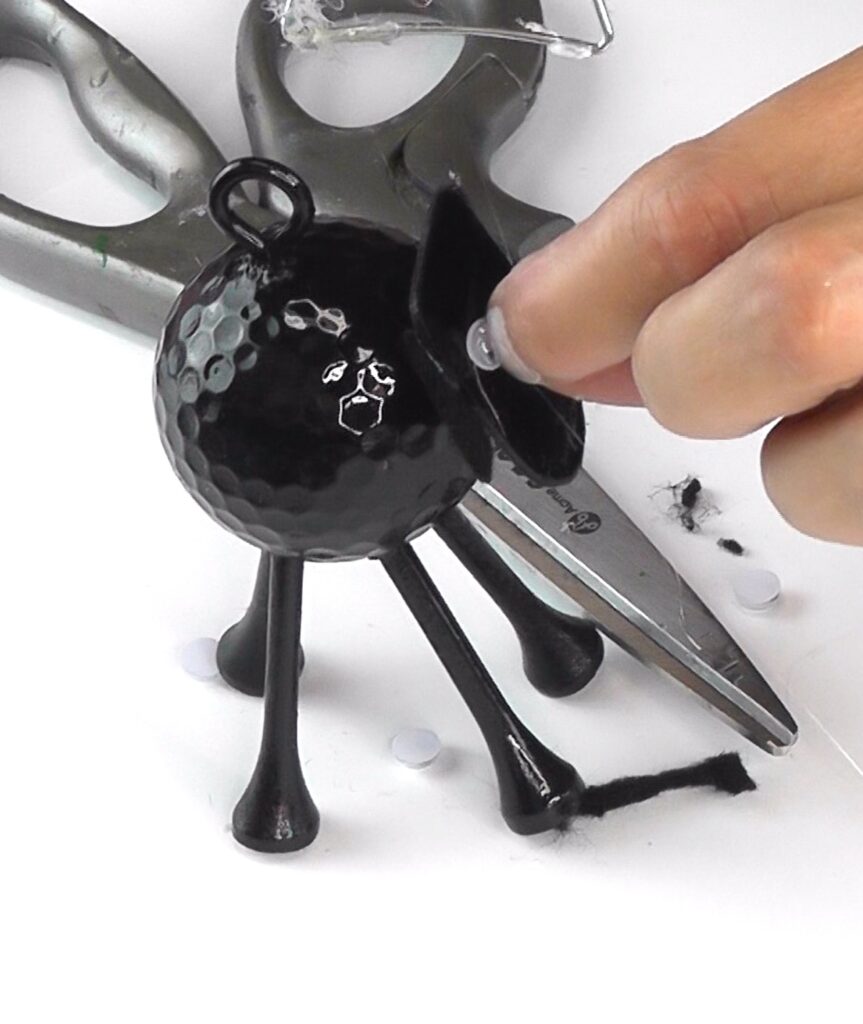
3. Glue on the wood tag for the face.
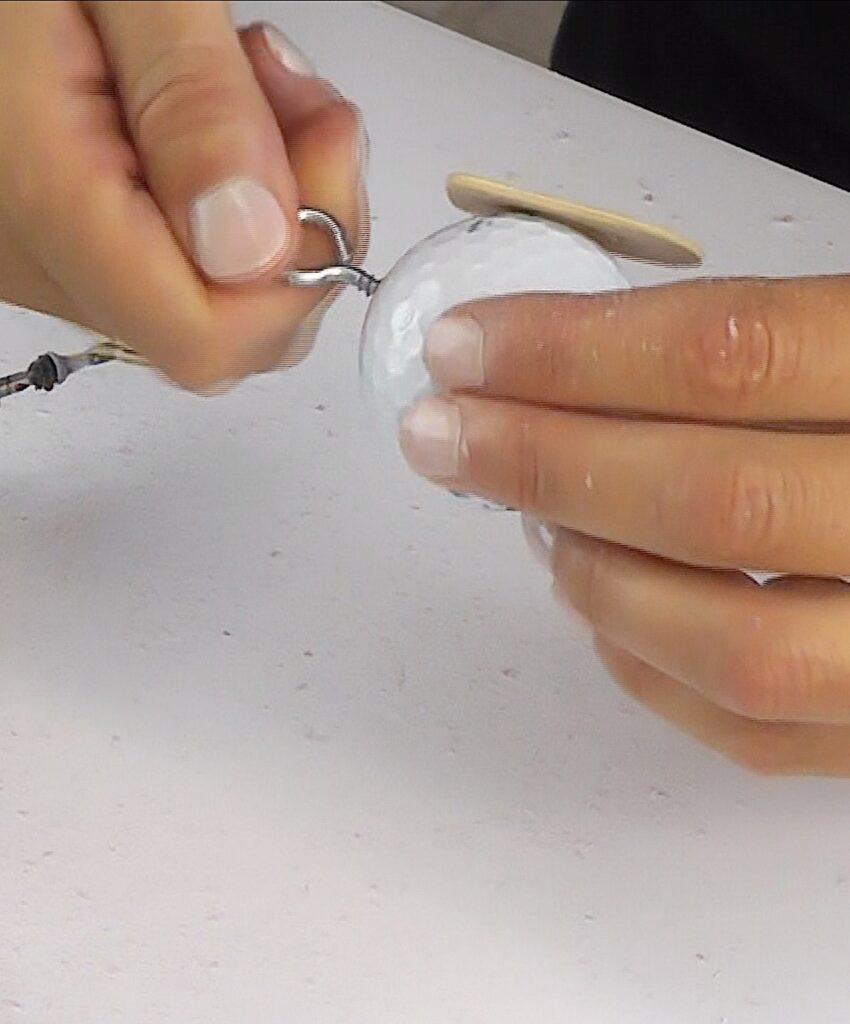
4. Drill a hole in the top and screw in the eye screw.
5. Once the glue dries, paint it all black and allow to dry.
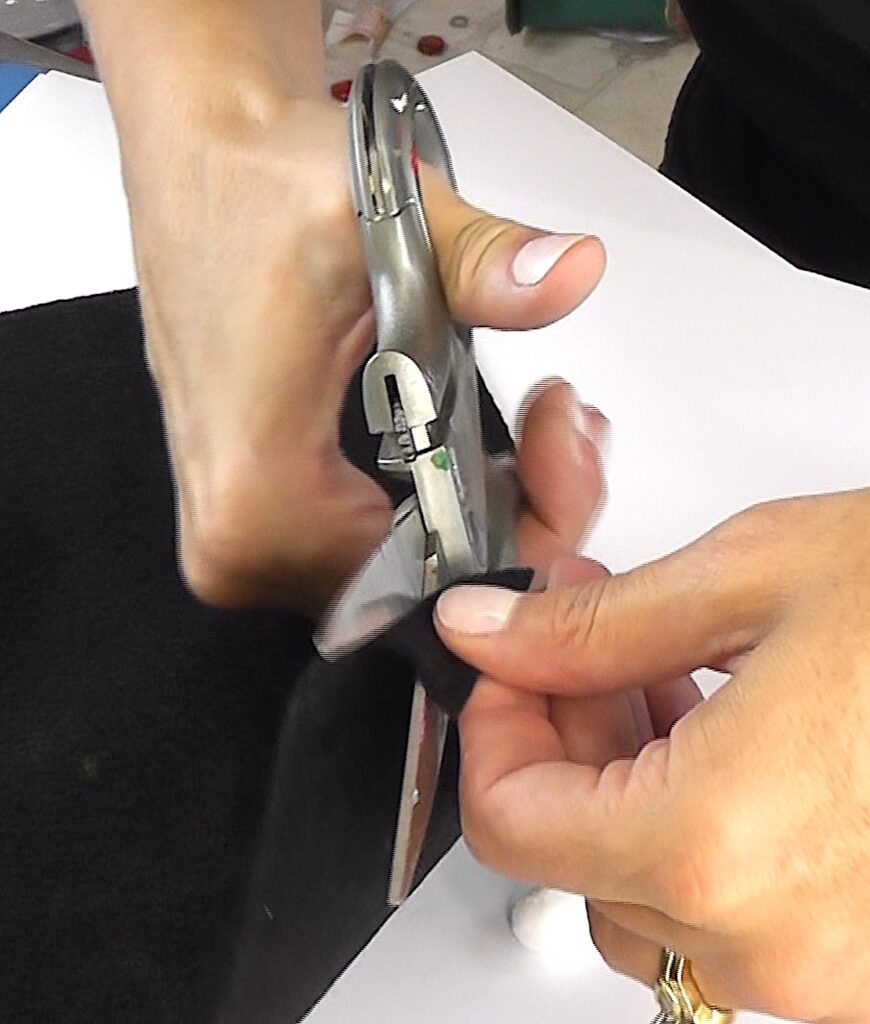
6. Cut two ear shapes out of the felt. Glue onto the head.
7. Glue on eyes.
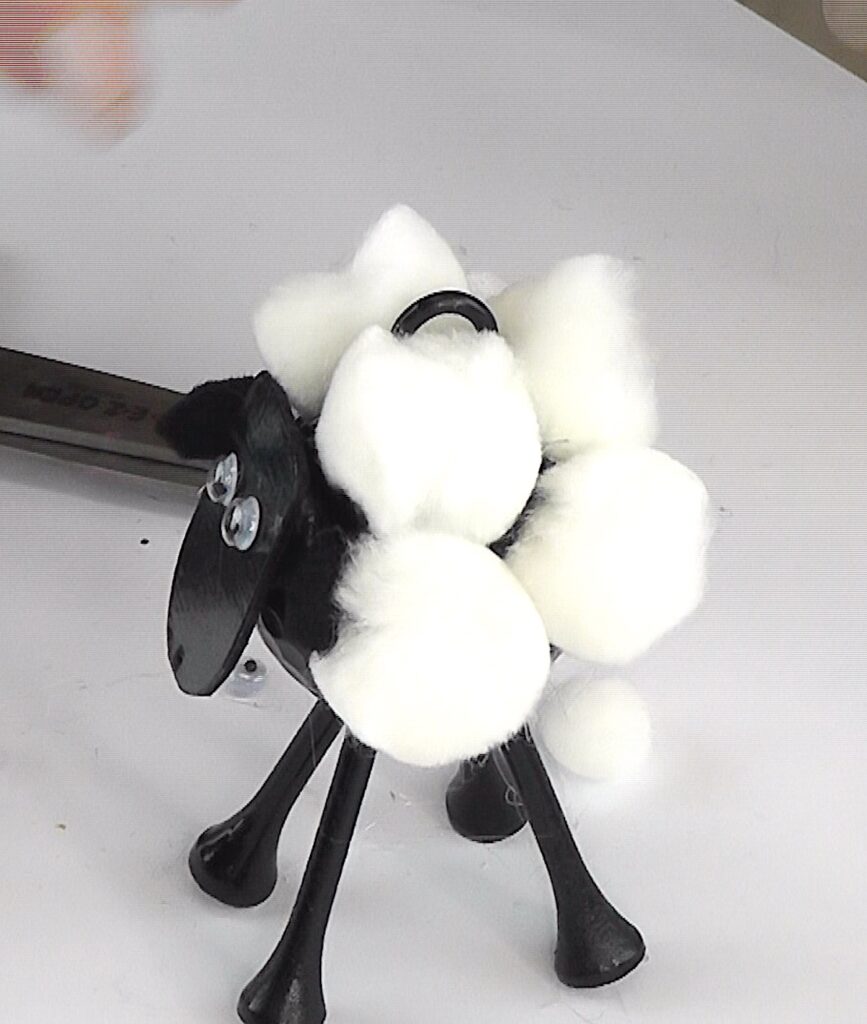
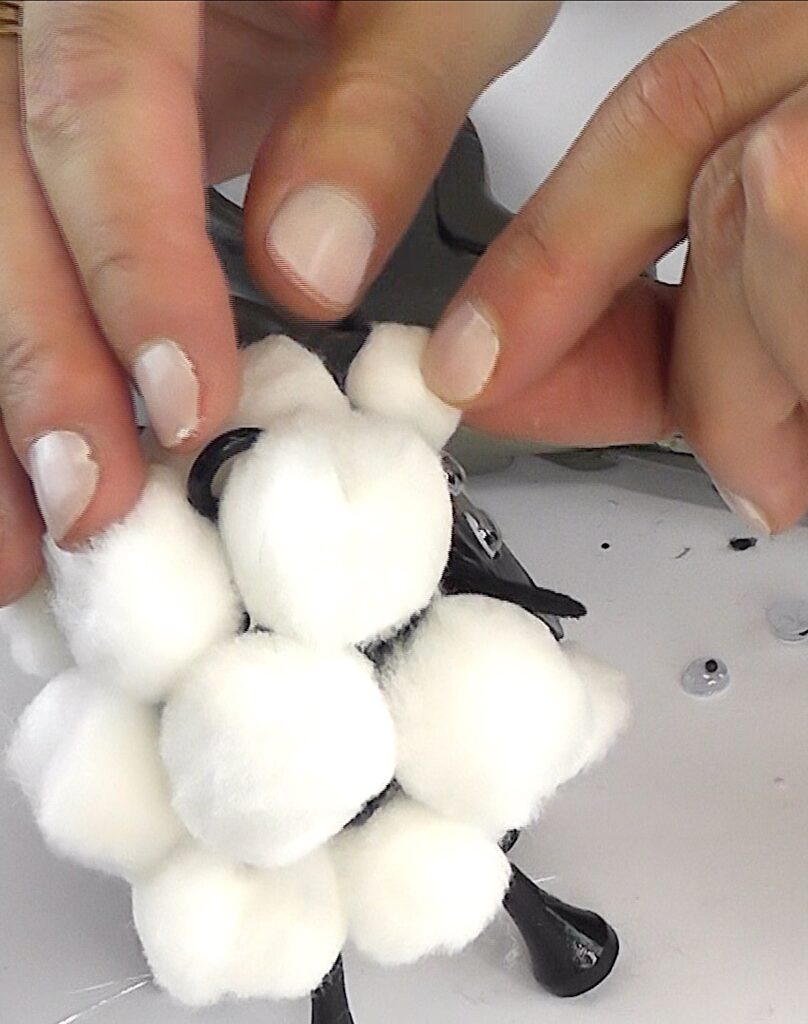
8. Glue the medium pom poms onto the body.


Animal Golf Ball Crafts!
Here are some other golf ball animals I made that you might enjoy!
Fun Sheep Stuff
Check out these fun sheep items…decor and more!

That’s it! I hope you like it! Thanks for stopping by! Remember: Life’s too short not to shimmer, so grab your glue gun and your glitter!™ Stay safe!
Mona
Be sure to PIN IT for later!

really nice post thanks you!
Thank you for checking it out! I'm glad you like it! Mona
Love him!!!
Love him!!!