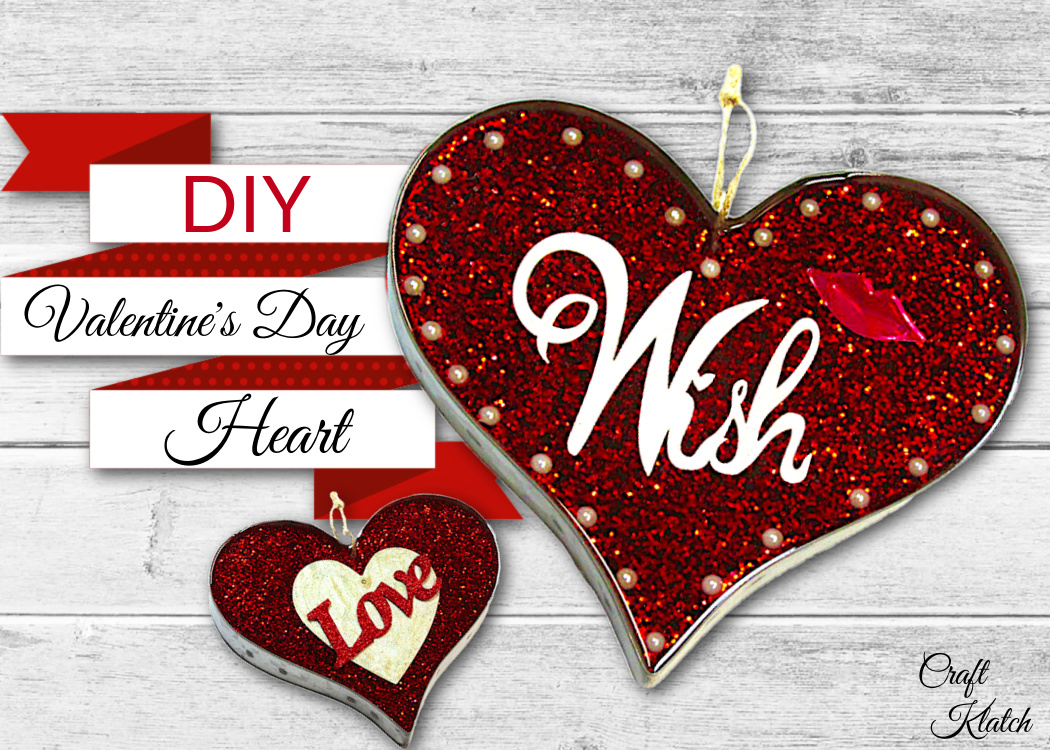
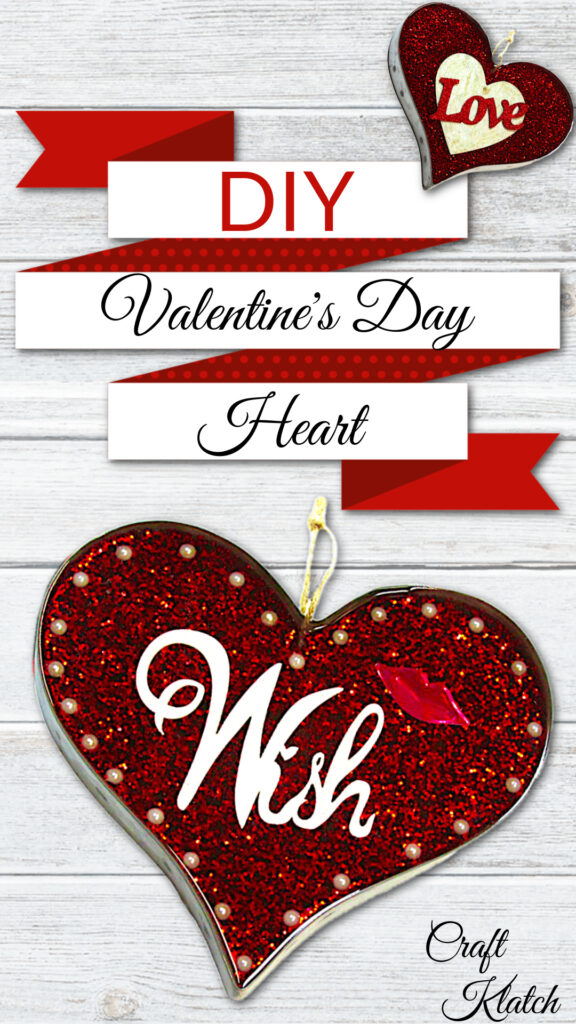
I found a metal heart Valentine’s Day ornament. When I saw it, I grabbed it and ran to the checkout! It was immediately added to my Valentine crafts list! Like the Metal and Glitter Christmas Ornament I made, I wanted to make a pretty heart with glitter in resin.
Heart Valentine’s Day Ornament Quick Video Tutorial
Here is the quickie video tutorial for the heart Valentine’s Day ornament, but you can find the full detailed video at the end of this post that should answer any unanswered questions!
Glitter in resin always looks AMAZING!!!
*This blog uses affiliate links. As an Amazon Associate I earn from qualifying purchases, at no additional cost to you.
Valentine’s Day Heart Supplies:
- Metal heart form – I found mine at Michaels. They don’t carry them anymore BUT these heart trays are amazing alternatives
- Chunky red glitter
- Half pearls
- Interesting things to put in it – I had a wood wish, metal heart, and a metal Love.
- Glue
- Resin:
- When deciding on which resin to use, there are a lot of qualities that might be appealing, UV resistant, price, heat resistance, etc. Just make sure to select a resin that fits your needs.
- Use whatever brand you like:
- Easy Cast
- Art Resin
- Let’s Resin
- Promise Epoxy
- These are heat resistant resins:
- FX Poxy
- Stone Coat
Heart Valentine’s Day Ornament Directions:
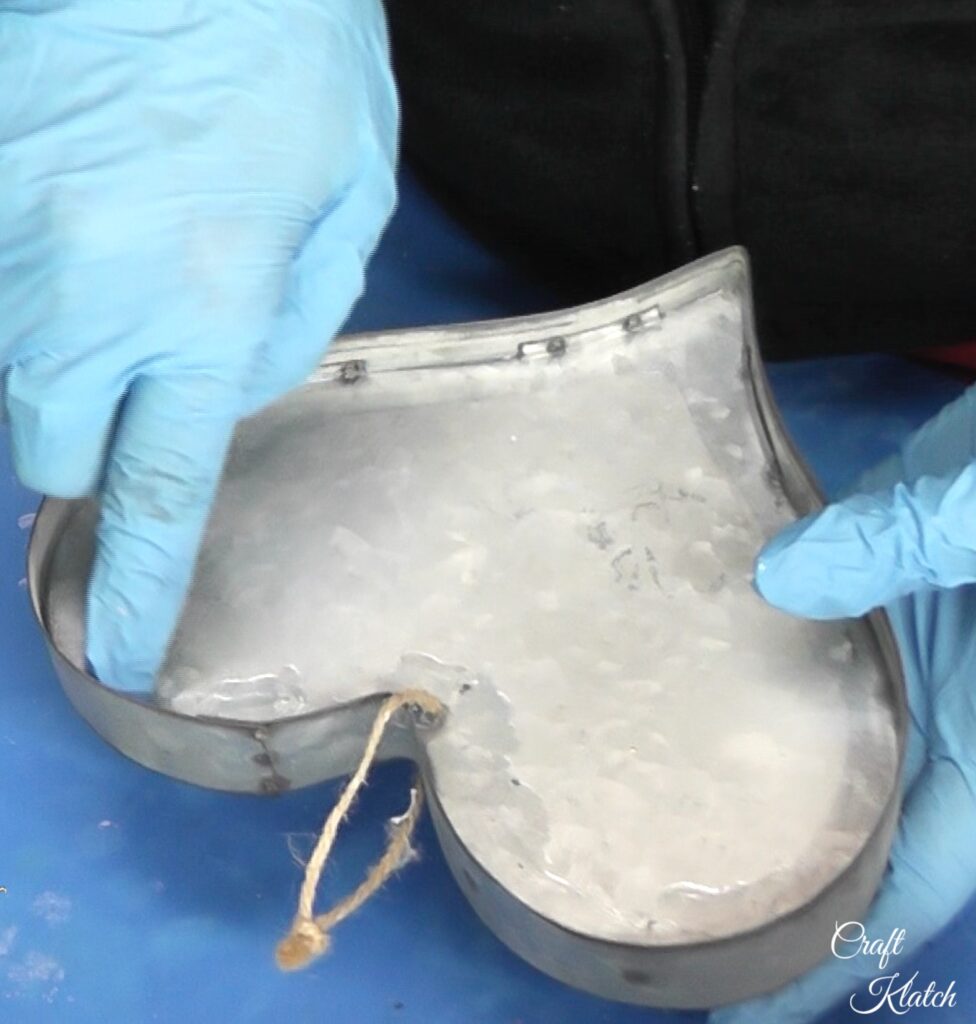
Step 1: Glue It!
Take your Ultimate glue and run it along the inside seams of the ornament. If you have a hole where the string comes through, plug it up with glue too. Do it on the front and backside, if it is a double-sided ornament. This prevents the resin from running through. Allow to completely dry.
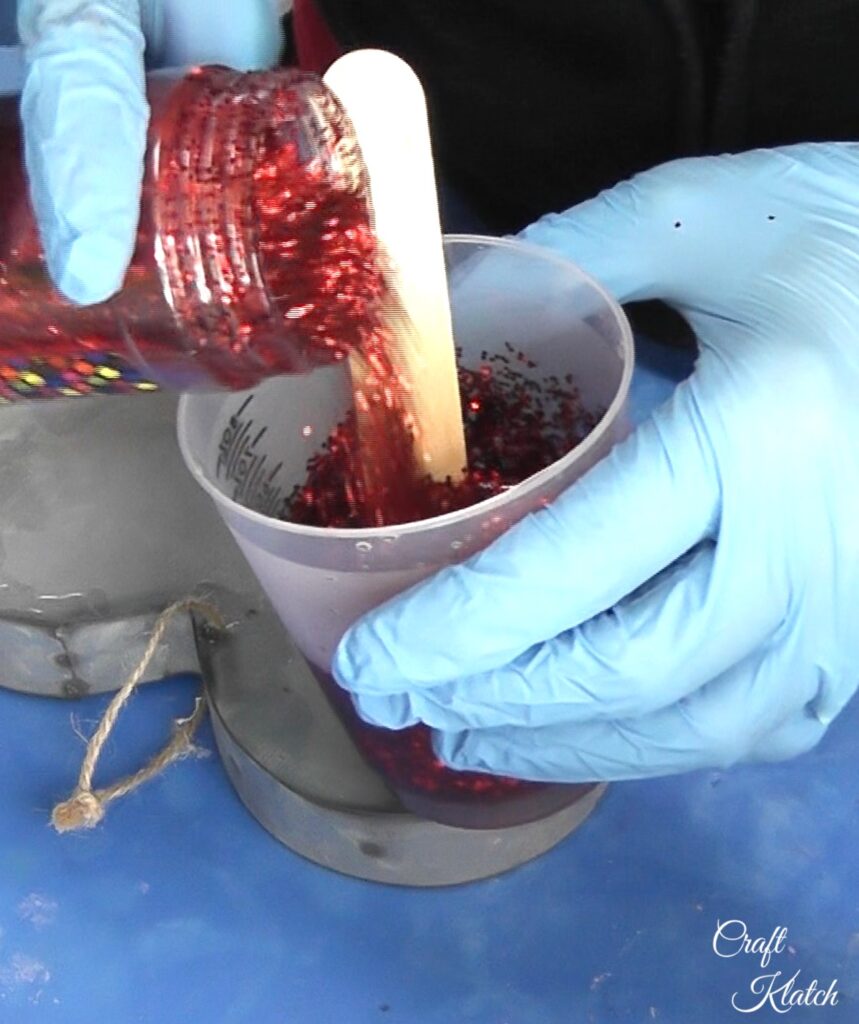
Step 2: Glitter in Resin
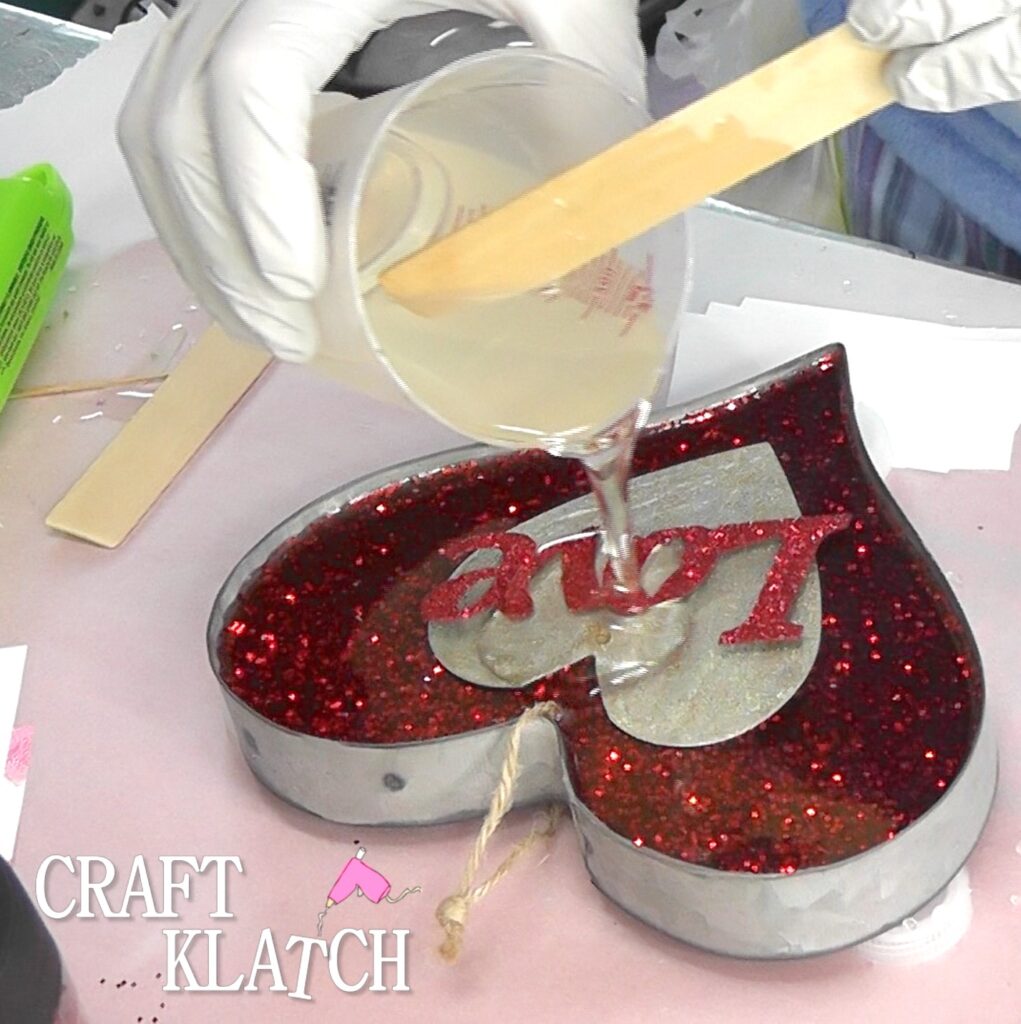
Mix 3-4 ounces of resin and mix in a bunch of chunky red glitter.
Oooh! The sparkle!
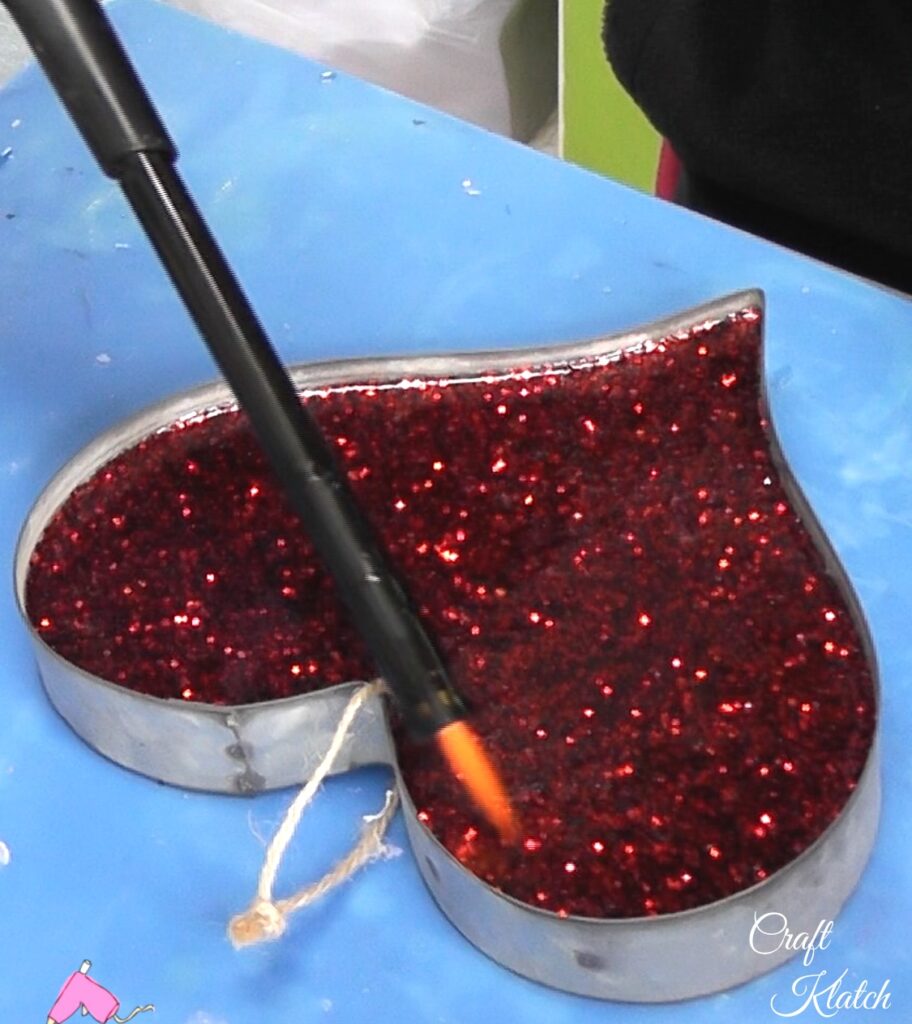
Step 3: Pour, Pop, Cure!
Pour the glitter resin mixture into the heart, pop bubbles with the lighter and allow to cure at least 12 hours.
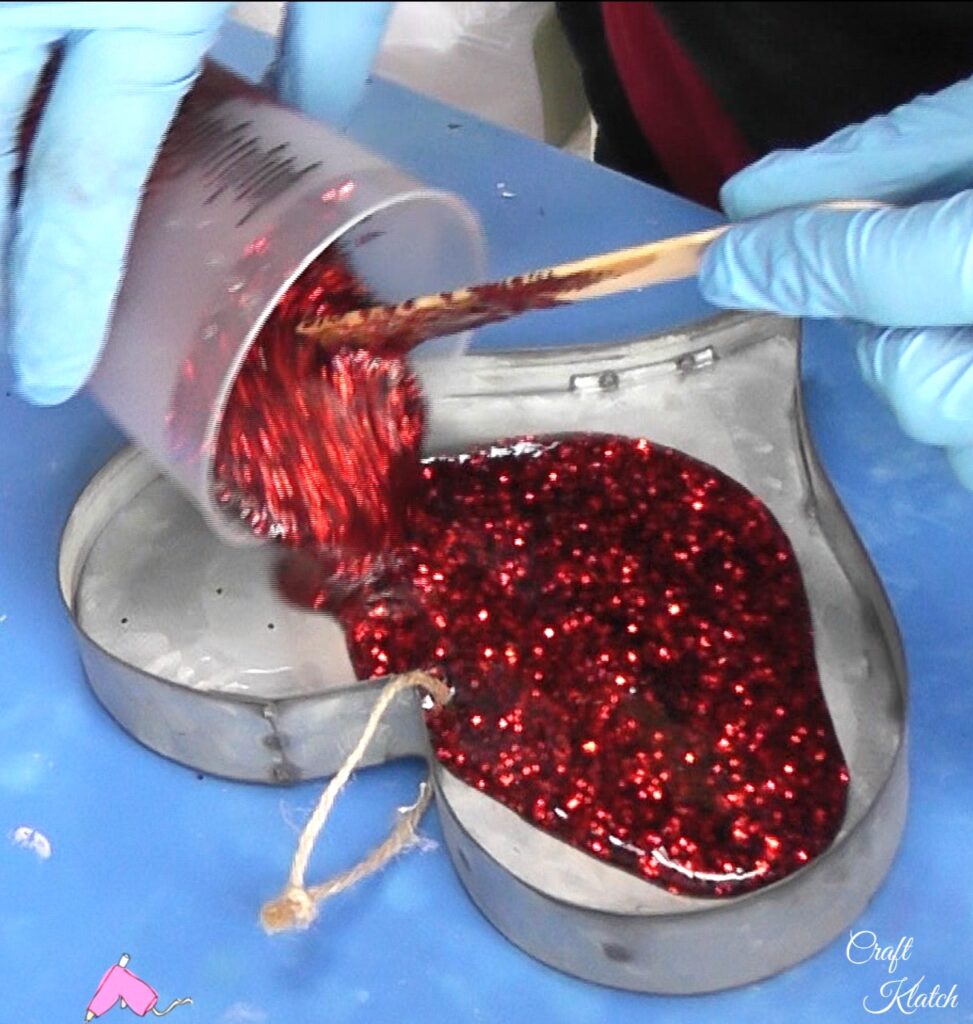
Notice how pretty the glitter in resin looks!
Now it’s starting to look like a heart Valentine’s Day ornament!
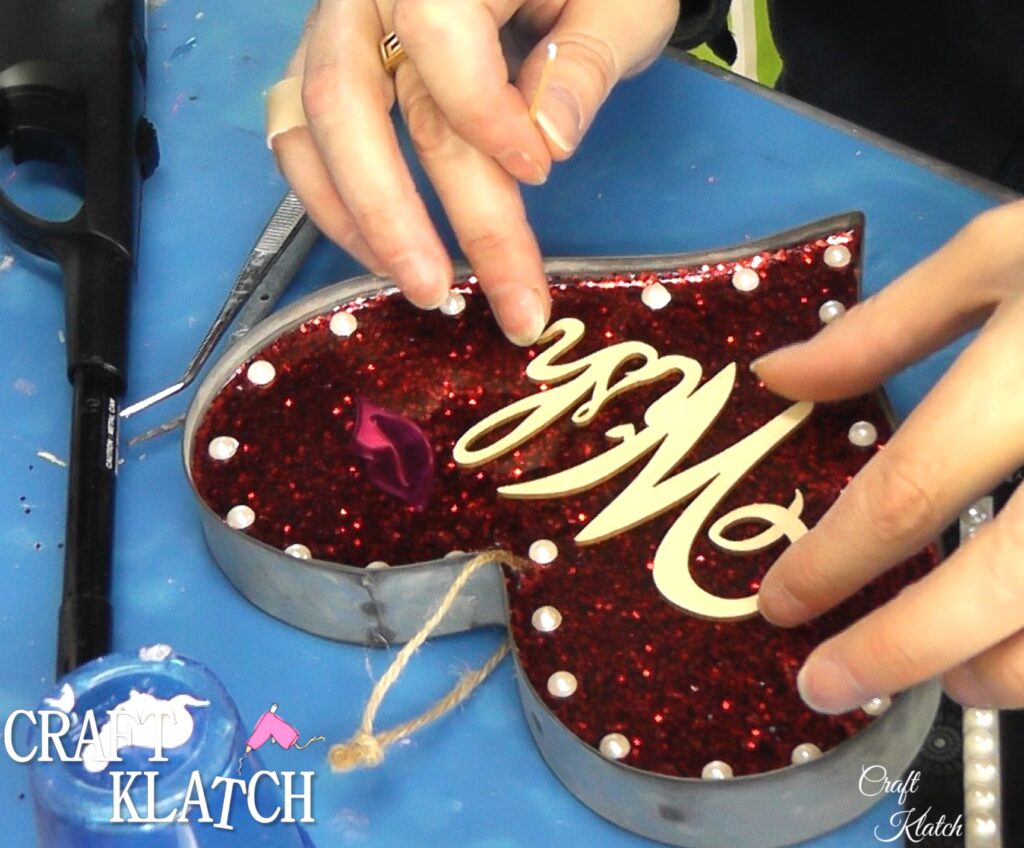
Step 4: Embellish
Now it’s time to add your embellishments. I glued on the half pearls and painted and glued on the wood wish. Allow the glue to completely dry.
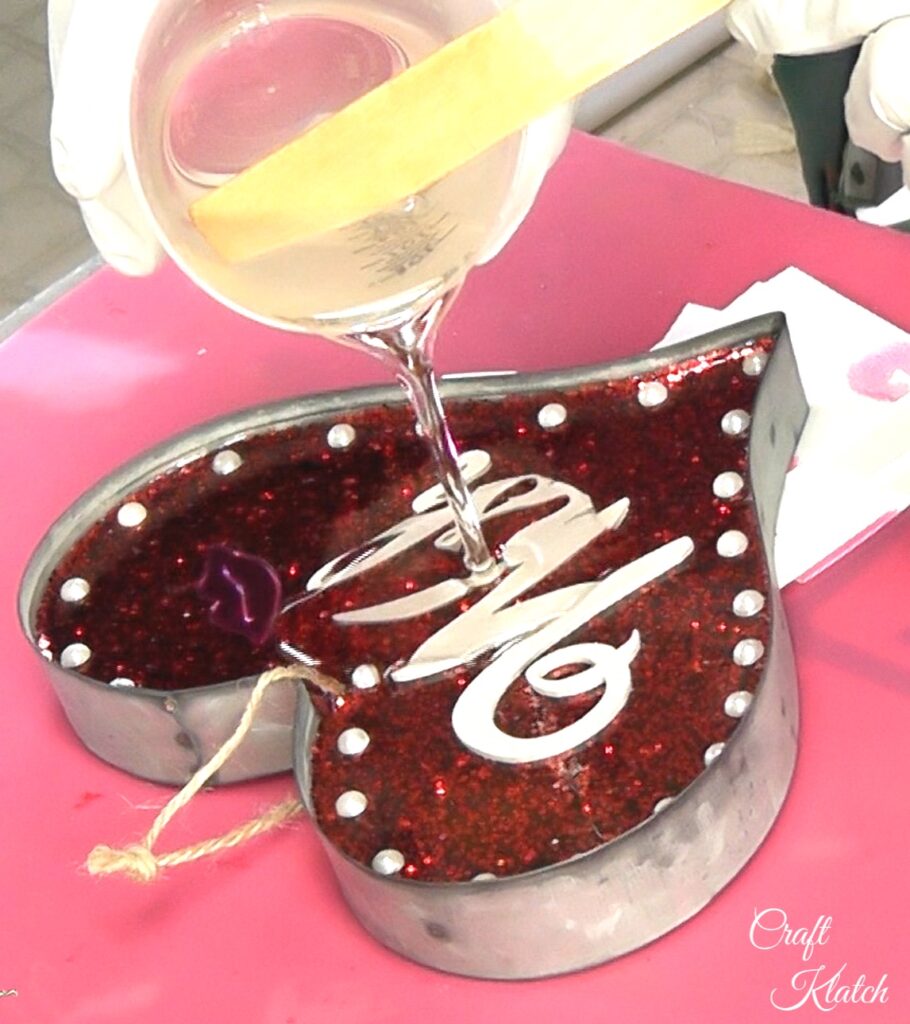
Step 5: More Resin
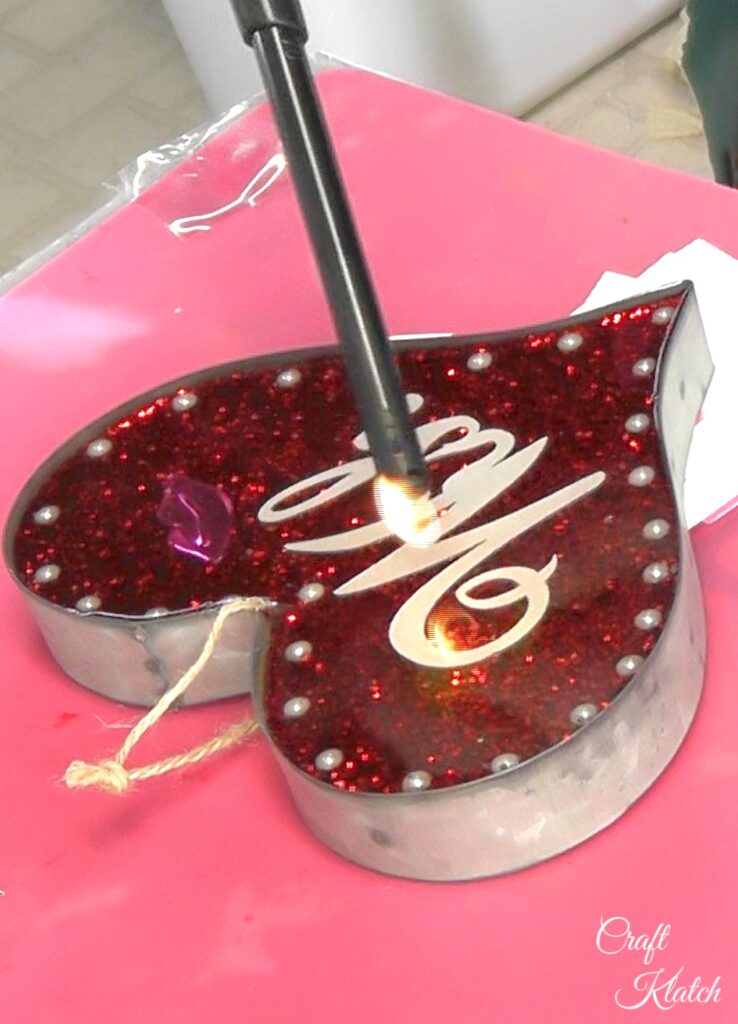
Mix another 3-4 ounces of resin and pour over the embellishments. Pop bubbles with your lighter and allow the resin to cure.
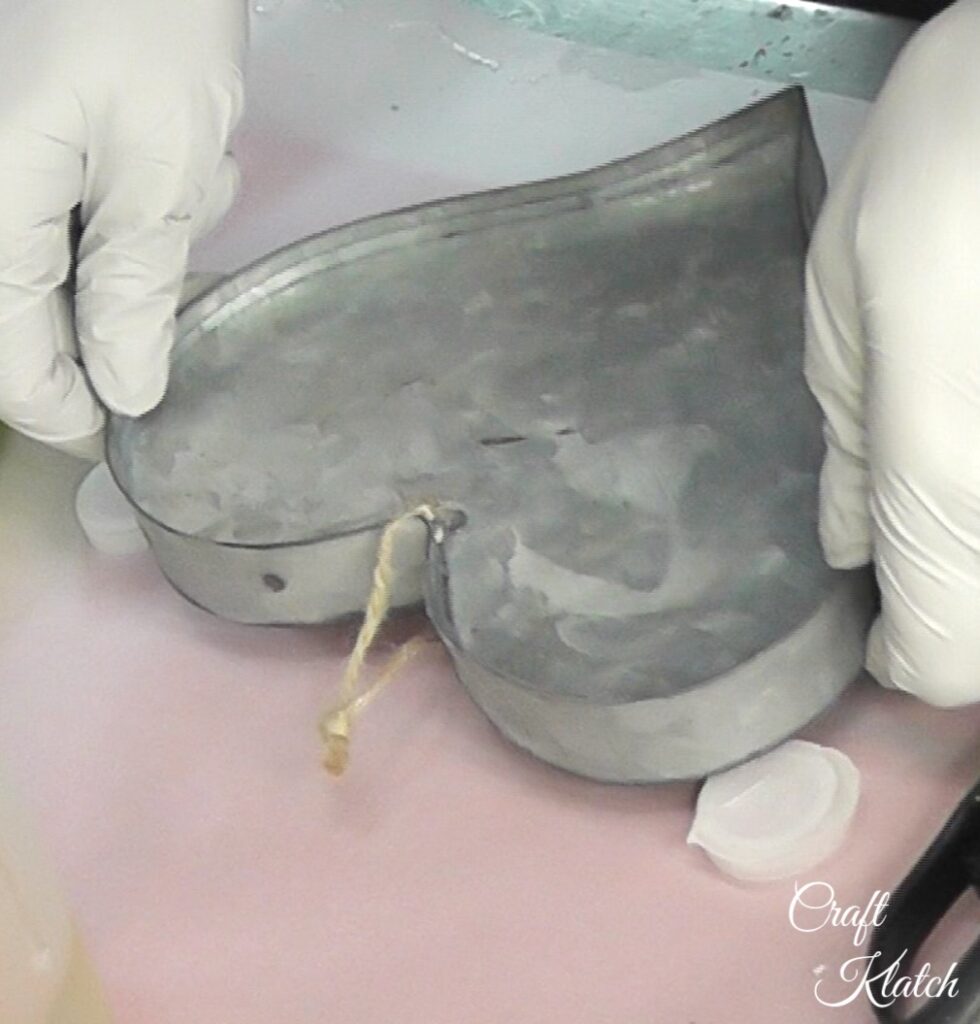
Step 6: Repeat with LOVE!
Now you want to repeat the process on the other side.
A Couple of Tips!
*If anything does not make sense, be sure to watch the full video at the end of this post. It should clear up any of your questions!
- Allow the first side to completely cure. Read the directions that came with your resin to find the cure time. You don’t want to leave any dents in the finished side by flipping it over too soon.
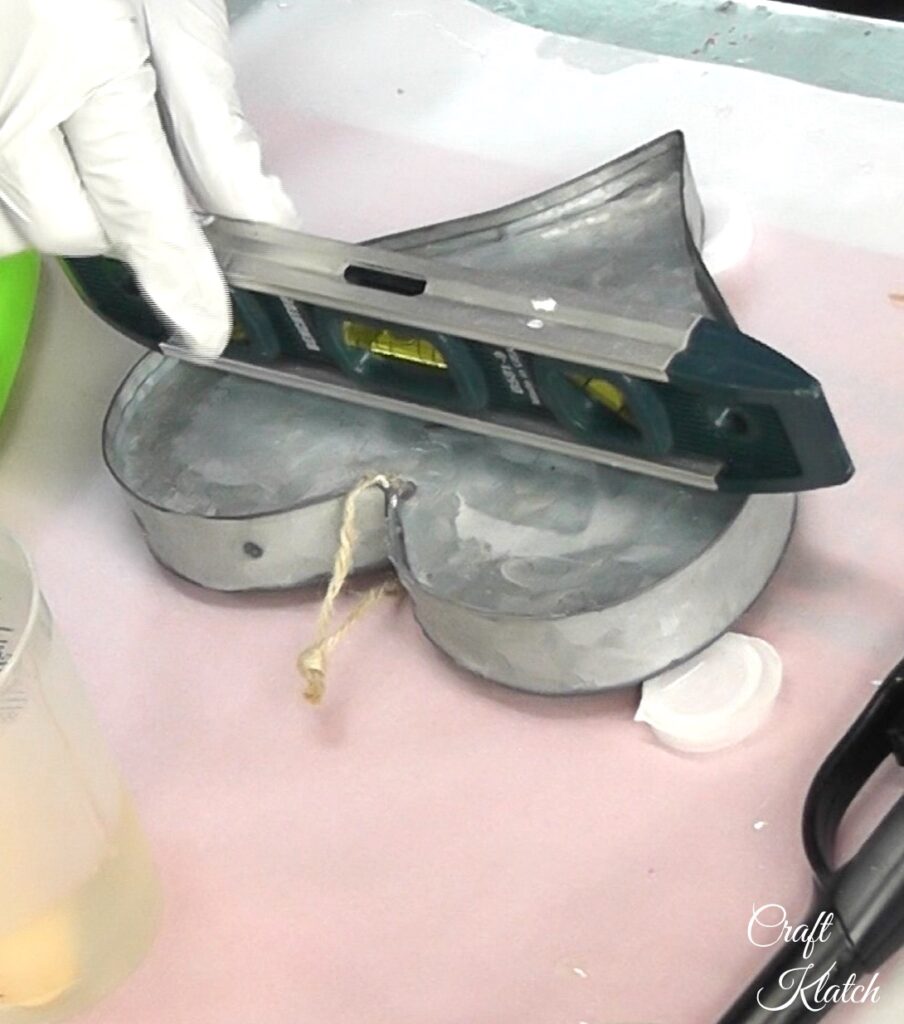
- When you flip it over, it is unlikely that it will lay level. I put water bottle caps under the edges to raise it up and used a level to make sure it was level.
Once you have it set, you can decorate the second side as you would like. Might I suggest a little glitter in resin?
Have fun with it! I’d LOVE to see what you make! Be sure to share it over on my Craft Klatch Facebook Group! It’s Free! ❤️
Heart Valentine’s Day Ornament Alternatives
If you don’t have time to make a heart, or just don’t want to (no judgment here!), there are so many beautiful heart decorations available!

Be sure to check out a few of my other Valentine crafts:
That’s it! Thanks for stopping by! Remember: Life’s too short not to shimmer, so grab your glue gun and your glitter!™ Stay safe!
Mona
Here is the full video tutorial:
Be sure to PIN IT for later!
I have had a stroke. I am hemiparesis so I have hard time with my right hand. I LOVE YOUR SIGHT so much I can do!! Thank you….
Mona… what a fun DIY for Valentine’s Day… and thanks for the tutorial! We’d love to have you link-up at Tuesday Turn About each week! We close on Fridays at midnight CST, and reopen on Tuesdays at 5pm CST! Hope to see you each week!
Thanks, Julie!