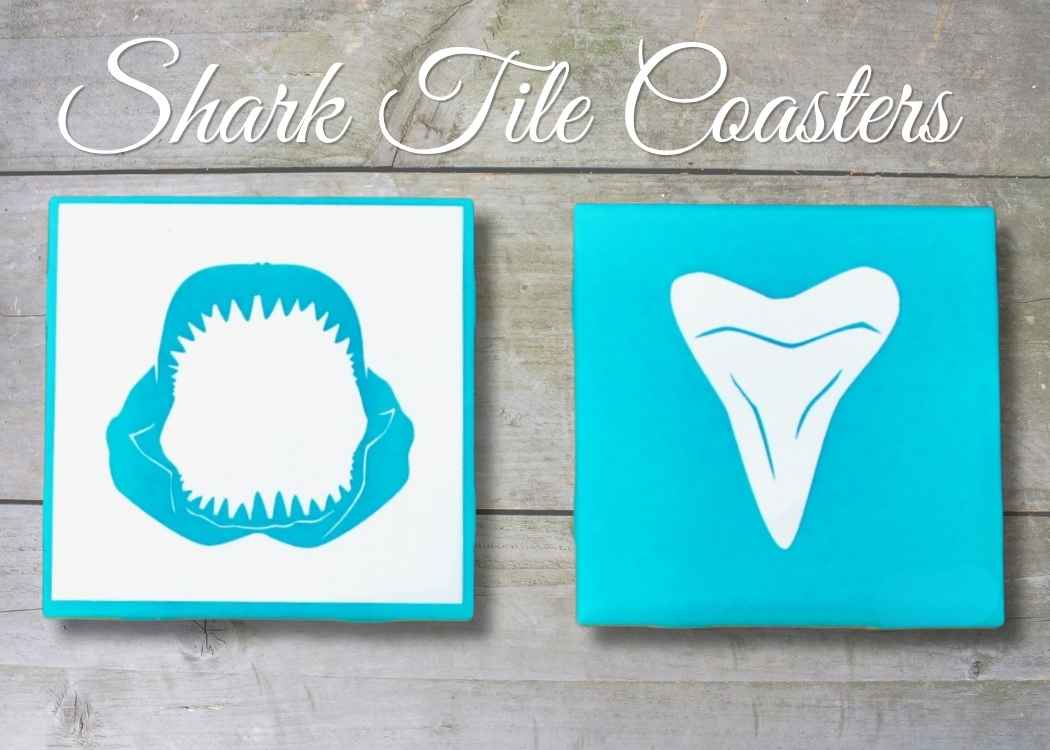
Learn how to make Shark Tile Coasters! They are easy and are perfect for coastal decor or if you are a fan of Shark Week! I made positive and negative versions of the images.
Here is a quick video tutorial, so you can see exactly how I made them:
The links below help support this channel, as I may earn a small commission at no extra cost to you.
Tile: https://amzn.to/2KQpJvb
Rubbing Alcohol: https://amzn.to/2ujfrcJ
Spray Paint: https://amzn.to/2L3u4KT
Cricut (Amazon): https://amzn.to/2wChE2l
Cricut (Cricut site): https://www.shareasale.com/r.cfm?B=993649&U=1248544&M=51766&urllink=
Cricut vinyls: https://amzn.to/2w4DOJj
Dishwasher Mod Podge: https://amzn.to/2ukqT7N

Directions:
1. I found these inexpensive tiles. I cleaned them with some rubbing alcohol, to get off any dirt or oils.

2. I used my cutting machine to cut out a shark tooth and a shark jaw.

3. I removed the vinyl and put it onto the tiles.

4. I burnished down the vinyl, so the edges are down.

5. If you have bubbles in the vinyl, for this project that is fine, unless they are located at an edge. Make sure the edges are burnished, so no paint can get underneath.

6. I then did the leftover vinyl on another tile.


7. I repeated the process with the shark jaw.


If you need to use transfer tape to get the image on right, or if it has multiple pieces, by all means, use it!

8. I used a spray paint that adheres to tile. Use a paint that is indoor and outdoor.


9. Once the paint has dried, carefully remove the vinyl.


It makes a great set! If you used an outdoor paint, you should be good to go! If you feel you need additional protection, you can seal it with a dishwasher safe Mod Podge.

That’s it! Thank you for stopping by! Remember: Life’s too short not to shimmer, so grab your glue gun and your glitter!™ Stay safe!
Mona
