Have you ever wondered how to make paper coasters waterproof? I’ll show you how to preserve bar coasters, so you can use them over and over again! It’s an easy resin craft!
I’ve heard them called many things, including:
- Beer coasters
- Cardboard beer coasters
- Cardboard coasters
- Paper coasters
- Bar coasters
- Bar mat coasters
- Paper drink coasters
Whatever you call them, you know the ones I’m talking about.
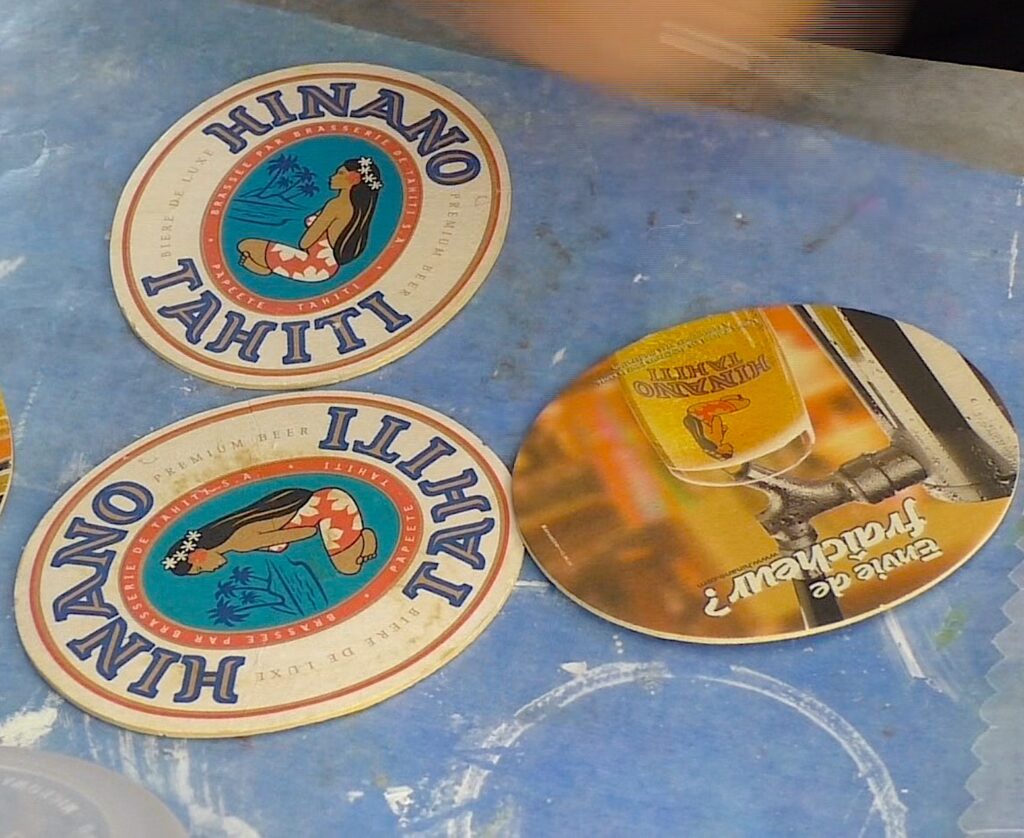
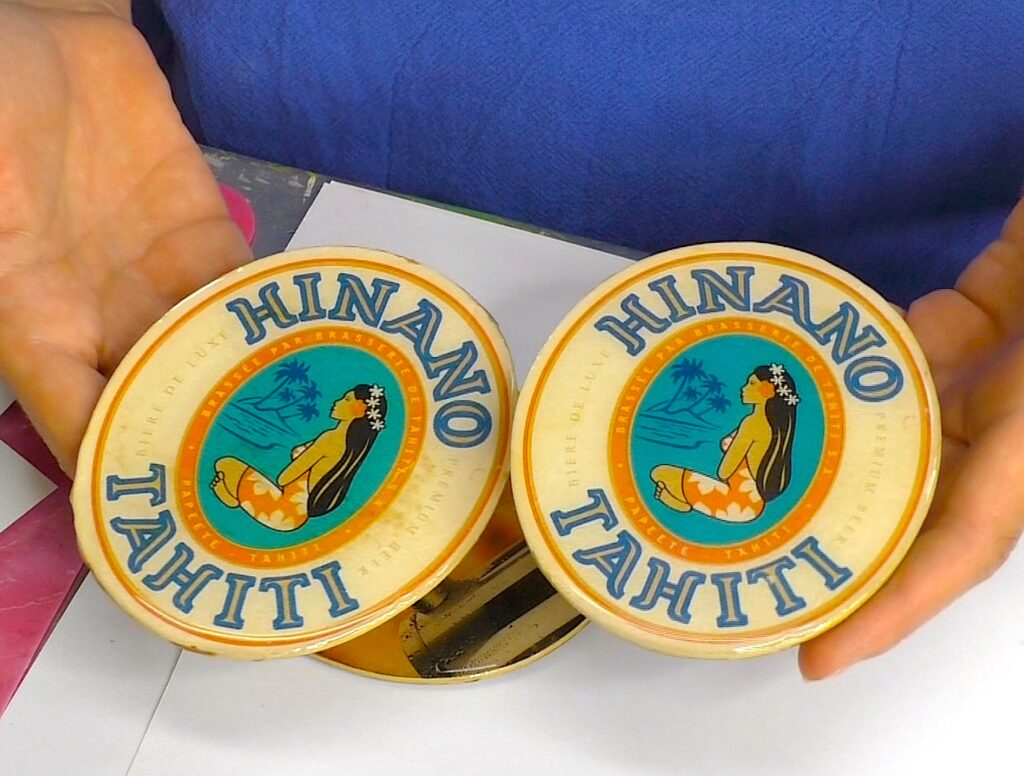
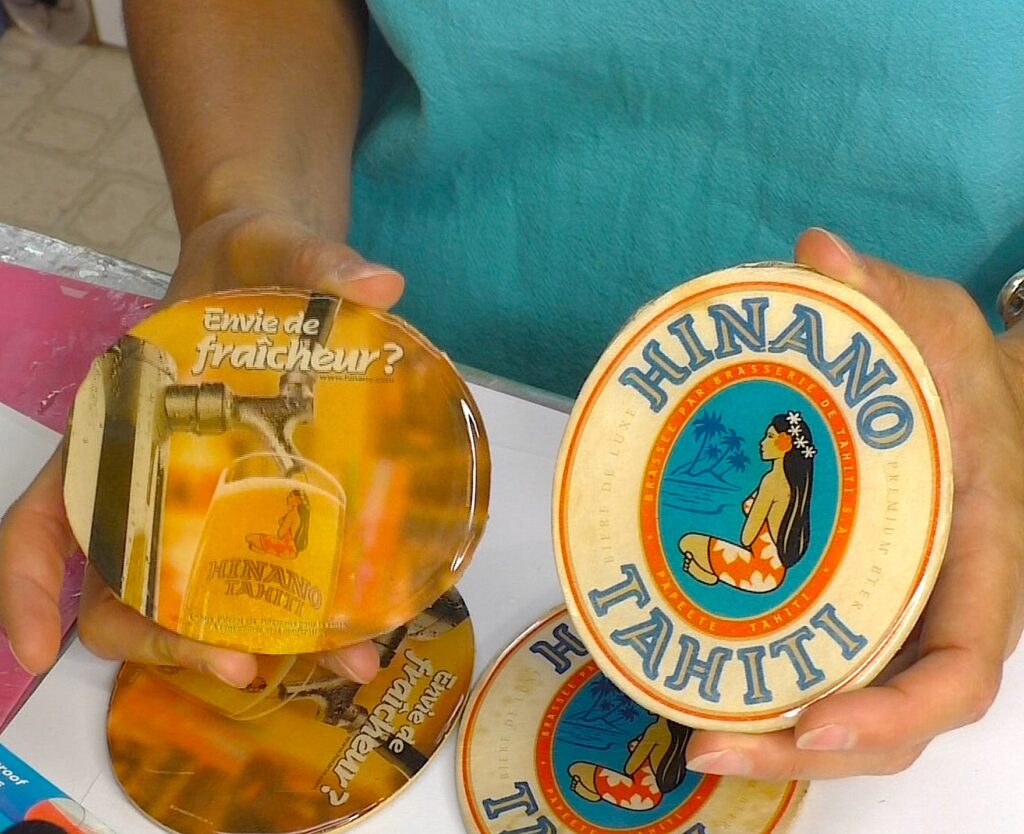
The ones I have are from our honeymoon in Tahiti. Greg collected them and they have been sitting around in our basement wet bar forever.
He had the idea to preserve the paper coasters, which I thought was a great idea!
If you want to preserve a souvenir from your travels, a vacation, or a special occasion, this is a perfect way to do it.
Often times, the cardboard coasters have really amazing art work and are worth saving!
Video Tutorial on How To Preserve Bar Coasters
Here is a quick video tutorial, so you can see exactly how I did preserved the cardboard coasters:
*This blog uses affiliate links. As an Amazon Associate I earn from qualifying purchases, at no additional cost to you.
Supplies You Need To Preserve Bar Coasters
You will need:
- Coasters: https://amzn.to/2MW2ZGJ
- Mod Podge: https://amzn.to/2NxEMYv
- Press and Seal: https://amzn.to/2tZ3HvK
- Lighter: https://amzn.to/2jOlKiJ
- Resin
- When deciding on which resin to use for your coasters, you need to keep in mind whether you want it just for cold cups or for hot ones as well.
- If only for cold drinks, you can be flexible and use whatever brand you like:
- If you want it to work for both hot and cold drinks, you need to look for a heat-resistant resin, like these:
- Stone Coat (Quick coat)
- Stone Coat (Heat resistant)
- FX Poxy ~ According to the manufacturer, this one is heat resistant to 500° F.
Directions on How To Preserve Bar Coasters
Step 1: Preserving Bar Coasters was Greg’s Idea
We had these paper drink coasters from our honeymoon. Greg has saved them all these years. It was actually his idea to preserve them. They are just regular cardboard bar coasters.
I’m not sure who came up with the idea for paper coasters. I’m also not sure if they are the best coaster material but they work.
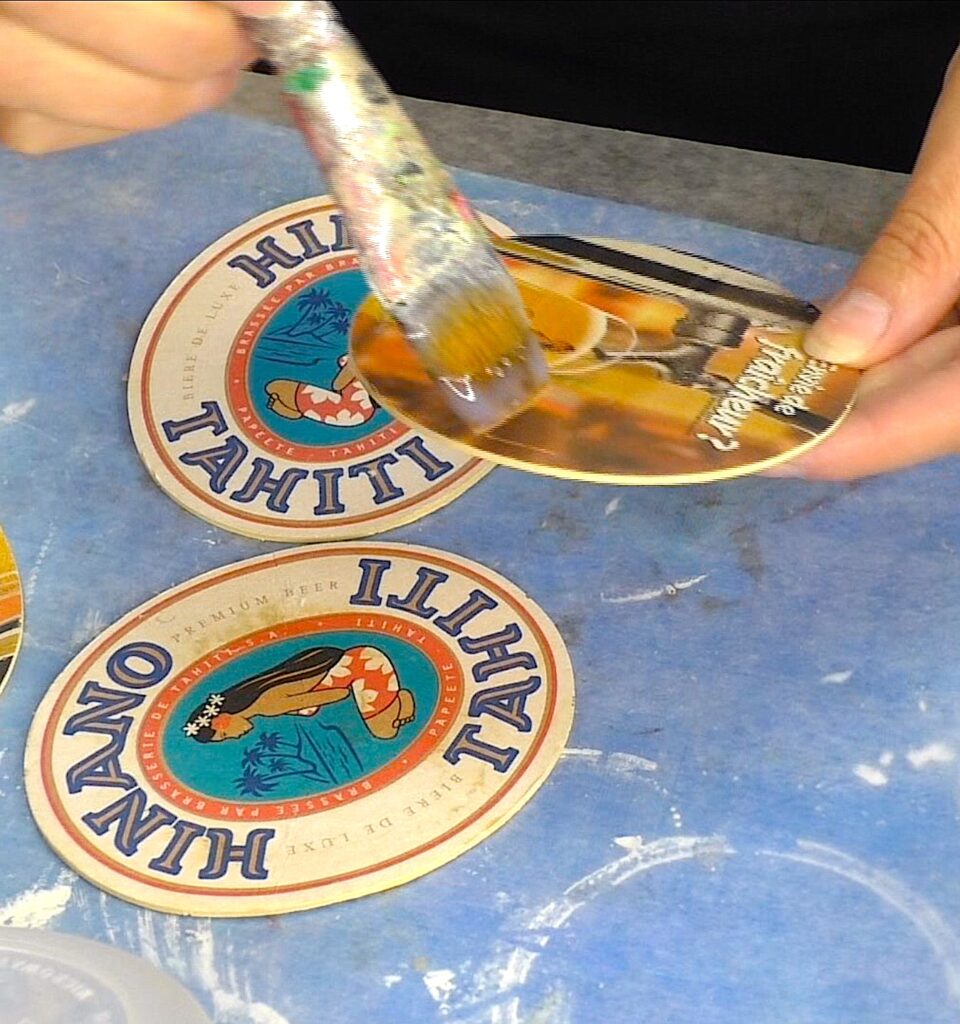
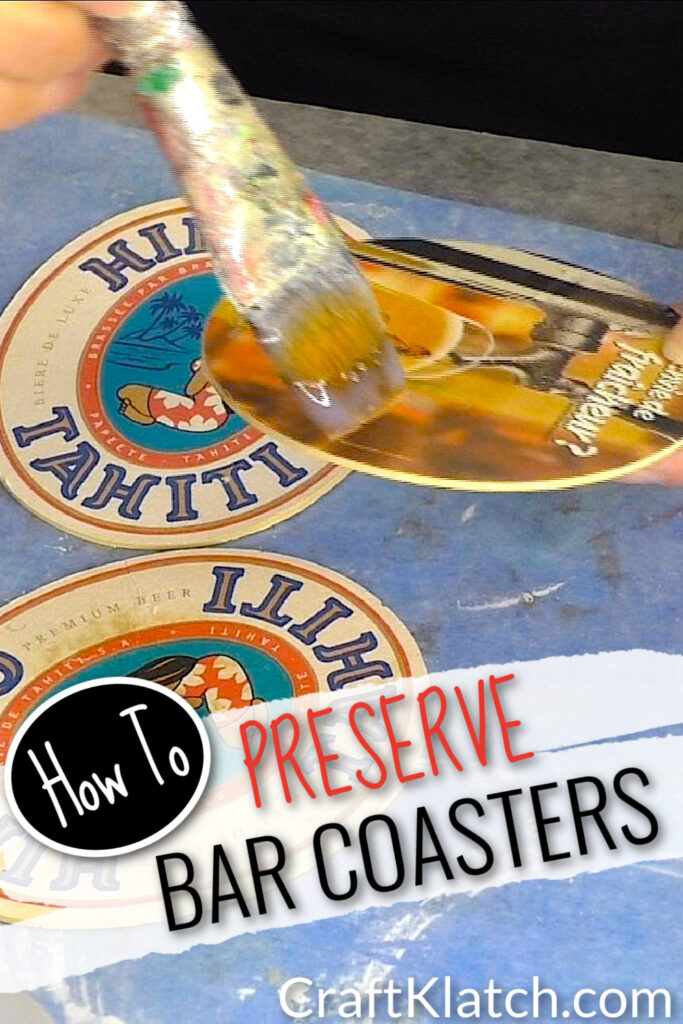
Step 2: How To Seal Paper Coasters
Because the bar coasters are cardboard-type or paper-type material, I needed to seal them. I used Mod Podge on both sides and the edges. I did two coats and I made sure it was completely dry, before moving on.
Don’t skimp on this step! If you feel better doing three coats, do three coats. Make sure every bit of it is sealed.
Why is this so important? It’s important because if left unprotected, the resin will soak into the cardboard coaster and it will create splotches that don’t look that great.
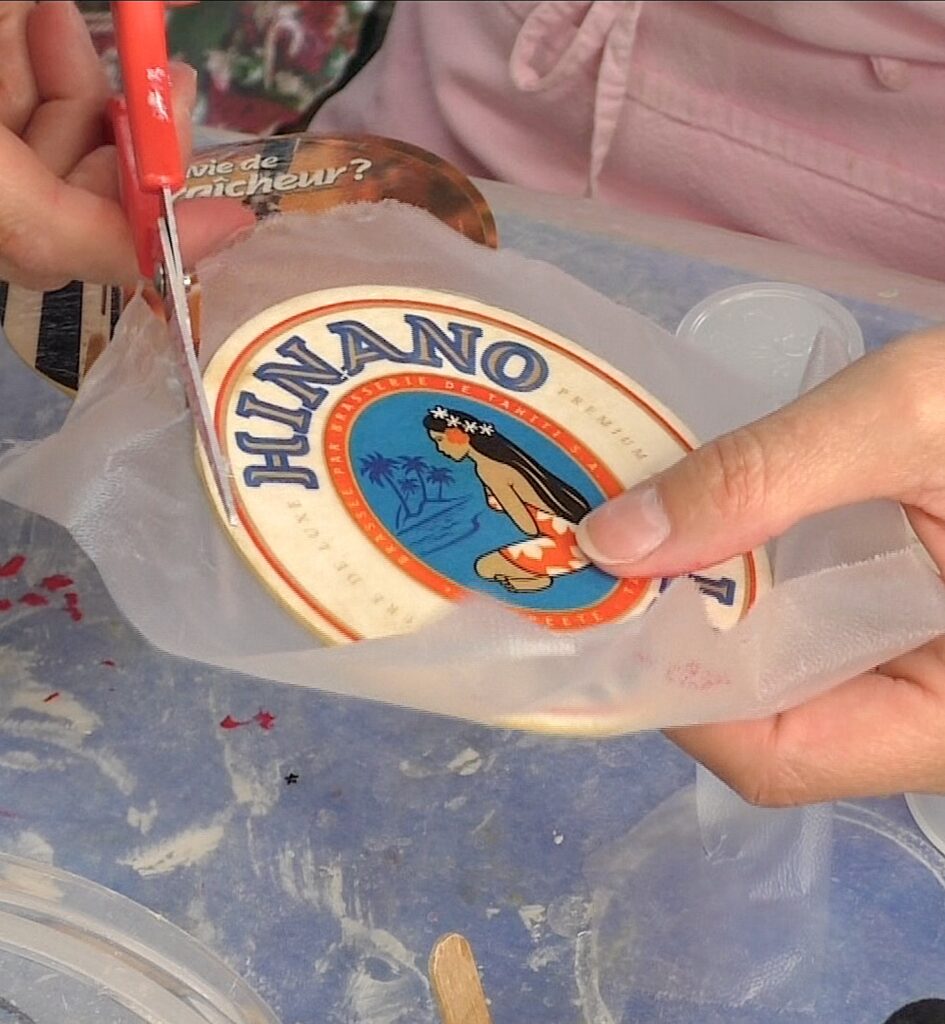
Step 3: Protect A Side of The Bar Coasters
Once dry, I used Press and Seal wrap and made sure it was stuck really well to one side of the sealed bar mat coasters. Then, I trimmed around them.
You can use painter’s tape if you would rather.
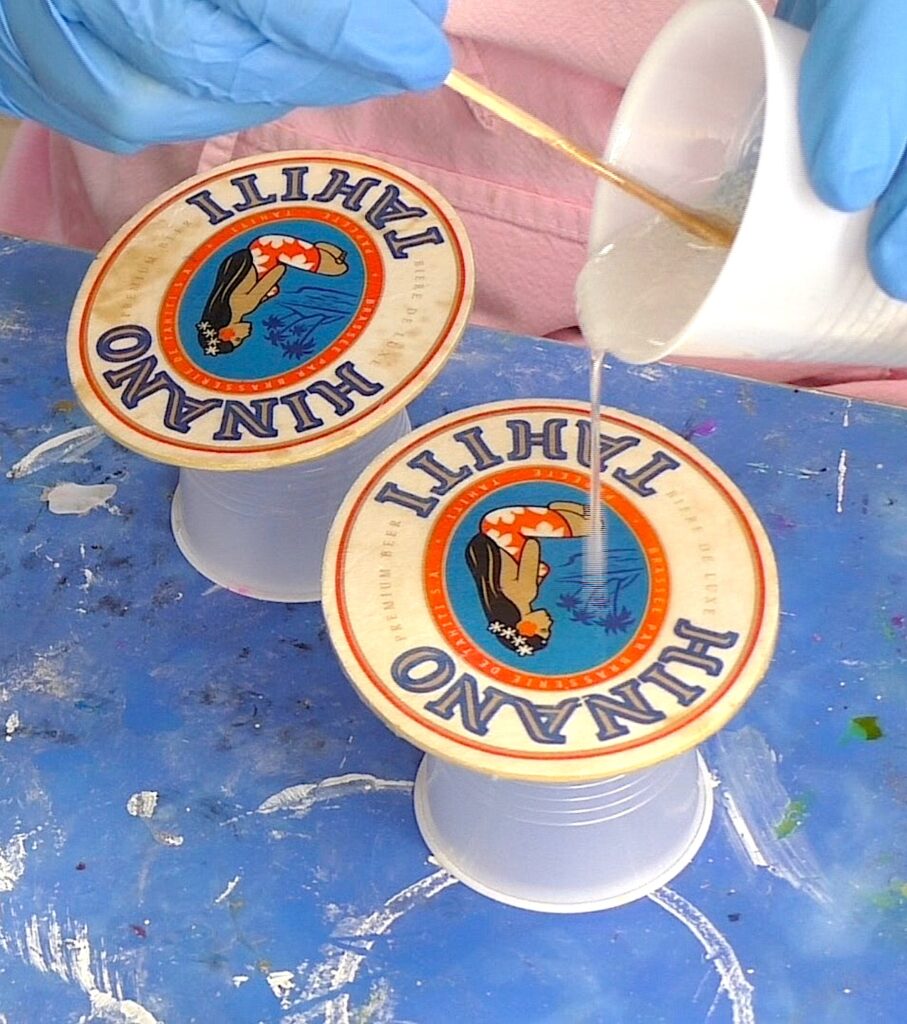
Step 4: Mix and Pour The Resin Over the Paper Coasters
This is where we start to preserve the bar coasters. I mixed the resin and poured it on the Mod Podged paper coasters. I had them raised on cups, so any excess resin would drip off.
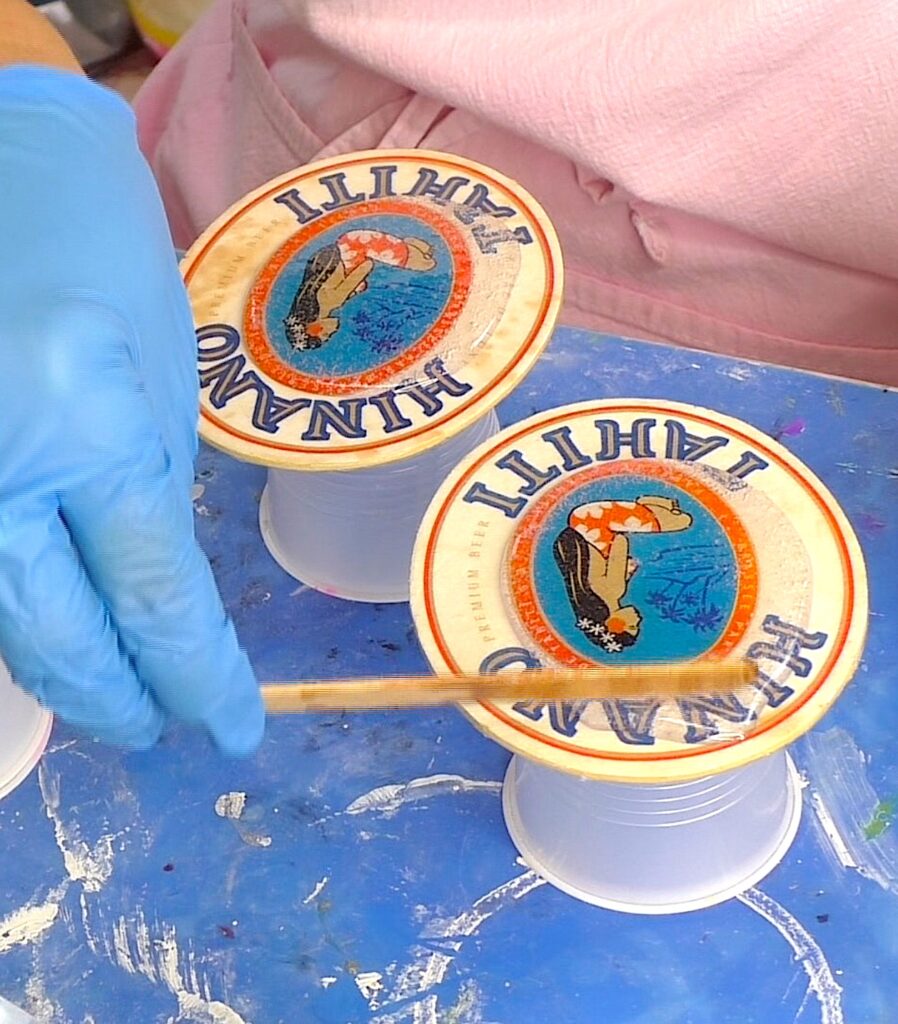
Step 5: Move The Resin Around
I used my stir stick to spread the resin on the paper drink coasters.
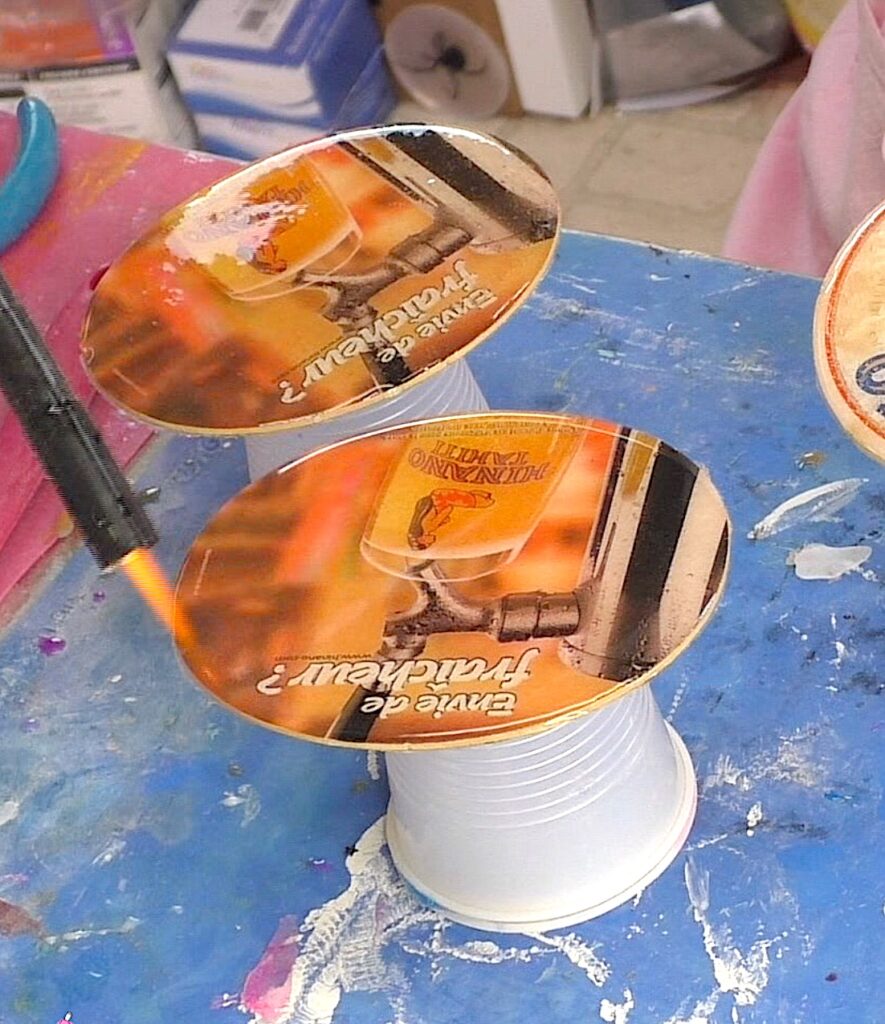
Step 6: Pop the Bubbles
I used my lighter to pop the bubbles in the resin. Be careful and move the lighter and flame around fast, so you don’t set the coasters on fire!!!
Remember, they are essentially cardboard or paper drink coasters.
Those materials are highly flammable. Setting them on fire will cause a disappointing outcome.
Let them cure for a minimum of 12 hours.
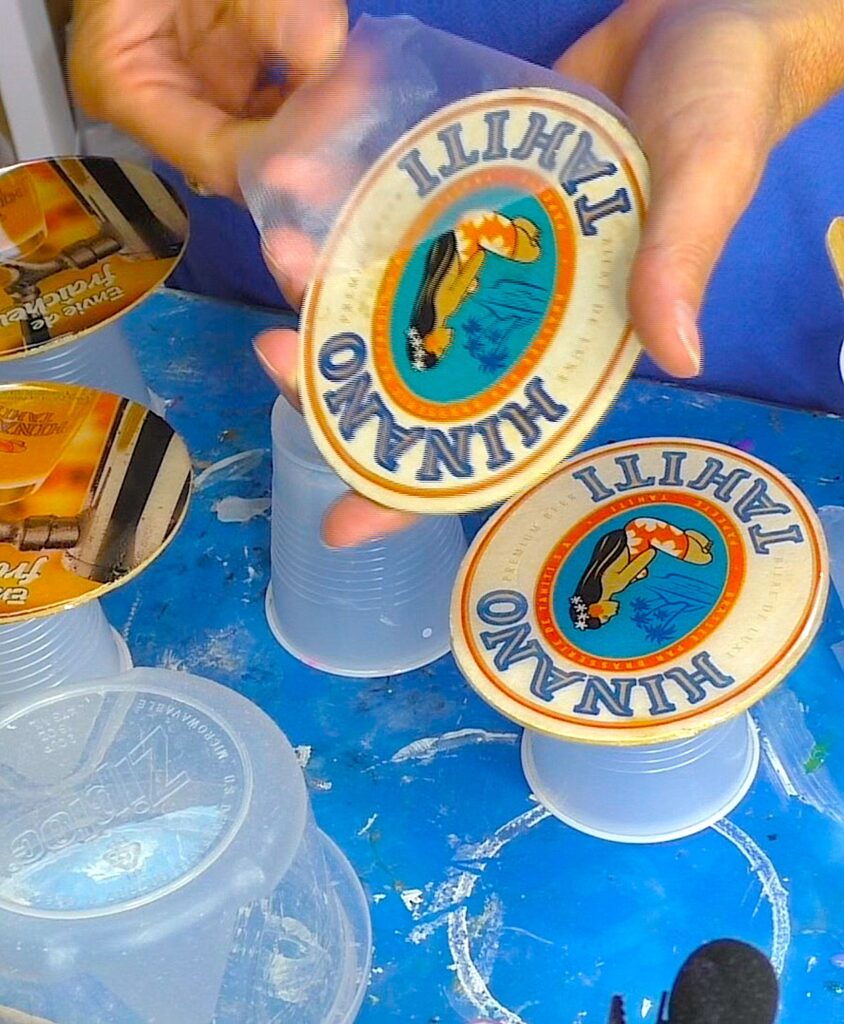
Step 7: Remove the Wrap
Once cured, you can remove the wrap and repeat on the other side.
Also, a little FYI, the wrap may leave a little residue. If that happens, you can use a wet wipe to clean it up.
That’s it! It’s a great way to preserve mementos or memories!
I WANT TO KNOW!
Do you have a souvenir you think you would like to preserve in resin? Yes or No, let me know in the comments below!
Also, if yes, what do you want to preserve in resin?
I made a Beachy Vacation Memory Coaster and a Resin Memory Ball, which are also great ways to preserve vacation memories and souvenirs.
Thanks for stopping by!
If you want more great content be sure to follow me on INSTAGRAM!
Remember: Life’s too short not to shimmer, so grab your glue gun and your glitter!™ Stay safe!
Mona
Be sure to PIN IT for later!
hi — whats the reason that you put the press and seal on the other side? and do you put resin on both sides of the coasters?
I was wondering the same thing about the press and seal. Only reason I can think is so that the resin from one side doesn’t drip over to the back.
Yes you do put resin on both sides.
Yes, I used the press and seal so the resin would not drip over to the other side.
Trying to follow along… I am using cork backers. Would I need to put resin on both sides then?
Hi Kimberly-
If you want to put cork on the back without using resin first, you want to make sure the back is sealed with a waterproof sealer.
Hi!
I have already add cork to the bottom side of my coasters prior to putting epoxy on the face. Will putting the epoxy on now ruin the cork on the bottom? These coasters were from my dad’s bar and he has passed and I wanted to preserve them. Do you have any suggestions going forward. I’ve coated the face with 3 coats of mod podge.
Hi Lisa-
I would make sure the edges are covered in Mod Podge too. If the resin gets into the paper, it could create a stain. As for the cork bottom, I would suggest doing painter’s tape on the cork and burnish it down really well. You want to create a good seal. That should protect the cork bottom. Another potential option is if Elmers Glue pulls away from cork, and I’m not sure if it does, so you would want to do a spot test. You could coat the bottom with that because resin does not stick to the glue. I have done it on cured resin, but I have not tried it on cork, so you want to make sure it will remove from the cork before you try it. Hope that helps!
The mod podge says it takes 4 weeks to fully cure. Do I have to wait that long? Will it yellow under the epoxy if I don’t wait?
No. Just wait until it has full dried, like overnight.
I love this idea for beer coasters! Wondering if you have any tips on how to make this into tree ornaments? Same concept but with a hole on top for putting a string through for hanging. Any recommendations or tips on how to do that?
Hi Rosa-
What a great idea for tree ornaments! Just use a small drill bit and a ribbon and you have a great decoration or gift!
Hey just wondering how much resin would be needed for say 8 coasters?? Thanks! Elise
Hi Elise –
It depends on the coaster. If it’s a basic coaster – two layers – it can be two ounces. If you go thicker, it would be more. You could do one ounce and have a very think coaster.
When you repeat on the other side do you tape off the resin side
Yes, I usually do. However, I have recently found out that using Elmers Glue on the finished side – a little thicker – letting it dry – is an even easier way to do it.
My resin says it cures in 12 hours, but reaches full strength in 72 hours. Should I wait the whole time or is 12 hours enough?
I would wait the 72 hours if you can.
If I wanted to just attach a thin cork plain coaster to the underside and modge podgle the whole thing, would that make them durable?