
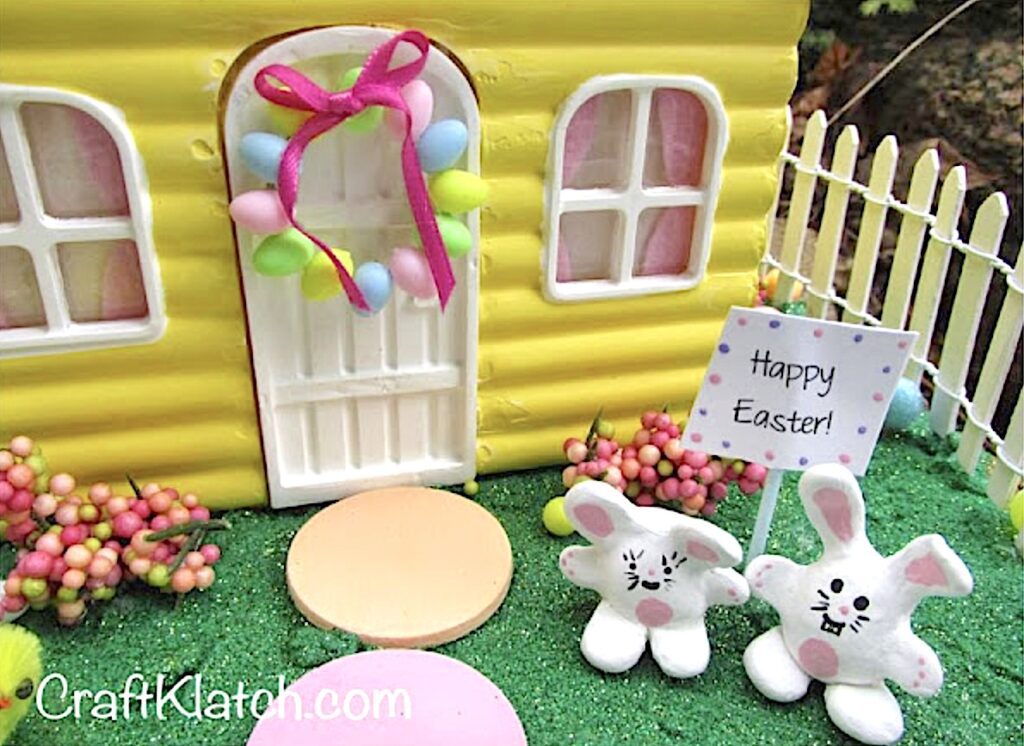
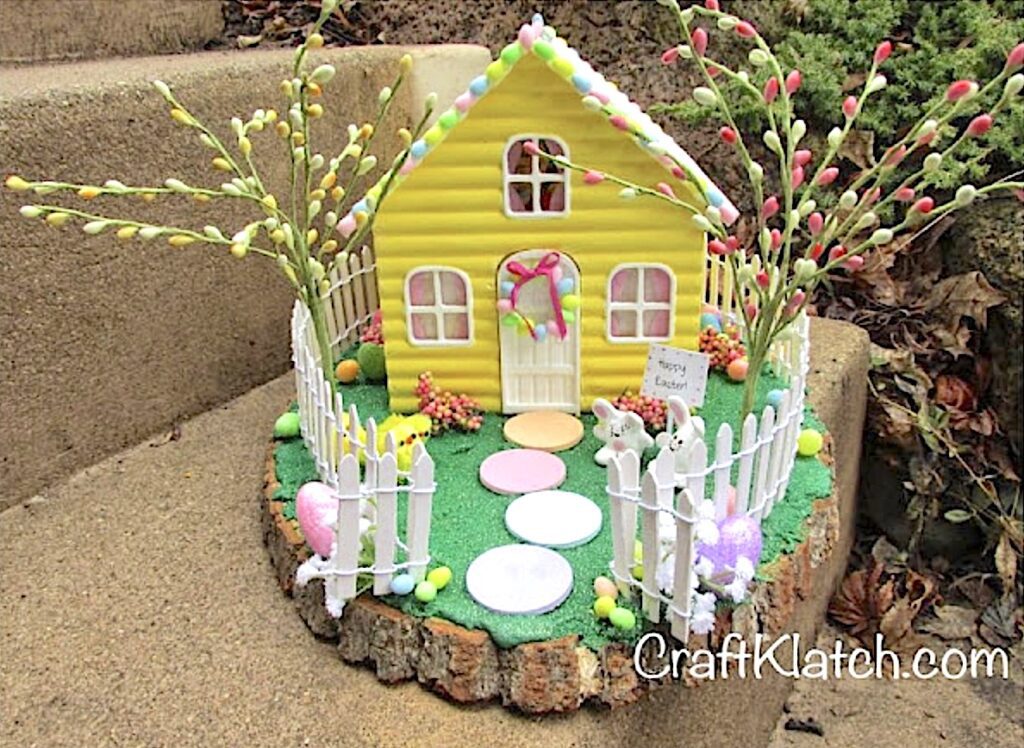
Easter is almost here! I wanted to make a special project for Spring. I broke out the gingerbread house mold and used it to create my Easter Bunny House craft!
As you know, I love resin, I love Easter and I LOVE this gingerbread house mold.
I have used the mold twice before! It works for ALL seasons!
The first time I used it was for a traditional Christmas Resin Gingerbread House, candy and all!
The second time was for a Haunted Zombie House! I bring it out every Halloween!
I have a summer cottage planned, but I just haven’t gotten to it quite yet!
But first, I’m going to do this bunny house craft for Easter!
Video of Easter Bunny House Craft
Here is the video, so you can see how I did it!
Easter Bunny House Craft Supplies
*This blog uses affiliate links. As an Amazon Associate I earn from qualifying purchases, at no additional cost to you.
- Gingerbread house mold
- Yellow acrylic paint
- White acrylic paint
- Pink acrylic paint
- Blue acrylic paint
- Purple acrylic paint
- Light orange acrylic paint
- White resin pigment dye
- Four round discs
- Wood plaque
- Easter eggs of various sizes: 1 & 2
- Small dowel rod
- Green sand
- Fine green glitter
- Toothpick
- Cardstock
- Picket fence
- Various picks and fake flowers
- Chenille chicks
- Hot glue
- E6000
- Pink felt
- Wire
- Thin pink ribbon
- White glue
- Fake candle
- Resin:
- When deciding on which resin to use, there are a lot of qualities that might be appealing, UV resistant, price, heat resistance, etc. Just make sure to select a resin that fits your needs.
- Use whatever brand you like:
- Easy Cast
- Art Resin
- Let’s Resin
- Promise Epoxy
- These are heat resistant resins:
- FX Poxy
- Stone Coat
Easter Bunny House Craft Directions
Step 1: Paint and First Pour of Resin
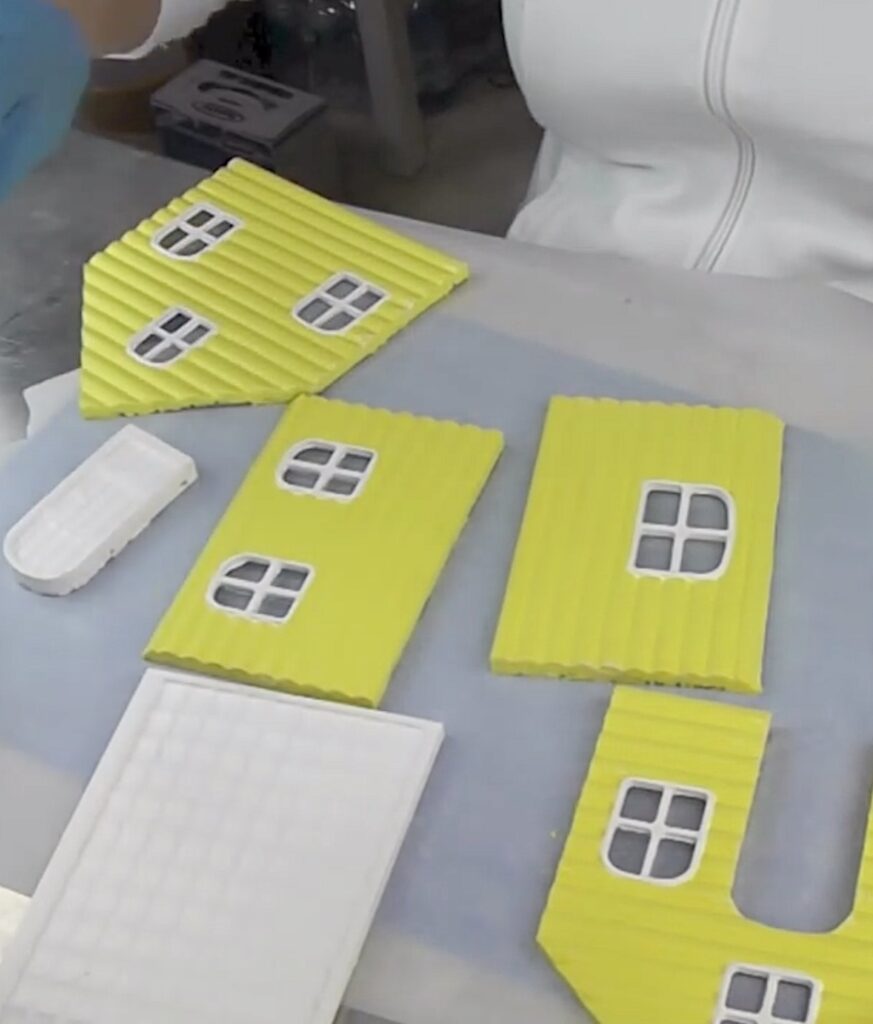
Paint the mold.
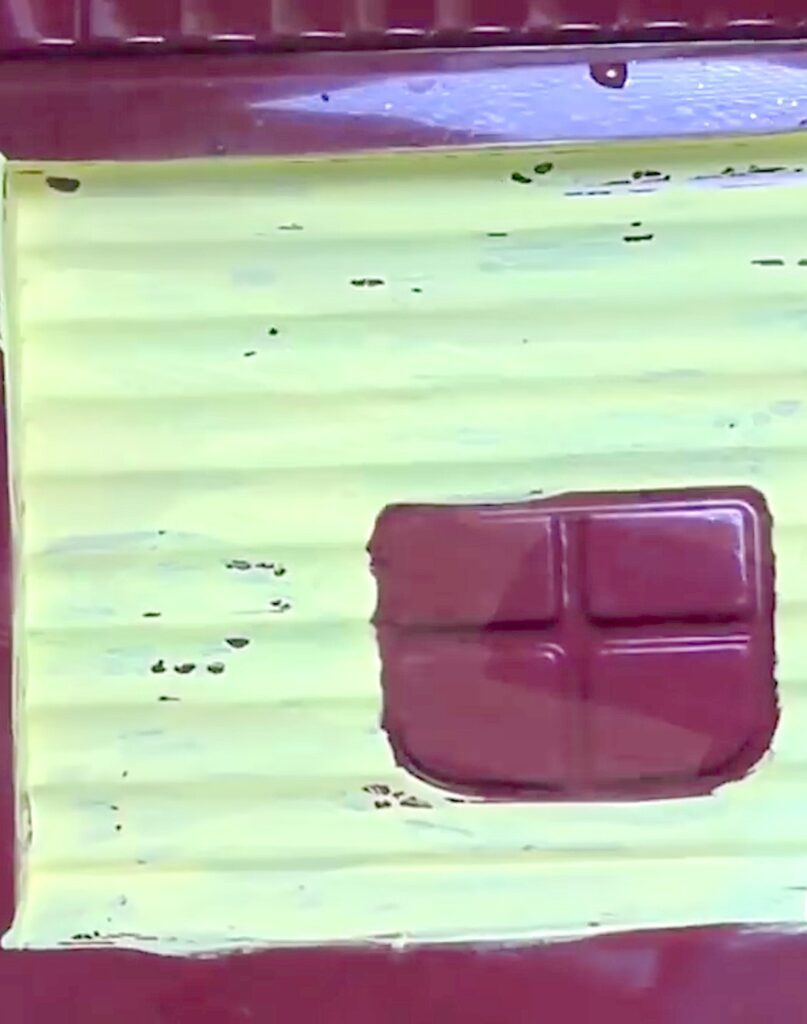
I chose acrylic paint in yellow for the walls for the bunny house craft and white for the trim and roof.
Painting will take a minimum of two coats, but figure three, possibly four. The paint does not want to adhere to the silicone, so it will take multiple coats.
Once all the coats are dry, prepare your resin, according to the package directions. I did six ounces at a time. I mixed in white resin pigment dye to give it all a solid look.
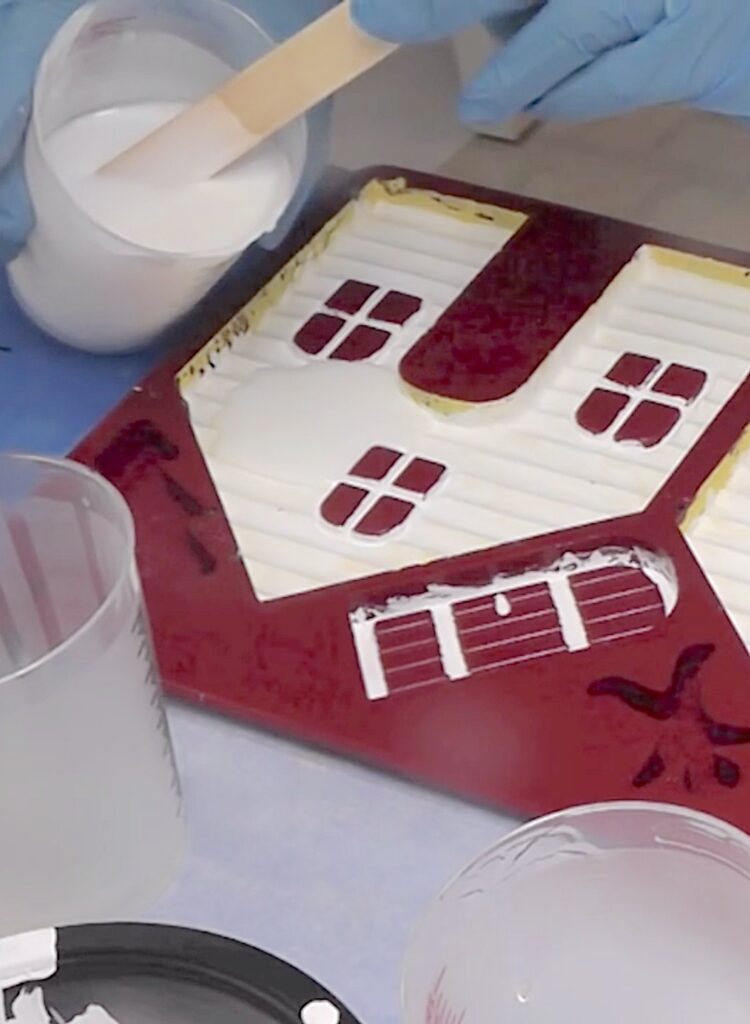
Pour the first six ounces into the mold. That should cover all the side panels – be sure you don’t over-pour. You want the resin to go into the window frames, but you DO NOT want them to cover the windows, so take your time and do it slowly!
Repeat and pour into the roof mold.
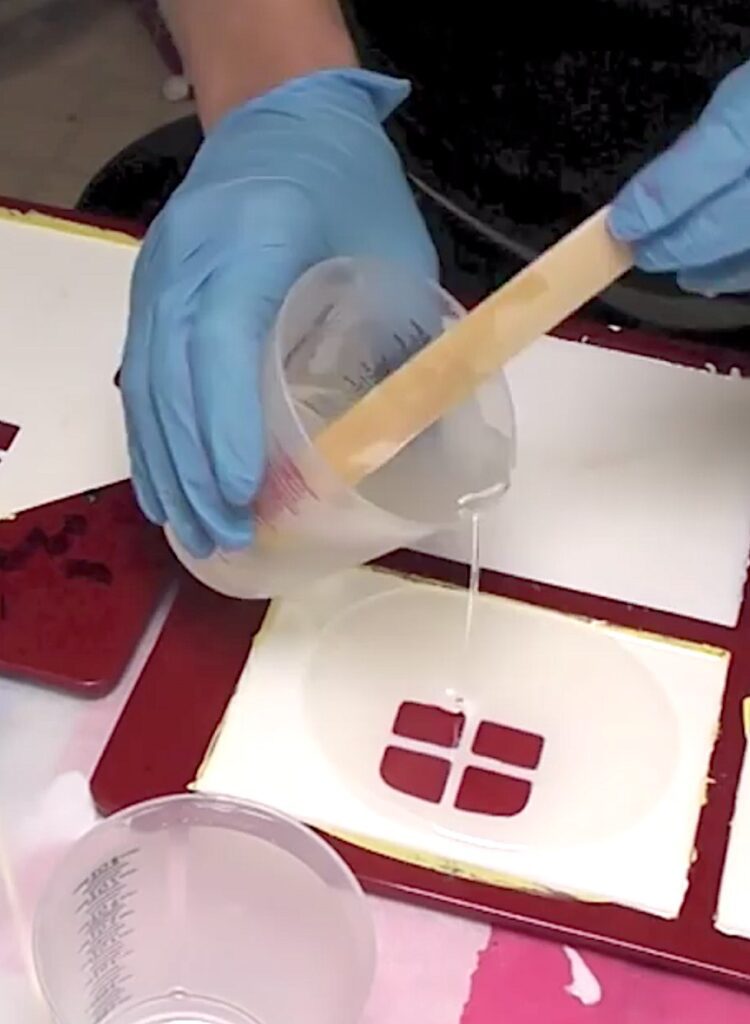
Step 3: Time for Clear Resin
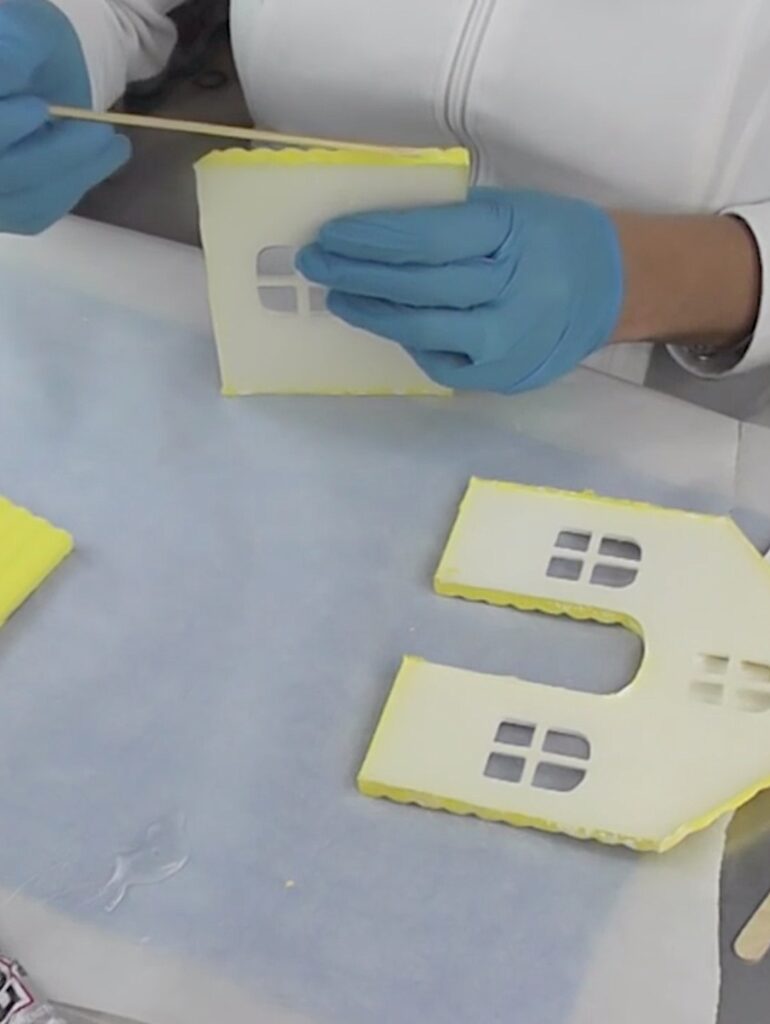
Once the sides have cured, prepare six ounces of clear resin. You want to pour that onto the panels that have windows. This way, the windows will remain clear, like actual windows.
Step 4: Fill and Remove
Prepare as much resin as you think you may need, if you want to top off any of the panels, and don’t forget to pour the door.
Once all have cured, you can remove them from the molds.
Step 5: Put It All Together & Paint Accessories
Using a combination of E6000 glue and hot glue, I attached the panels to each other. The E6000 gives it a strong bond. The hot glue holds it in place, while the E6000 dries
Cut a dowel rod to fit where the roof panels meet. Paint it pink (or whatever color you like). Paint the sidewalk disks in pastel colors, while you are at it.
Glue the dowel rod into place.
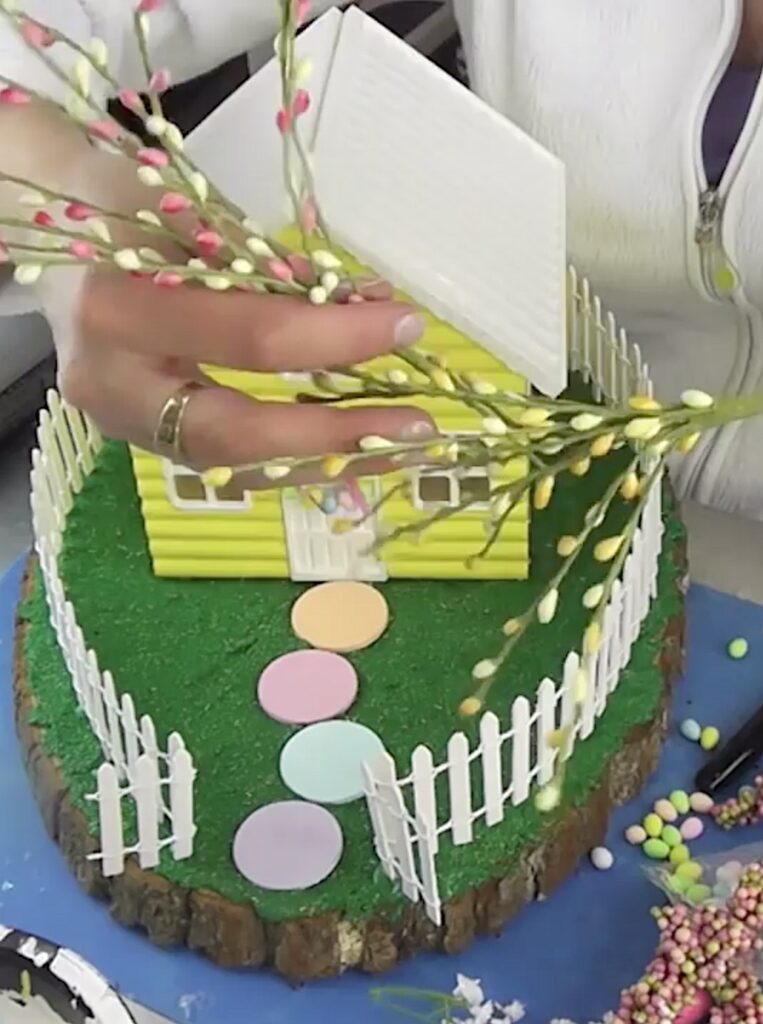
Step 6: Create the Grass
Place the house onto the wood plaque. Take a pencil and trace around it. Make sure it is where you want it permanently placed.
Mix green sand, green glitter, and white glue into a cup. Mix it well. I do not have exact measurements. You just want to make sure the sand and glitter are all mixed and covered, but you don’t want it too wet.

Using gloved hands and your stir stick, begin spreading it around the plaque. DO NOT apply it to where the house will be sitting. When you have the front lawn done, press the painted disc into place as the front walk.
Allow to dry.
Step 7: Accessorize the Bunny House Craft
In the meantime, you can glue on small Easter eggs onto the front and back roof lines.
You can cut felt and add curtains if you want to. I just taped them in.
When the lawn has dried, it is time to add all the other elements.
Accessories I added:
- Picks for trees by drilling a hole in the lawn and the wood plaque, added glue, and stuck the picks in.
- Trimmed fake flowers and turned them into bushes.
- Glued a picket fence in place.
- Made a little more grass mixture and covered up any hot glue that was showing. I also added some around the base of the newly planted trees.
- I sculpted a couple of small bunnies out of polymer clay and added some chenille chicks in the yard.
- Once everything was glued into place, I also printed a Happy Easter sign on card stock and glued it to a toothpick.
- I used a piece of wire and made a circle. To attach the little Easter eggs, I used E6000 and hot glue and I added a pink ribbon to finish off the wreath for the front door.
- Put a battery-operated tea candle under the house, so it lights up at night!
Let your imagination run wild with all the accessories!!
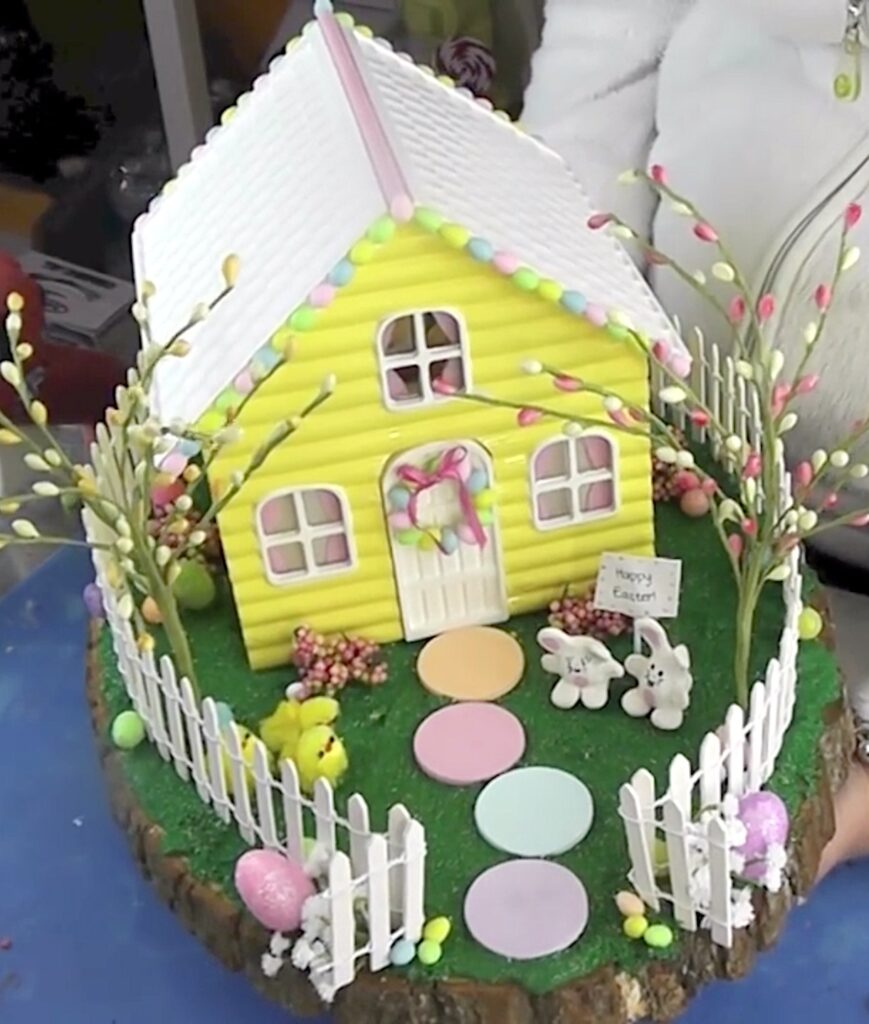
That’s it! Now you have a great Easter decoration or the Easter bunny house craft would make a fun centerpiece!!
Other Fun Easter Crafts
If you like the Easter Bunny House craft, you will love these Easter projects too:
Alternatives To Easter Bunny House Craft Centerpiece
If you don’t have time to make an Easter Bunny House, here are some fun decorations and centerpieces you can decorate with instead!

Thanks for stopping by! Remember: Life’s too short not to shimmer, so grab your glue gun and your glitter!™ Stay safe!
Mona