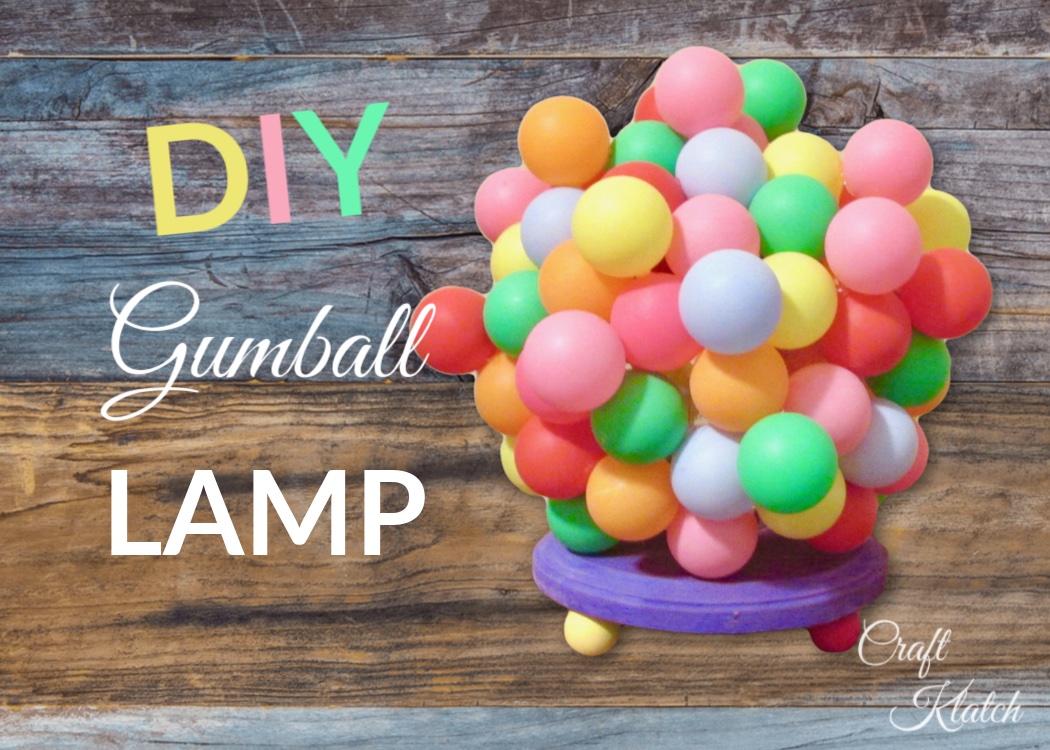
Looking for lamp DIY ideas? How about a gumball lamp? I’ll show you how to make a lamp that looks like a bunch of gumballs in this DIY tutorial!
Are you ready for this fun craft idea?
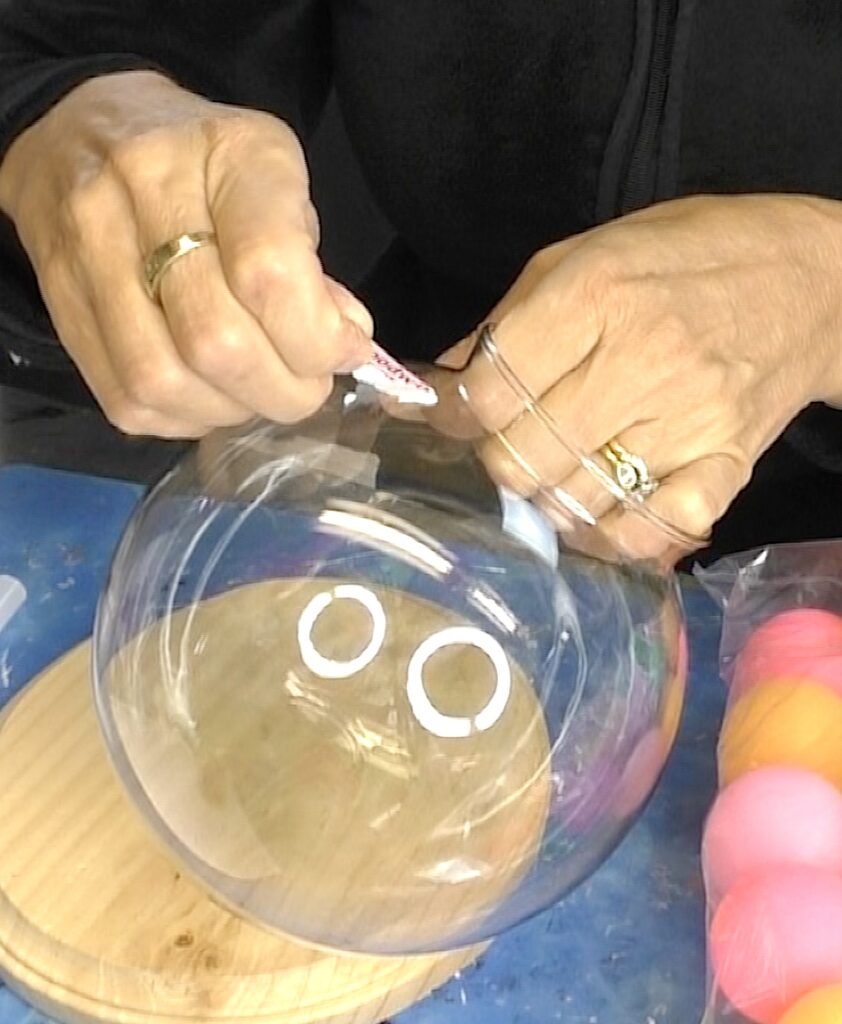
I bought three clear glass domes on a whim at Goodwill. No idea what I was going to do with them…but that’s not unusual for me.
After taking up precious real estate in my craft room…for a very long time…I had an idea! It’s like a lightbulb went off! 🙄
I know. I know…corny, but how could I resist?
The idea was a lamp
Lamp DIY Ideas
Do you know what I like about lamps? They are functional. A lamp may sit around and look pretty, but they actually serve a purpose! They do something to make my life better.
I’m not new to figuring out how to make a lamp, coming up with fun lamp designs, or even just giving a lamp a makeover.
Not that long ago, I did a super easy makeover of a 90’s grape-themed lamp and turned it into a Coastal Lamp. That took minimal effort, but made a huge difference!
I have also made three lamps out of resin. I made a Mermaid Light, a Golf Ball Lamp, and the biggest, cutest Cupcake Lamp EVER!
But this one was going to be totally different than any of those, except it was going to be awesome too!!!
This is such a fun lamp design! It was easy and inexpensive to make!
Supplies You Need To Make A Gumball Lamp
*This blog uses affiliate links. As an Amazon Associate I earn from qualifying purchases, at no additional cost to you.
- Wood base: https://amzn.to/2SD9TV7
- Glass dome: https://amzn.to/2LElink
- Wood dowel caps: https://amzn.to/32Ny8oi
- Colorful ping pong balls: https://amzn.to/2Yflaw7
- Light kit: https://amzn.to/32PfZqc
- LED Light Kit: https://amzn.to/3hnztsf
- Acrylic paint in assorted colors: https://amzn.to/32Sj5dl
- Hot glue: https://amzn.to/2SySxsN
- Clear glue: https://amzn.to/2MbNrSa
How To Make A Gumball Lamp Video Tutorial
Here is the video tutorial, so you can see exactly how the gumball lamp came together!
Join us at the Creating With Craft Klatch Facebook Group! It’s free!
Some Tips About The Gumball Lamp Supplies
As I mentioned earlier, I found this globe/light cover at the thrift store for $0.99. Because I’m a craft hoarder, I actually bought three. The other two are still waiting for me to get inspired.
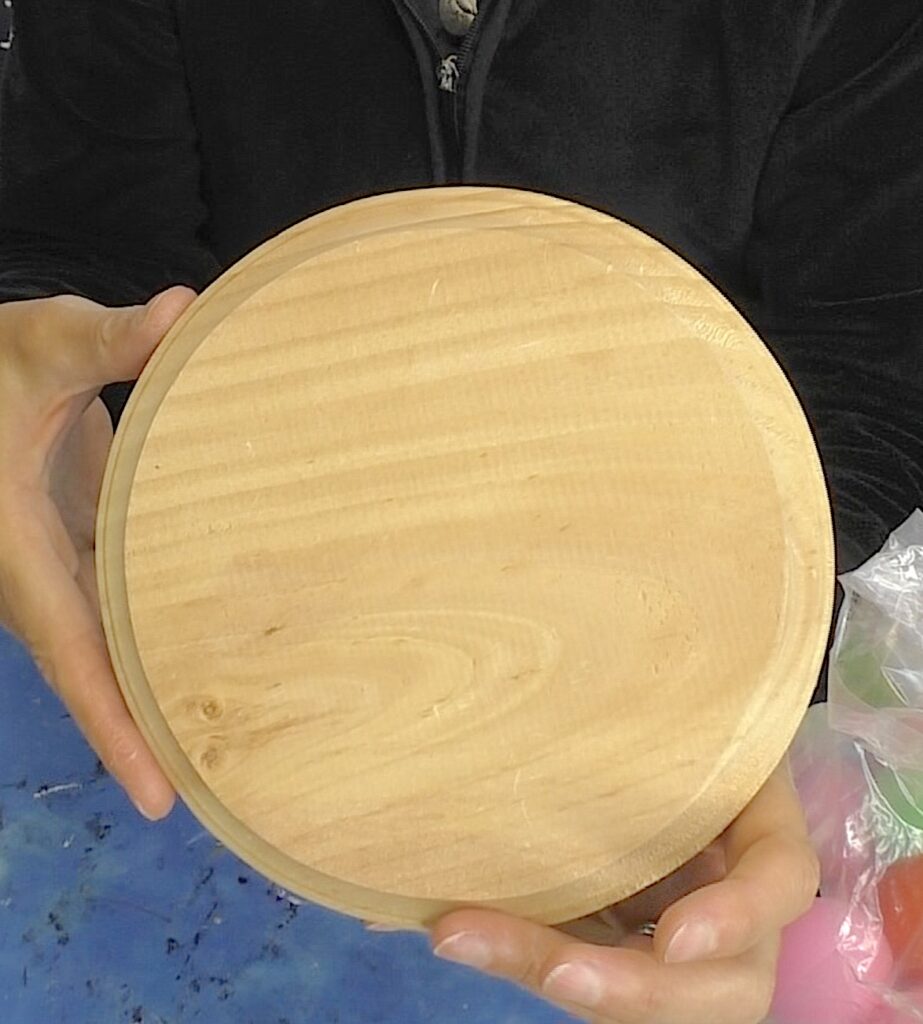
I had this simple wood plaque and thought it could work well for the base. You could easily find other things to use for the base as well.
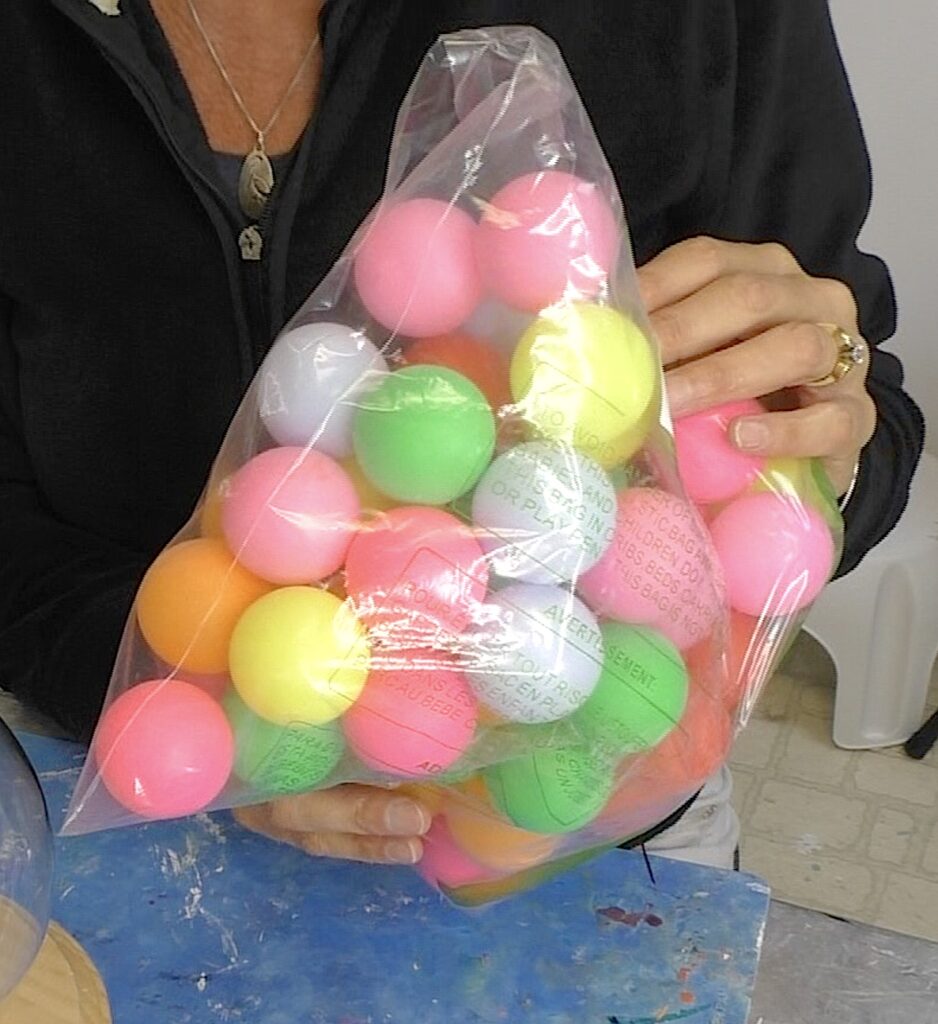
When I was mulling the lamp DIY ideas around in my head, I knew I wanted to use ping pong balls for the gumball lamp.
Originally, I was going to buy white ping pong balls and paint them. While searching online for affordable ping pong balls, I found these beautifully colored ones!
Admittedly, I got a little excited. It saved me time, mess, and money. Think of all the different colors of spray paint I would have had to buy! These were PERFECT!
Directions on How To Make a Gumball Lamp:
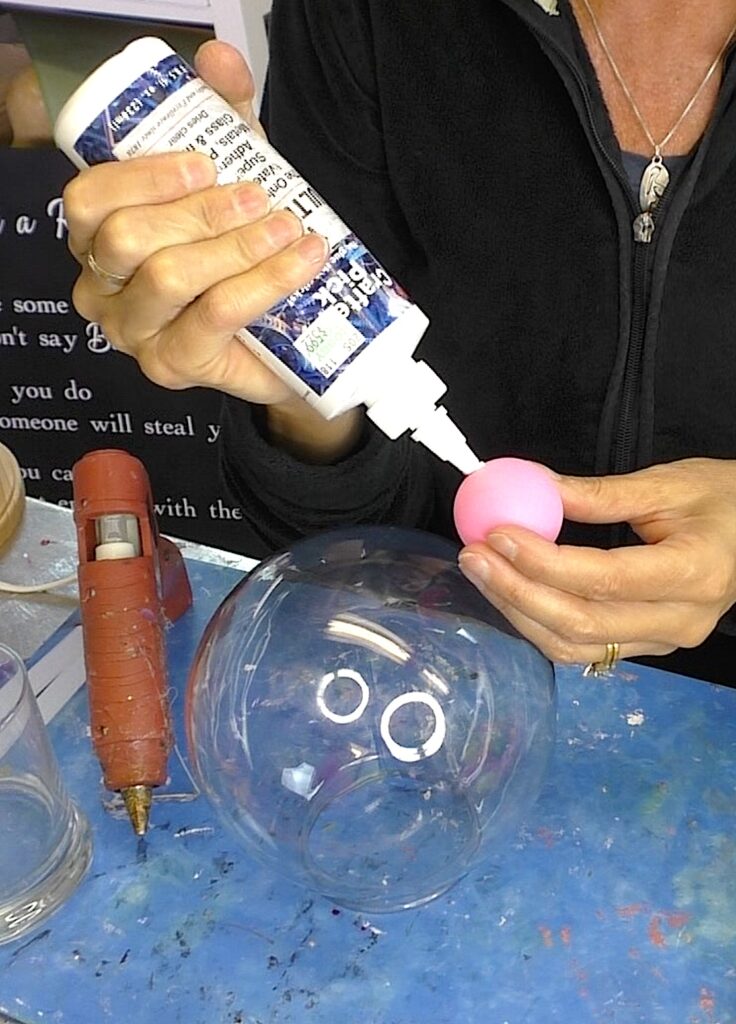
Step 1: Glue
I attached the balls to the globe by using a combination of glue that dries clear and hot glue.
You might be wondering why. It’s a great tip and makes your crafting life much easier.
You don’t want to use just hot glue because it won’t want to stick to the glass forever and if it gets a little warm, you are going to have a pile of balls instead of a lamp. So hot glue alone is not an option.
If you only do the clear drying glue, you have to somehow keep the balls in place until they dry. Nobody is going to sit there all day waiting for that to happen.
So, do a combo!
The hot glue holds the ball in place, while the clear drying glue is drying. And you don’t have to stand there all day watching glue dry.
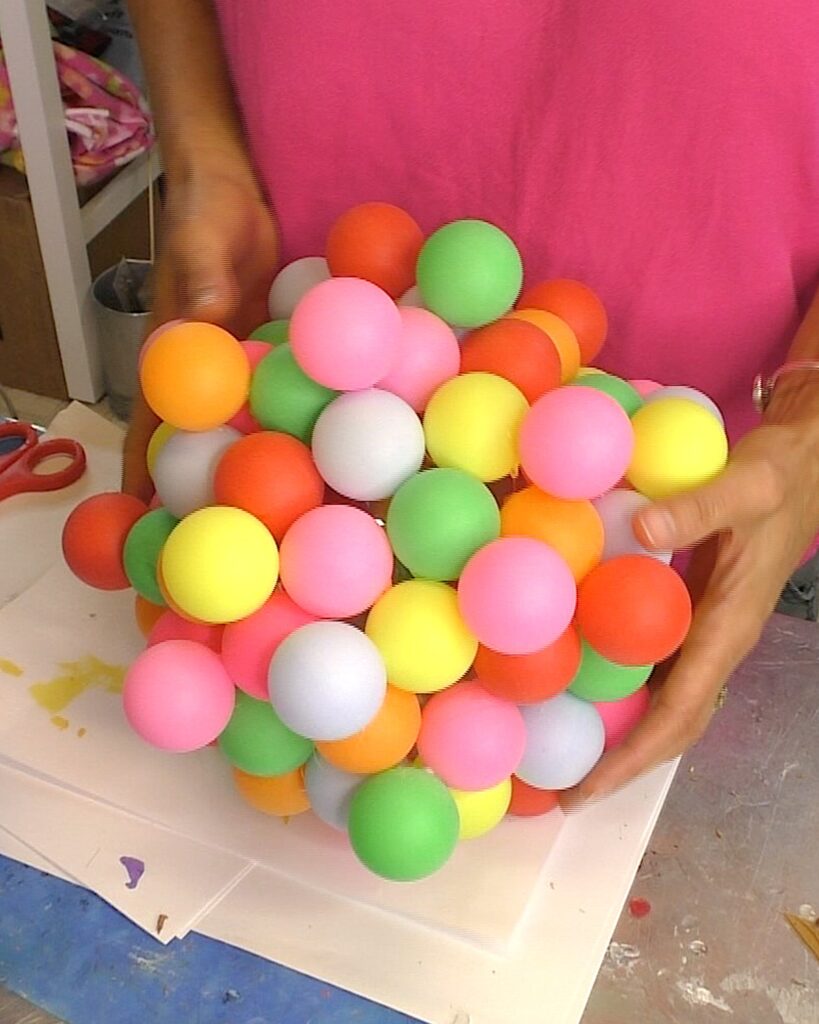
Step 2: Keep Adding The Balls
Admittedly this will take time, but not that long. I kept adding more ping pong balls until it was completely covered.
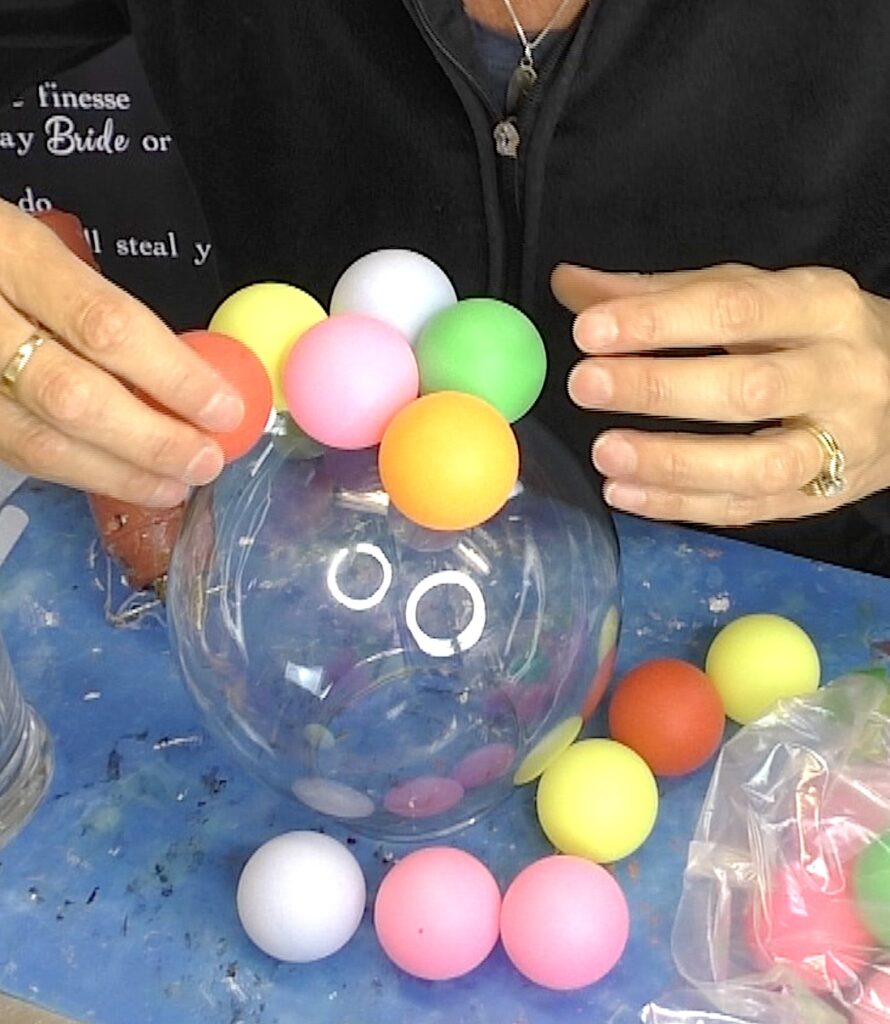
*I thought one package of 50 would be enough, but turns out I needed a second package. I was shocked. 50 seems like a lot of balls.

Step 3: Get The Base Ready
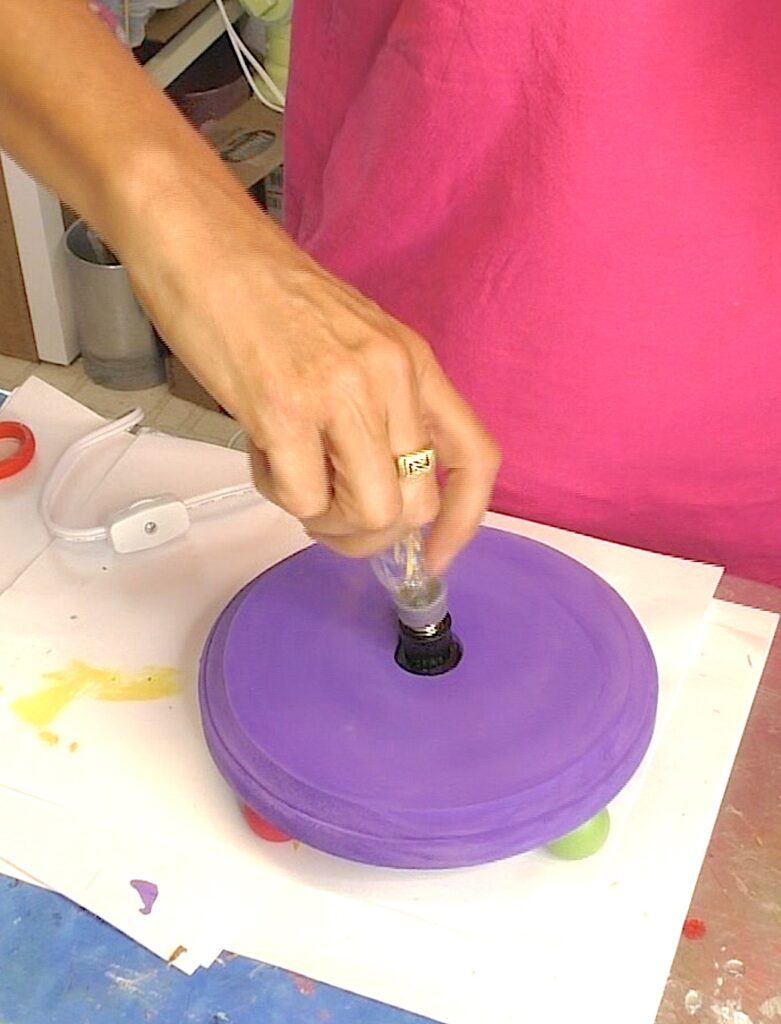
While I was waiting for the second package, I had my dad drill a hole into the base. It’s about one inch in diameter.
If you are wondering why I had my dad drill that hole, it is because using the drill is not where I shine. You can see why at the end of the Cupcake Lamp video.
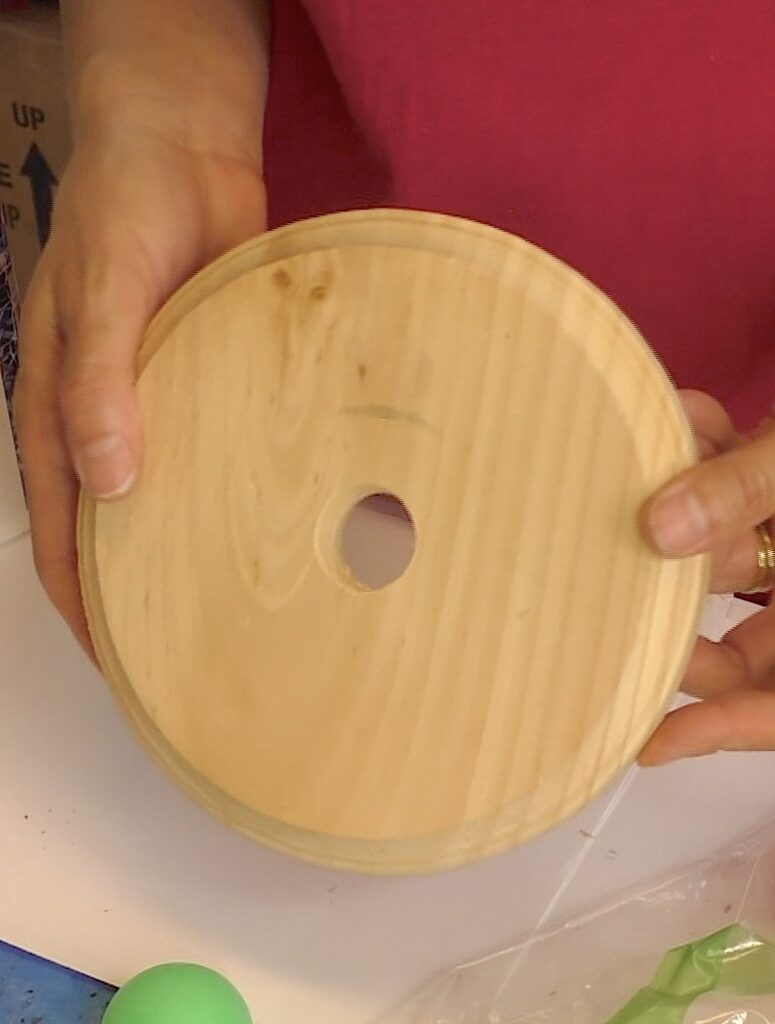
It was cut specifically to fit the light kit I bought. The light kit clamps in and fits snuggly. Just keep the size of your light kit in mind when you drill your hole.
Step 4: Lamp DIY Ideas and Woes: The Abutting
The globe I had was clear and the ping pong balls didn’t perfectly abut one another.
In some spots, there were larger gaps than in others. If I had had a white globe, I think it would have been fine to stop at one layer. However, I did not want to be able to see the lightbulb through the gaps, so I added additional balls to cover the gaps.
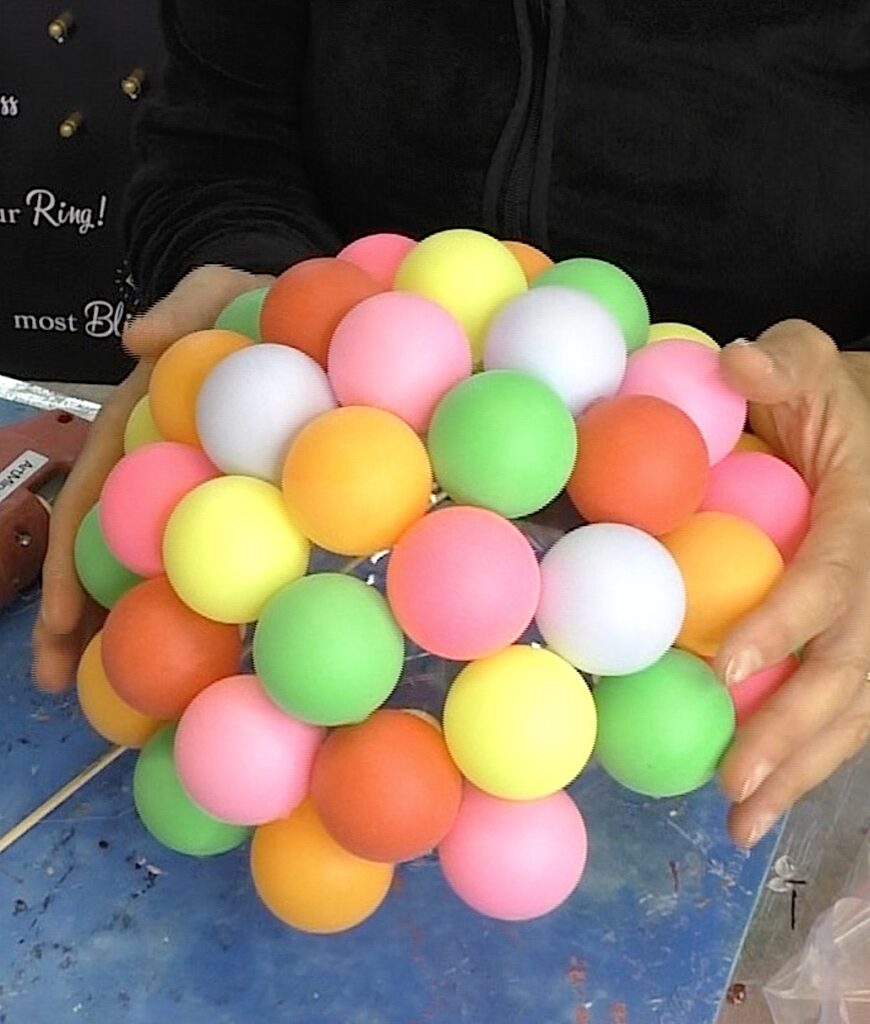
It gave it a little more of a freeform look, which I wasn’t sure I would like, but turns out I love it too!
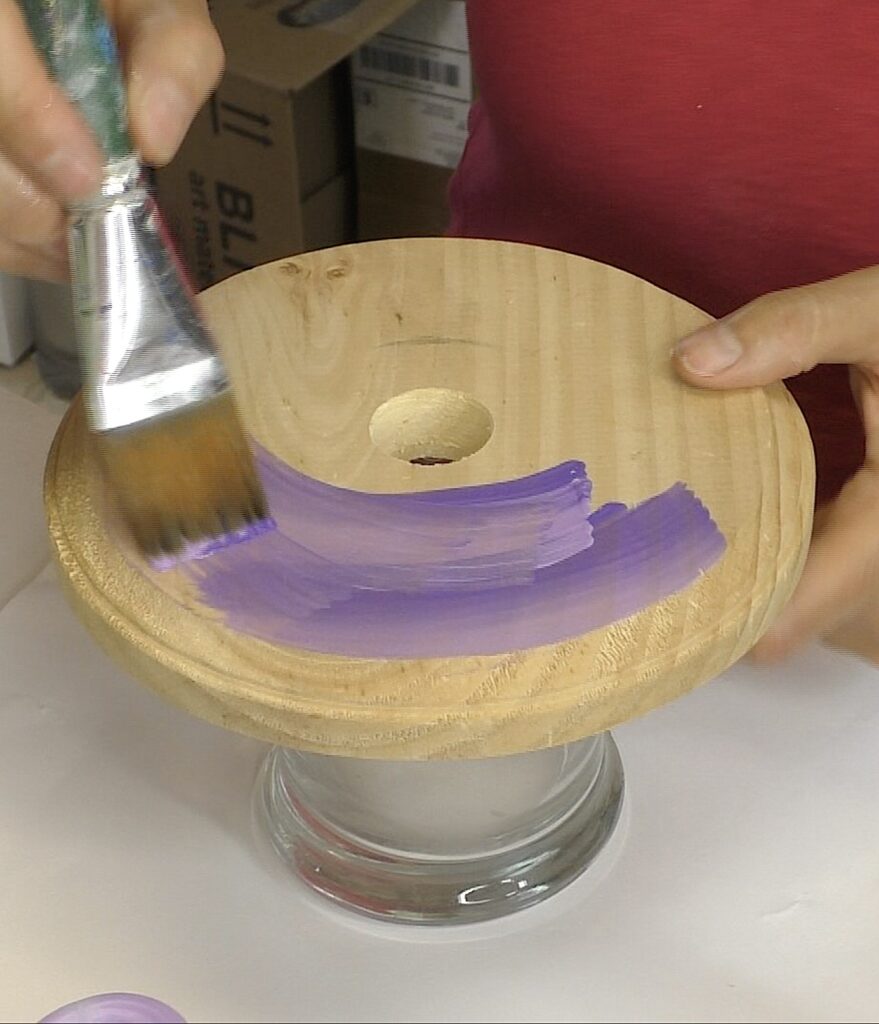
Step 5: Paint The Gumball Lamp Base
I painted the base purple and used two different colors of purple since I couldn’t decide on just one.
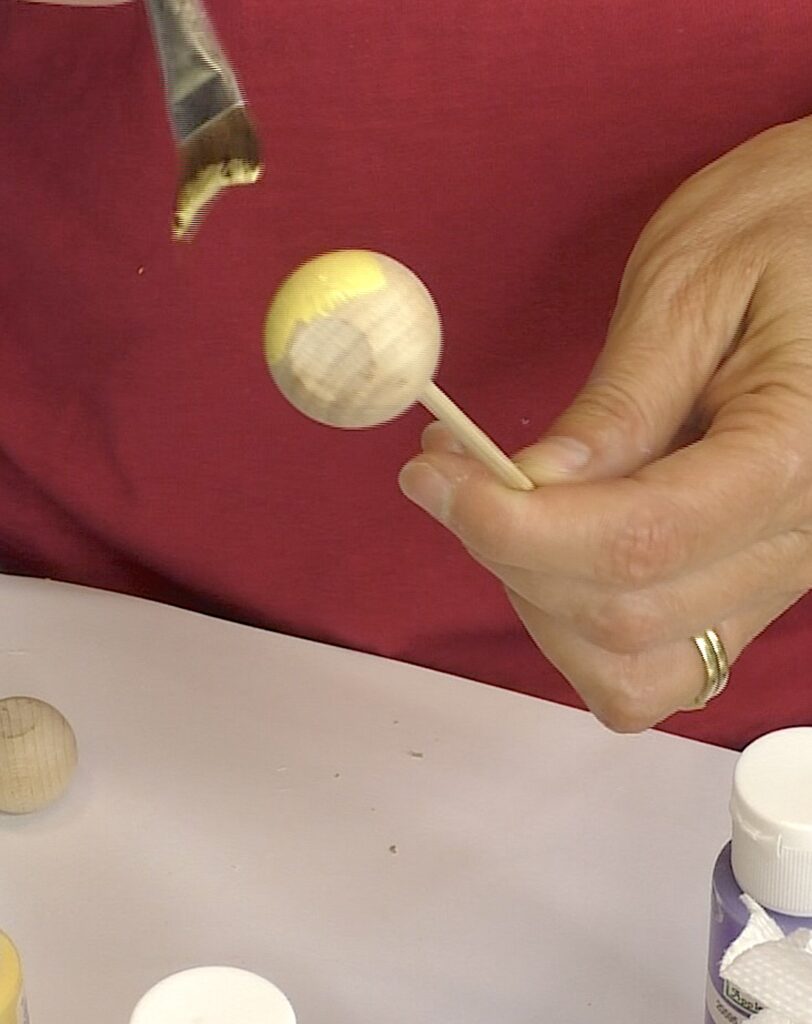
Step 6: Paint The Details
I used dowel caps and painted them different colors, to keep with the overall gumball theme.
Here is the globe all covered. Love the colors!
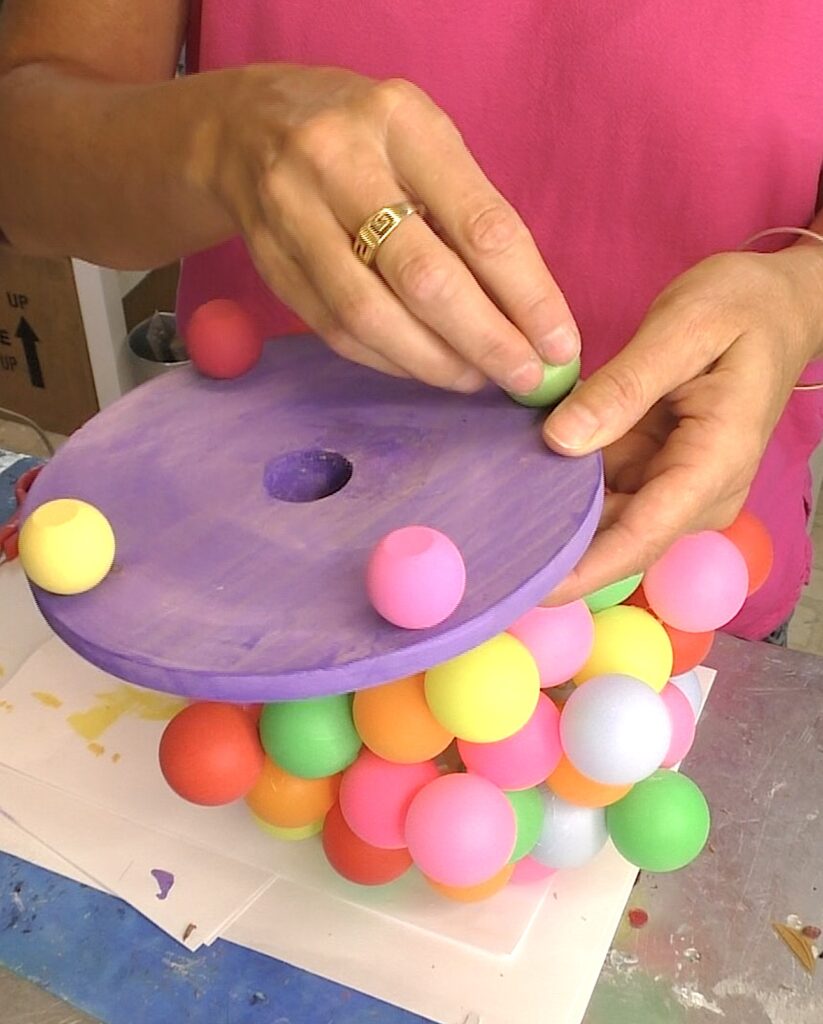
Step 7: A Little More Gluing
I glued the dowel caps onto the bottom of the base. You can screw them on as well for a more secure application. I didn’t think it was necessary.
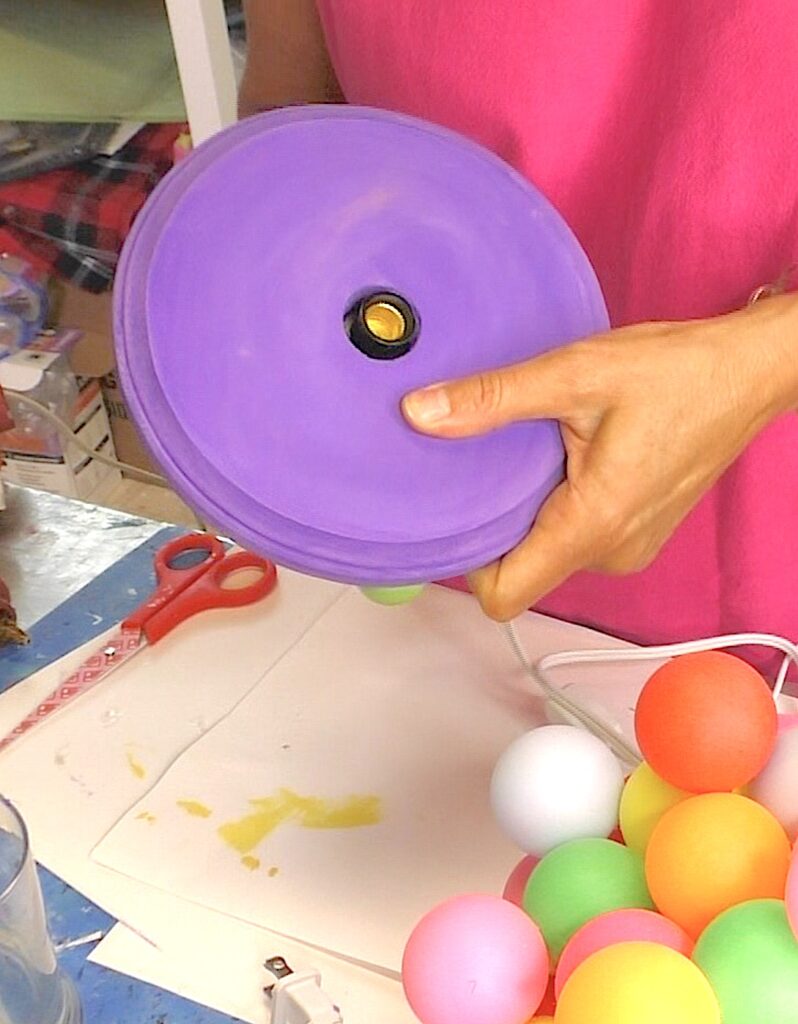
Step 8: How To Make It A Lamp
I added my light kit. Now, with the base raised, the cord can run out from underneath the lamp and not throw it off balance.
Step 9: Add The Bulb
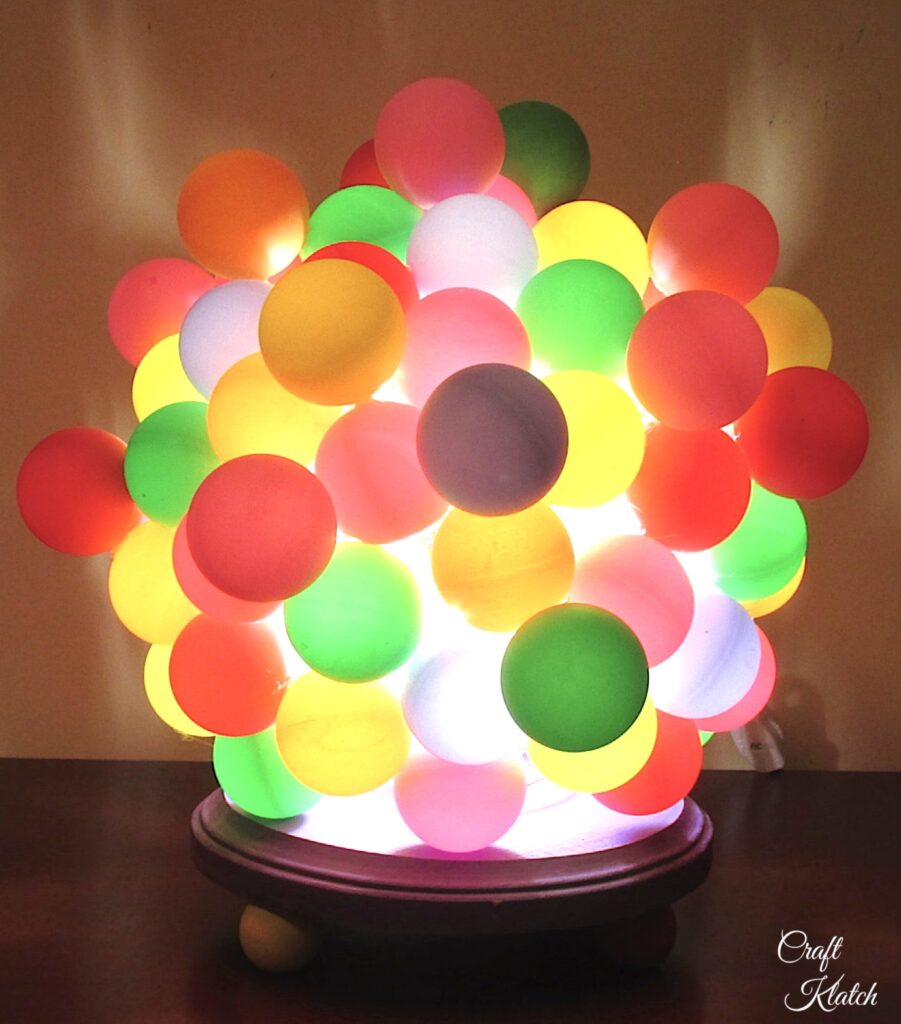
I added an LED lightbulb.
Now with the lights turned off.
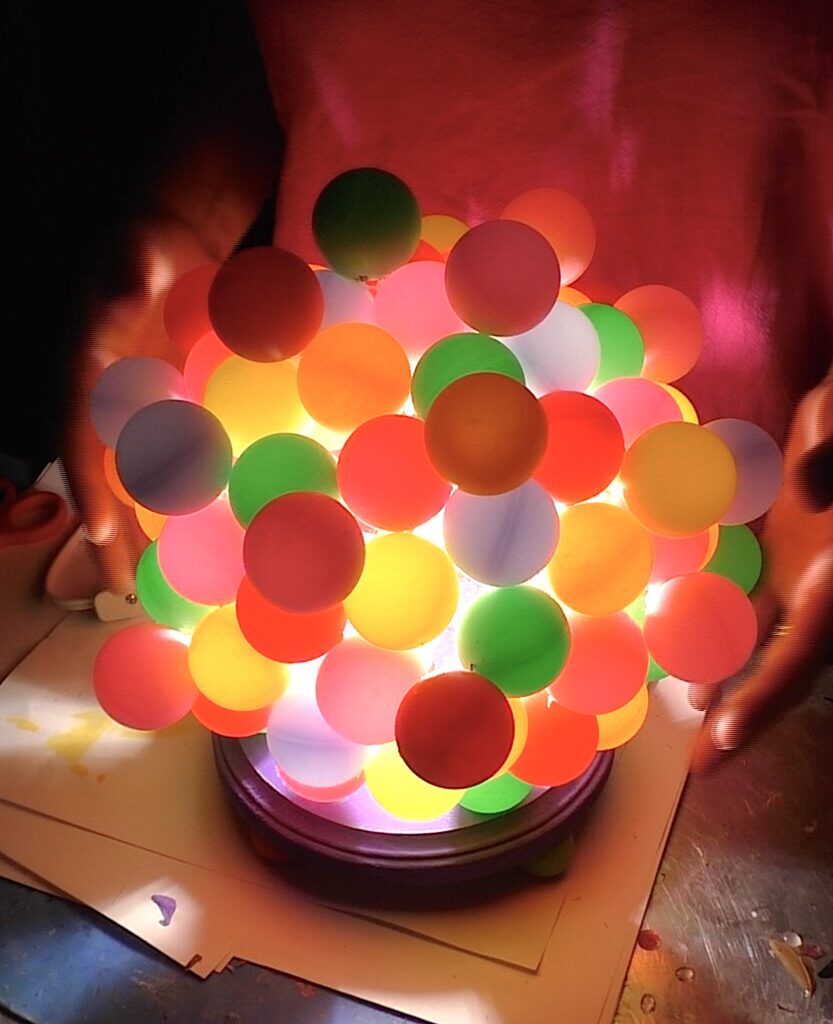
I think it looks just as cute during the day as it does at night!
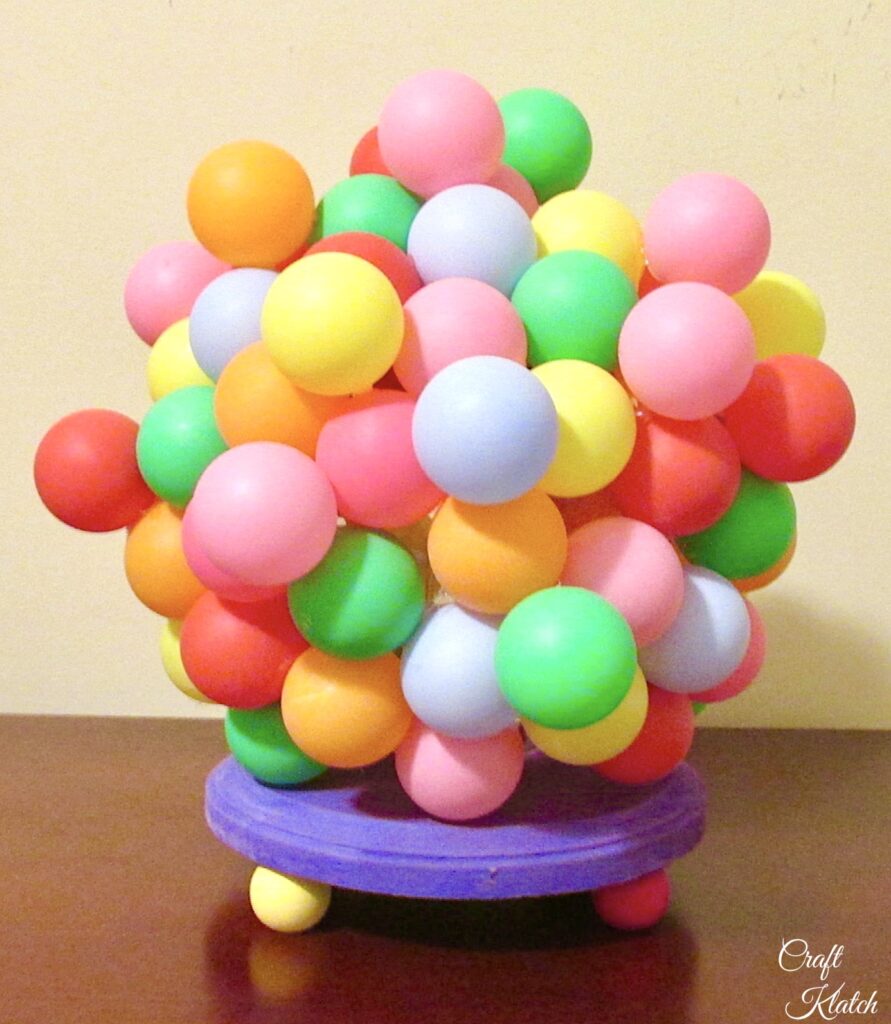
That’s it! I have it sitting in our guest room. The only people that use our guest room anymore are the grandkids and they love the lamp!
I had commentary from Reagan that it’s much better than the other ones, which she thought were “ugly”.
I’m over the Tiffany-style ones too, but ugly seemed a little harsh. Out of the mouth of babes…
TIP
Someone brought up to me about wanting to paint the clear glass. As you saw, I did two layers of the ping pong balls because one layer left gaps.
The person said they liked one layer better and could they paint the glass, so you would not see the lightbulb. Absolutely, but you would want a glass paint that was not opaque because you don’t want to block the light entirely. If that is the direction you want to go, you could just buy a globe that is white already.
I’D LOVE TO HEAR FROM YOU!
If you have any fun lamp DIY ideas that you would like to see or that you have tried, I’d love to hear about them in the comments below!!
If You Are In The Market For A Fun Lamp…
Add a little whimsy to your home decor, with these fun lighting ideas!

Thank you for stopping by!
Remember: Life’s too short not to shimmer, so grab your glue gun and your glitter!™ Stay safe!
Mona
Be Sure To Shop The Post
Love your gum ball lamp. Where did you find your lamp kit? I can only find ones that are for a regular light bulb which is too big and would melt the ping pong balls. And what kind of lightbulb did you use? Looks like a chandelier bulb but I didn’t think these little bulbs where made in LEDs.
Hi Beverley- Here is a link for and LED lamp kit https://amzn.to/3hnztsf (affiliate link). Hope that helps!
The next generation Lava Lamp…..
Haha! Not quite as groovy!
LOVE THE CLEVER IDEA’S.
.
I’M A FAN AND ENJOY ALL OF THE IDEA’S
Thank you, Penny!
I have an overhead light in my hallway and this would be an adorable cover for it!
That is an EXCELLENT idea!!!