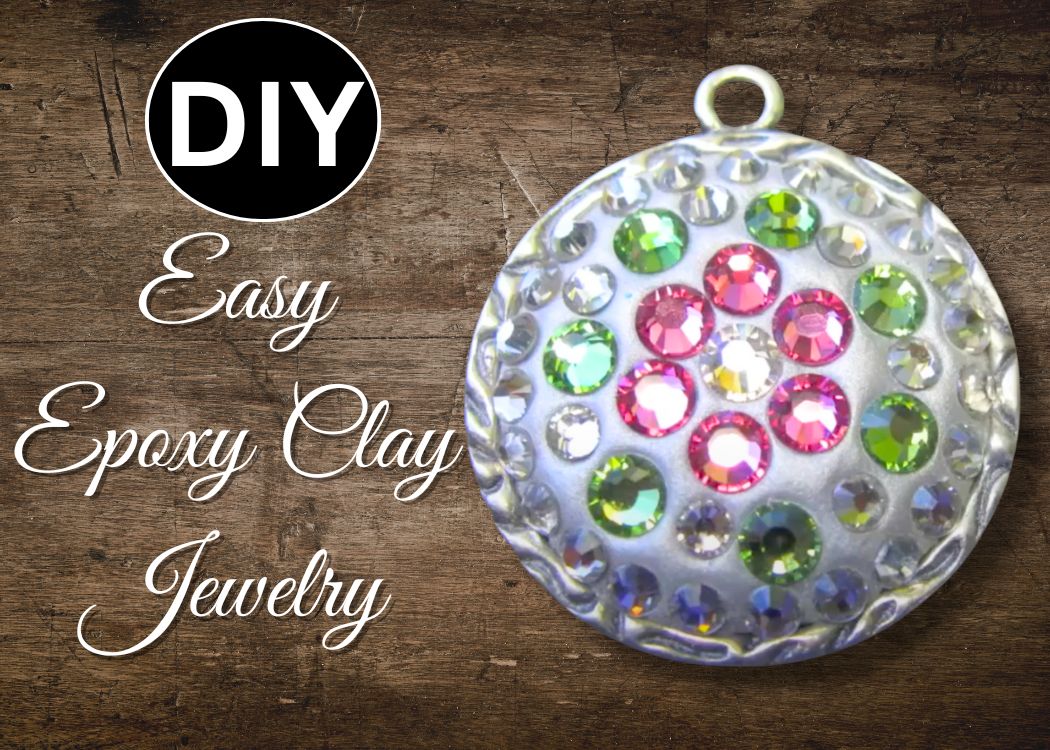
Make a one-of-a-kind epoxy clay jewelry DIY pendant with crystals and pigment powder in just 5 easy steps. Perfect for beginner jewelry craft lovers!
I was making another project and made a little too much clay. I couldn’t let it go to waste, so I made another pendant!!
Sometimes inspiration comes when you least expect it. I was working on another project, and I accidentally mixed too much clay.
Rather than toss it, I decided to make a quick pendant…
…It turned out so pretty!…
…that I knew I had to share this epoxy clay jewelry DIY with you.
This project is perfect for anyone who wants to try DIY jewelry without spending hours at a workbench. It’s simple, stunning, and gives you a piece of handcrafted jewelry you’ll actually want to wear.
Supplies You Will Need
*Disclosure: This blog uses affiliate links from Amazon and other retailers. I earn a small amount from qualifying purchases at no additional cost to you.
- Jewelry bezel
- Epoxy jewelry clay (two-part)
- Swarovski crystal or similar gems
- Pigment powder
- Tweezers
- Gloves
- Baby powder/cornstarch to keep clay from sticking to gloves
Easy Epoxy Clay Jewelry DIY Video Tutorial
Here is the video tutorial, so you can see exactly how I made it!
Epoxy Clay Jewelry DIY Pendant in 5 Steps
Here are the steps to follow! It’s such an easy project!
Step 1: Mix Your Clay
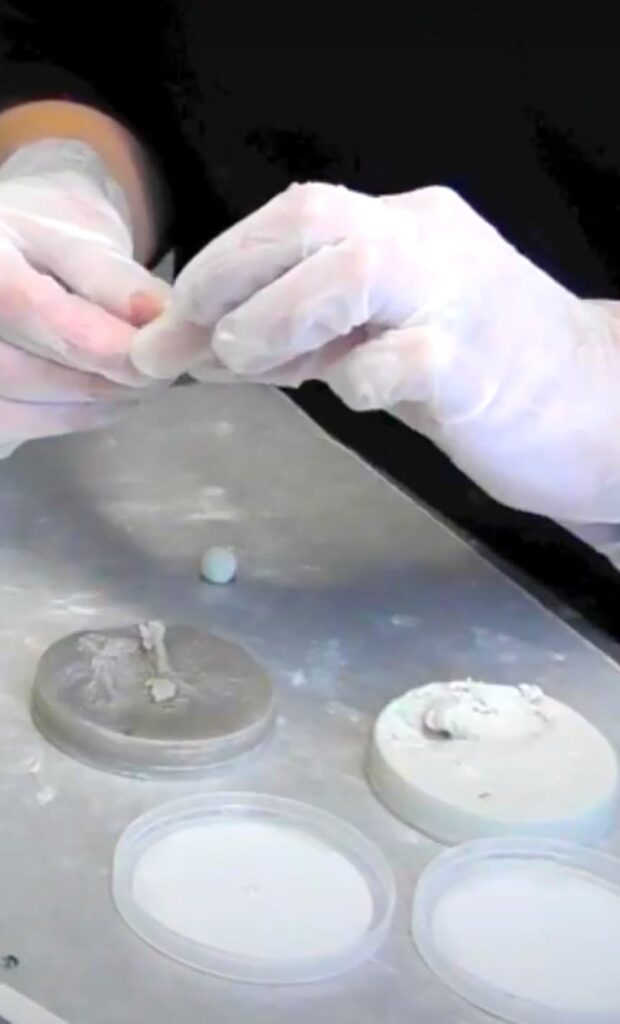
Take equal parts of A and B from your epoxy clay. Knead them together until they are fully blended, following the instructions from your clay’s packaging.
Step 2: Shape and Place
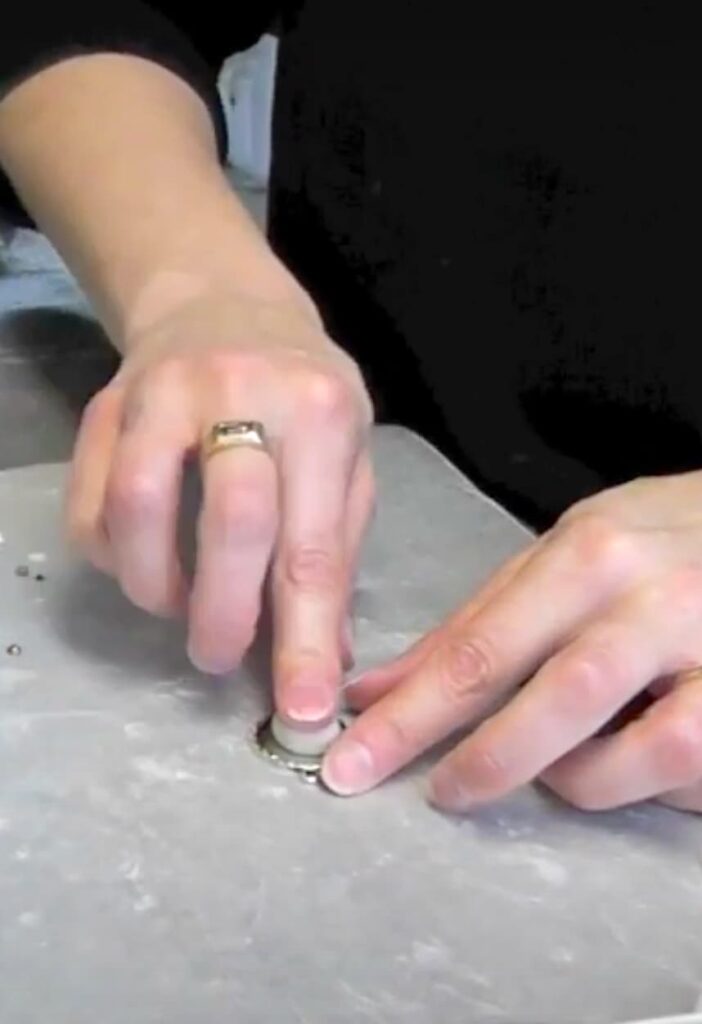
Roll the clay into a ball, then press it into your jewelry bezel. You can make it flat or keep it slightly rounded for extra depth. (Yes, I should have been wearing gloves, so do as I say, not as I do, please!)
Step 3: Add the Sparkle to the Epoxy Clay Jewelry DIY
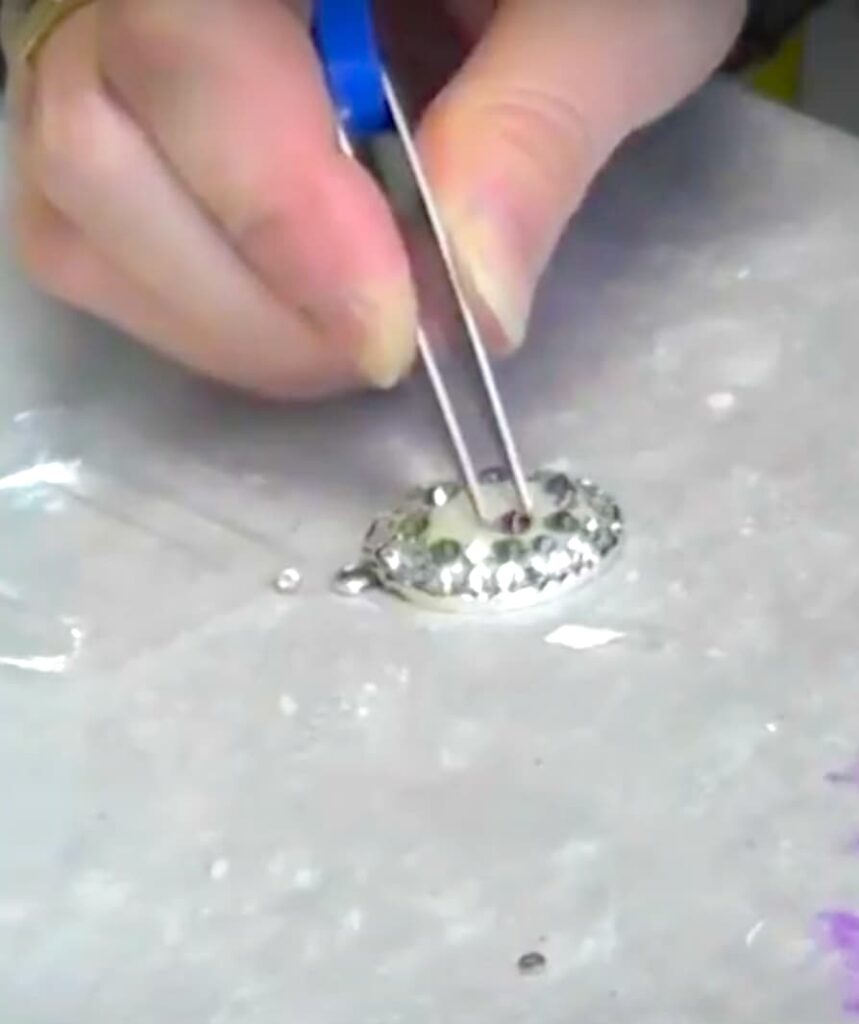
With tweezers, place each crystal into the clay. Give each gem a gentle press so it bonds securely. These gems are small, so you will need a little patience, and a good pair of tweezers will definitely make your life easier!
Step 4: Brush on Pigment
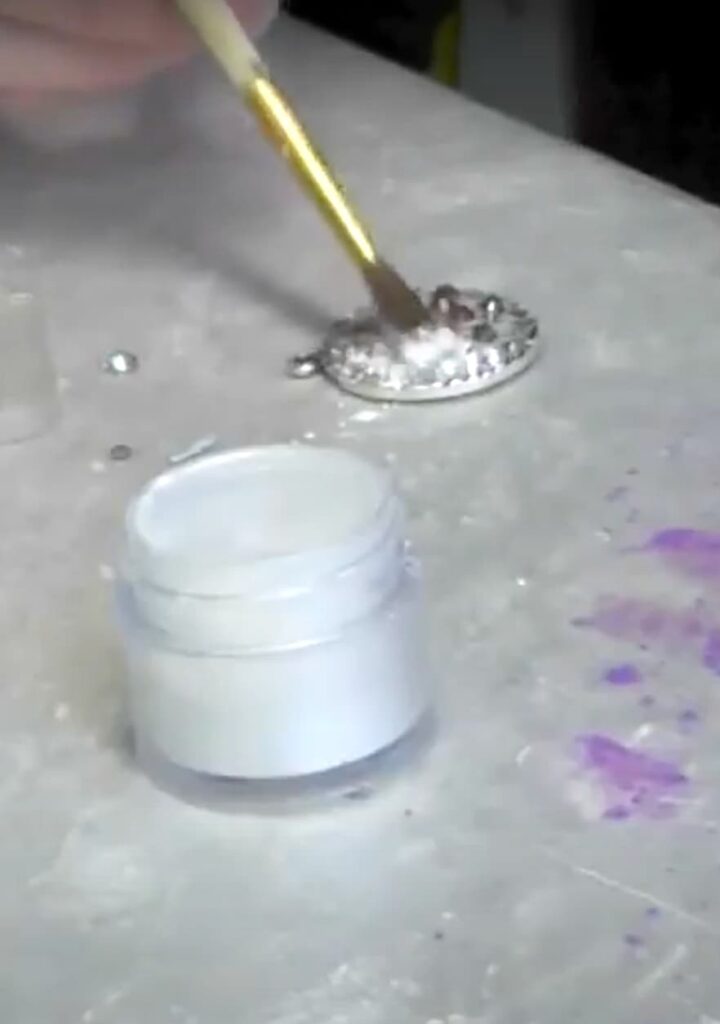
Dust the surface with pigment powder for shimmer and color. This instantly makes your jewelry piece look more polished and professional.
I went with a white pigment powder, but feel free to go bold! Different colors will offset the crystals beautifully!
Step 5: Cure and Finish
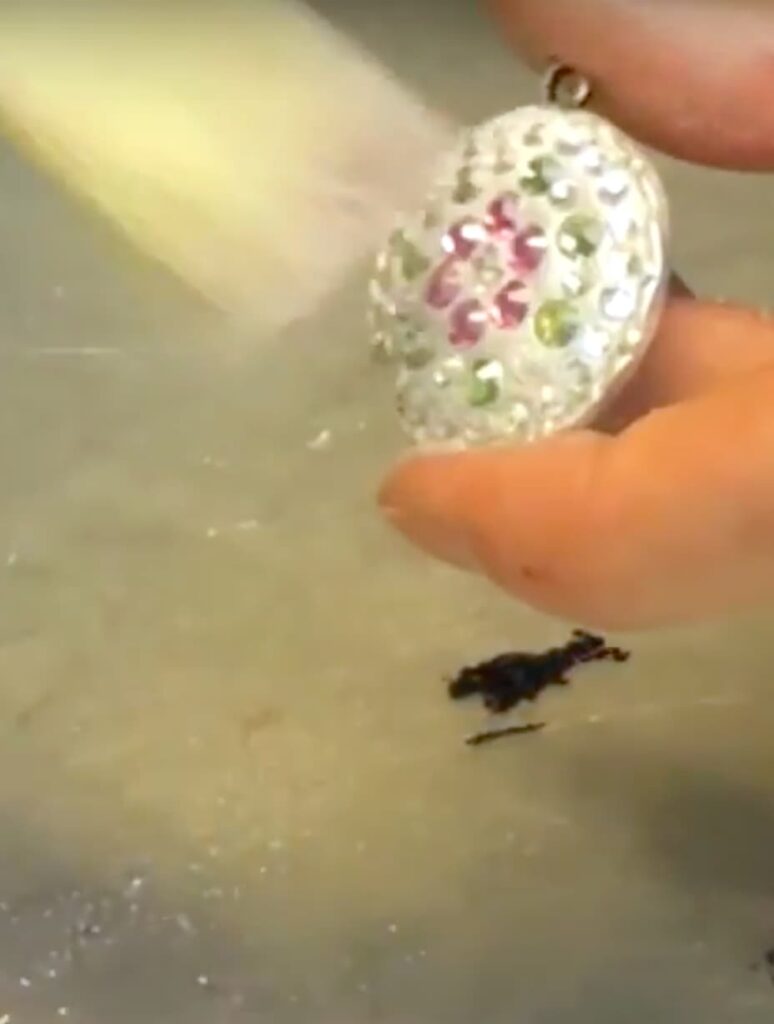
Let the pendant cure for 12-24 hours. Once set, gently brush off any excess pigment powder. Your unique piece of handcrafted jewelry is ready to wear!
When it cures, it is rock solid! So, don’t be gentle when you are brushing off the excess pigment!
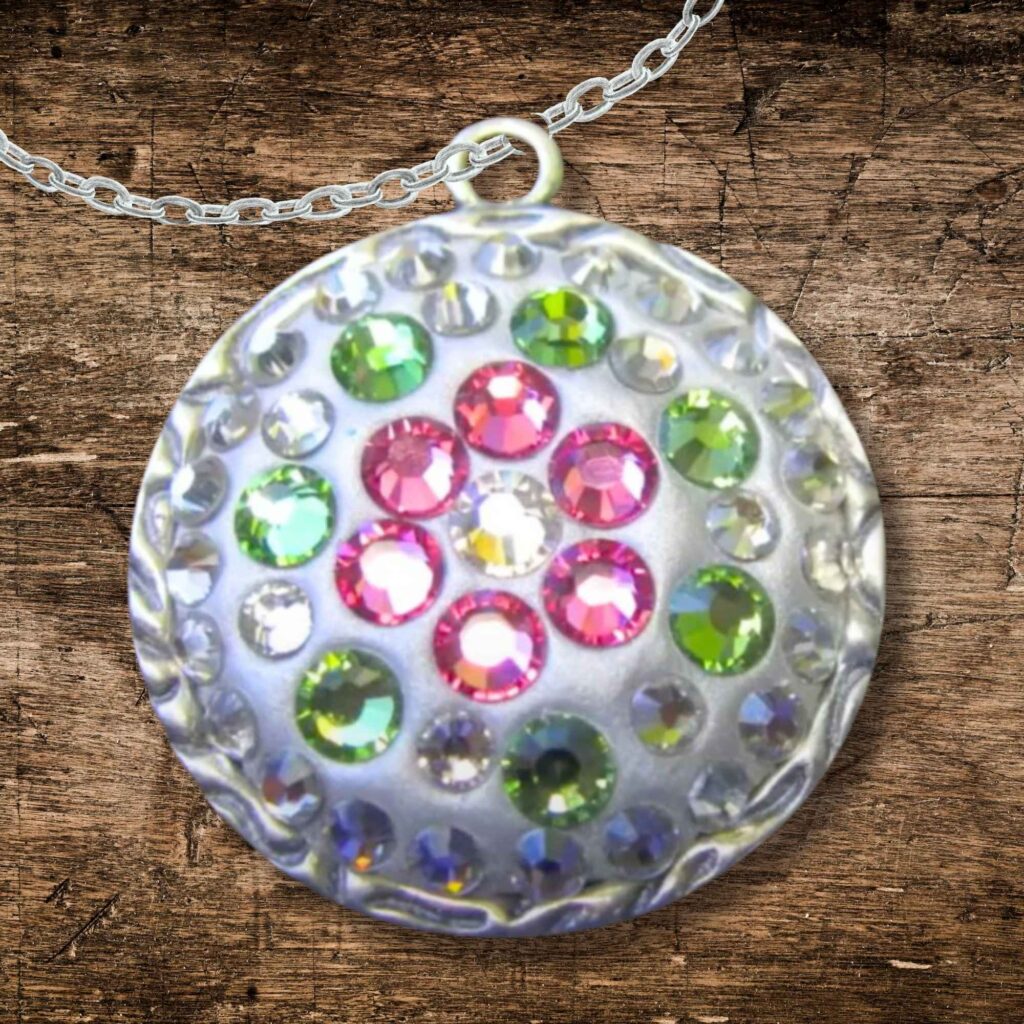
Wow! The Finished Pendant
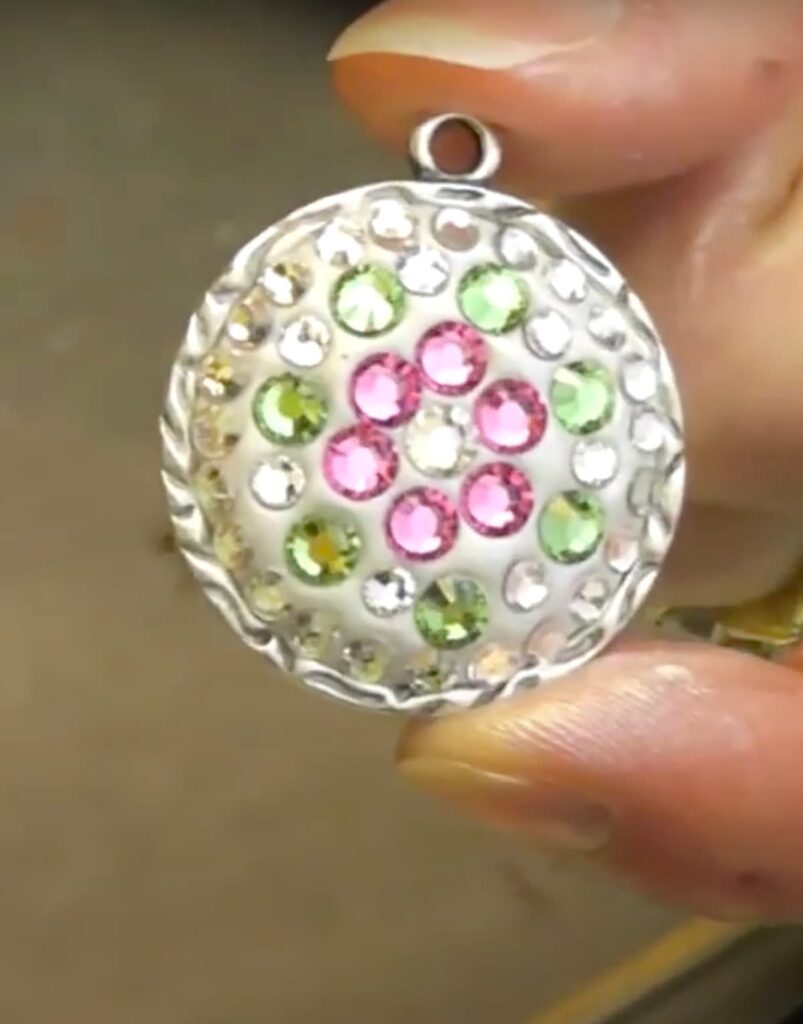
It looks AMAZING! I love how it sparkles and shines! And it was SO EASY!
It makes me so happy!
This project is a perfect piece to put together a jewelry making kit! It’s a boutique quality piece that is going to impress everyone!
And it’s a great way to use leftover materials from other jewelry craft projects or clearance bezels, which are my favorite find!
Be sure to PIN IT for later and follow me on Pinterest, while you’re there!
If you’ve wanted to dabble, making an epoxy clay jewelry DIY pendant is one of the most satisfying little projects you can do in an afternoon.
It’s personal, creative, and the end result is something you can wear proudly or gift someone special!
More Jewelry Craft Projects!
If you liked this one, you are going to love some of these! Making jewelry is so fun and rewarding!
- Easy Sunburst Earrings and Pendant
- Glitter Charms Jewelry Craft
- Shattered Heart Pendant
- Pumpkin UV Resin Necklace
Thanks for stopping by! Remember: Life’s too short not to shimmer, so grab your glue gun and your glitter!™
Mona
Like this one, I now want to buy a crystal jewelry, Swarovski liked, but I do not know that a good pick money, you help to the point. ukswarovski.co.uk