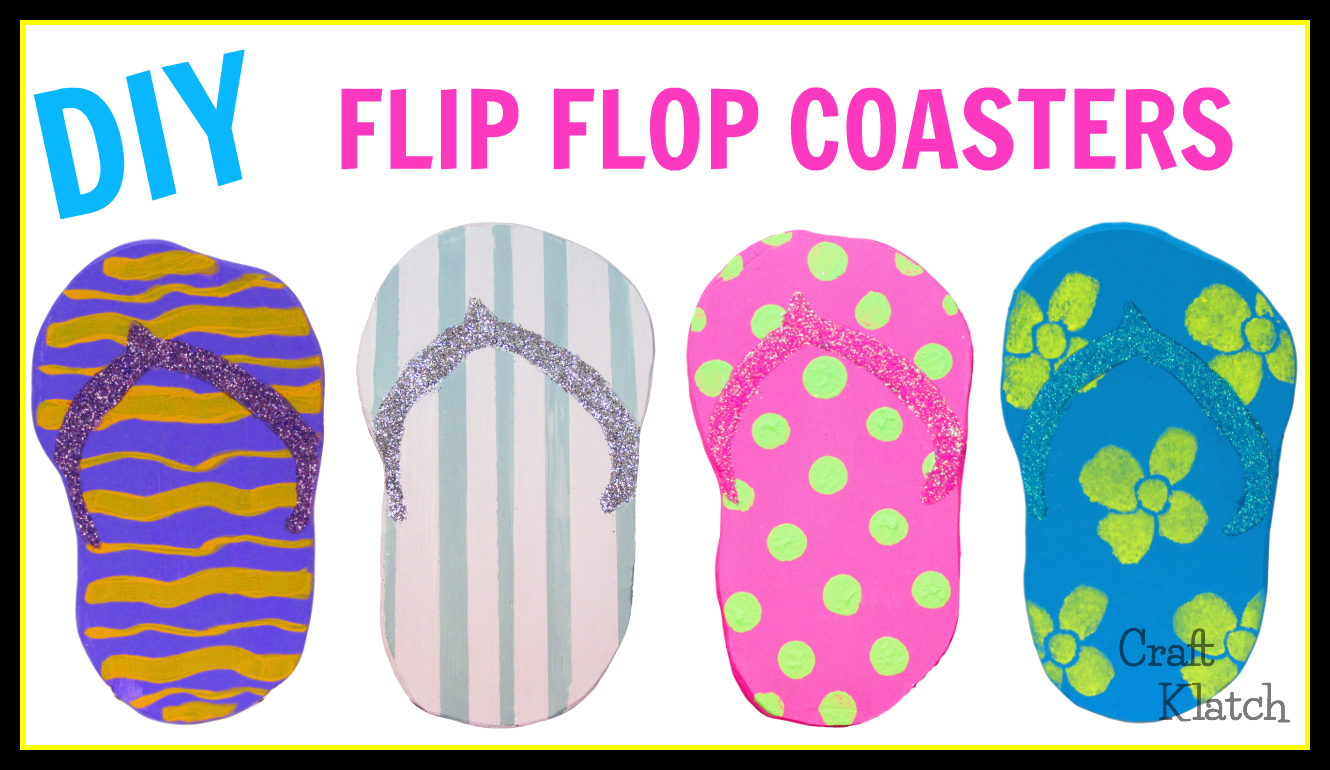
Yay Summer!!! I love summer and one of my most favorite things to wear are flip flops!! Today we are crafting fun flip flops in this DIY craft tutorial.
When I make these wood coaster, remember you can use them and have kids paint them and that would be crazy fun! If you don’t want to make them out of wood, you can always use cork or clay as alternative materials!


Directions:
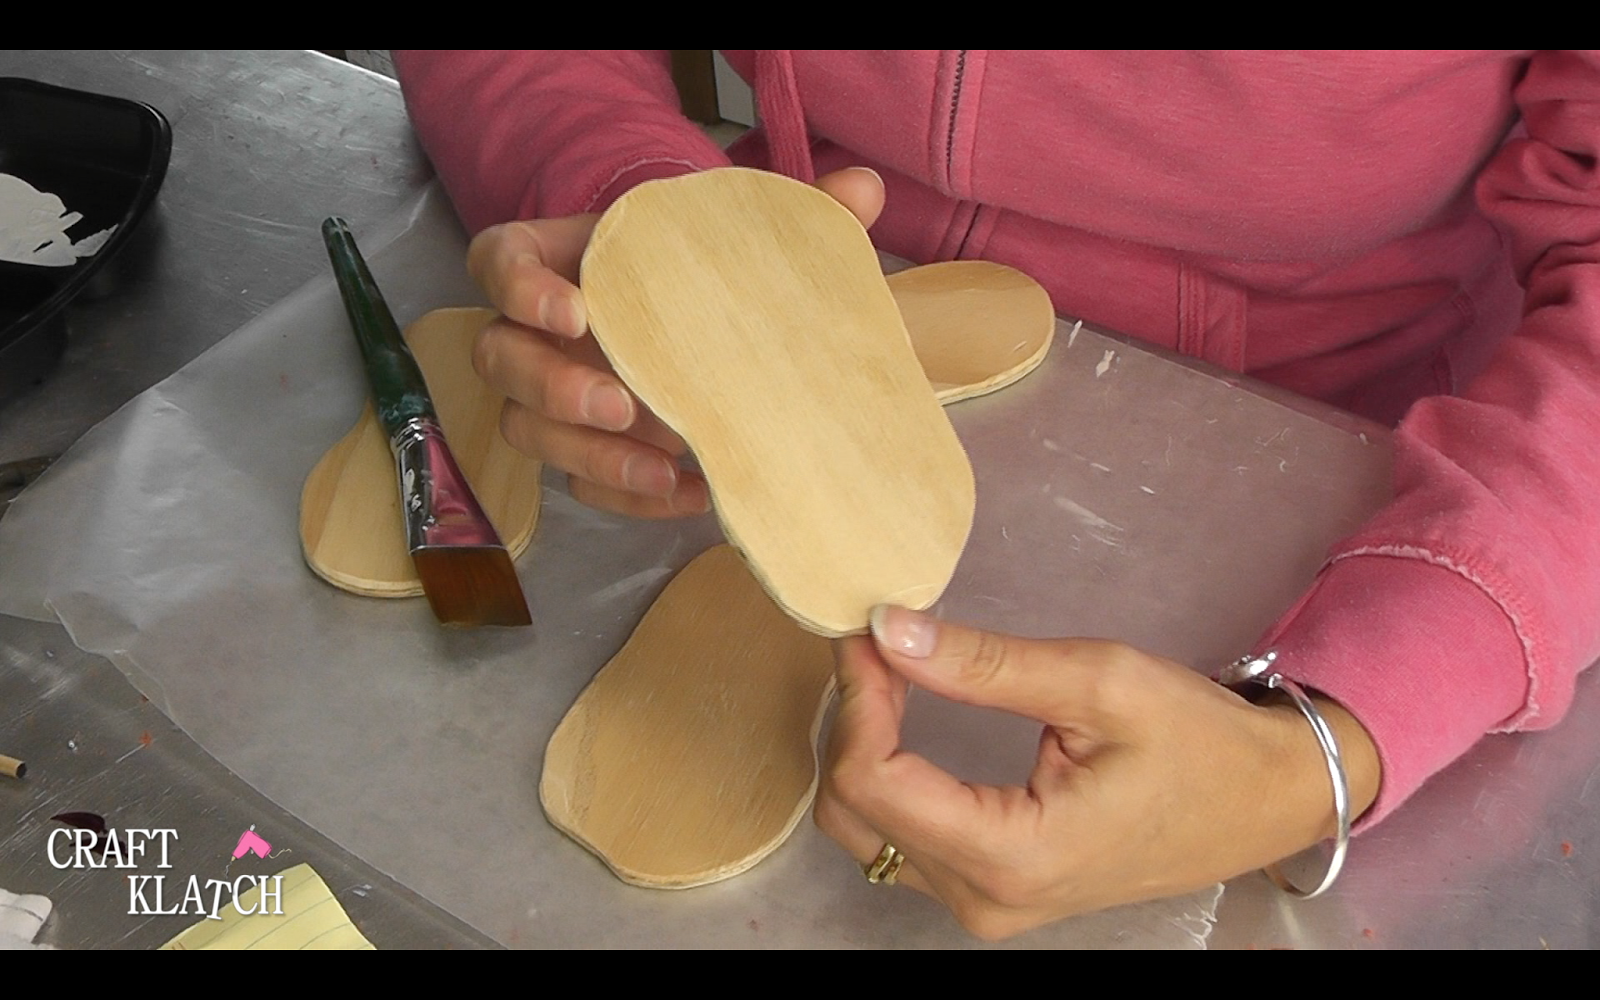
1. Draw a template of a flip flop. Make it wider than usual, so a glass will fit on it.
2. Cut it out with a saw.
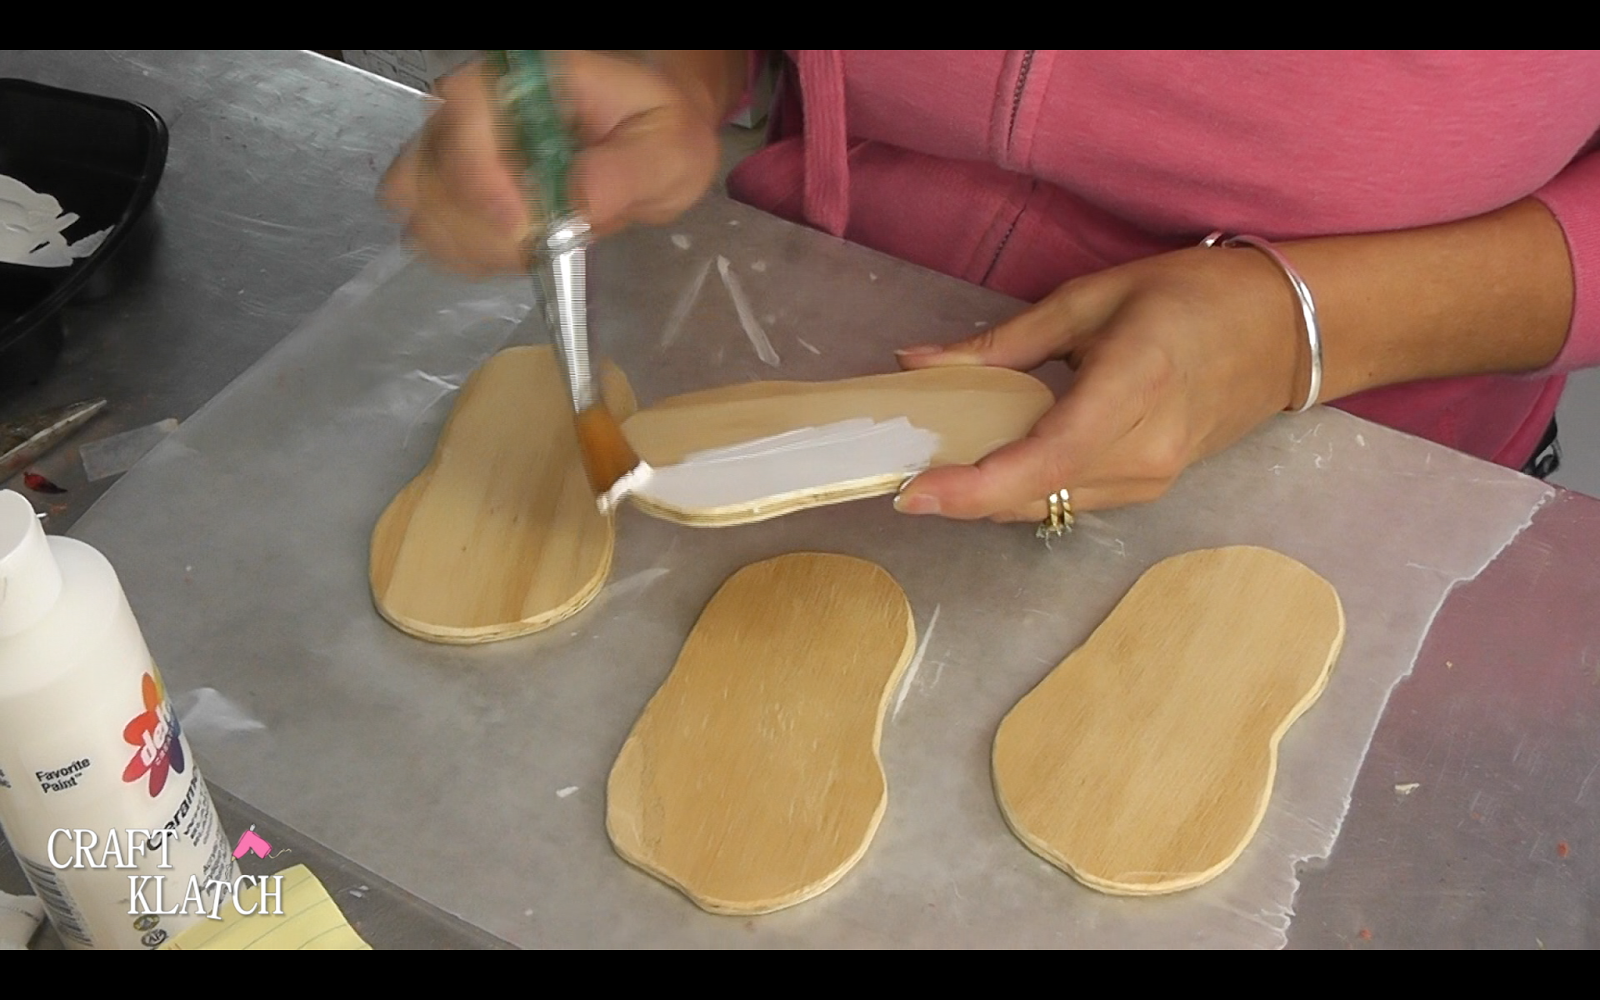
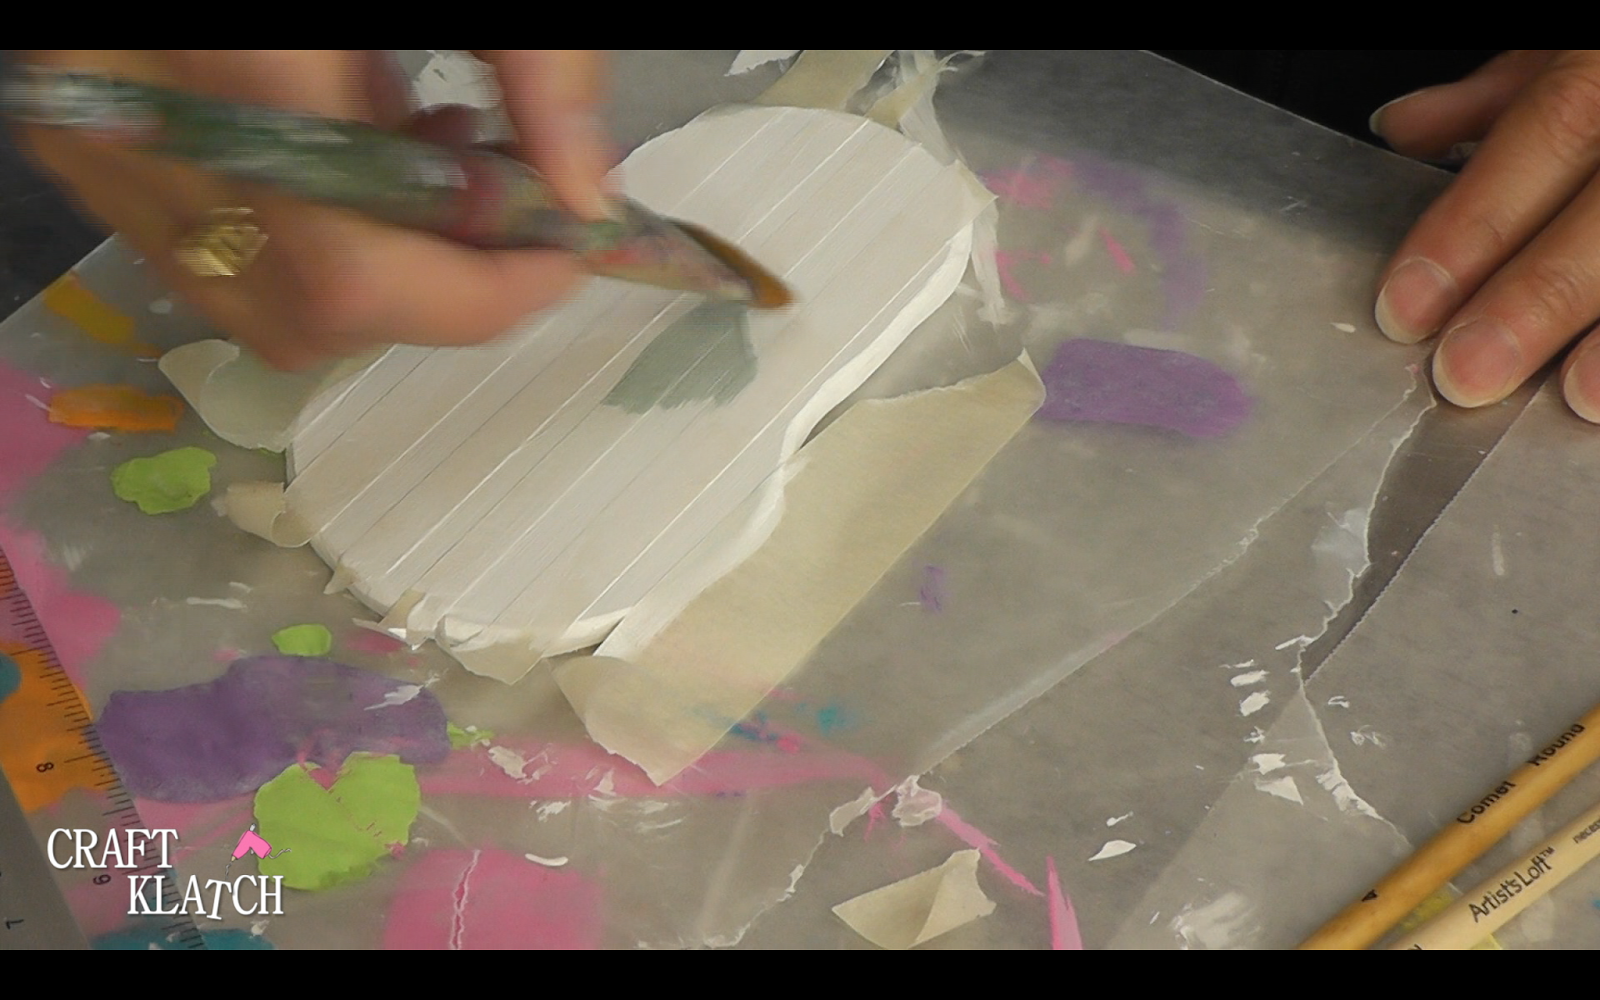
3. Paint a white base coat and allow to dry.
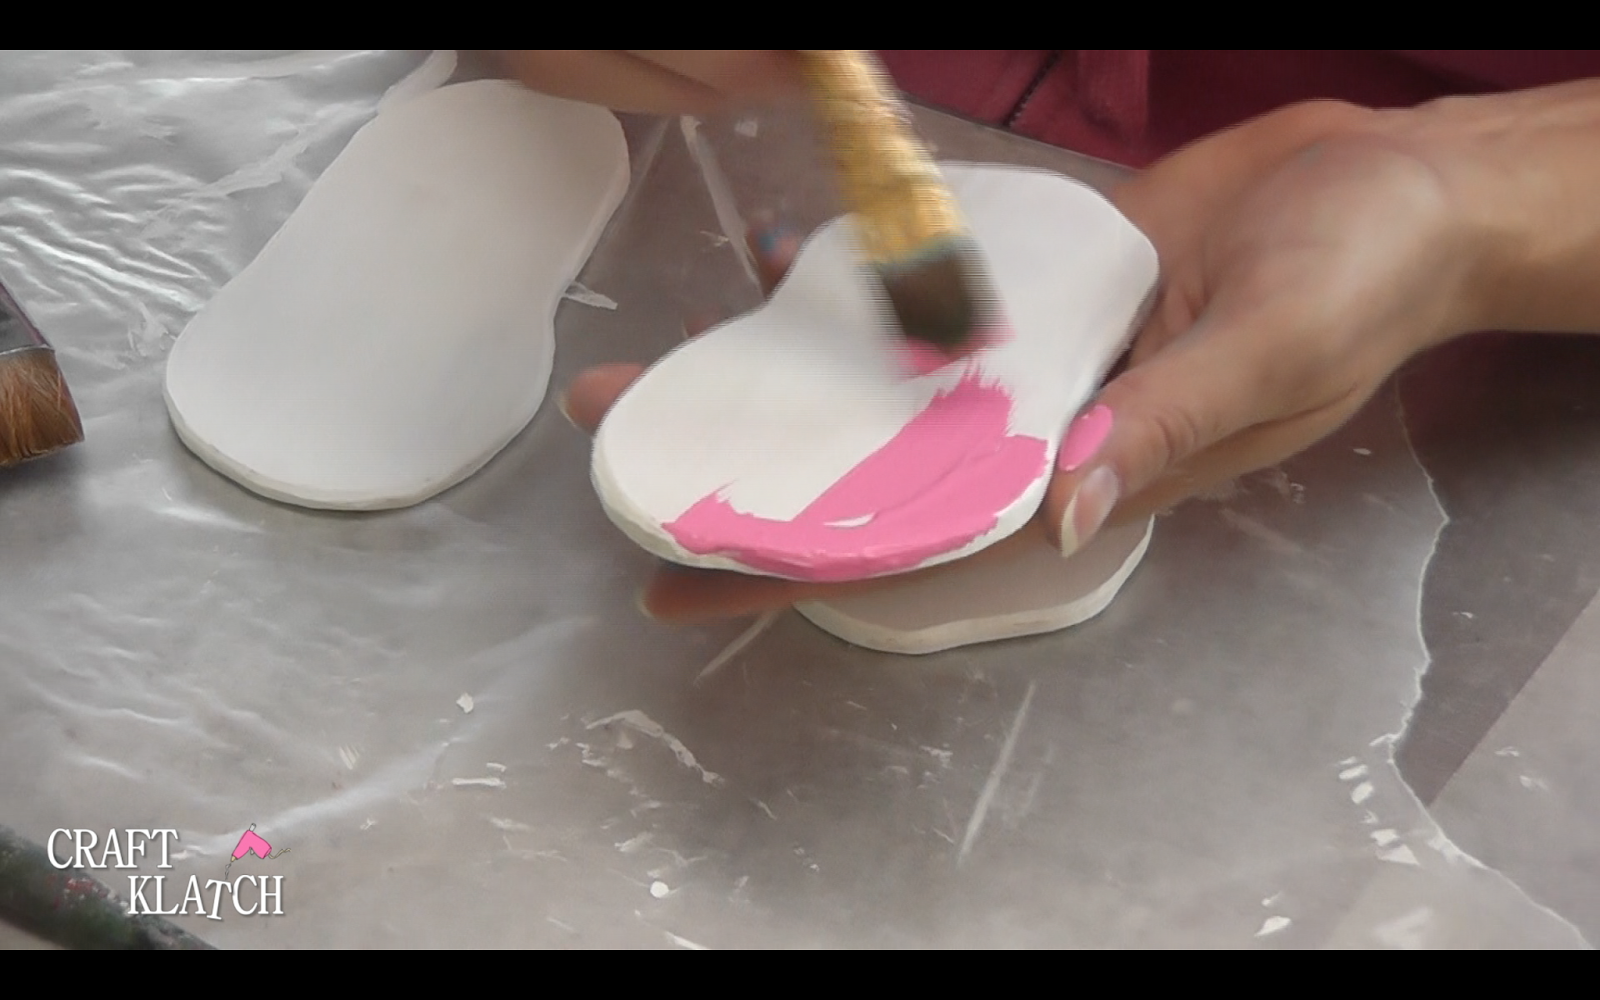
4. Paint a base color and allow to dry – figure that will take at least two coats.
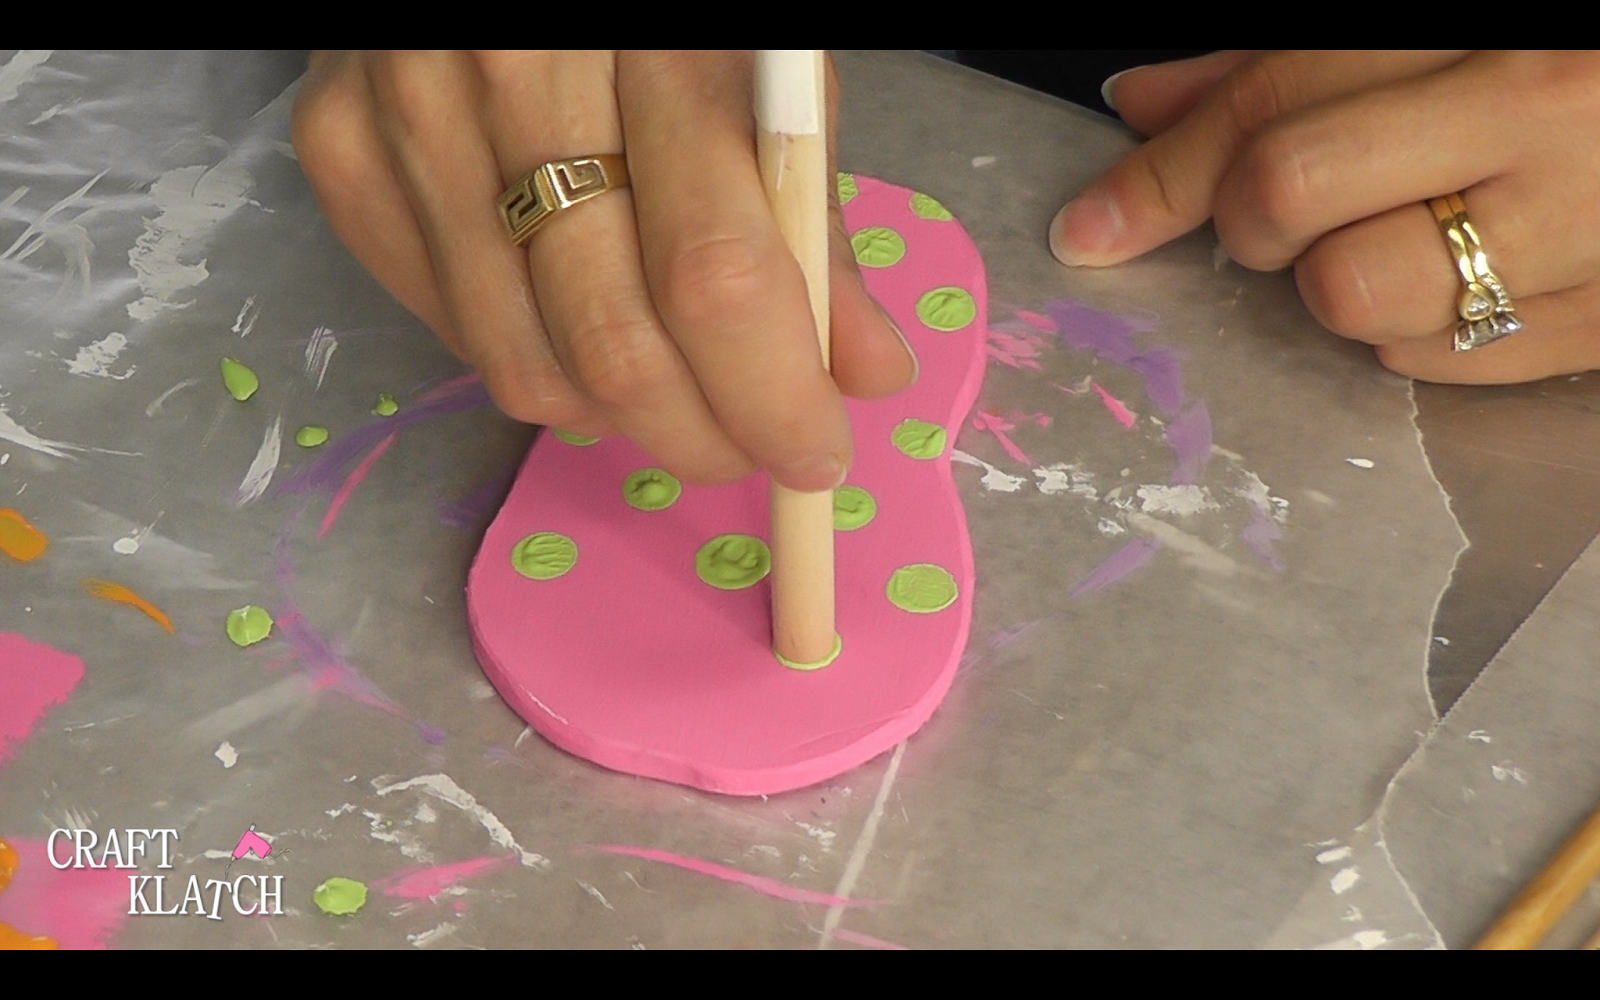
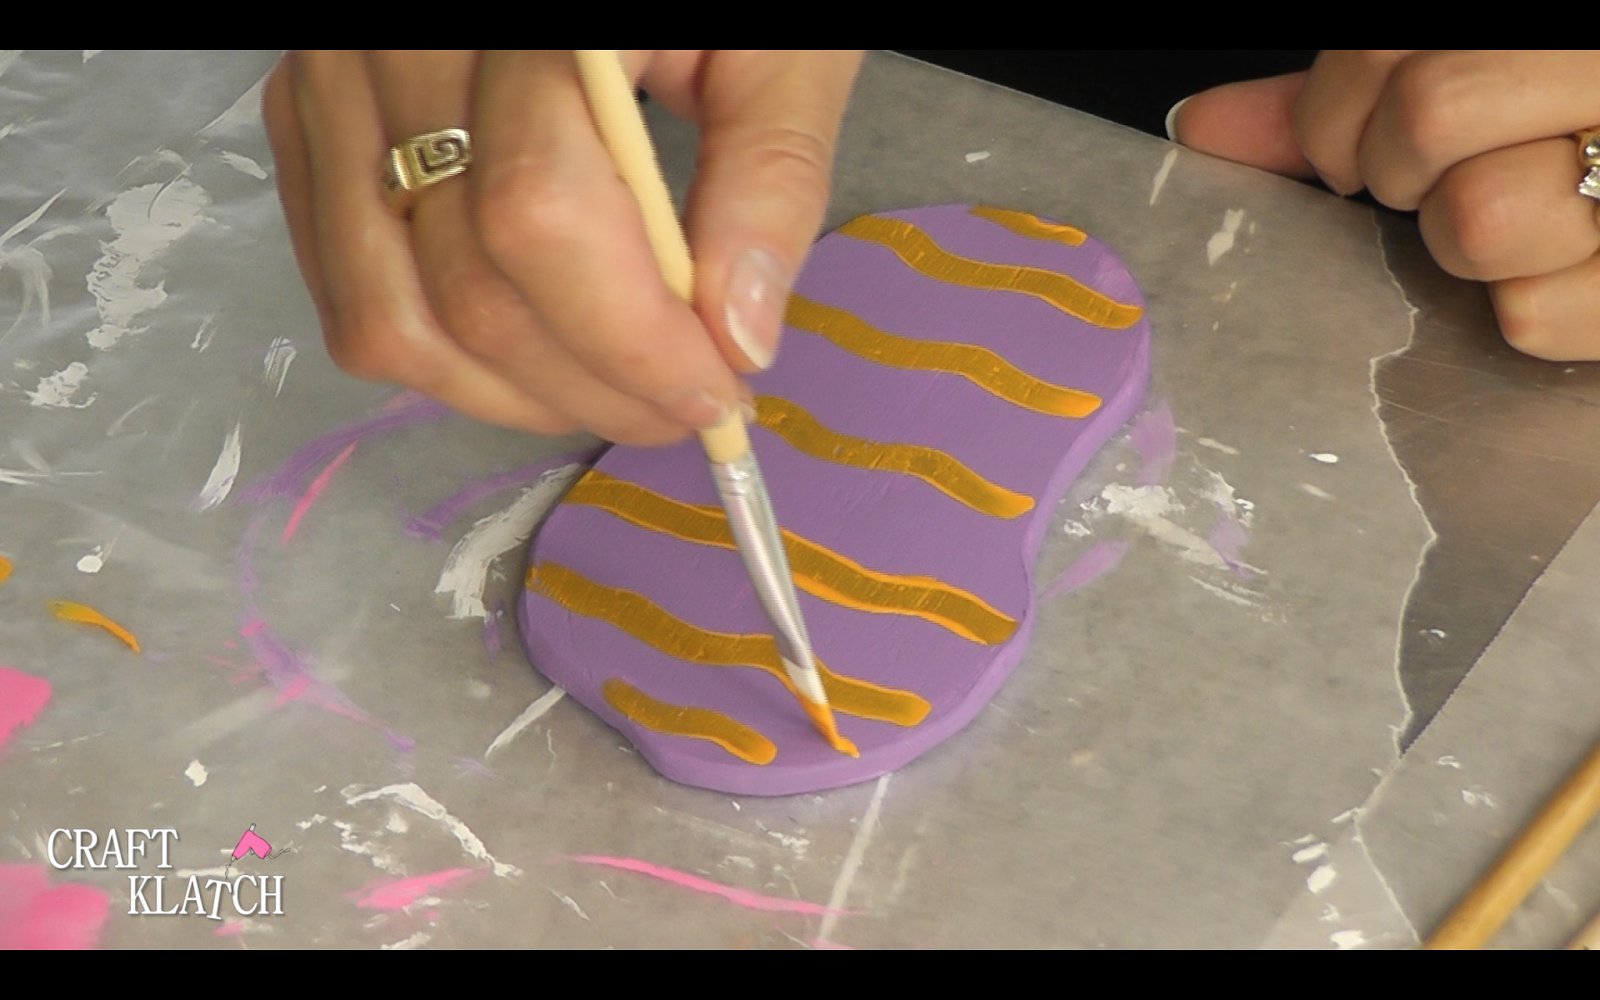
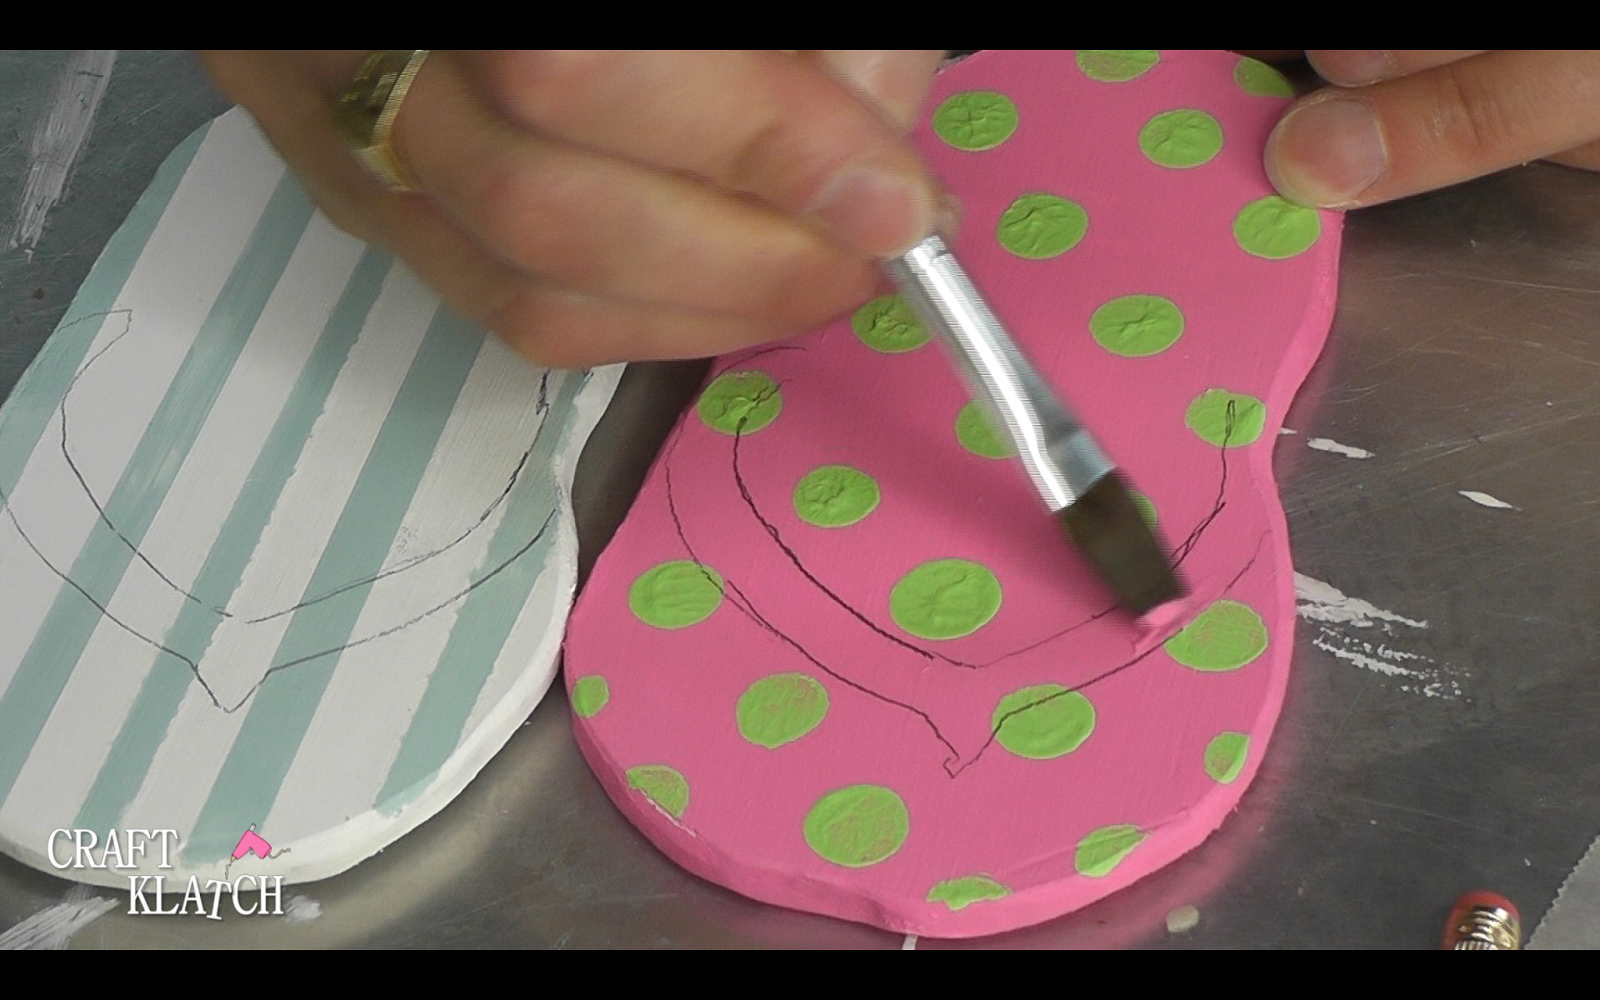
5. Take a second color and do stripes, stencils, or dots. Allow to dry.

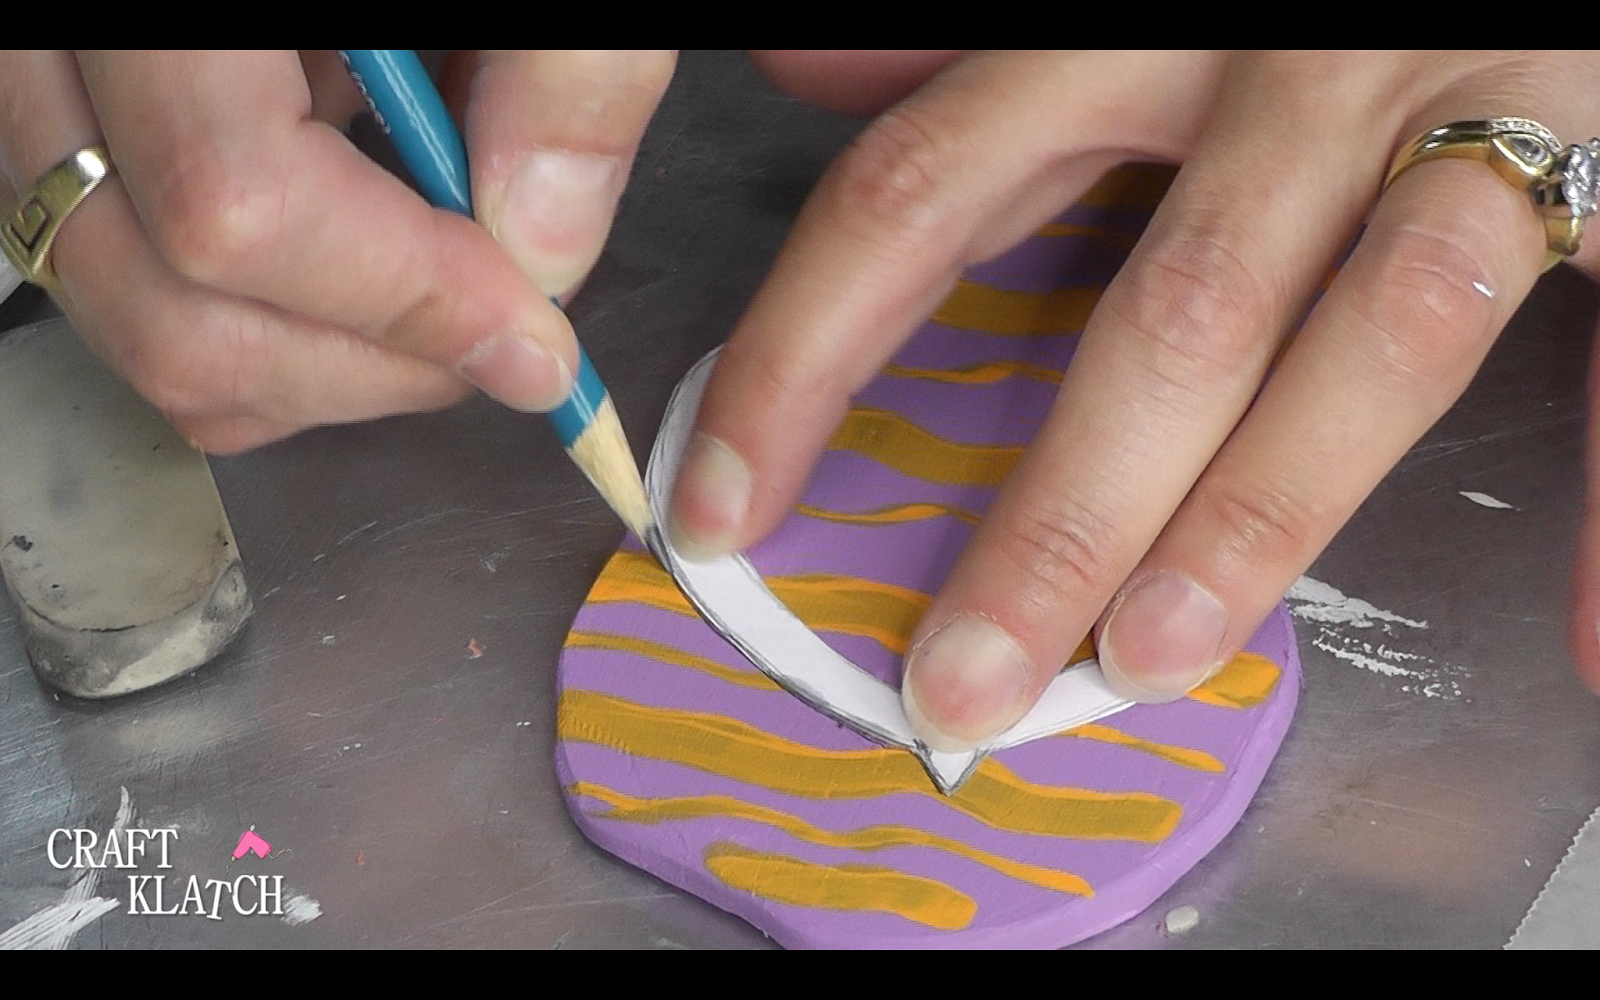
6. Draw a template for the band on top. It’s pretty basic. You can manipulate it to fit. Lightly, trace it on with a pencil.
7. Paint the bottom color over any of your contrasting color design and allow to dry.
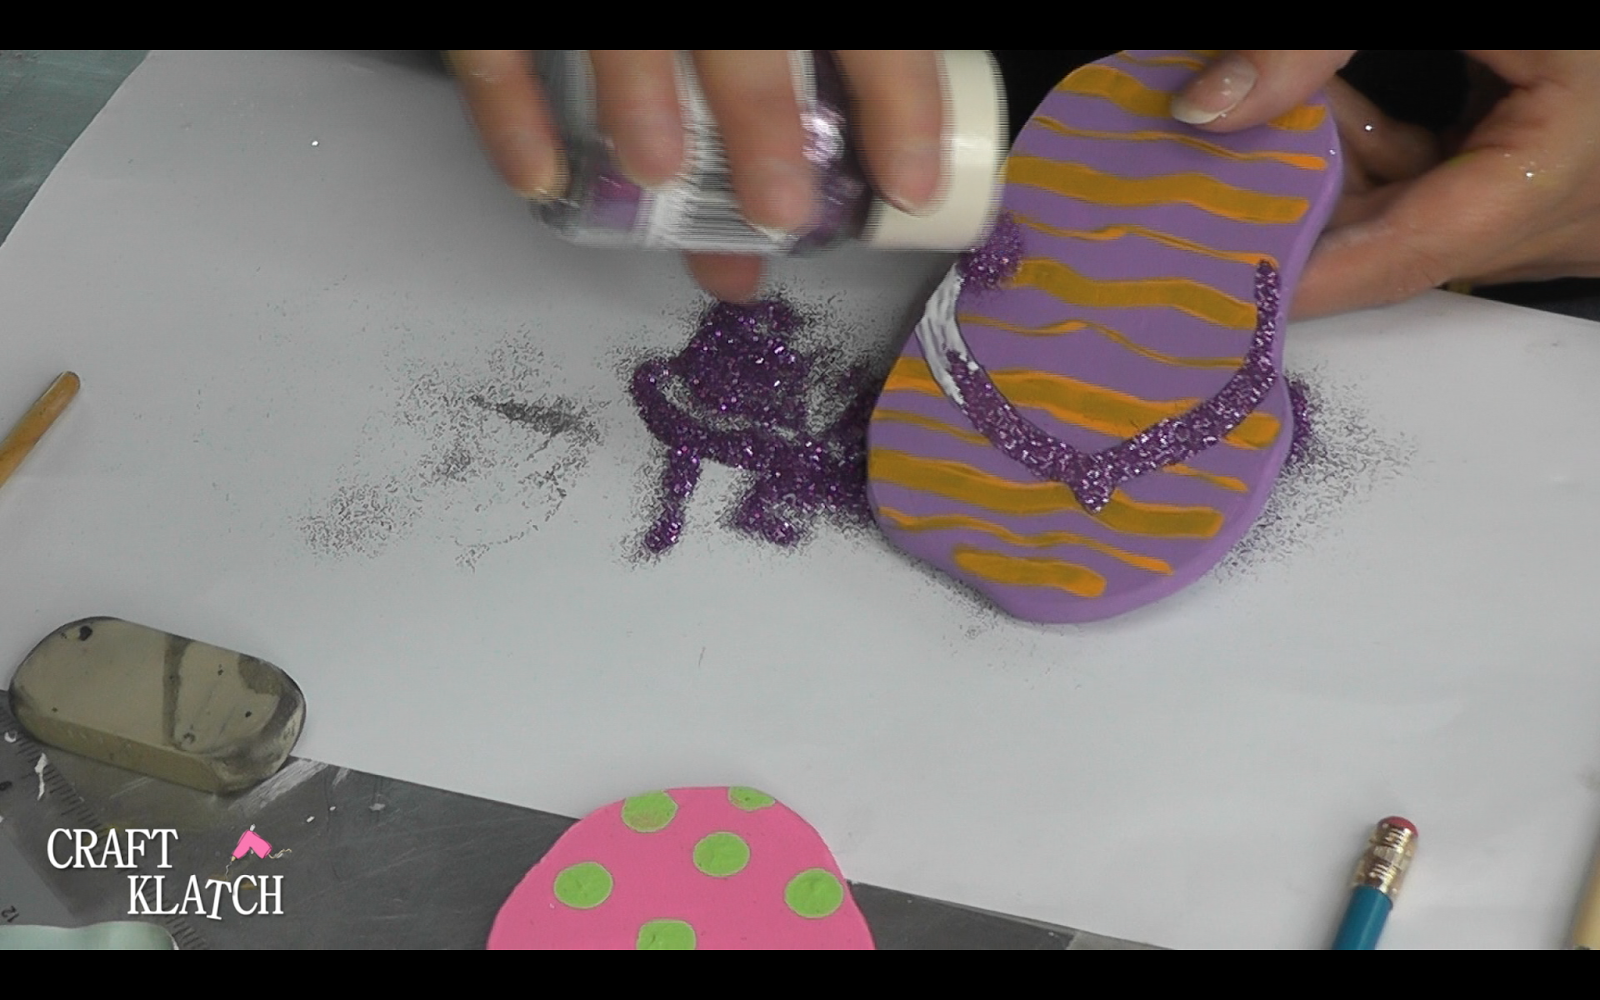
8. Paint on a thin layer of glue and sprinkle on fine glitter. Allow to dry.
That’s it! Now you have super cute flip flop coasters! You can use a spray sealer to seal and protect everything. You can use them as coasters, or just as fun decor!
Thanks for stopping by! Remember: Life’s too short not to shimmer, so grab your glue gun and your glitter!™ Stay safe!
Mona