People say a dandelion is a weed…I prefer dandelion wish flowers. See how to make this dandelion craft and turn it into beautiful yard art with this easy upcycling tutorial.
Whoever the powers that be are, who decide whether a plant is a flower or a weed, got this one VERY wrong…
…they also messed up on the thistle but that’s another discussion for another day!
Dandelions light up fields with their golden blossoms that can be weaved into crowns, to make you feel like a princess.
They can be held under your chin to let you know if you like butter.
And they beam like little drops of sunshine when the light hits them just right.
If that isn’t enough, they turn into magical puffballs that promise to make all your wishes come true… IF you can blow every last seed off the stem in one mighty breath.
I don’t know any other plant that promises that kind of magic!
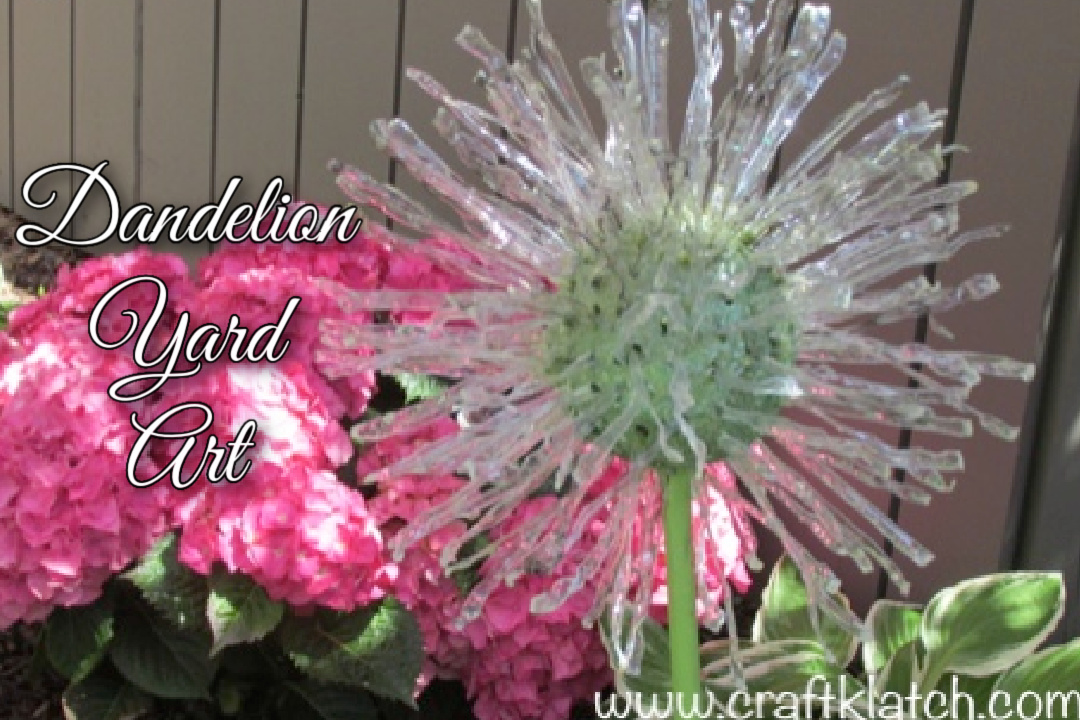
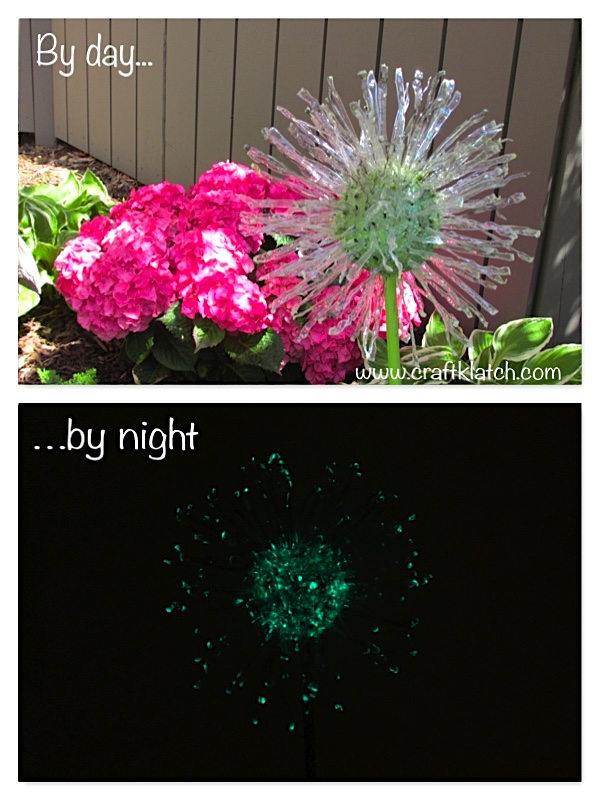
In honor of the beautiful and misunderstood dandelion, I wanted to do a little recycling project. A bunch of water bottles later, I ended up with this garden gem!
Yup! Dandelion Yard Art!
A little side note: For non-backyard dandelion decor, I made a beautiful Dandelion Paperweight that was so easy. You will love it!
Supplies You Will Need for the Dandelion Wish Flower
*This blog uses affiliate links. As an Amazon Associate I earn from qualifying purchases, at no additional cost to you.
- Styrofoam ball – I used a 4-inch size
- A bunch of water bottles
- Candle
- Glue
- Pigment powder (optional)
- Glitter
- Dowel rod
- Outdoor acrylic paint
- Resin:
- When deciding on which resin to use, there are a lot of qualities that might be appealing, UV resistant, price, heat resistance, etc. Just make sure to select a resin that fits your needs.
- Use whatever brand you like:
- Easy Cast
- Art Resin
- Let’s Resin
- Promise Epoxy
- These are heat resistant resins:
- FX Poxy
- Stone Coat
- Patience
- Adult supervision – if you are young or can’t be trusted around an open flame
While contemplating if a dandelion is a weed, here is the video tutorial, so you can see exactly how I made it:
If you’d rather watch than read, be sure to check out the video. If you are confused about a step, it should clear up any questions.
Lots of Yard Art!
Now that we’ve figured out if a dandelion is a weed, I’ll walk you step by step through the dandelion-making process below. However, if you want more yard art ideas, I have a few other garden art projects that you will love!!!
- Recycled Flower Garden Art
- Recycled Sunflower Garden Art
- Artichoke Inspired Garden Art
- Giant Ants Recycled Garden Art
- Sunflower Garden Art Wall Hanging
- Ladybug Garden Craft
Directions On How To Make The Dandelion Wish Flower
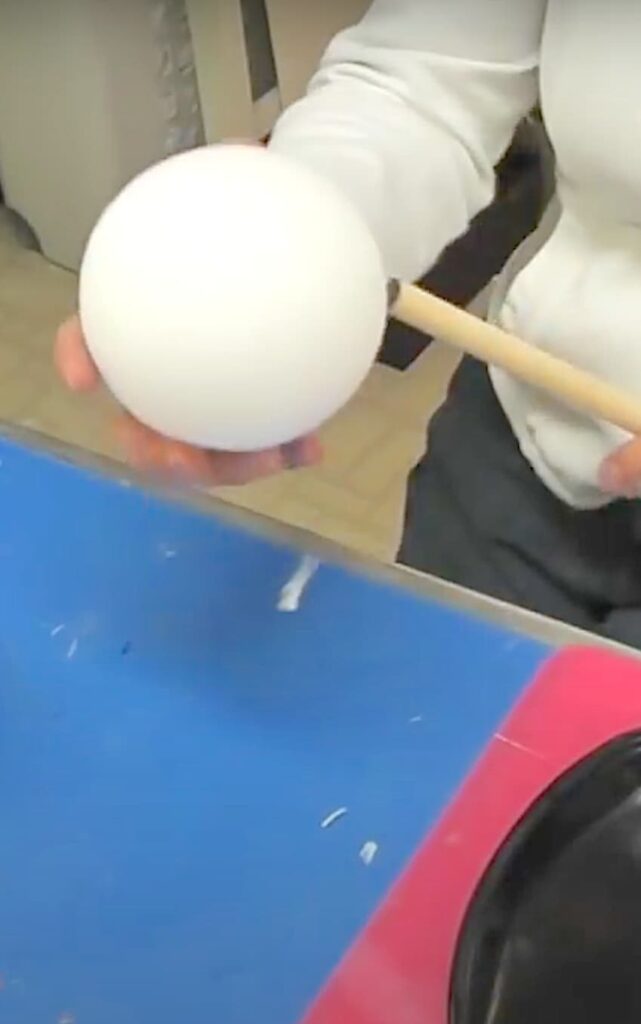
Step 1: Prepare the Dandelion Stem
Take your dowel rod and insert it into the styrofoam ball, remove it, add glue, and reinsert. Set it aside to dry.
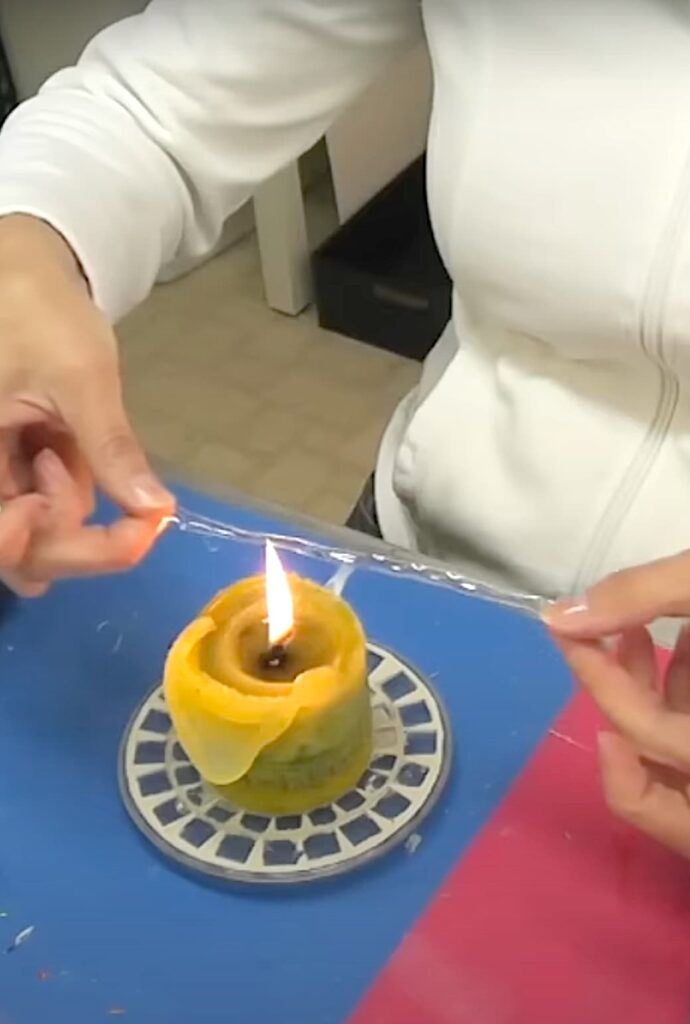
Step 2: Cut and Melt Plastic Strips
Carefully cut the water bottles into strips. Light a candle and gently melt the strips by holding them above the flame (not too close). This thickens and stiffens the plastic.
See the video above to see how I cut them.
TIP: You will need a bunch! I suggest you either do it over time or recruit friends and family to help!
Don’t hold them too close and DO NOT stick your fingers too close or in the flame!
Then, hold at one end to melt the opposite end.
*The reason I melted the plastic strips is that the water bottles are very thin and flimsy. When you melt them, they become thicker and rigid – much like Shrinky Dinks. I didn’t think about it until later, but it’s possible it might work in the oven. If anyone tries it, be sure to report back and let me know how it went.
Otherwise, watch the video above to see the melting technique.
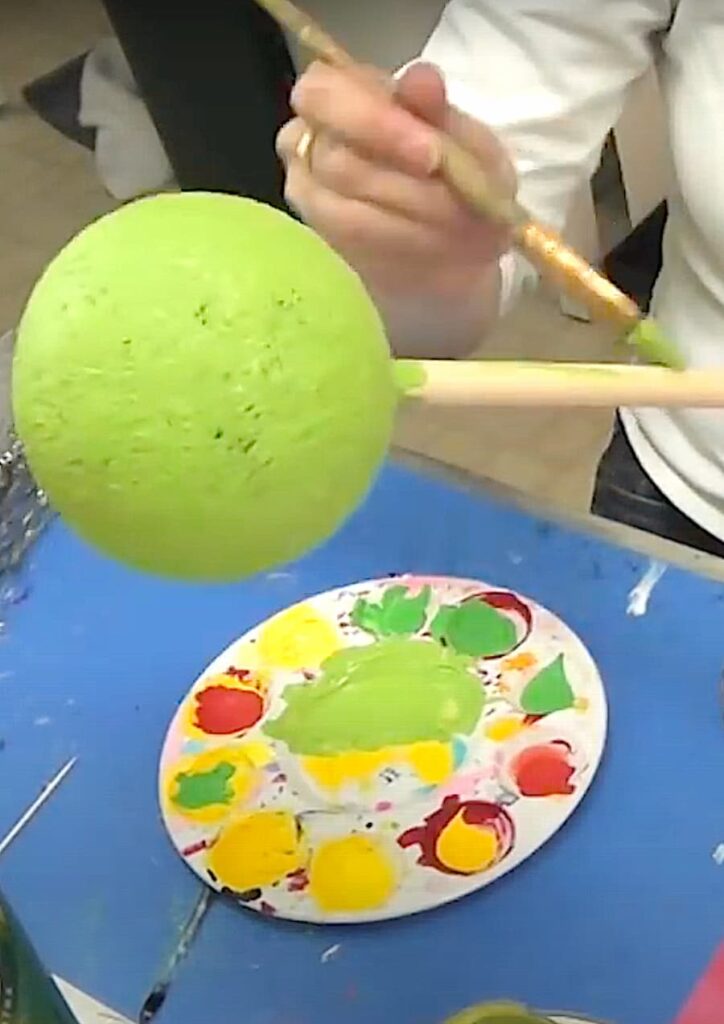
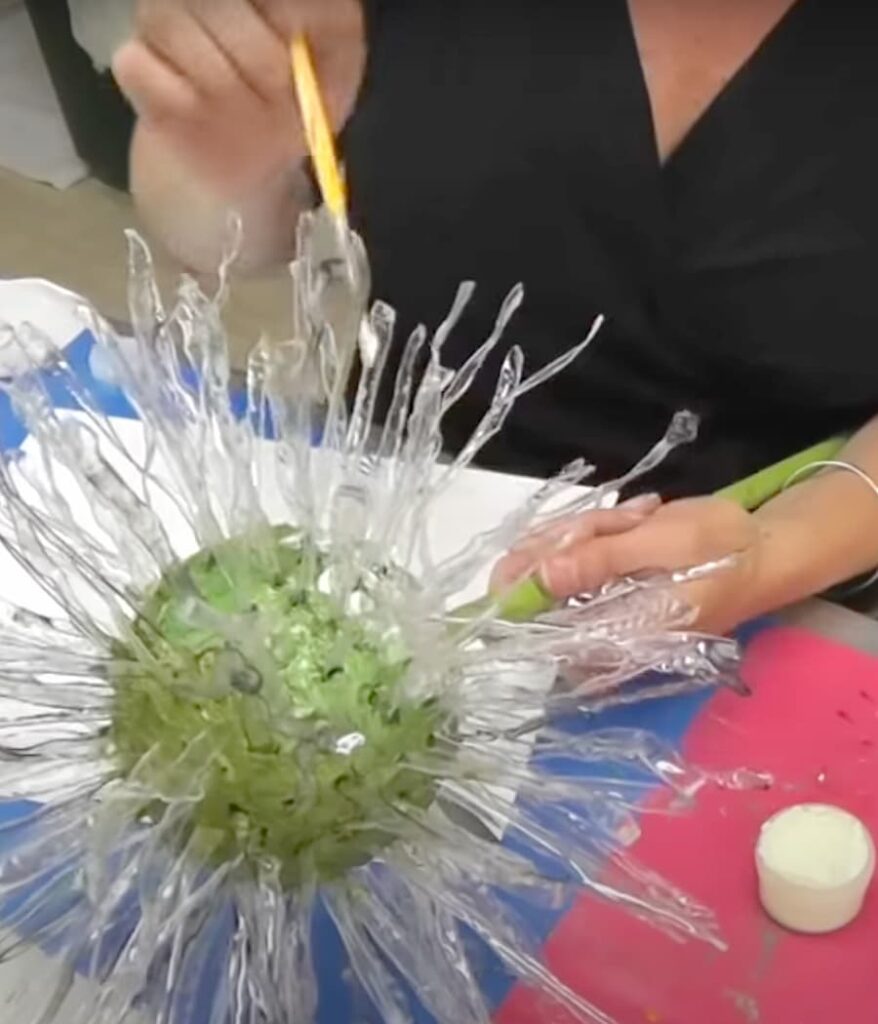
Step 3: Paint and Decorate
Paint the styrofoam ball and dowel rod with outdoor or multi-surface acrylic paint.
Mix glue with pigment powder and/or glitter.
Apply the glue mixture (don’t skimp, make it thick) to the styrofoam ball in sections, inserting the plastic strips in a staggered pattern. Allow it to dry.
TIP: Keep a damp paper towel on hand to wipe your fingers.
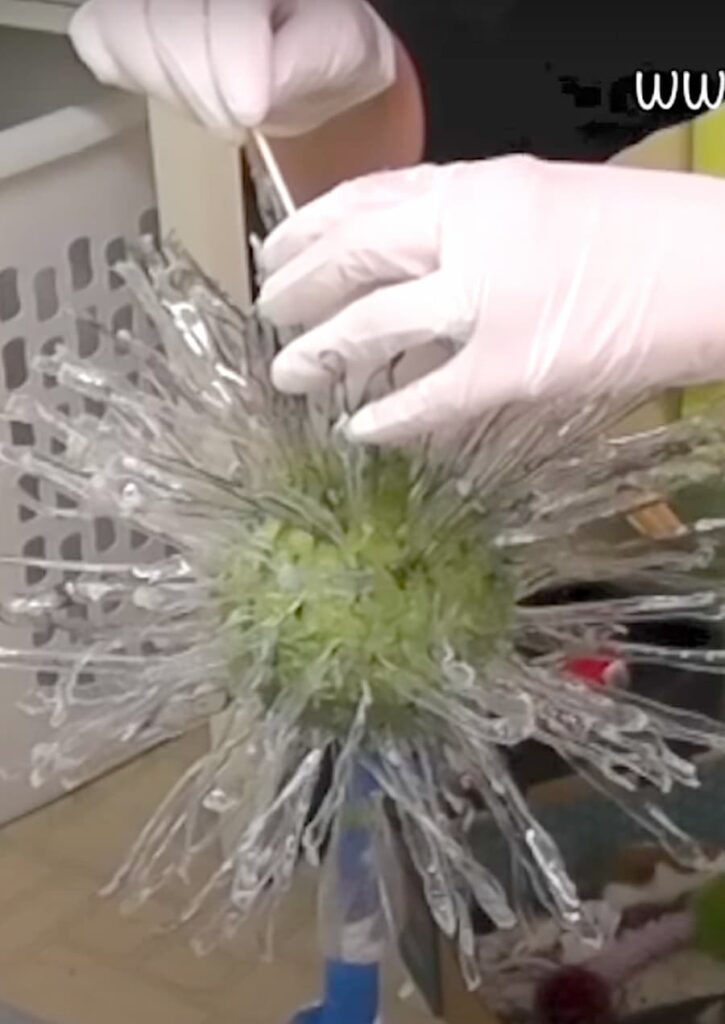
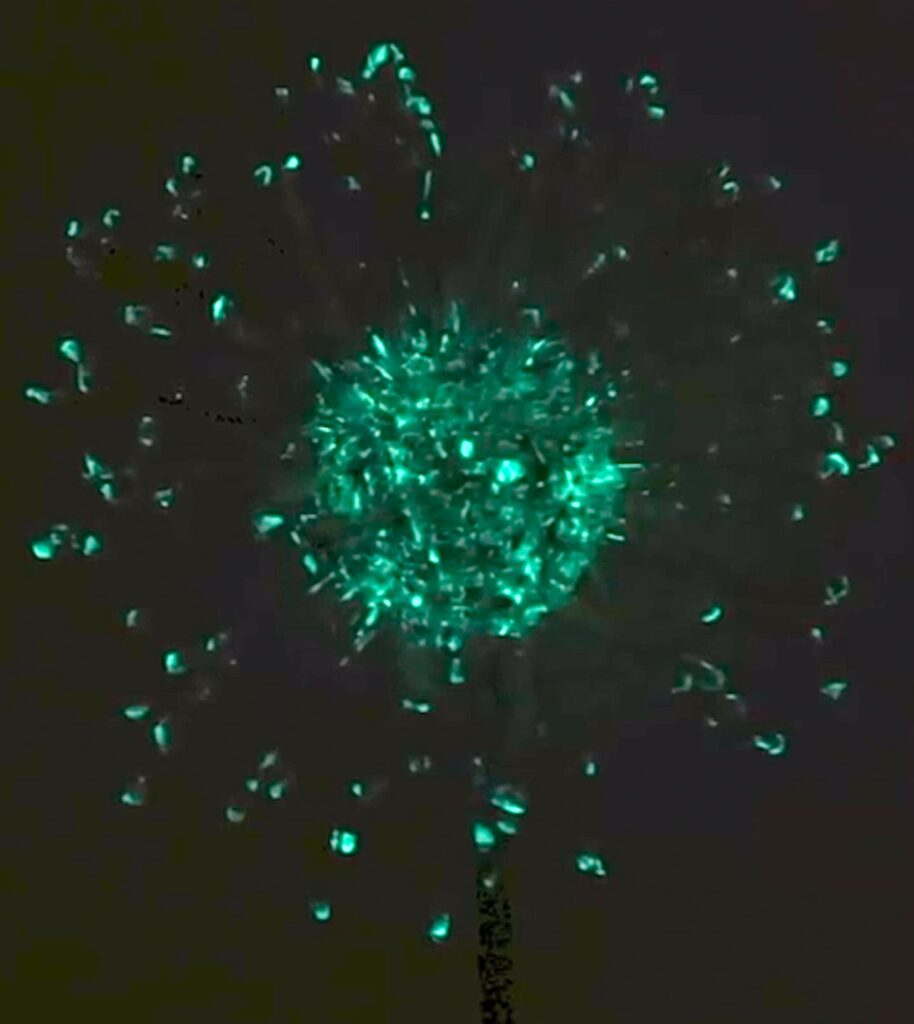
Step 4: Add Glow-in-the-Dark Paint
Dab glow-in-the-dark paint between the plastic strips and on their ends. Let it dry.
Step 5: Optional Resin Coating
For outdoor protection and a shiny finish, mix resin with fine glitter and pour it over the styrofoam ball. Allow it to cure.
If you are doing the resin, wrap the stem in a garbage bag and plastic wrap, so the resin won’t run down the stem and get stuck to anything. Also, put the stem in a garbage can, so it can stand upright and when it drips, the garbage can will catch it.
Slowly, pour the resin onto all sides of the styrofoam ball, making sure it is covered. Also, take a disposable foam brush and dab it on the ends of the plastic pieces to protect the glow-in-the-dark paint there. Allow it to cure.
*I had a little resin from another project I was working on and I painted the lower part of the dowel rod with the resin. I did that so that when it is stuck in the ground, the water would not rot the wood dowel rod.
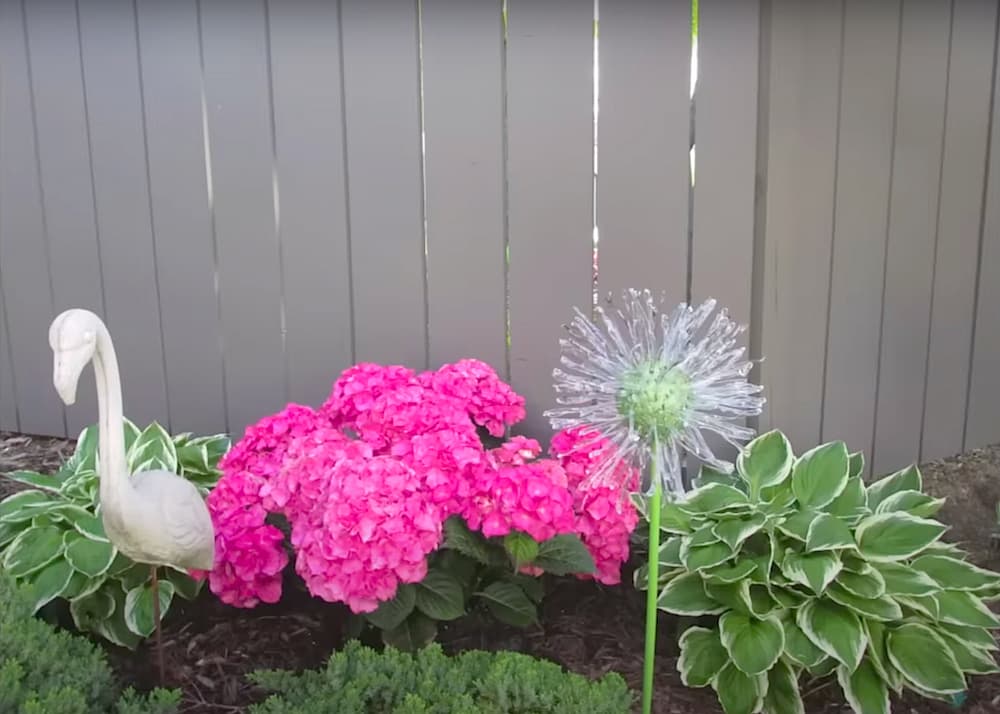
Once everything is cured, you’ll have a unique dandelion wish flower piece that brightens your garden day and night.
I used a dandelion as my inspiration and that is why I used green on the styrofoam ball. There is no reason it could not be pink, or yellow, or blue, or any other color!
I also think this would be awesome if instead of using a dowel rod, you used an eye screw and suspended it from the ceiling or a tree. It could be used as a home decor accent piece as well.
With a black light, it would be awesome!! Do they make black solar spotlights?
Hmmmm…
Be sure to PIN IT for later!
So…I Love The Dandelion Craft, But…
This project is a little time-intensive, so you might prefer an alternative. Here are some great dandelion yard art options and other solar garden decor ideas:

Thanks for stopping by!
Remember: Life’s too short not to shimmer, so grab your glue gun and your glitter!™ Stay safe!
Mona
amazing!
Thank you!
Wow so cool. I am interested in trying this. Just a few questions tho. Why do you put all the plastic in before painting the glow paint?Cant you do all the painting then insert your plastic with glue that pour on the resin to secure? Or am I missing something? Thanks! Therese Haas
Thanks Therese. There could be many different ways this could be done. I used the glue to secure the plastic pieces in place. The resin gives it extra stability and strength, but I used that because I wanted to give it a shiny, more finished look. I painted the glow paint between the glue step and the resin step because if I mixed the glue with the paint, it would have been milky and I would have lost some of the glow. In hindsight, I probably would have dipped each end of the plastic pieces into the paint and let it dry and then inserted them in the ball. Hope that helps! Mona
HI! I love this! And I am in the process of creating a "Firecracker" version of your dandy lion for the 4th of July. I ended up using a heat gun on its low setting instead of a candle to melt the plastic though. The jar candle I was going to use had melted too low in the jar for the flame to be accessible.
Had I known I was going to use the heat gun I would've painted the bottles before cutting and melting them because that would've been a LOT easier! But I've got the first row glued into the Styrofoam ball so it is sort of looking like a sputnik or something but I am excited to get it finished! When I do I will post a picture of it on your Facebook page.
Thanks for sharing your idea!
Oh and I found this chart online about how to craft with plastic safely & thought you might like to have the chart too: cutoutandkeep.net/projects/the-very-important-guide-of-plastic-safety
I would love that! Please do!
What a cool effect! This would like great in my garden.
Thanks Kathleen! It was fun to make. It held up great! I'm about ready to put it out again for the season!
how many bottles would you guess we are looking at? I would like to make this but wasn't sure if I needed closer to 10 or 50 ?