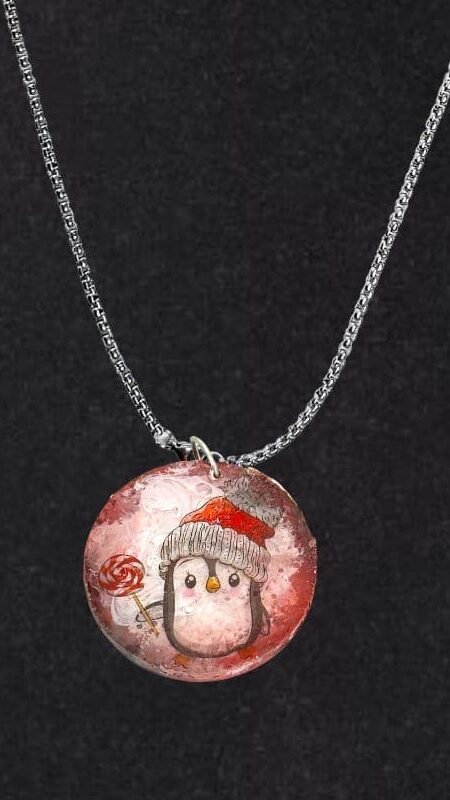
Make an adorable Christmas penguin tattoo charm using UV resin, alcohol inks, and temporary tattoos! An easy, festive DIY anyone can try!
‘Tis the season for cute crafts, sparkly projects, and…penguins! Today I am sharing a super fun (and super easy!) Christmas penguin charm you can make using UV resin, temporary tattoos, and a little holiday creativity.
This post is sponsored by Let’s Resin, but, as always, the ideas and opinions are 100% my own. And trust me, this one is a blast!
Quick Video Tutorial
Watch this project come together step by step! It’s a quick one!
Remember, you can catch all my videos on my Craft Klatch YouTube channel!
Materials I Used
*Disclosure: This blog uses affiliate links from Amazon and other retailers. I earn a small amount from qualifying purchases at no additional cost to you.
- Let’s Resin UV Resin Kit (light included)
- Round charm mold
- Temporary Christmas tattoos
- White, red, and green alcohol inks
- Glitter (chunky white)
- Small brush
- Jump ring + keychain hardware or necklace chain
Christmas Penguin Tattoo Charm Directions
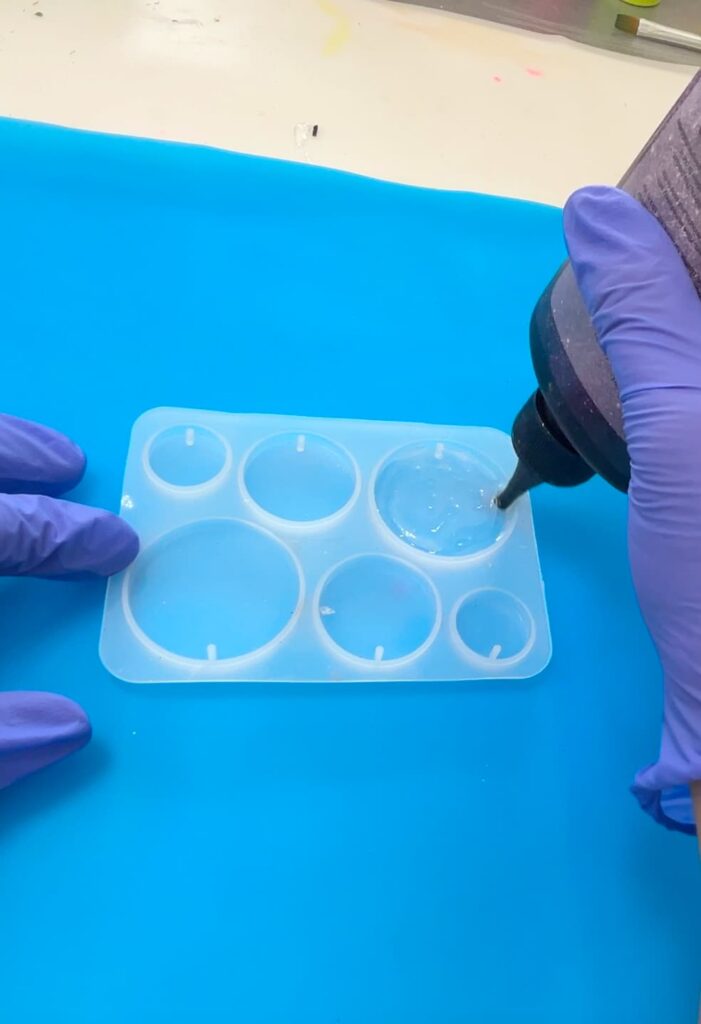
Step 1: Start with a Clear Base
I poured a thin layer of UV resin into the charm mold and cured it under the UV lamp. This gives you a nice, solid foundation and helps everything layer evenly as you go.
Step 2: Add Festive Alcohol Ink Color
Next, I added a mix of white, red, and green alcohol inks right on top of the cured layer.
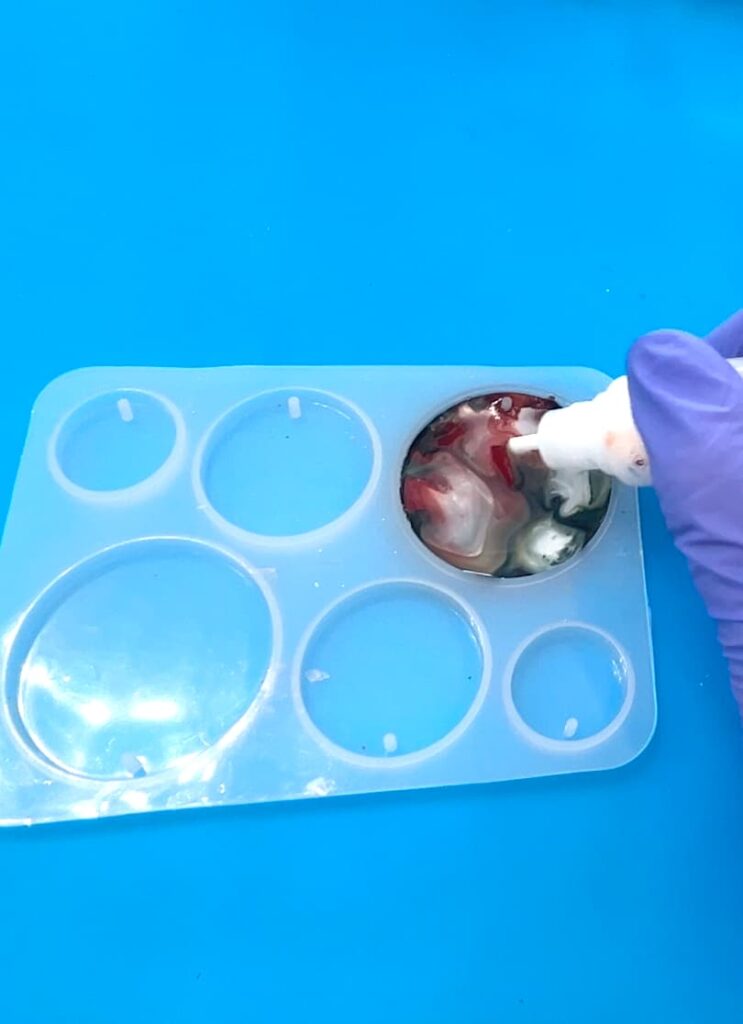
I dabbed some off…added a little more…poured off the extra, and once it fully dried, I added another layer of UV resin and cured it again,
The layered color creates a soft Christmas-y background.
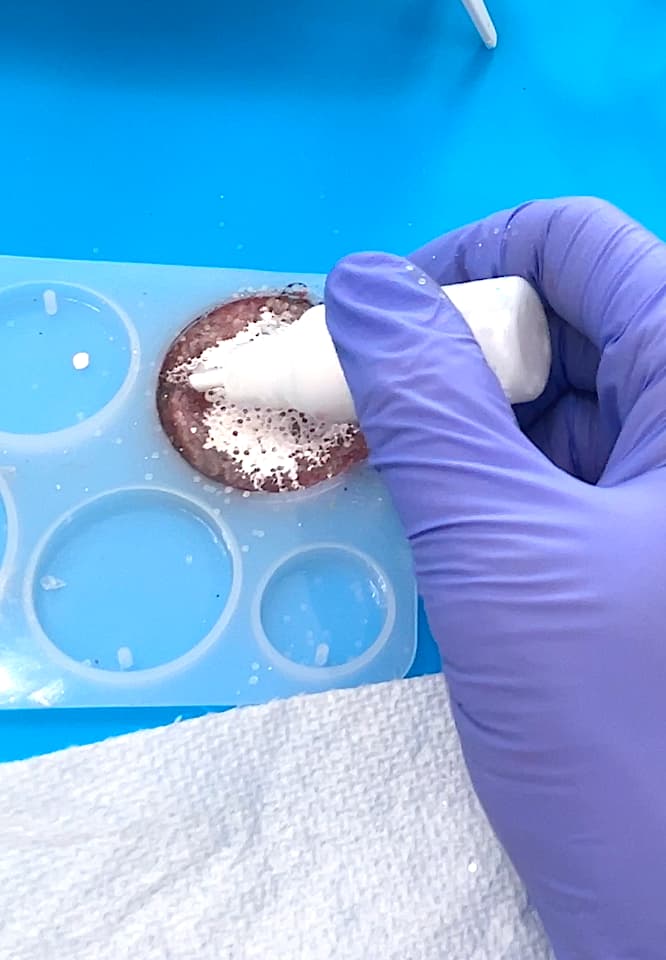
Step 3: Created a Frosty Edge
I brushed on a thin layer of white alcohol ink and then added a small amount of resin just around the edges.
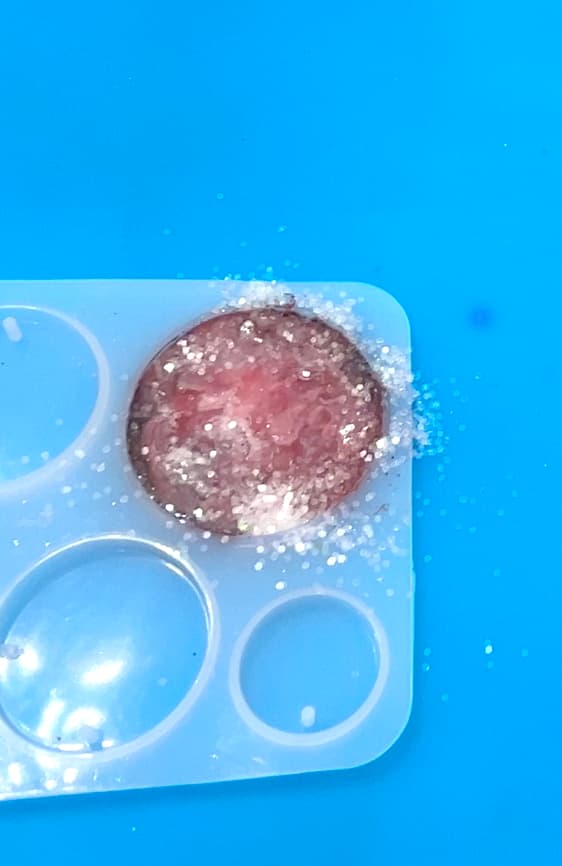
While the resin was still wet, I sprinkled in some white “icy” glitter. It gives the charm a frosty, winter sparkle that I love. Cure under the UV lamp again.
Step 4: Add Texture and Shine
On top of the glitter, I brushed a touch of white alcohol ink to create a snowy texture. Then I sealed it with another layer of UV resin and cured it. This helps the glitter glow from within.
Step 5: Add the Penguin Tattoo
Here comes the star of the show!
I cut out and applied the temporary penguin tattoo, just like you would on your skin: press, dampen, peel, and admire.
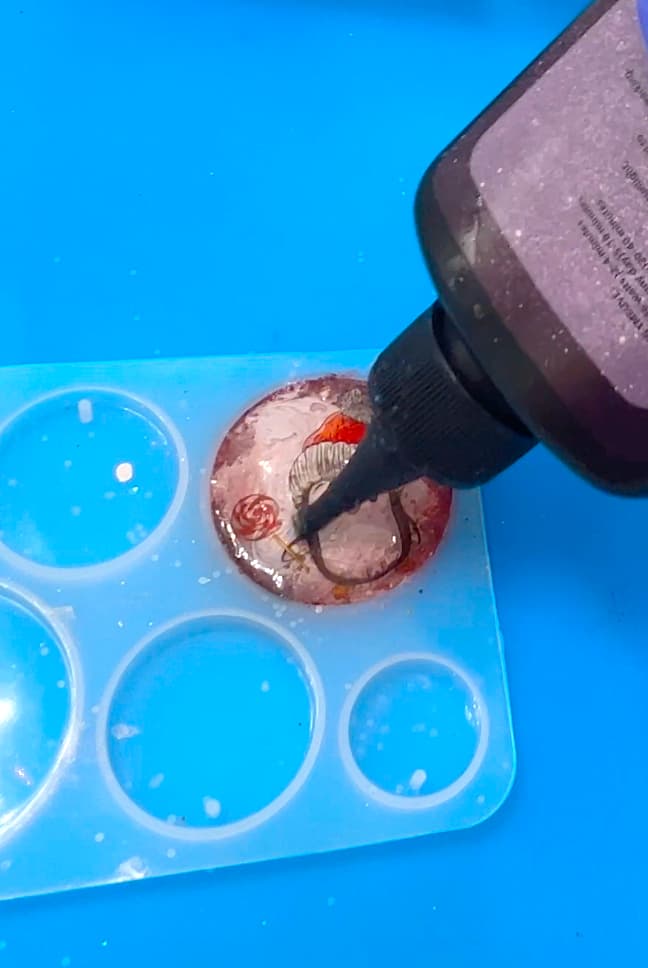
Once it was in place, I added the final layer of UV resin and cured it under the lamp. The resin seals the tattoo perfectly and makes it look like it’s inside the charm.
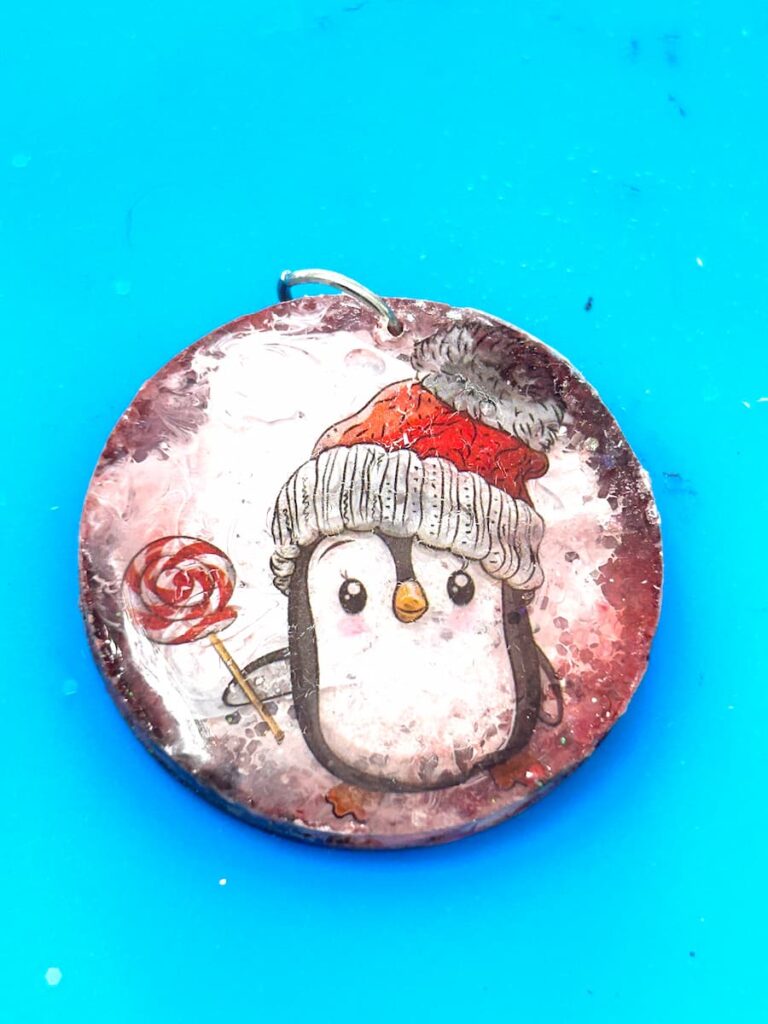
Finishing Touches
When you pop the charm out of the mold, it already has a hole for a jump ring…so no drilling necessary!

Add your hardware of choice, and BOOM…you have a necklace charm, keychain charm, backpack charm…or whatever you want.
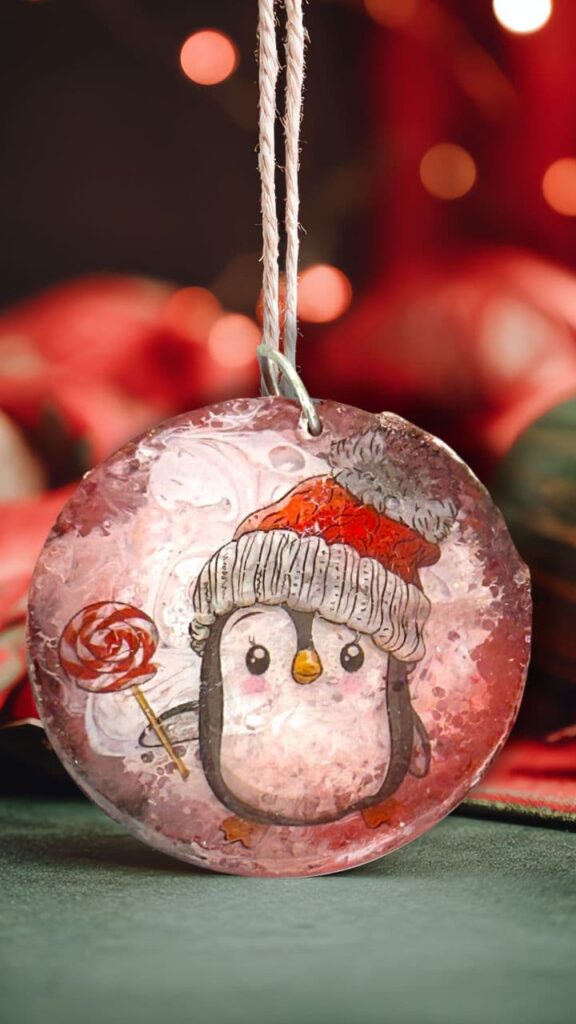
That’s it! Easy Peasy!
A cute Christmas craft you can make in minutes, and it makes a great handmade gift.
More Fun Projects You’ll Love!
If you enjoyed this one, you will love these too! They are great if you want to keep the creativity rolling.
- Christmas Penguin Coasters
- Easy Baby Penguin
- Penguin Ornament DIY
- Easy Snowman Decor
- Easy Reindeer Christmas Craft
More PENGUINS!
Let’s look beyond the penguin tattoo and check out the AMAZING penguins that would make perfect gifts for someone…that might just be you!

Thanks for stopping by! Remember: Life’s too short ot to shimmer, so grab your glue gun and your glitter!™
Mona