
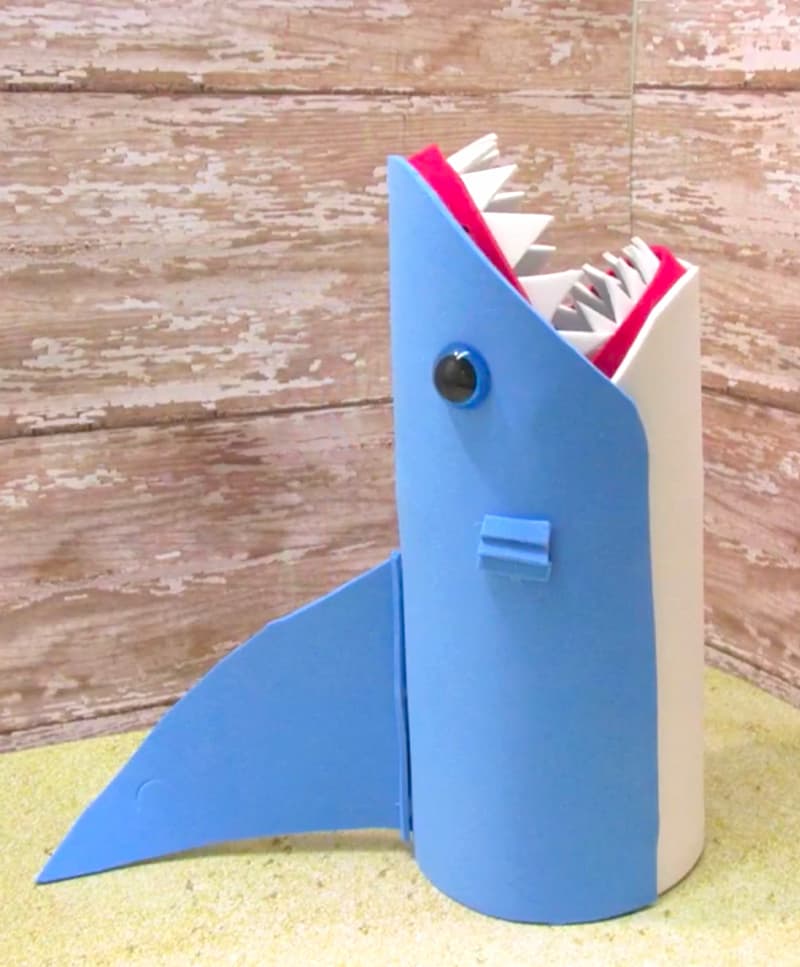
Make an easy shark pencil holder from a recycled jar! This fun shark craft is perfect for Shark Week, kids, and back-to-school supplies.
Looking for a fun shark craft that is easy, inexpensive, and actually useful? This recycled shark pencil holder is perfect for back-to-school season, and it can double as a playful vase or party decoration for Shark Week!
I made mine using a clean plastic peanut butter jar, which means this project also gives something from the recycling bin a brand-new purpose.
You only need a few basic craft supplies, and the shark’s toothy grin gives it plenty of personality.
This would be a fun project to make with kids before school starts, but honestly, I think it would look pretty cute holding paintbrushes or craft tools, too.
Supplies for the Shark Craft
*Disclosure: This blog uses affiliate links from Amazon and other retailers. I earn a small amount from qualifying purchases at no additional cost to you.
- Blue, white, and red craft foam
- Googly eyes, or black buttons
- Hot glue or tacky glue
- Clean, empty plastic jar
- Paper
- Pencil or marker
- Scissors
- Rubber bands (optional)
Safety note: If children are making this shark craft, use a kid-friendly tacky glue instead of hot glue and provide adult supervision when cutting the foam.
Shark Pencil Holder Video Tutorial
Watch the video tutorial below to see exactly how I created the templates and assembled the shark craft.
Follow me on YouTube!
How to Make a Shark Pencil Holder
Step 1: Make the Shark Templates
Wrap a piece of paper around the jar to determine the width you will need for the shark’s head.
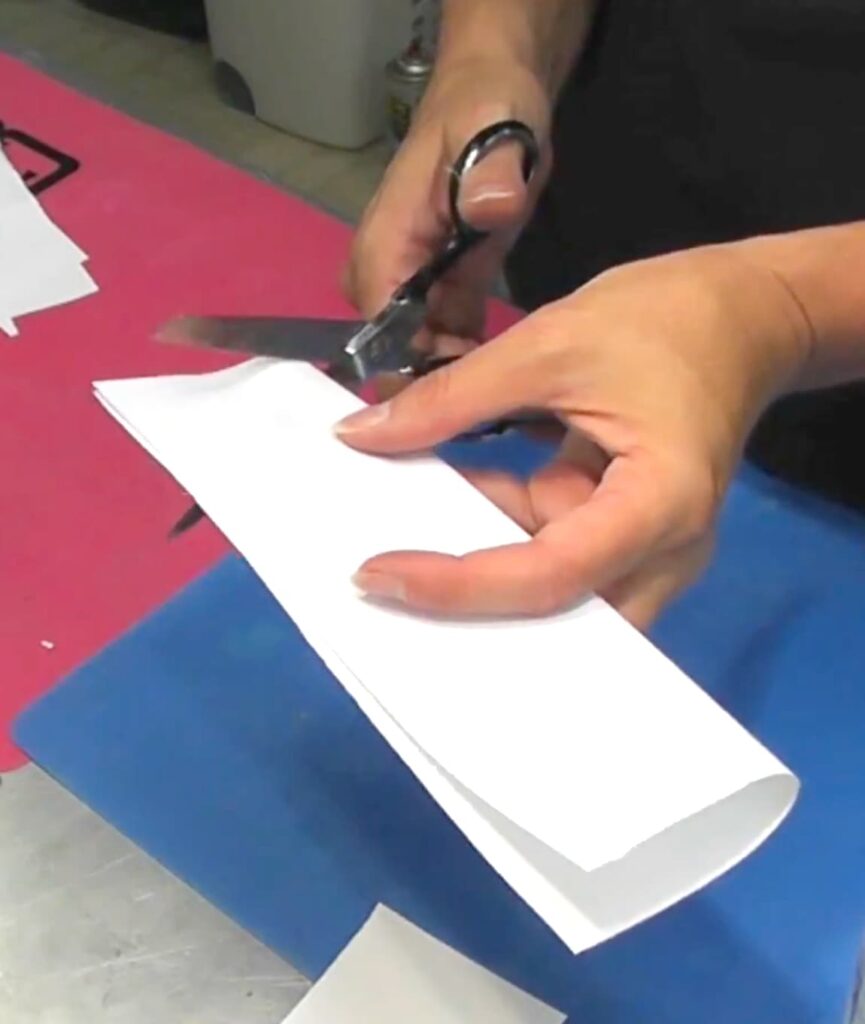
Draw and cut out a large, rounded shape for the blue upper portion of the shark’s head. Create a second, slightly smaller shape for the white lower portion.
Hold both paper templates against the jar and adjust them until you are happy with the size and shape.
Step 2: Cut and Attach the Shark’s Head
Trace the larger template onto the blue craft foam and the smaller template onto the white craft foam. Cut out both pieces.
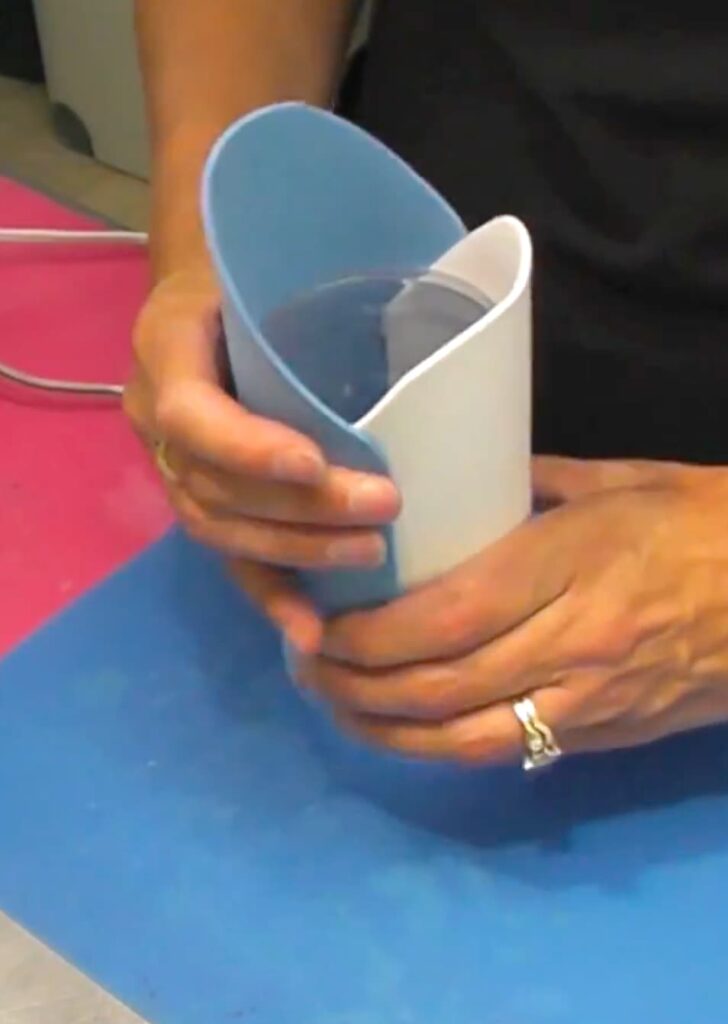
Glue the white foam piece onto the front of the jar first. Then glue the blue piece above it, allowing the blue foam to slightly overlap the white.
I used hot glue, but tacky glue will work too. If you use tacky glue, wrap rubber bands around the jar to hold the foam in place while the glue dries.
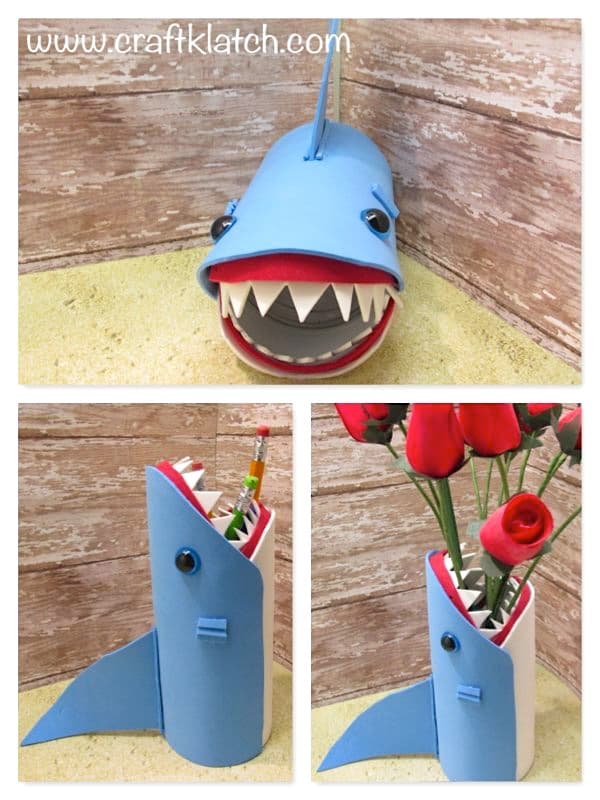
Step 3: And the Gums and Teeth
Cut two thin strips of red craft foam to create the shark’s gums. Glue one strip along the upper jaw and one along the lower jaw.
Next, cut two strips of white foam. Snip triangle shapes into one edge of each strip to create rows of teeth.

Keeping the teeth connected in strips makes them much easier to glue than attaching every tooth individually. Glue the teeth behind the red gums on the top and bottom of the shark’s mouth.
Now the shark pencil holder is starting to look hungry!
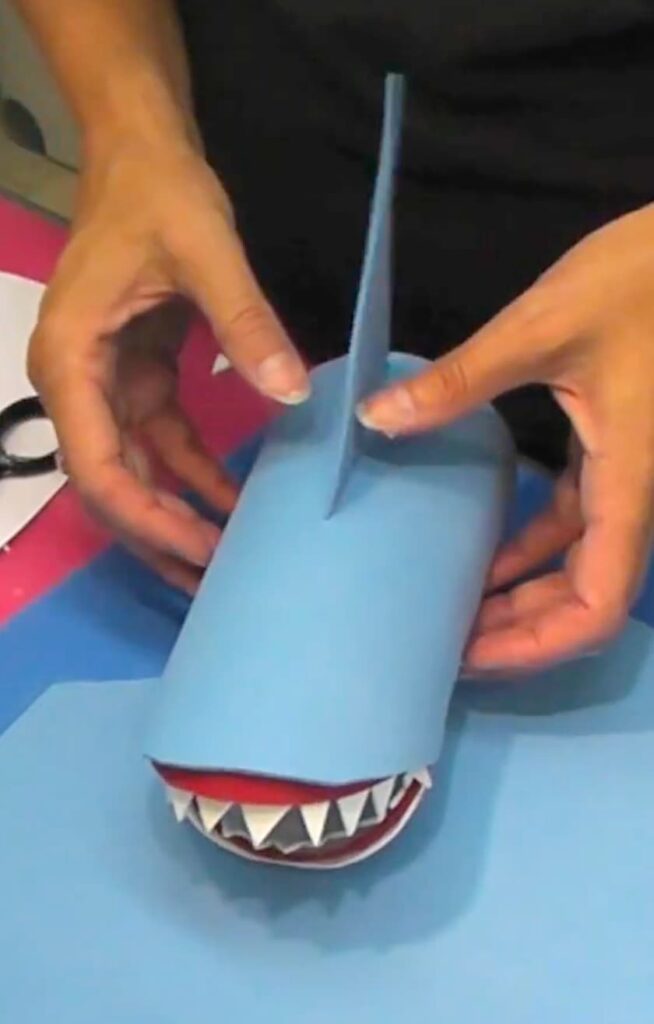
Step 4: Make the Fin and Gills
Draw a shark fin on a piece of paper and cut it out to use as a template. Hold it against the jar to make sure the size looks right.
Trace the fin onto blue craft foam, cut it out, and glue it to the back of the jar.
Cut six small rectangles or thin strips from the blue foam. Glue three onto each side of the shark’s head to create the gills.
If a little glue squeezes out around the fin, you can cover it with thin strips of blue foam.
Step 5: Add the Eyes
Glue the craft eyes, googly eyes, or black buttons near the top of the shark’s head.
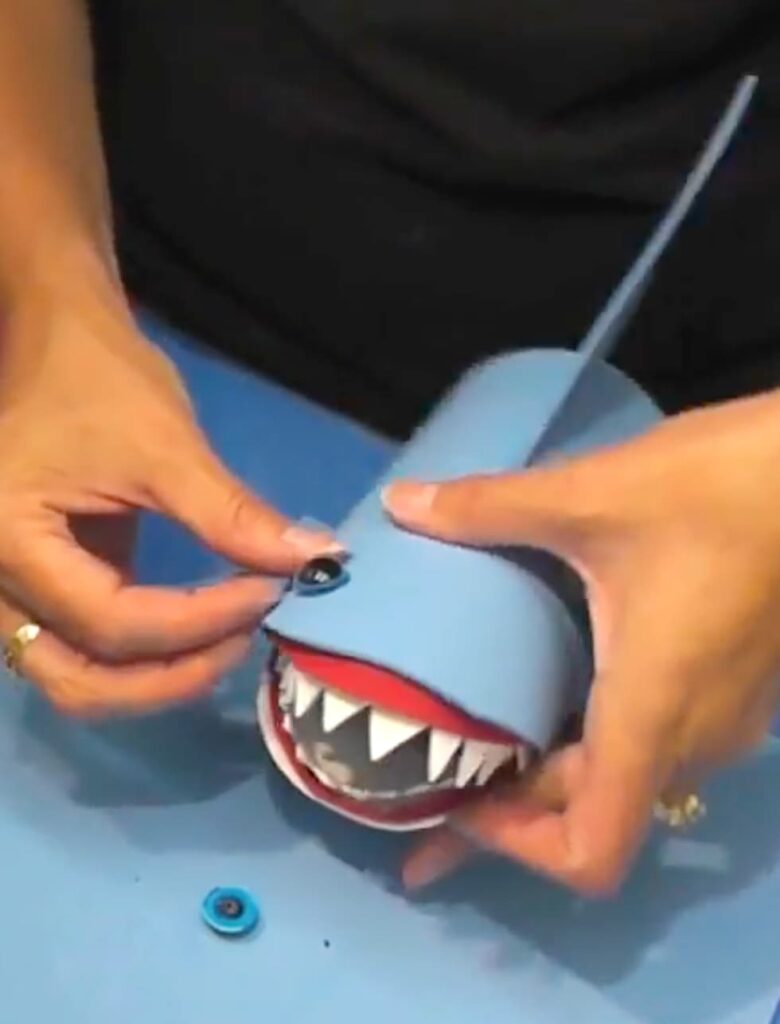
Let all the glue cool or dry completely before filling the jar with pencils, markers, paintbrushes, or flowers.
Your Shark Pencil Holder is Ready!
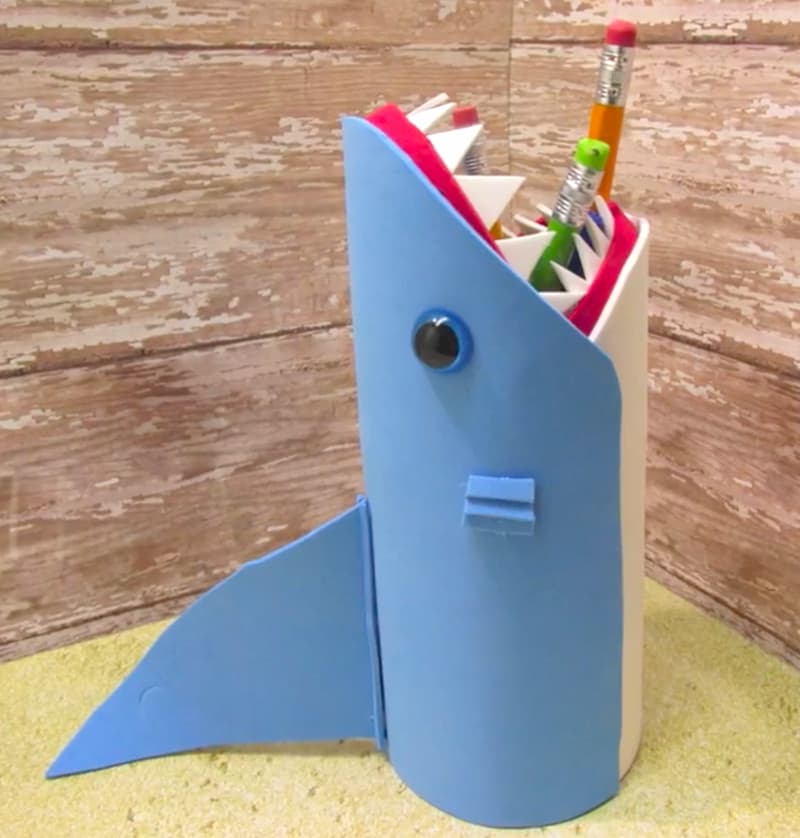
That’s it! This easy shark craft turns an ordinary plastic jar into a fun and useful shark pencil holder in five easy steps.
Fill it with pencils for a back-to-school teacher gift, use it to organize supplies in a child’s homework area, or add flowers and display it as part of your Shark Week decorations.
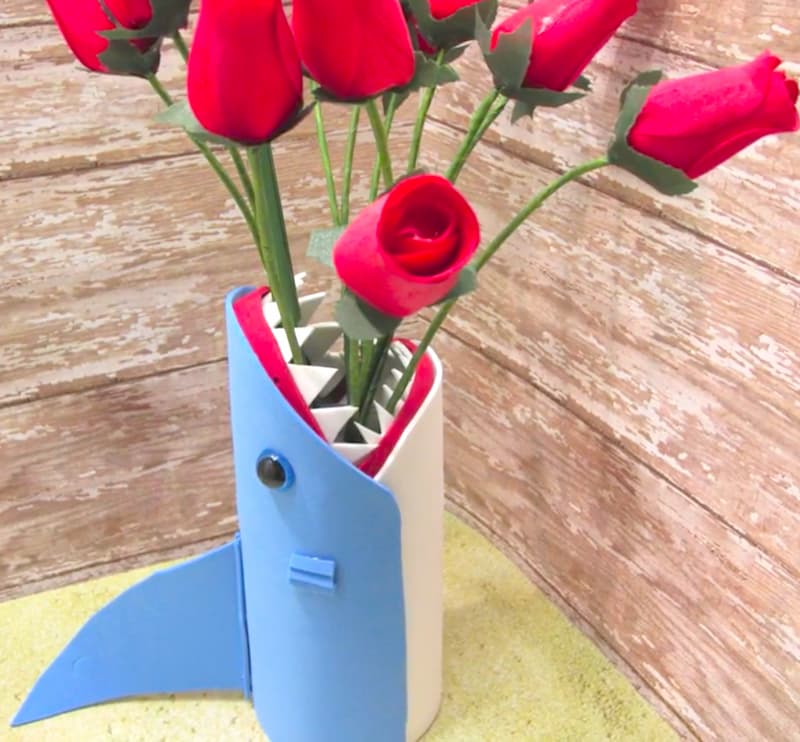
You could even make several sharks with different expressions and use them as containers or a centerpiece for a shark week party.
Happy Shark Week, and good luck with the new school year!
More Shark Crafts
Cause one shark craft is not enough, check out these:
- DIY Shark Coasters | Shark Week Inspired
- 10 Shark Crafts! Perfect for Shark Week!
- Amazing Shark Coasters
- Resin Shark Art
Remember: Life’s too short not to shimmer, so grab your glue gun and your glitter!™
Mona
Oh how cute is this!! Pinned it to our Kids Crafts group Pinterest board. Would LOVE it if you'd stop by Wonderful Wednesday Blog Hop on Ducks 'nj a Row this week to share it. My readers will love it!