
You will need:
– Resin (see this video tutorial to see how to prepare it, or follow package directions)
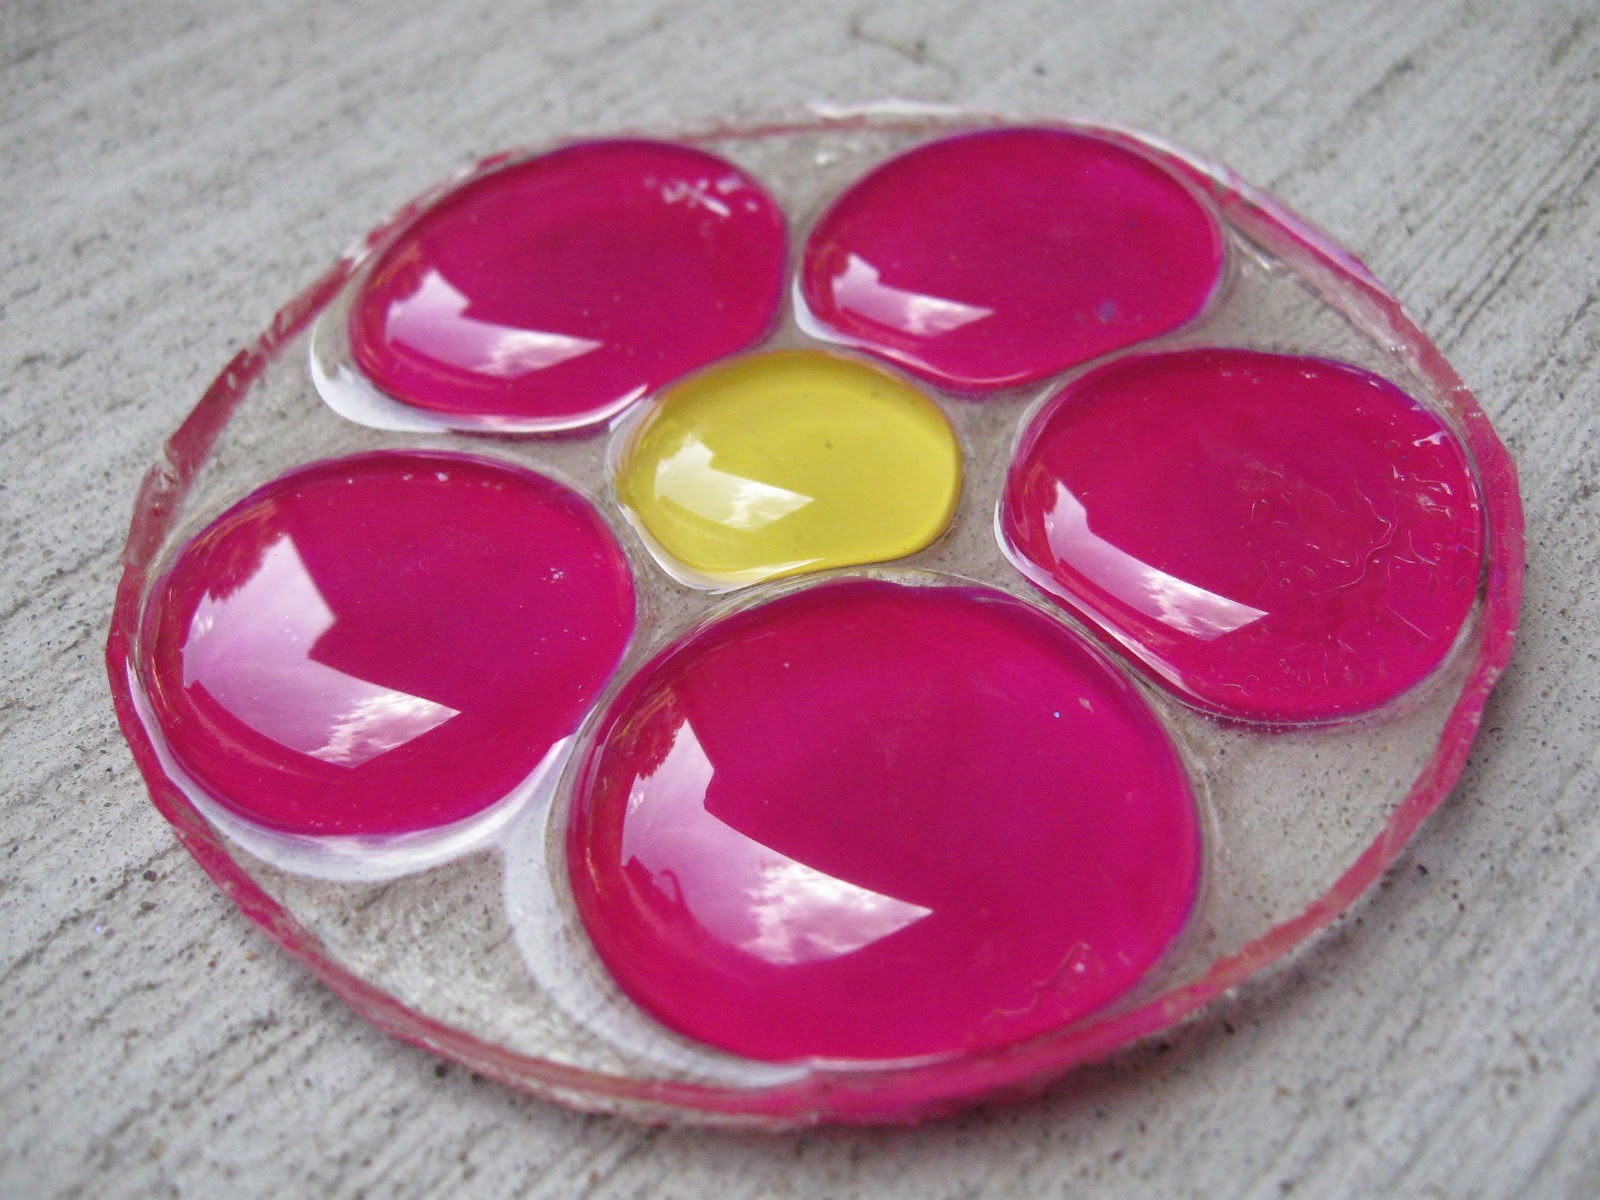
– Nail polish glass stones (see this video tutorial on how to make those)
– Red Solo cup (or any other plastic cup will work)
– Paper or rubber cement
– Wax paper
Directions:
1. Cut Solo cup to size.
2. Line cup with wax paper. I adhered mine with the paper cement. I admit it was a pain in the butt and took a little doing. Patience works wonders in this situation. Get it on as smooth and straight as you can and let dry.
3. Adhere the wax lined mold (Solo cup) to the wax paper on your work table. Allow to dry and make sure there aren’t any spots you missed, or the resin will leak out.
4. Place your stones into the mold, in the design you want.
5. Pour resin over stones. I covered everything in resin, but did not make the top flat (which you can and it would be equally as pretty). My thought was that the stones I chose were all very similar in height and I could keep a more three dimensional look and still have it be a level surface to put a cup or glass on. Had my stones been more different, I would have filled it further.
6. Check on the project a few times in the first hour to make sure any bubbles have been removed and keep it covered to keep out dust!
7. Wait 12 hours and pull it off the wax paper. Take scissors and cut into the cup and just peel it off.
8. Enjoy!
Happy Crafting! Let me know if you have any suggestions on how to make it better!
Thanks for stopping by!
Mona