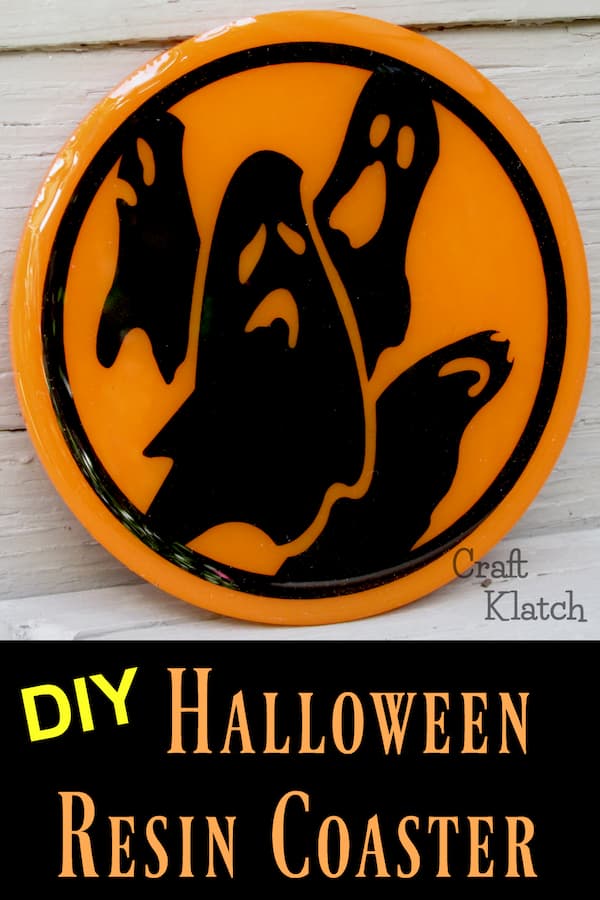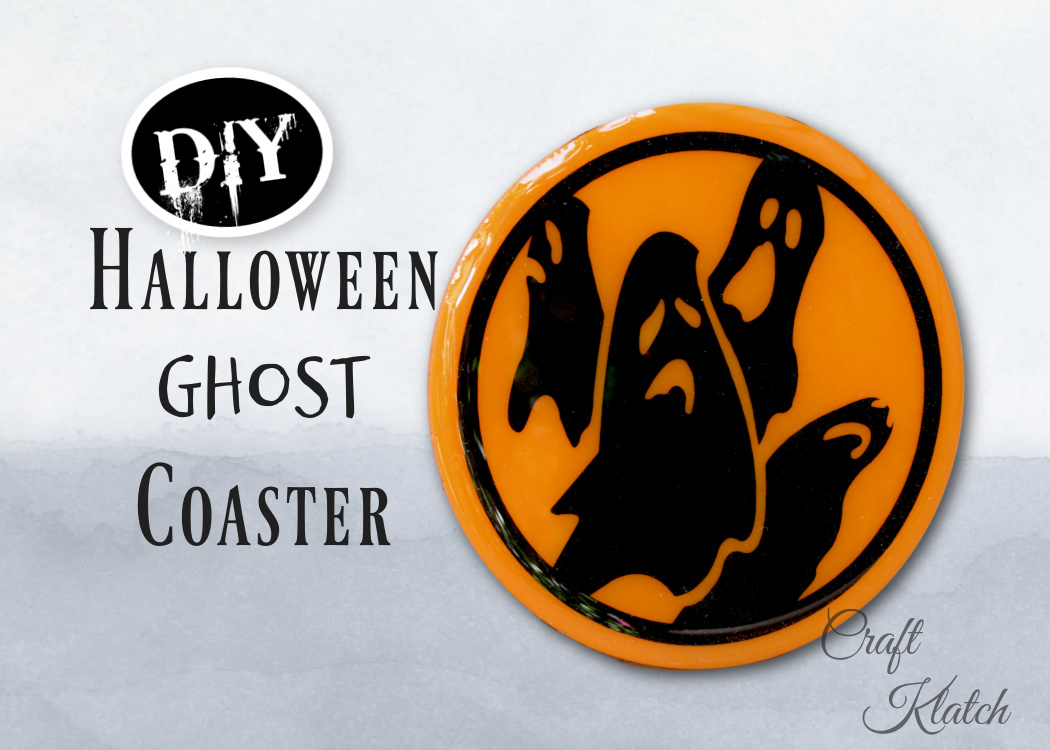
Make a fun ghost coaster with this easy Halloween craft using your Cricut! It’s a simple resin DIY perfect for spooky season fun!
A Little Haunting Inspiration for this Halloween craft…
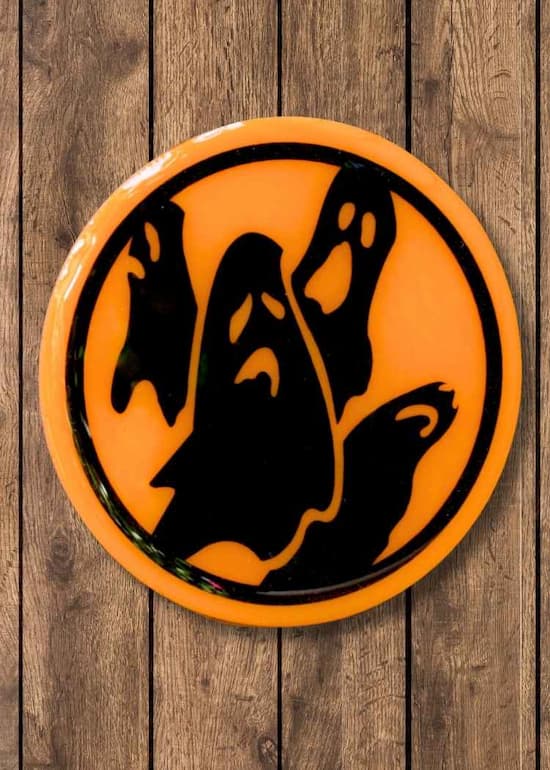
Back when I first got my Cricut, I was a little hesitant to go beyond the basics. But one fall afternoon, I felt inspired to combine my love of resin with my Cricut skills. That’s how this spooky ghost coaster came to life!
It’s now one f my go-to Cricut crafts, not just for Halloween but any time of year. It’s easy, looks so good and by the way…it makes a great gift too!
Be Sure to FOLLOW ME on Instagram!
Supplies You Will Need
*Disclosure: This blog uses affiliate links from Amazon and other retailers. I earn a small amount from qualifying purchases at no additional cost to you.
Coaster mold
Orange pigment
Mixing cups
Stir sticks
Cricut Machine
Removable vinyl
Transfer tape
Resin
Quicker curing resin option
Watch the Ghost Coaster Video Tutorial
Want to follow along? Check out the quick video to see exactly how I made this Halloween craft step by step.
How to Make a Ghost Coaster | Easy Halloween Cricut Craft in 5 Steps
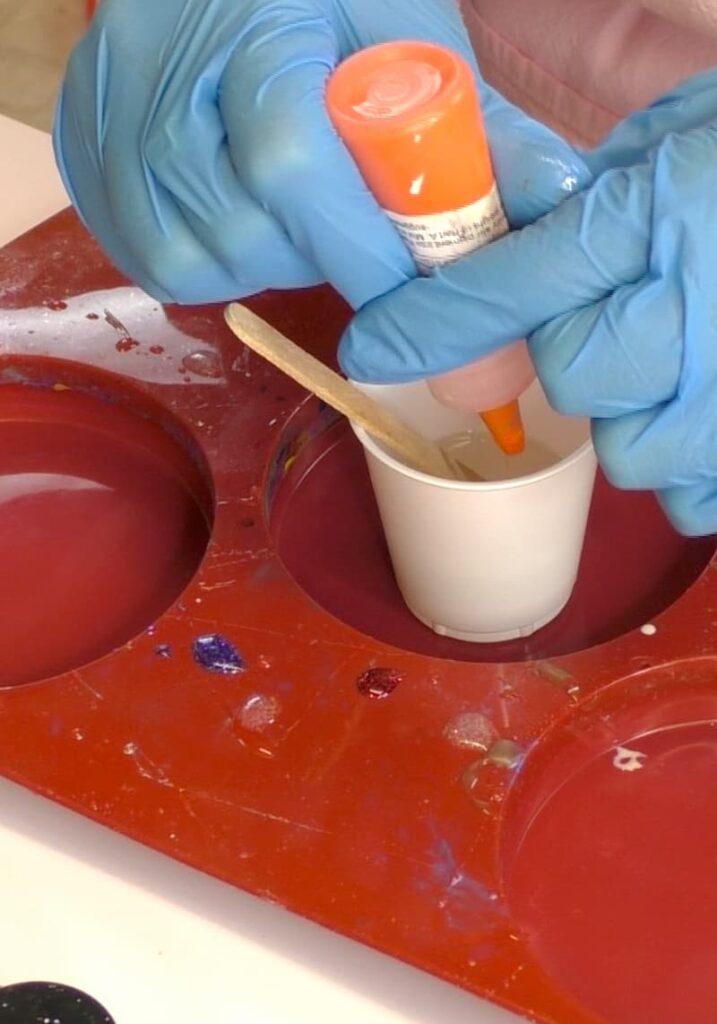
Step 1: Make the Resin Base
Mix 1 ounce of resin, according to the package directions and then add orange pigment and stir well.
Pour into your coater mold and use a lighter or heat gun to pop any bubbles. Let it cure a minimium of 12 hours.
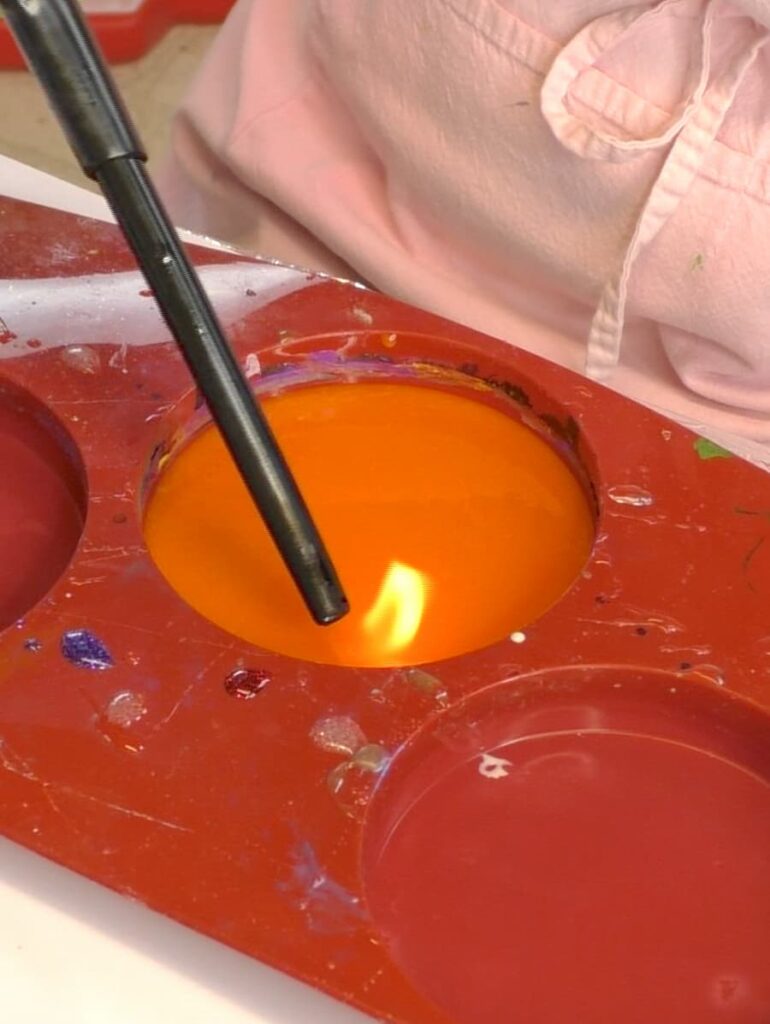
*You can add a little spooky sparkle with glow in the dark pigment or glitter!
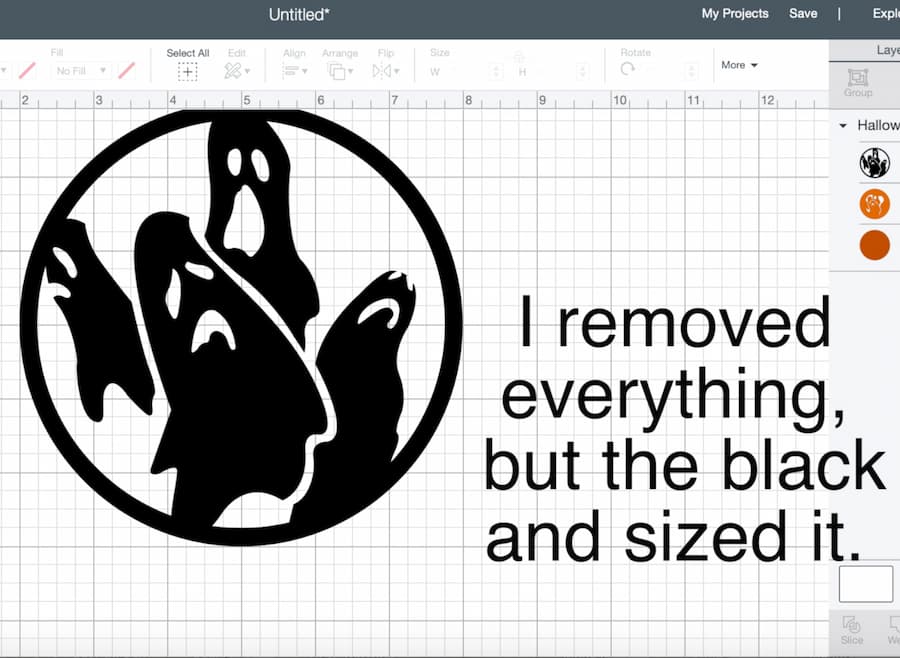
Step 2: Find Your Ghost Design in Cricut Design Space
Open Cricut Design Space and search for “ghost” or “Halloween”. Choose a simple ghost silhouette and size it to about 3.5 inches. Remove any unneeded layers or colors.
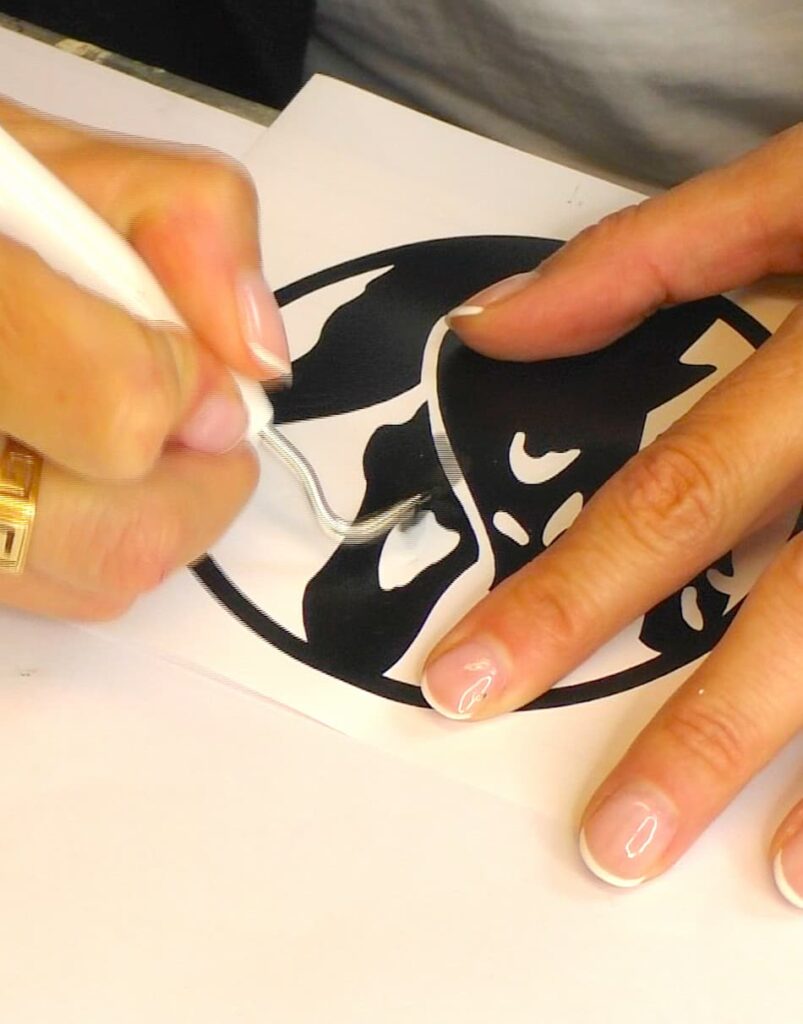
Step 3: Cut and Weed the Vinyl for Your Ghost Coaster
Load your vinyl into the Cricut machine and cut the ghost design. Weed away the excess vinyl so only the sihouette remains. Apply tansfer tape over the top of the design and burnish it down.
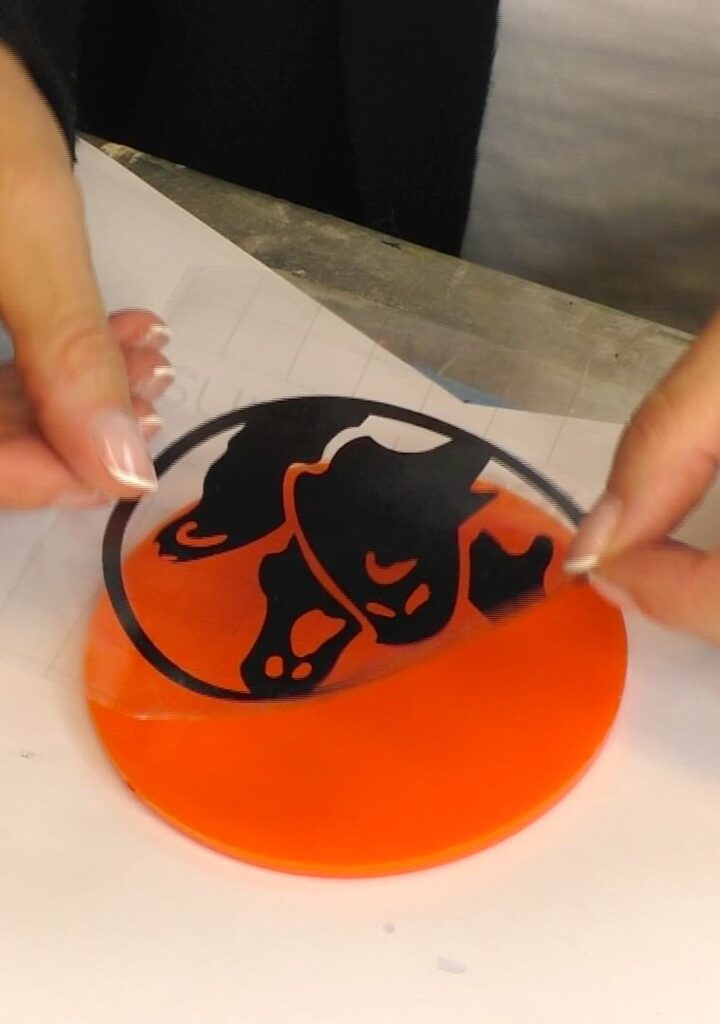
Step 4: Apply the Ghost to the Cured Coaster
Once your coaster base has cured, carefully place the vinyl ghost onto the surface. Burnish it again and peel away the transfer tape to leave your ghost in place.
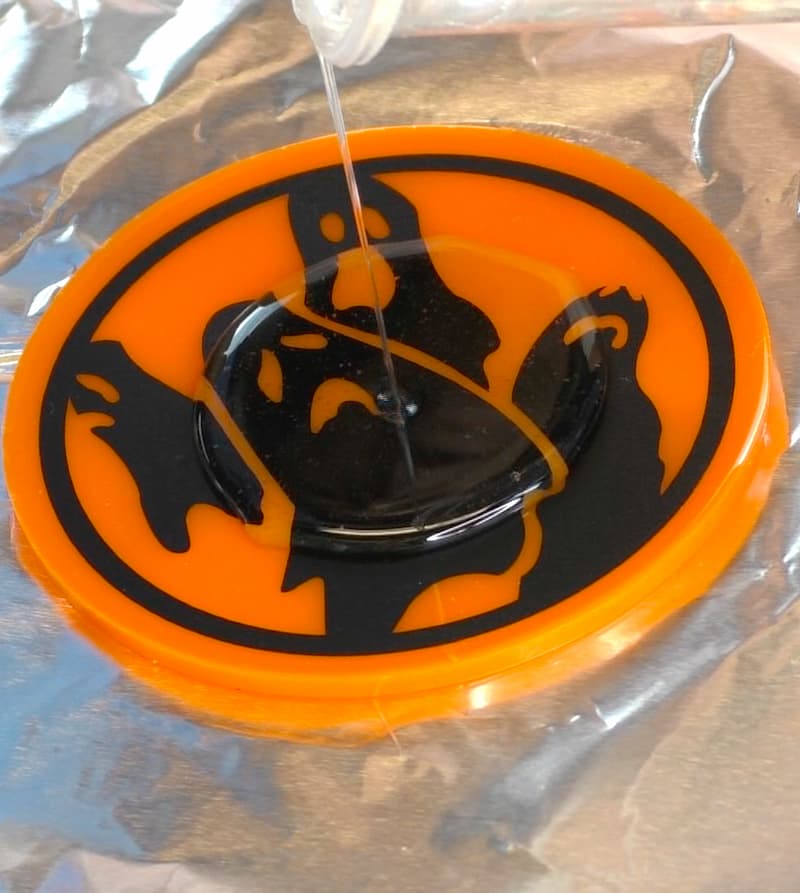
Step 5: Seal Your Halloween Craft with a Final Resin Layer
Mix another ounce of clear resin and pour it over the coaster to seal in your ghostly design. Use a lighter or a heat gun to pop any bubbles and allow it to cure a minimum of 12 hours.
That’s It! You’ve Made a Spooky Ghost Coaster Halloween Craft
This Halloween craft is simple, satisfying and just spooky enough for the season. With your Cricut doing the design work and resin giving it that glossy professional finish, you’ll have a beautiful ghost coaster you can use or gift!
Crafty Tips and Variations
Always add your own personal touch to any project, whether it’s a Halloween craft or a home decor item. Here are some ideas how you can make this project reflect your personality better:
- Use different background colors, like purple or black for a moody Halloween look.
- Create a set of ghost coasters with different ghost shapes or spooky phrases.
- Add names for personalized Halloween party favors.
Check Out These Ghostly Halloween Craft Ideas
I know you are going to love these ideas and might just decide to make them too!
- How to Paint a Ghost on a Resin Coaster
- Ghost Craft | Spooky Ghost Vase
- Haunted House Halloween Coaster
- Cheese Cloth Ghost Craft
If You Don’t Want to Make Them…
Sometimes we just don’t have the time to create, so here are some great ghostly alternatives!

Thanks so much for stopping by and crafting with me! I hope this Cricut craft inspired your Halloween creativity.
Remember: LIfe’s too short not to shimmer, so grab your glue gun and your glitter!™
Mona
Don’t forget to PIN this Easy Ghost Coaster Cricut Craft to save for Halloween