Learn how to make earrings with UV resin! Create stunning beach-themed jewelry using sand, shimmer, and shells in the easy DIY tutorial.
Have you ever wondered how to make earrings that look like they came straight from a boutique?
My granddaughter recently came to visit, and after seeing my pumpkin earrings, she decided she wanted to give UV resin a try.
Since she loves all things beach-themed, we created a pair of ocean-inspired earrings together. I gloved her up, handed her the supplies, and off she went!
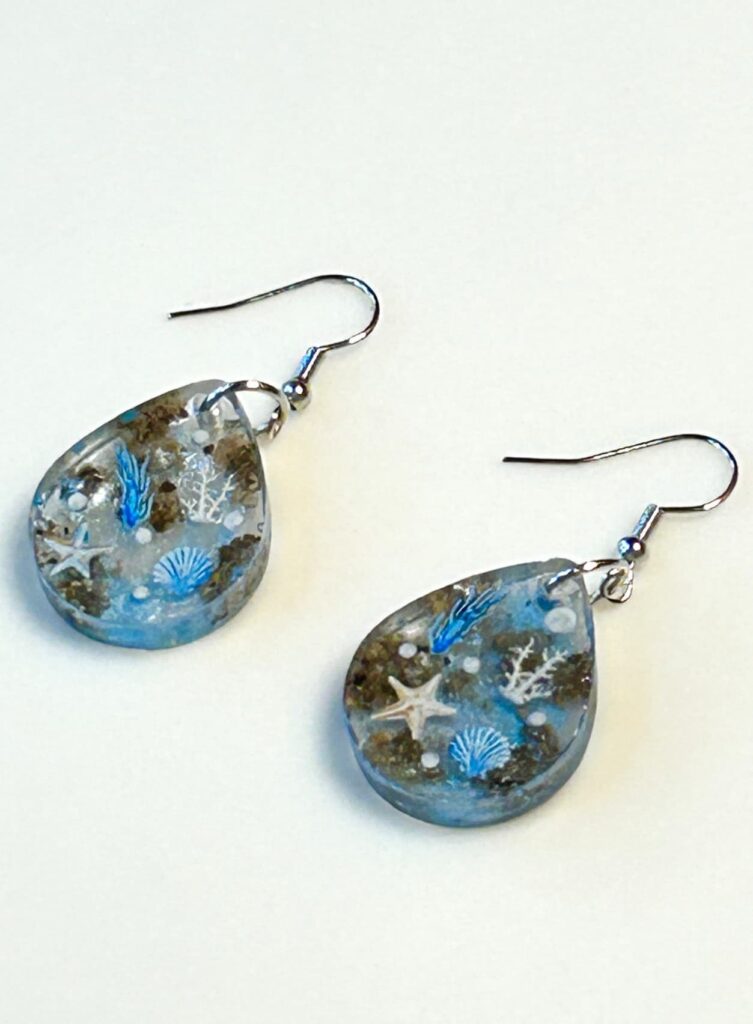
The result? A gorgeous pair of handmade earrings with seashells, sand, and sparkle. She was so proud of how they turned out and even said they looked good enough to have come from a store…and I agree!
If you’ve been curious about how to make earrings using UV resin, this is a fun and easy project to try.
Supplies You’ll Need
*Disclosure: This blog uses affiliate links from Amazon and other retailers. I earn a small amount from qualifying purchases at no additional cost to you.
- Teardrop earring molds & earring findings (come in this bundle)
- UV Resin Starter Kit (includes UV light)
- Pigment powders (white and blue)
- Beach sand
- Beach-themed nail stickers
- Gloves
How to Make Earrings Video Tutorial
Step-by-Step: How to Make Earrings with UV Resin
Here, the simple process is broken down into 5 easy steps.
Step 1: Pour the First Layer
She started by choosing the tear-drop shaped mold. A thin layer of UV resin was squeezed out into the mold and spread evenly to the edges.
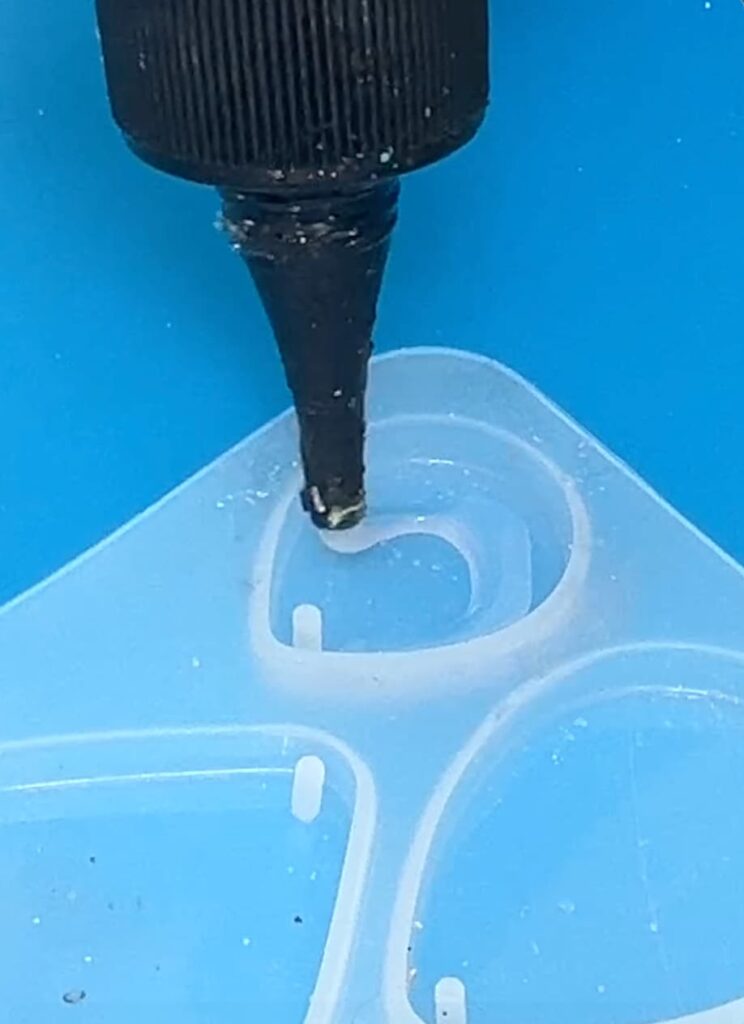
Once it was smooth, she cured it under the UV light until it hardened.
Step 2: Add Shimmer
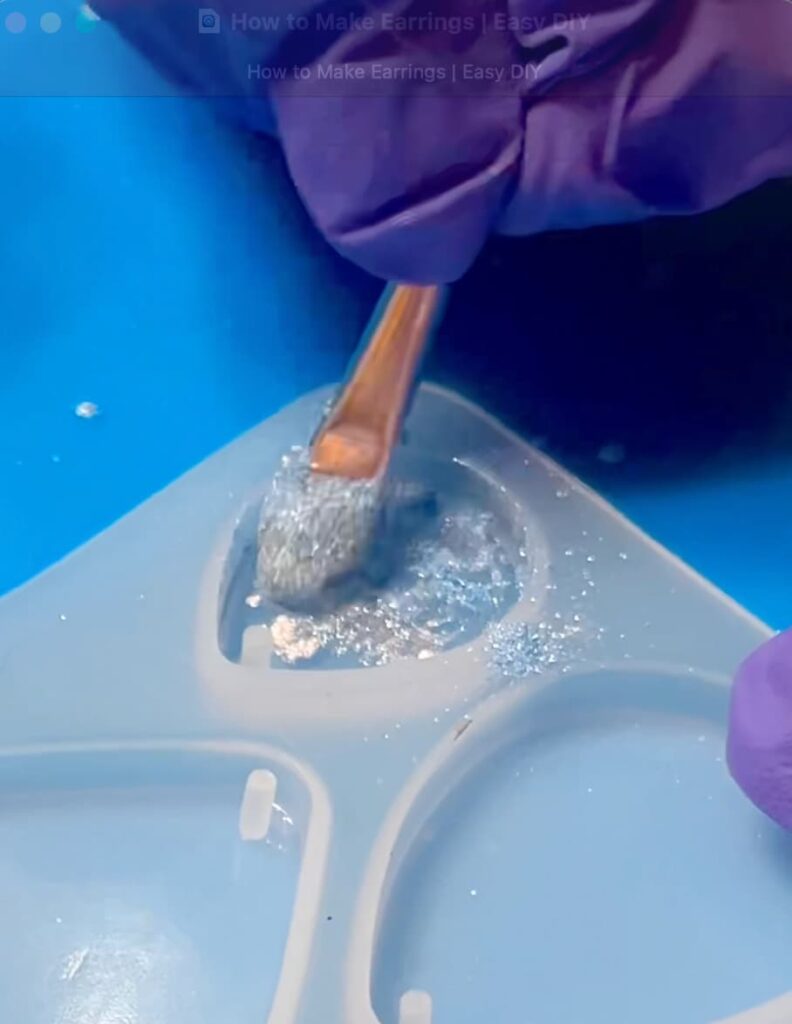
Using a soft brush, she dabbed white and blue shimmery pigment powders onto the cured resin base. This created a pretty ocean-like background.
Step 3: Mix in Sand
Next, we mixed a little beach sand with some UV resin. She carefully scooped bits of the sandy mixture onto the earrings and cured them under the UV light.
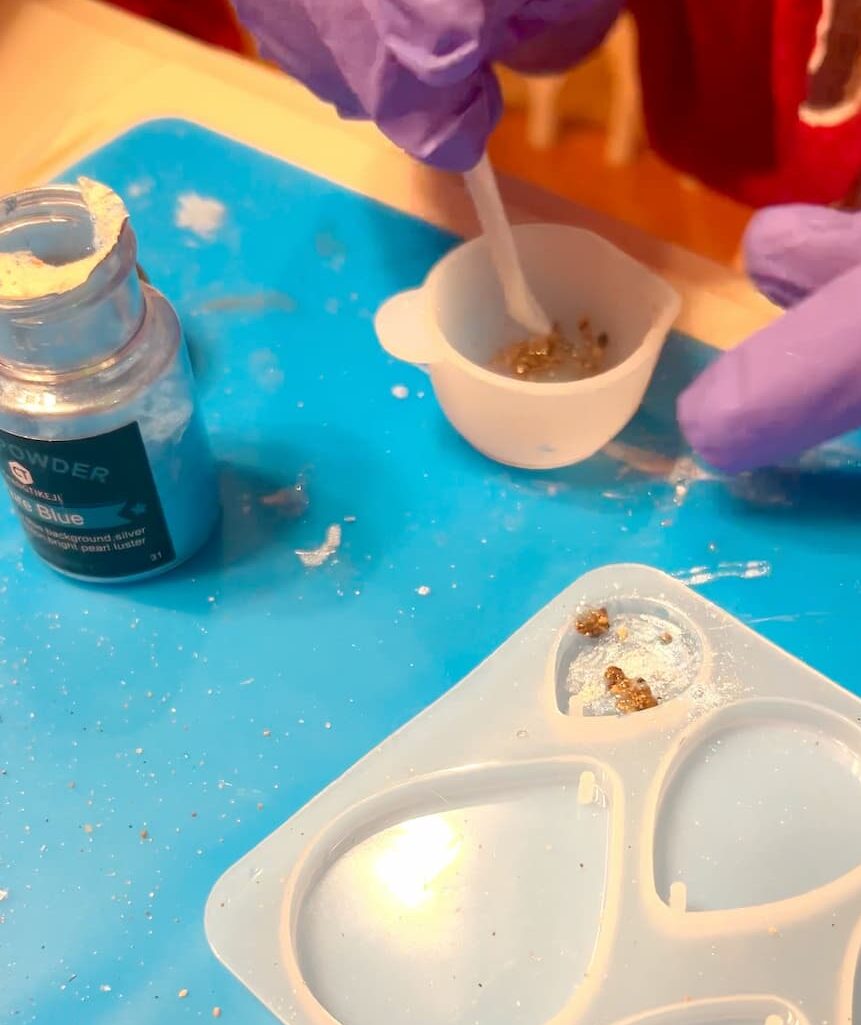
This step added visual texture and gave the earrings some authentic beachy vibe.
Step 4: Stick on Beach Details
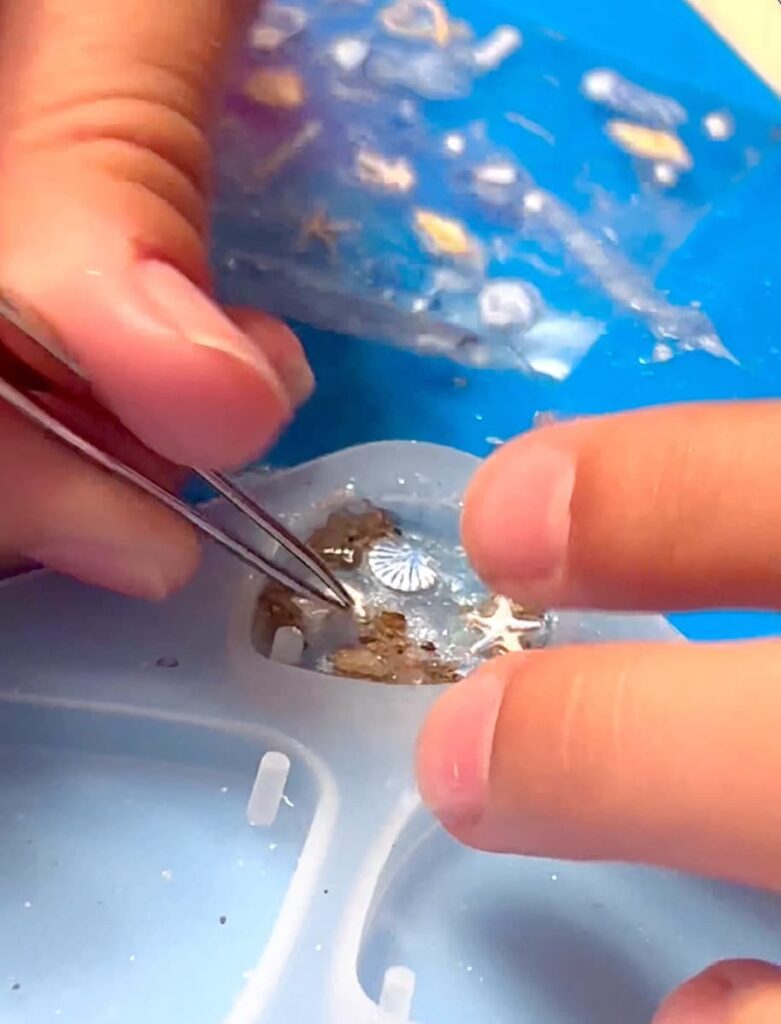
Once the sand layer cured, she added fun beach nail stickers (tiny shells, coral, starfish, and seaweed). The stickers are so cute and come in so many different styles.
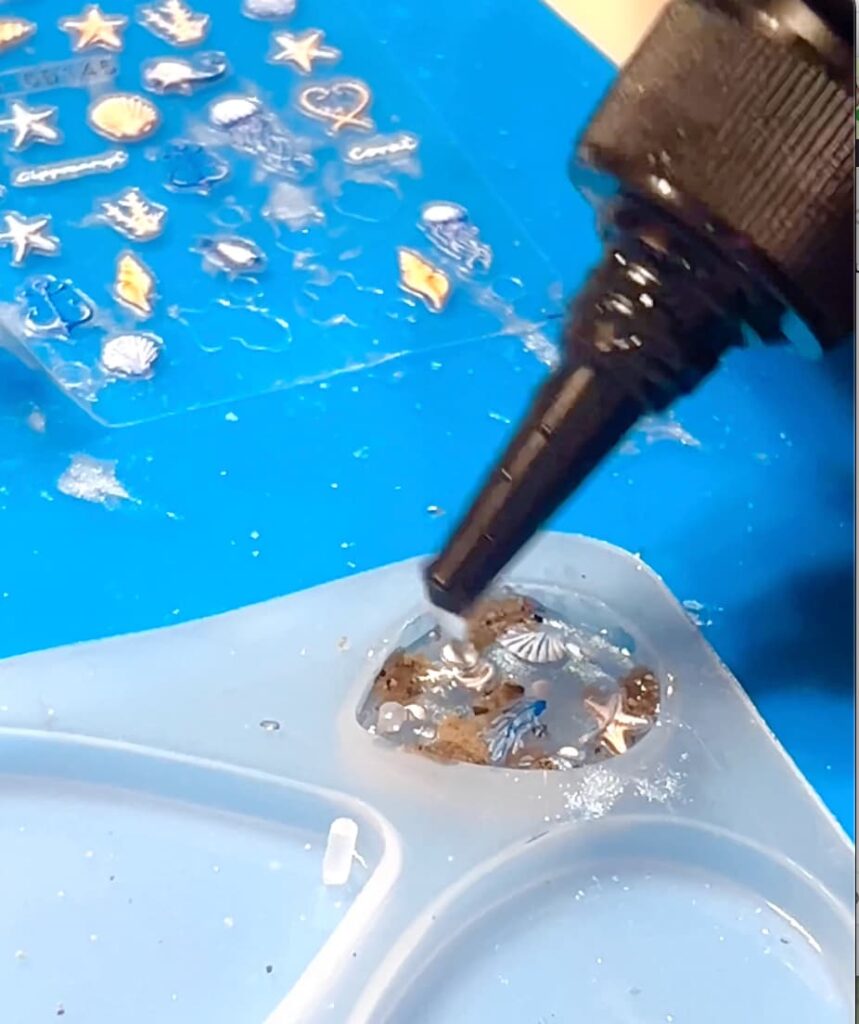
To seal it all in, she topped the earrings with another layer of UV resin and cured it again.
Step 5: Add Findings
After everything was fully cured, she popped the earrings out of the mold. We attached jump rings and earring hooks, and just like that, her custom UV resin earrings were complete!
Making Memories and Jewelry
This project was such a fun way to spend time together and learn how to make earrings with UV resin.
My granddaughter couldn’t believe how professional they looked and was so proud of her beach-themed creations.
If you’ve been wanting to try UV resin crafts, earrings are the perfect beginner project.
Once you figure out how to make earrings (it’s super easy!), you’ll realize the possibilities are endless…hello Christmas, Halloween, birthdays…and so much more!
So grab some resin, sand, and sparkle, and start experimenting with your own jewelry ideas. You might surprise yourself with just how easy it is once you know how to make earrings!
Other Fun Jewelry Crafts
If you liked this jewelry craft, you are going to love these!
Thanks so much for stopping by! Remember: Life’s too short not to shimmer, so grab your glue gun and your glitter!
Mona
Don’t forget you and ALWAYS find me on YouTube!