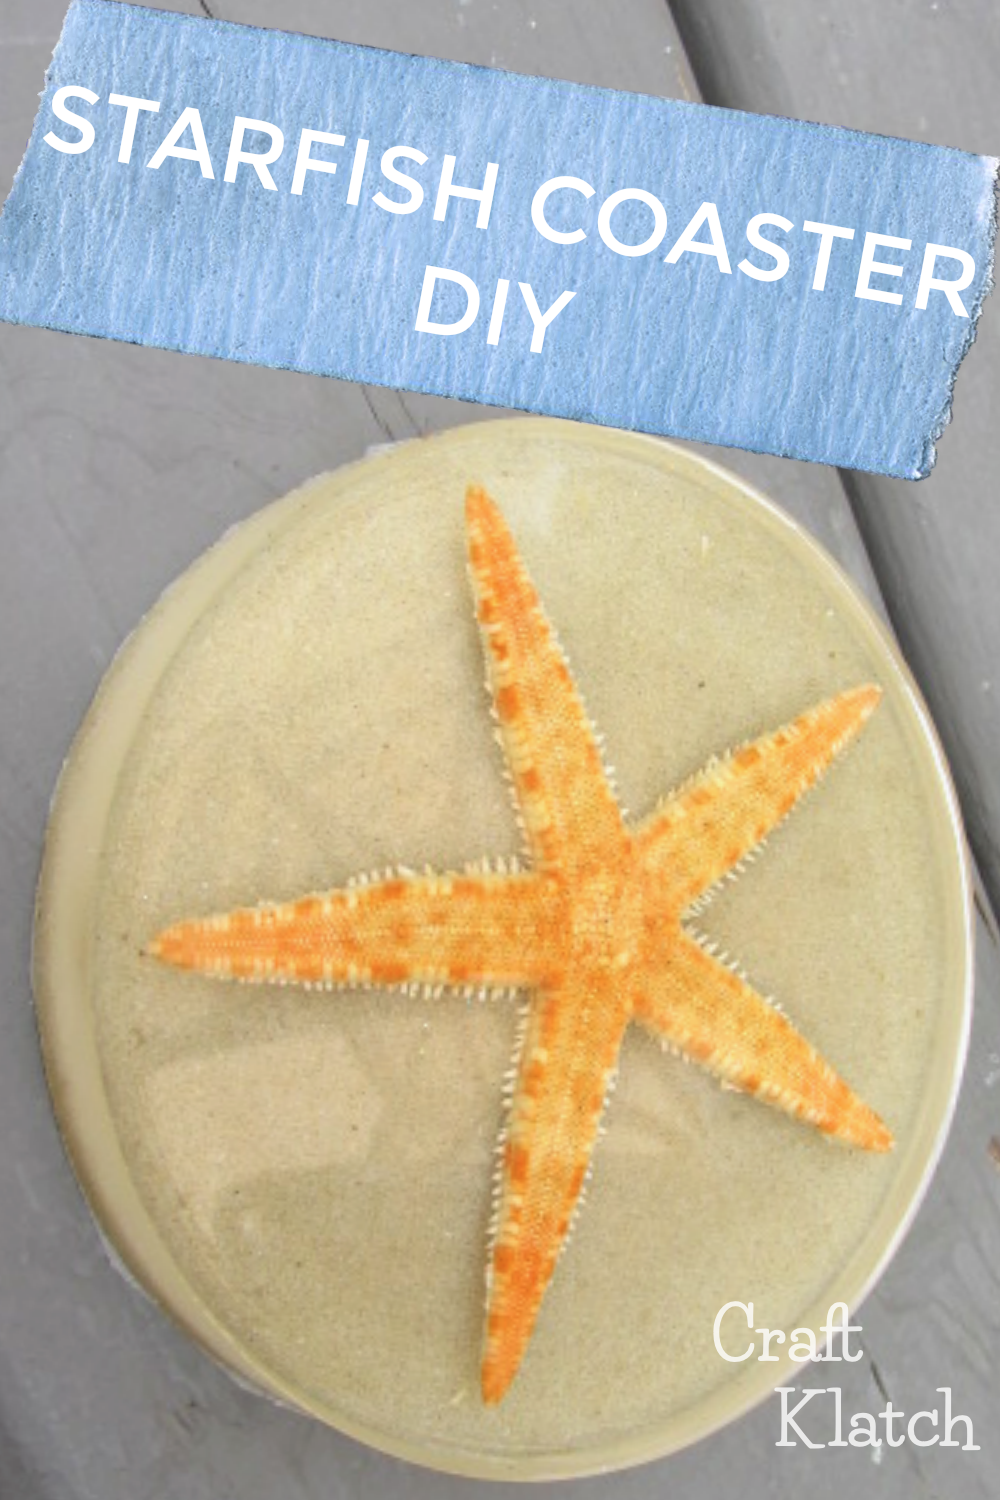
This project can be done with purchased items, or if you are lucky enough to have brought back a starfish and sand from one of your vacations, this is a perfect vacation memory item!

You will need:
*This blog uses affiliate links. As an Amazon Associate I earn from qualifying purchases, at no additional cost to you.
- Mold: https://amzn.to/2FcRd7
- Dried starfish: https://amzn.to/35zeBub
- Mine were provided by Oriental Trading Company – www.orientaltrading.com – you can also find them here: https://amzn.to/2VuVTlg
- Sand: https://amzn.to/2LxDNdL
- Resin
- When deciding on which resin to use for your coasters, you need to keep in mind whether you want it just for cold cups or for hot ones as well.
- If only for cold drinks, you can be flexible and use whatever brand you like:
- If you want it to work for both hot and cold drinks, you need to look for a heat-resistant resin, like these:
- Stone Coat (Quick coat)
- Stone Coat (Heat resistant)
- FX Poxy ~ According to the manufacturer, this one is heat resistant to 500° F.
Here is the video tutorial:
Directions:
- Prepare your mold and your resin. Here is the video on how to prepare your mold. However, I have since found this great mold: https://amzn.to/2FcRd7
- Separate the resin into two cups. In one of the cups, begin to mix sand with the resin. Make sure it is well mixed and make sure you have enough to cover the bottom of the mold.
- Spread it around until it is as smooth as you can make it.
- Take starfish and press gently into the sand.
- Take resin and drip it over the starfish. This is to seal the starfish in homes it will then prevent future bubbles, during the final pour.
- Allow to sit and cure for at least one hour, but I did mine for 12 hours, just because I was gone for that long.
- Mix another batch of resin and pour over the starfish and sand. Doing this in two pours allows the sand to stay in place during the second pour and it prevents the starfish from trying to float to the top!
- After 12 hours, unmold it and trim off anything that might have leaked under the edges.
That’s it! Enjoy your new coaster!
Thanks for stopping by and Happy Crafting!
Mona