This craft was suggested to me by one of my YouTube subscribers. Thank you Emily Proulx!
She thought of combining two techniques I had done previously. The first being the nail polish stones and the second being the nail polish marbling. I have to admit, it was a really great idea!
You will need:
– Nail polish
– Glass stones
– Pliers
– Cup of water
Here is the video tutorial:
Directions:
1. Put a clear top coat on the flat side of the glass stone. Fill cup with water.
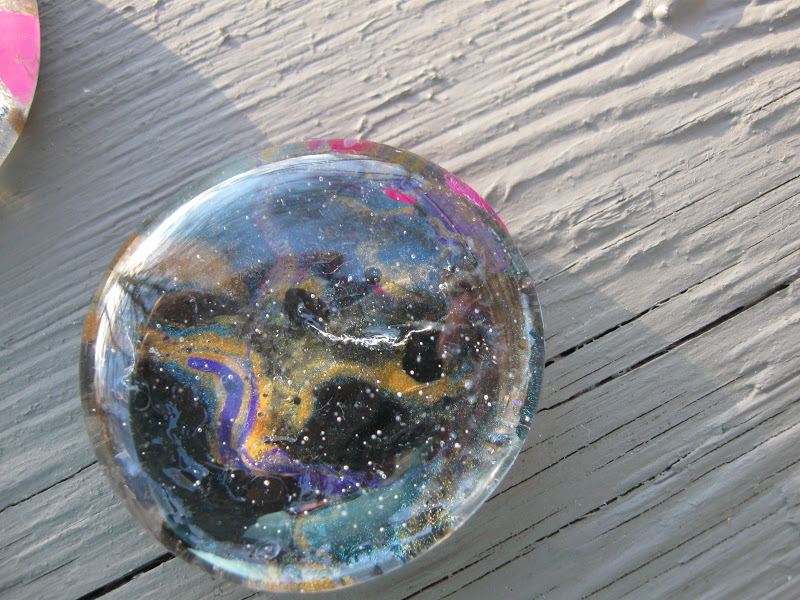
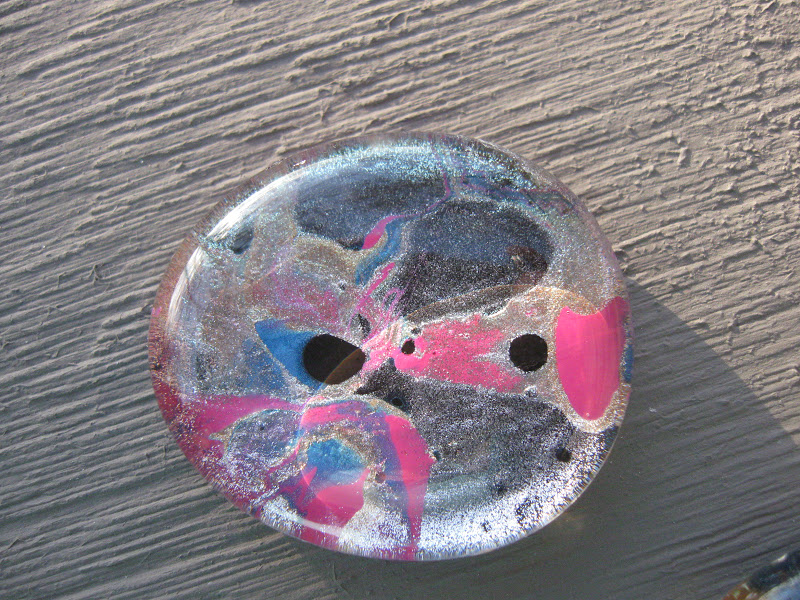
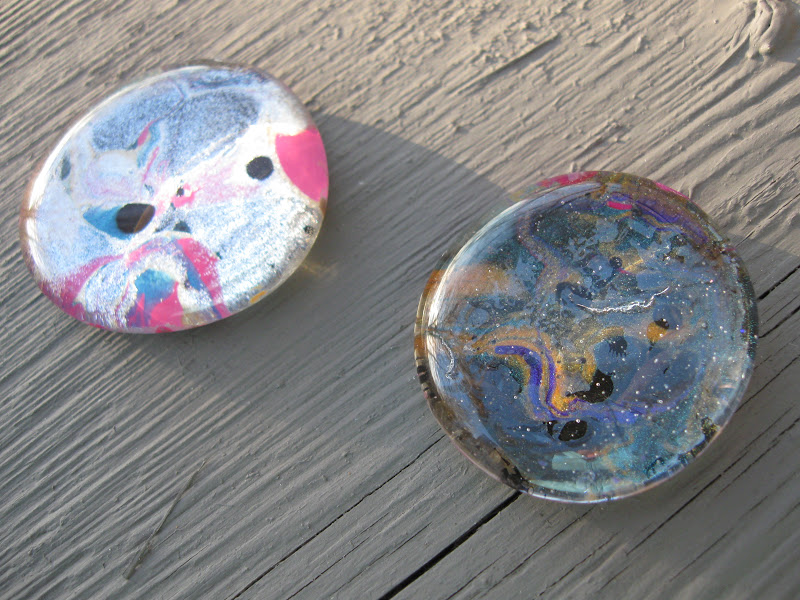
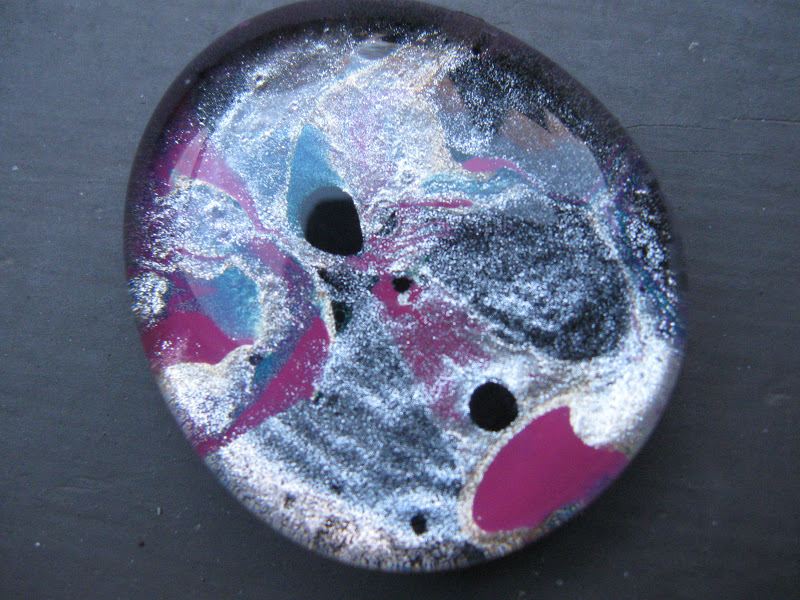
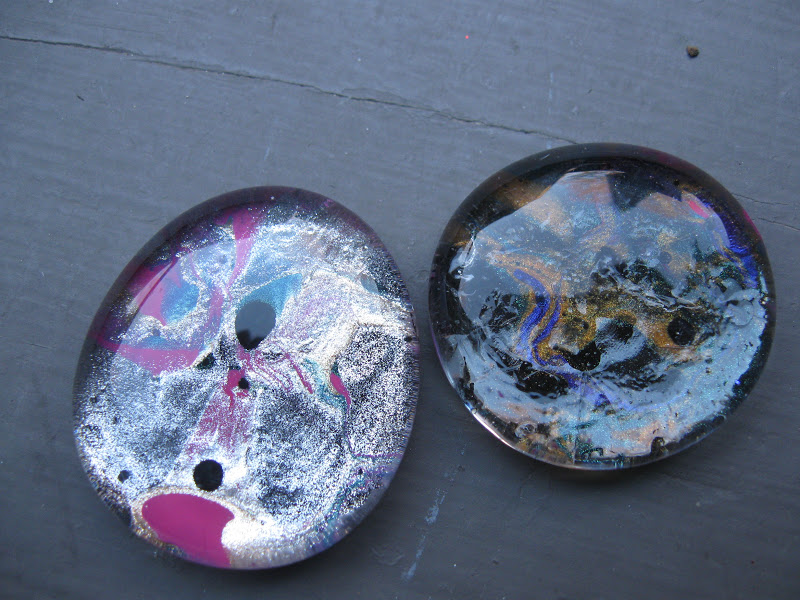
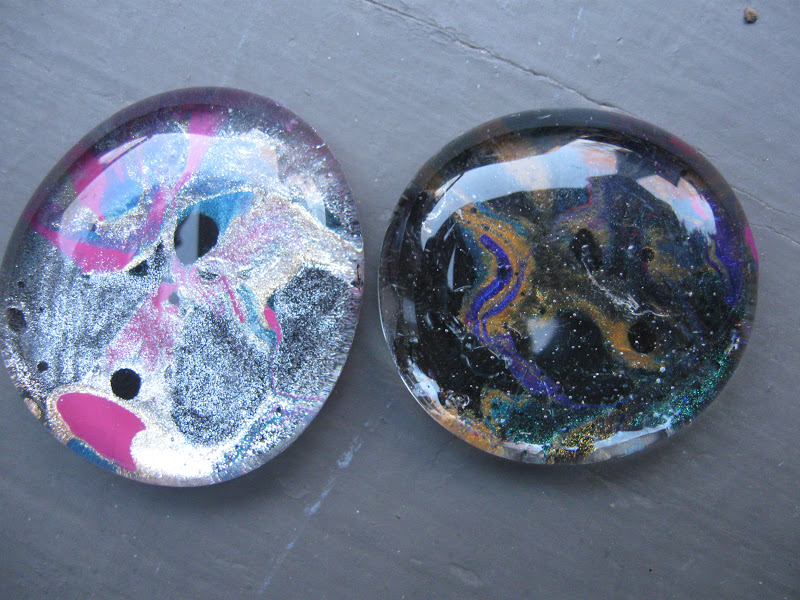
2. Drip nail polish into the water – different colors – and take a toothpick and just run it through to give it a marbled look.
3. Take your glass stone in your pliers and dip into the water. You do not need to go all the way under. The flat side of the stone should be the side being put in the water.
4. Put aside to dry.
5. Put a coat or two of black polish on and after it’s dry, put a layer of clear topcoat on.
That’s it. Emily, you are awesome! Thanks for stopping by! Happy Crafting!
Mona

I can't find the large size stones you are using for these…I got small ones from dollar tree. Please help me find these larger ones
I can't find the large size stones you are using for these…I got small ones from dollar tree. Please help me find these larger ones