
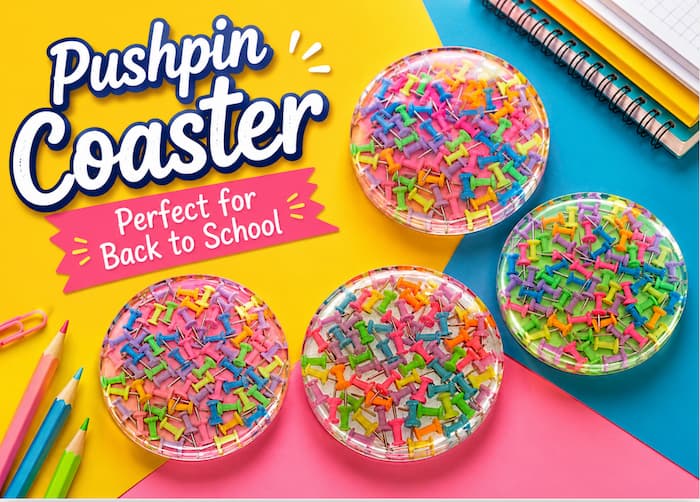
Make a colorful pushpin coaster with resin and Dollar Tree supplies. It’s an easy DIY back-to-school craft perfect for a dorm, office, or desk decor.
Sometimes the most unexpected supplies make the most fun projects!
When I spotted these brightly colored pushpins at Dollar Tree, I had to get them.
Of course, my first thought was…I wonder how these would look in resin…
The result is a colorful pushpin coaster that is perfect for back-to-school season, a dorm room, an office desk, or anyone who loves quirky…yet practical…decor.
You will need:
*Disclosure: This blog uses affiliate links from Amazon and other retailers. I earn a small amount from qualifying purchases at no additional cost to you.
- Resin
- When deciding on which resin to use for your coasters, you need to keep in mind whether you want it just for cold cups or for hot ones as well.
- If only for cold drinks, you can be flexible and use whatever brand you like:
- If you want it to work for both hot and cold drinks, you need to look for a heat-resistant resin, like these:
- Stone Coat (Quick coat)
- Stone Coat (Heat resistant)
- FX Poxy ~ According to the manufacturer, this one is heat resistant to 500° F.
DIY Back-to-School Resin Coaster Video Tutorial
Be sure to follow me on YouTube!
Directions:
- Prepare your resin according to the package directions.
- Mix in pushpins.
- Spread pushpins (should be well coated in resin) in the coaster mold.
- Allow to sit and remove bubbles as necessary. This first layer should now be full because the pushpins will likely float. Let it sit for at least an hour, but two or more would be better.
- Prepare more resin (enough to cover the pushpins) and remove bubbles as necessary.
- Allow to cure for a minimum of 12 hours before unmolding.
That is it! Thanks for stopping by! Remember: Life’s too short not to shimmer, so grab your glue gun and your glitter!™
Mona