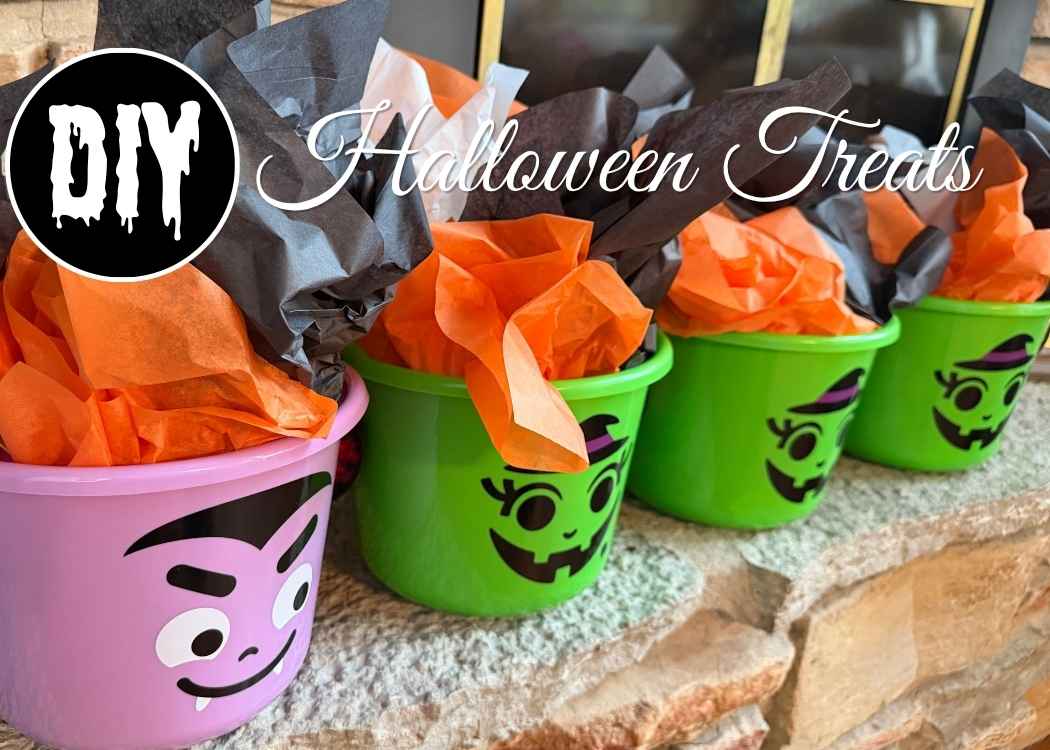
Make DIY Halloween treats for kids with personalized stickers, AI-generated witch and vampire photos, spooky cheeseball labels, and fun treats.
Every year, I put together fun little packages for the kids for Christmas, Halloween, Valentine’s Day, and Easter.
It’s one of those traditions that I look forward to, and every year I try to come up with something a little different to surprise them.
This year, I had a couple of new tricks up my sleeve.
No, not the kind that involve a magic wand (although, given the contents of these buckets, that wouldn’t have been out of place!).
I’m talking about a little AI magic and a little gadget that turned out to be a surprisingly useful addition to my crafting arsenal.
I love the little seasonal section at the front of Target. I scored $1 buckets!
Then, I made my way to the Halloween section and grabbed some Halloween goodies.
With a few containers of cheeseballs and my Liene PixCut S1 Photo sticker printer and cutter, I put together personalized Halloween buckets for the kids.
I saved time and leveled up my offerings.
Let’s get into it!
The DIY Halloween Treats Supply List
I started with the easiest part: shopping!
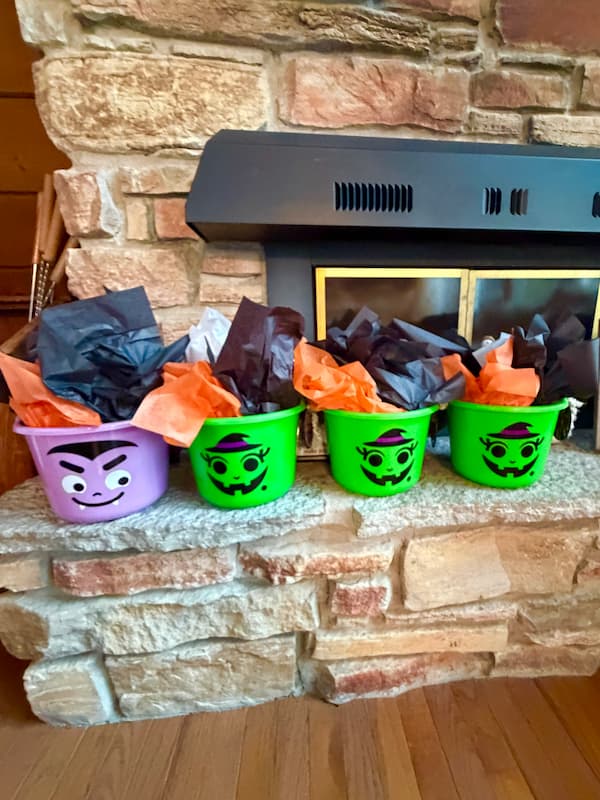
The girls got witches, and Jake got a vampire bucket. That set up the theme for everything else.
Then, I made a stop at the Dollar Tree for four containers of cheese balls.
Cheeseballs are a family tradition, and I turn them into something Halloween-worthy.
I also gathered black, orange, and white tissue paper to finish off the buckets.
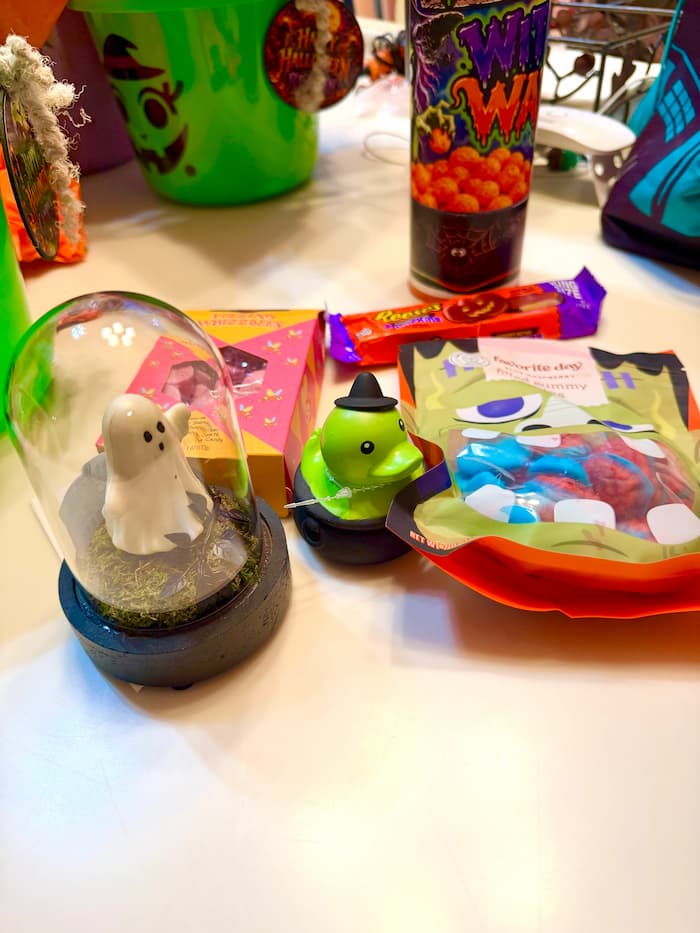
Here is what I used:
*Disclosure: This blog uses affiliate links from Amazon and other retailers. I earn a small amount from qualifying purchases at no additional cost to you.
- $1.00 Halloween buckets from Target
- Halloween treats and goodies – can be anything you want to include
- Harry Potter Candy
- Ghost Cloche
- Vampire Duck
- Four containers of cheeseballs from the Dollar Tree
- Black, orange, and white tissue paper
- Four unfinished wood rounds
- Black acrylic paint
- My Liene PixCut S1 photo sticker printer and cutter
- AI-generated Halloween artwork and personalized photos
- A few strands of boat carpet
*That last item will make sense later.
Turning Cheeseballs Into Witch Warts and Bat Droppings
You can put regular snacks in a bucket for DIY Halloween treats, and there’s absolutely nothing wrong with that. But where’s the fun in leaving them regular?
I decided the cheese balls needed a little Halloween makeover.
I used AI to help me create fun, spooky labels by printing them out on cardstock and gluing them around the containers.
Suddenly, those ordinary containers of cheeseballs became Witch Warts and Bat Droppings!
They can all be a little different.
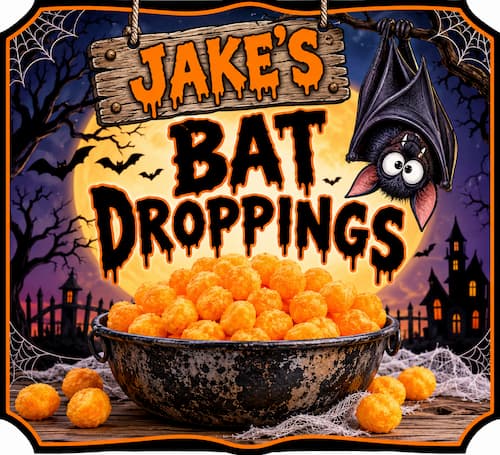
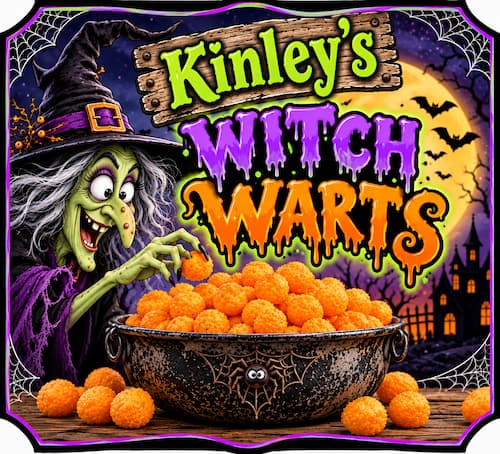
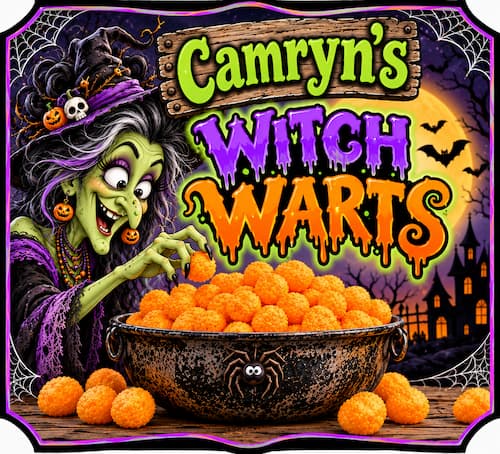
I made a round label for the top that said Happy Halloween. I used my Liene PixCut S1 to print and cut it out on sticker paper, and I put my little acorn ghost as a decorative topper.
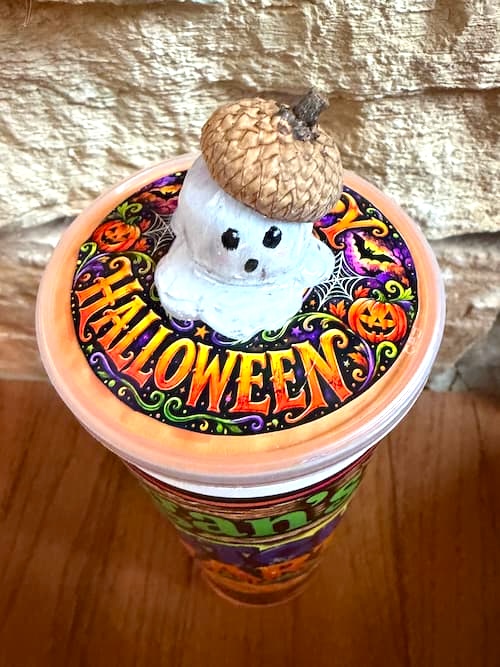
I’m not sure whether Witch Warts or Bat Droppings sounds more appetizing, but I suspect the kids won’t let the names stop them!
Personalized Halloween Tag for Each Kid
Next up were the personalized tags.
I had some unfinished wood rounds, so I painted them black.
I used AI to help me create round stickers I could add to each side.
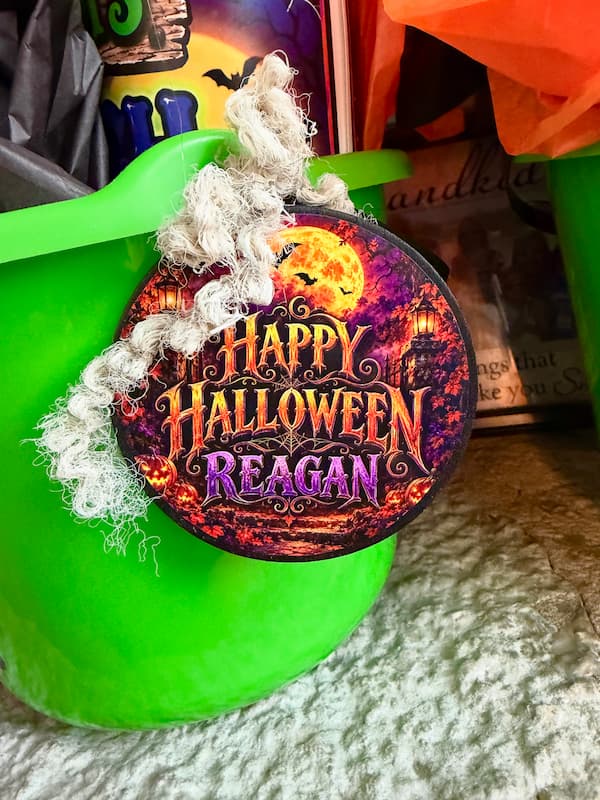
For one side, I created a Happy Halloween design.
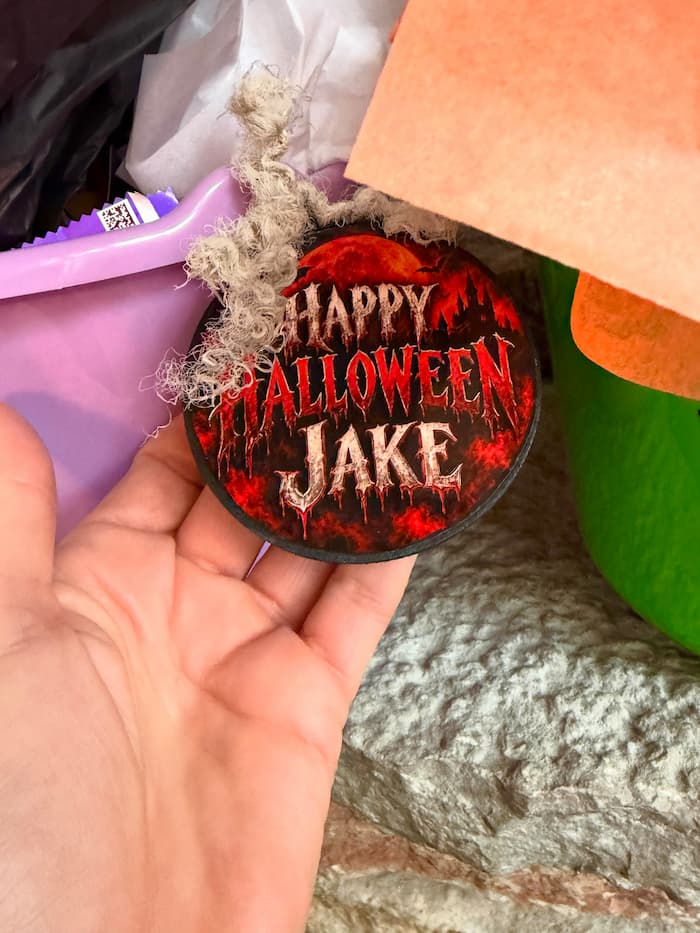
For the other side, I used a picture of the child the bucket belonged to, transformed into a Halloween character.
With the help of AI, the girls became witches, and Jake became a vampire.
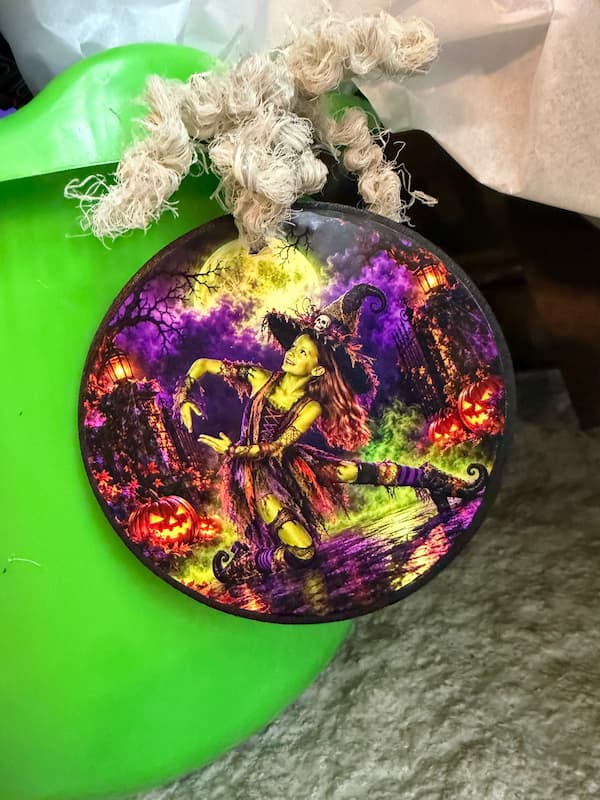
The personal artwork makes it feel personal and special for each kid and I don’t have to spend hours on Canva trying to create it myself.
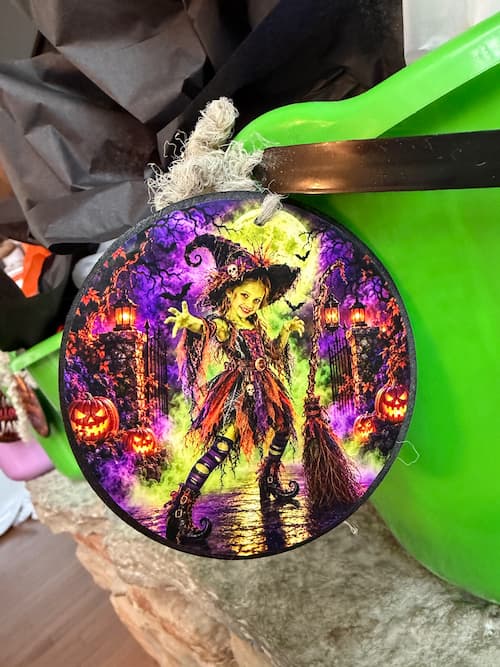
I turned the designs into stickers using the Liene PixCut S1, and they were cut perfectly to fit the wooden rounds.
I love that the tags can become keepsakes, too. The candy will disappear, the toys will eventually find their way into rubber ducky collections, but the personalized tags can be saved as a reminder.
Filling the Buckets with Halloween Goodies
Once the labels and tags were ready, it was time to put everything together.
I added black, orange, and white tissue paper to each bucket to give it all a little height and make everything look festive.
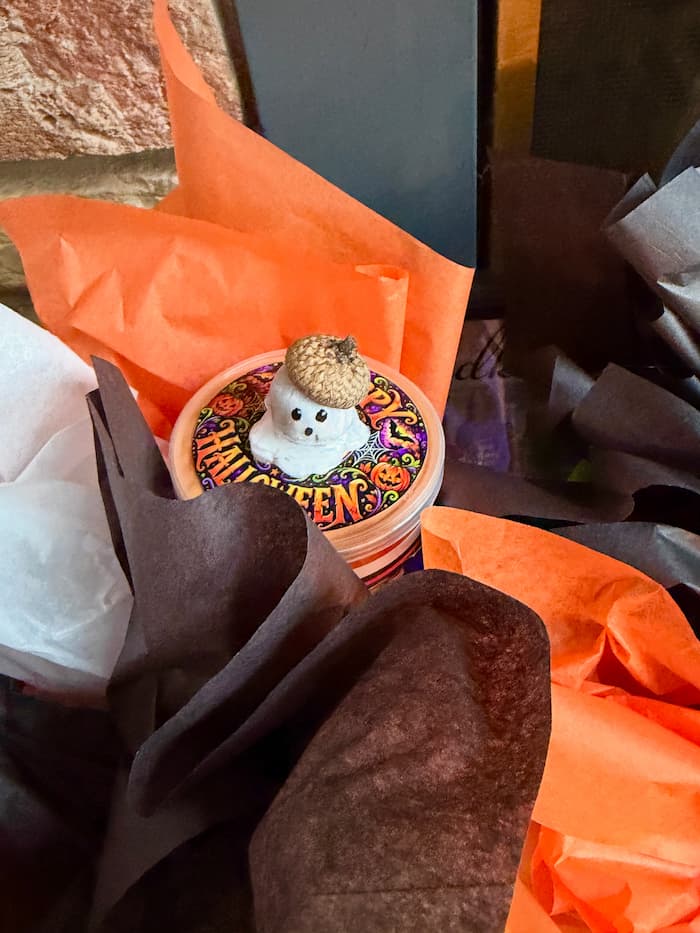
The secret is in the little touches.
I wasn’t at home, and I didn’t have any twine or ribbon on hand.
I was looking around for a solution.
Sometimes the best crafting solutions are the ones staring you right in the face.
Or, in this case, under your feet.
A few years ago, the kids had started unraveling the carpet in the boat.
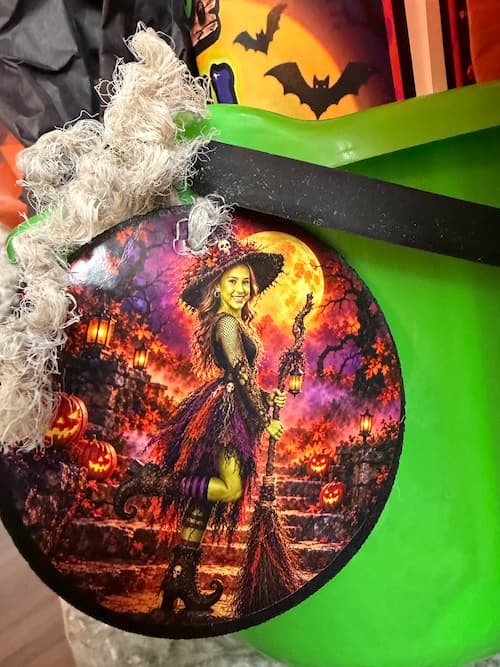
We are going to replace it, so I grabbed a few strands of that and used them to attach the tags!
Was it traditional? No.
Did it work? Absolutely!
The carpet and the acorn ghost were the favorite parts because they felt like they had a little bit of the lake.
The DIY Halloween Treats Finishing Touch: A Sticker of Greg and Me
Normally, when I ship the kids their holiday packages, I like to add a funny return label featuring Greg and me in character.
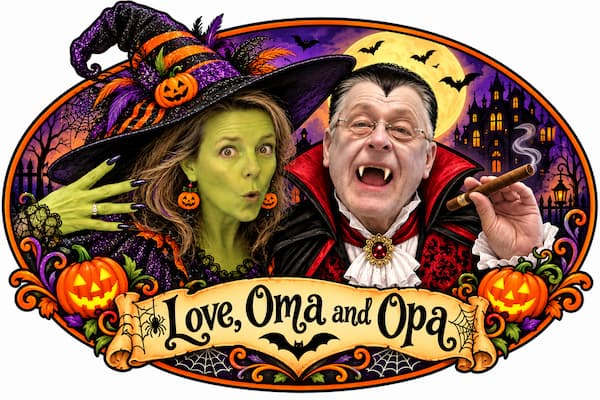
It’s become another little part of the tradition. Why should the kids have all the fun?
This year, we were able to deliver the buckets in person, so I made a sticker of us and stuck it to the side of the buckets.
The Finished DIY Halloween Treats
I was so happy with how these turned out.
The buckets were inexpensive, the goodies were fun, and the personalized details made them extra special.
I didn’t make everything from scratch because that would be impossible with work and other responsibilities.
However, I want to encourage you to do with your own projects. Just add fun personal touches to turn them into something special.
What would you put in your own personalized bucket? And more importantly, what would you rename the cheeseballs? Tell me in the comments. I’m always up for a good ridiculous snack name!
Other Fun Halloween Projects
If you enjoyed the DIY Halloween treats, I think you’ll love these projects:
- Halloween Sign Cricut DIY | Halloween Crafts
- Halloween Witch Decor | Hocus Pocus & Other Witch Coasters
- Bat Pumpkin for Halloween
- Dracula Vampire Coaster
Remember: Life’s too short not to shimmer, so grab your glue gun and your glitter!
Mona