
My original YouTube video on how to make tissue paper flowers (click here to see the original) has gotten quite a few views in a short amount of time and I really enjoyed making them, but I thought I would like to try different ways. Above is the flower I came up with. Originally I was going to have it trimmed in color, but forgot to do it and there will be another video and post showing how to do that.
Here’s the tutorial for this new flower:
Anyway, I was looking around the internet and found this blog, with this beautiful flower:
It inspired me, but it required using a Sizzix machine, which I don’t have and I wasn’t about to buy one. Instead, I thought I’d try a different solution. I played around with a few ideas and that is how it morphed into the flower below.
Below is the flower in the vase.
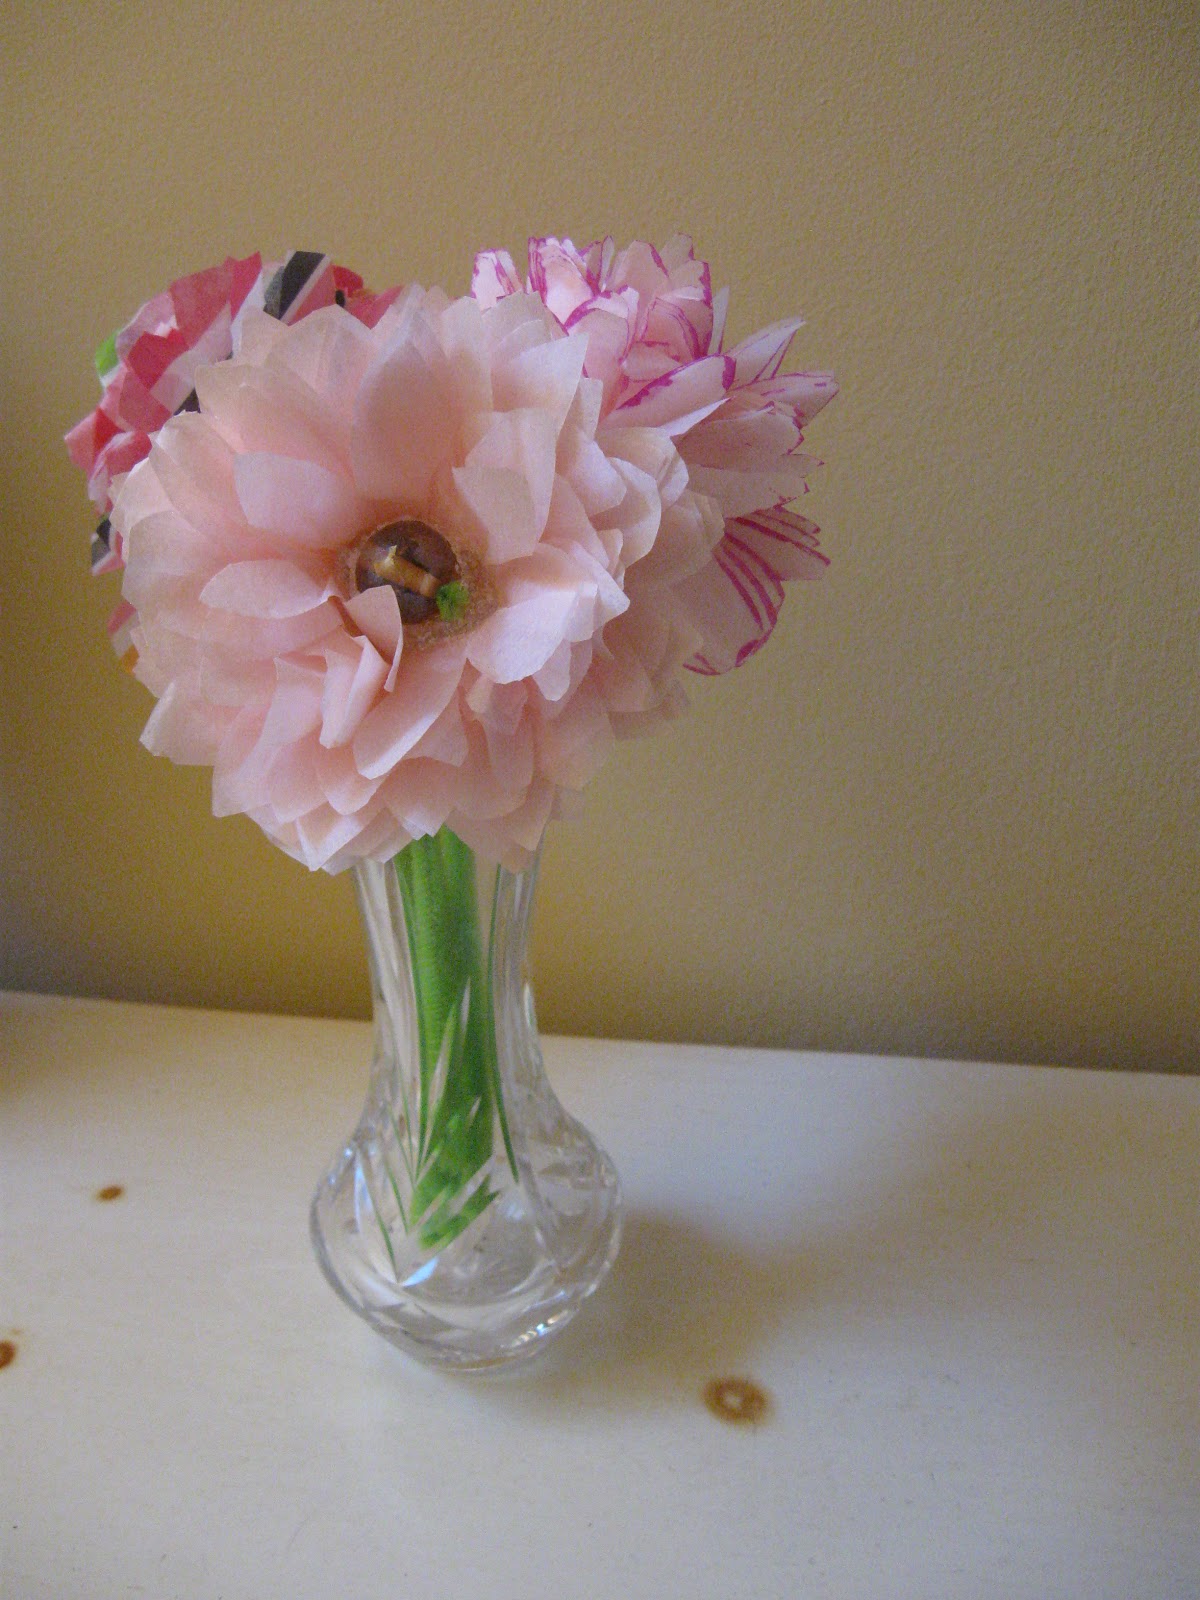
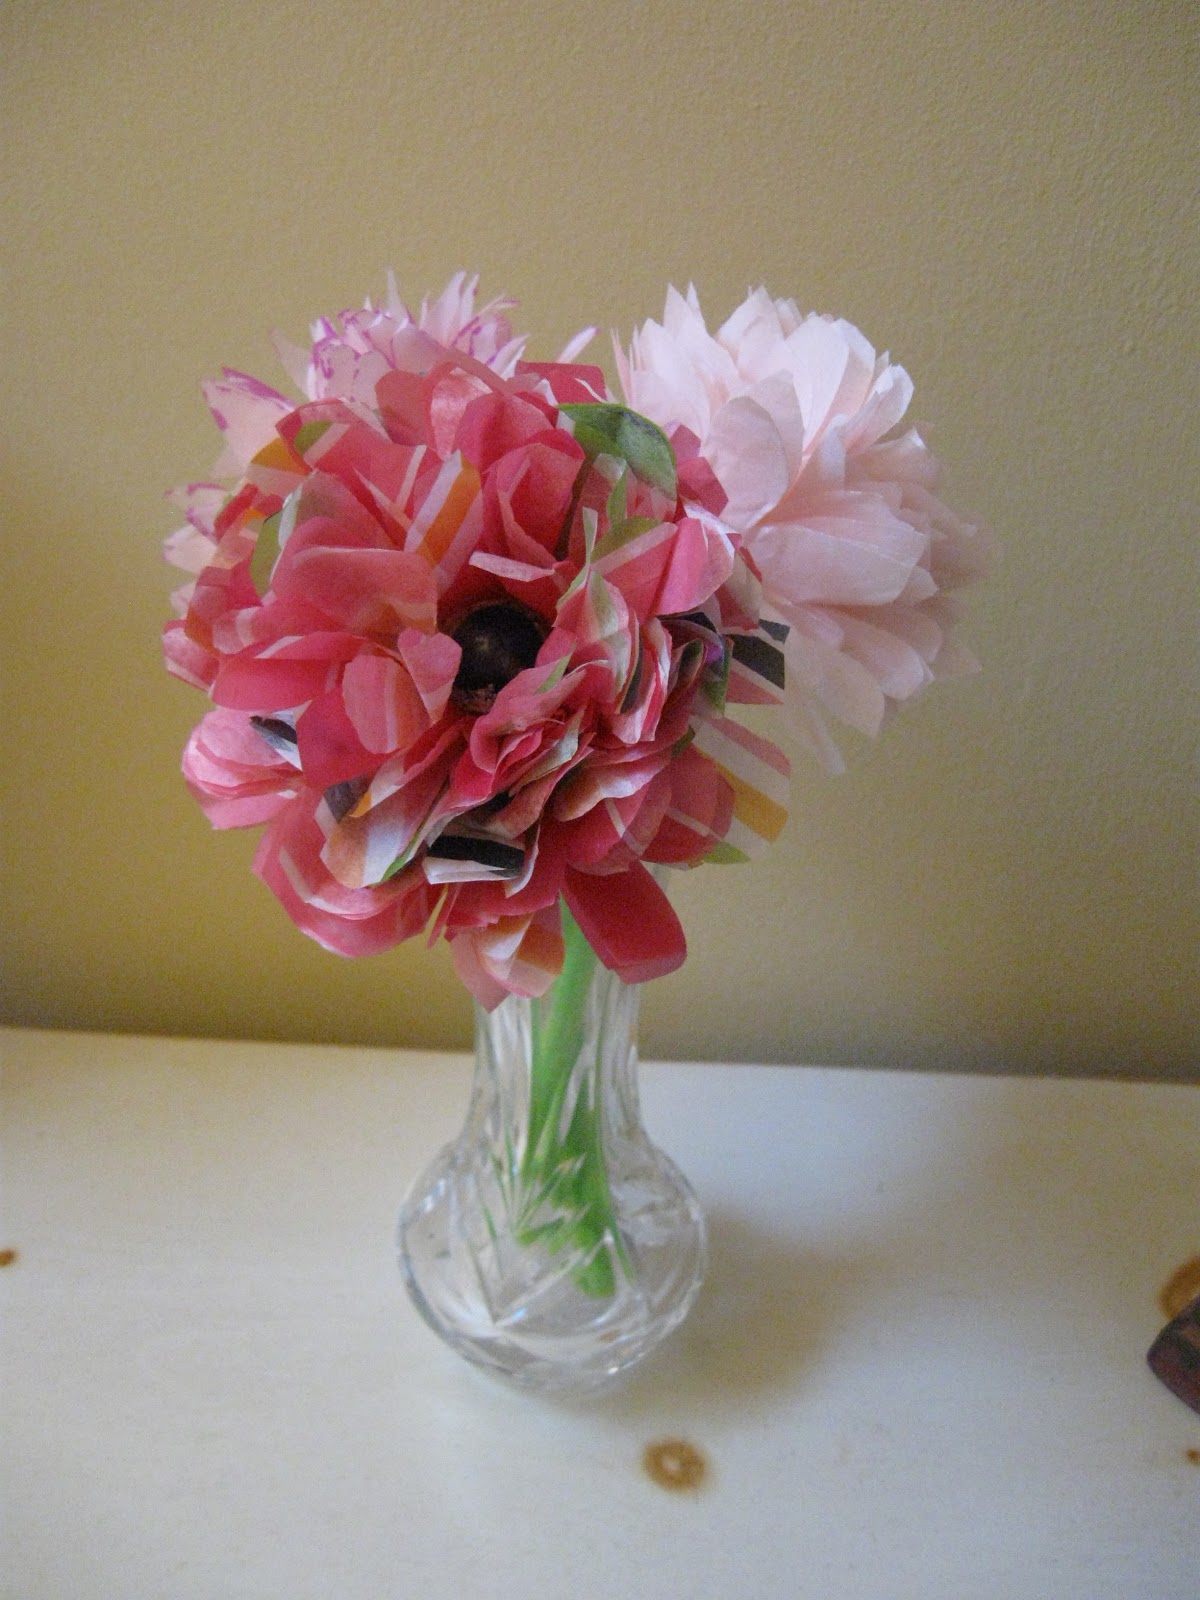
I also tried it with a striped tissue paper to see how it would turn out. I don’t like it as much, but it’s still cute.
Here is how to do it:
Materials you will need:
– Tissue paper (one full sheet makes one flower)
– Green pipe cleaner
– Bead
– Hot glue
– Glitter
– Scissors
Directions:
1. Fold the tissue paper in half four times. You should end up with a square, but some tissue paper will end up rectangular. It doesn’t matter. You want to cut a circle (we aren’t going for perfection – don’t stress it) and make sure you cut all the away around.
2. Fold in half again and cut petal shapes (see video).
3. Open it to see if it is how you wanted it to be.
4. Fold into quarters and snip off the corner, to give you a hole in the center of the flower pieces.
5. Choose a bead. (Here is a video on how to marble wood beads with nail polish)
6. Put pipe cleaner through bead and twist a small piece underneath.
7. Feed the pipe cleaner through the flower pedals and scootch the pedals around so they aren’t perfectly stacked.
8. Put a bead of glue around the base of the bead and pour some glitter on the hot glue. Let it cool and shake of excess.
9. Flip the flower over and run a bead of hot glue where the stem and tissue paper meet and put on glitter. Shake off excess.
10. When cool, take each layer and separate it and scrunch it up toward the bead.
11. That’s it! Stand back and enjoy your creation!
These would be beautiful on top of a gift, instead of a store bought bow. A bouquet of these would be nice at a baby shower. How about centerpieces at a bridal shower? Tissue paper comes in all colors and can be made to match the wedding colors!
I’d love to see how you use these! Email pictures to [email protected] or post on our Facebook page
I love comments and Happy Crafting!