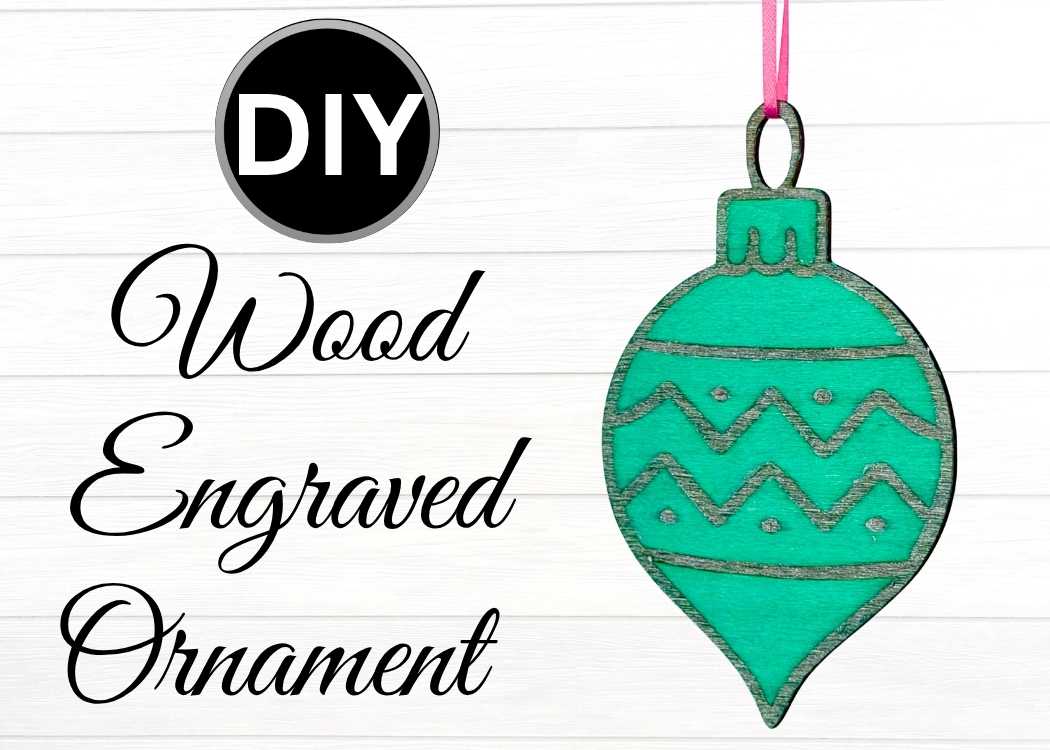
Create a handmade wood engraved ornament DIY that doubles as a gift tag and Christmas ornament. Add color, shimmer, and a personal touch to your holiday gifts!
I love adding a personal touch to my holiday gifts, and this wood-engraved ornament turned out to be one of my new favorites.
It’s simple, pretty, and functional. It can decorate your wrapped gifts and hang on the Christmas tree afterward.
There’s something special about homemade ornaments. Every little detail, from the engraving to the shimmer, makes it feel more heartfelt and personal
What You’ll Need for the Wood Engraved Ornament
*Disclosure: This blog uses affiliate links from Amazon and other retailers. I earn a small amount from qualifying purchases at no additional cost to you.
- Wood for laser engraver
- Laser engraver
- Wood tint or stain
- Silver gel glitter pen
- Think pink ribbon
- Brush or paper towel for applying the tint
Wood Engraved Ornament DIY Video Tutorial
Directions for Wood Engraved Ornament DIY
Step 1: Engrave and Cut Your Design
I started with a simple piece of wood and used my laser engraver to cut it into shape and engrave the design.
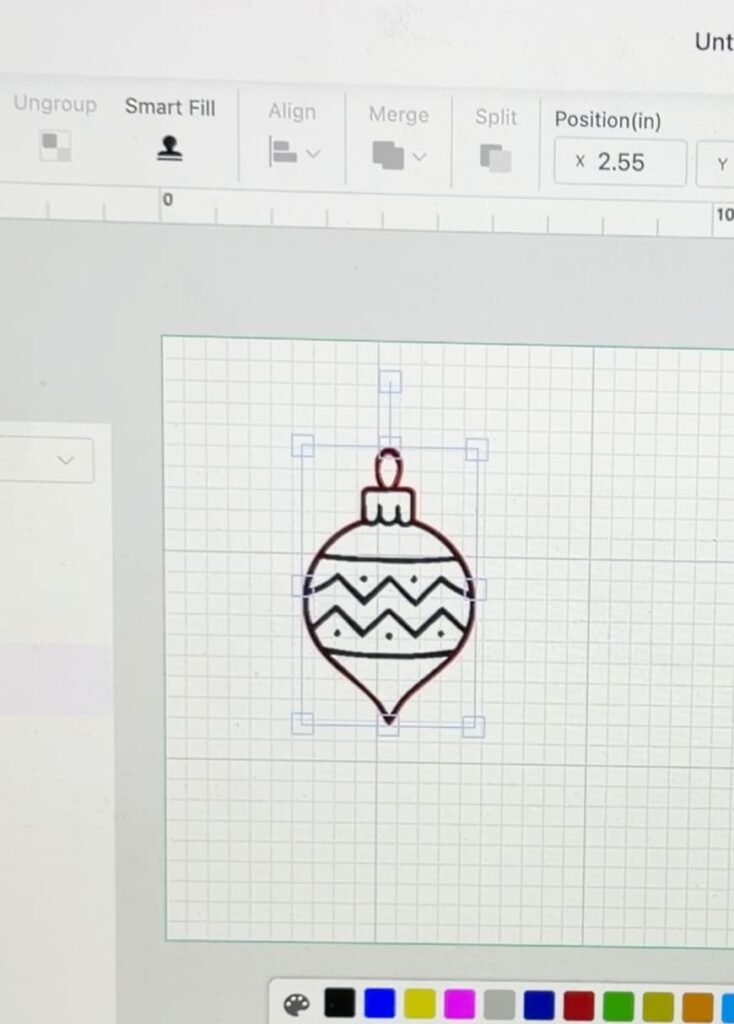
You can keep it classic with a name or a simple snowflake, or make it more personal by engraving a date, a short saying, or even your family name.
This is the part where your creativity really gets to shine.
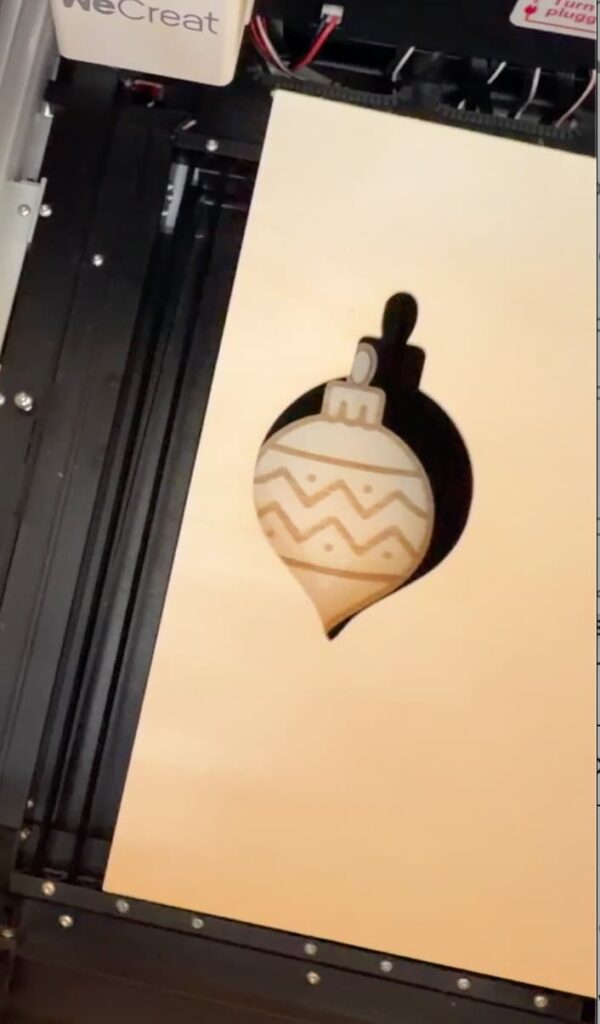
I just went with a simple ornament design.
Step 2: Add Some Color with Wood Tint
Once the engraving was done, I added a wood tint in a gorgeous aqua/teal shade. It’s not your traditional Christmas color, but it’s such a fun and refreshing twist!
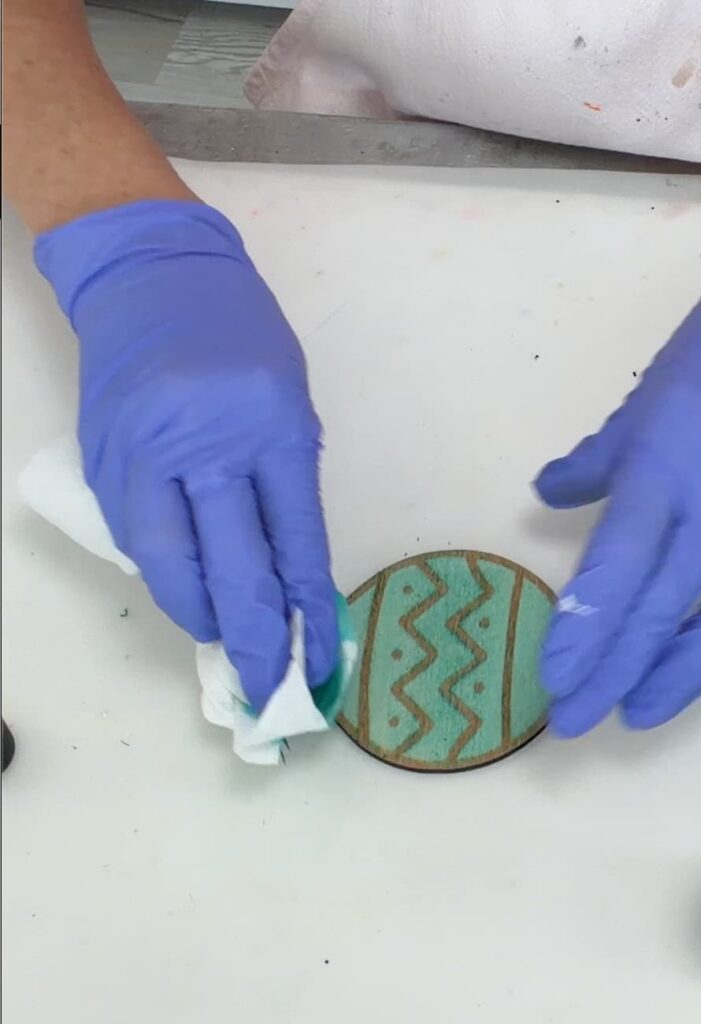
I love how the color soaks into the wood grain and gives it that soft, weathered look. Just apply the tint evenly with a brush or paper towel, then let it dry completely before moving on.
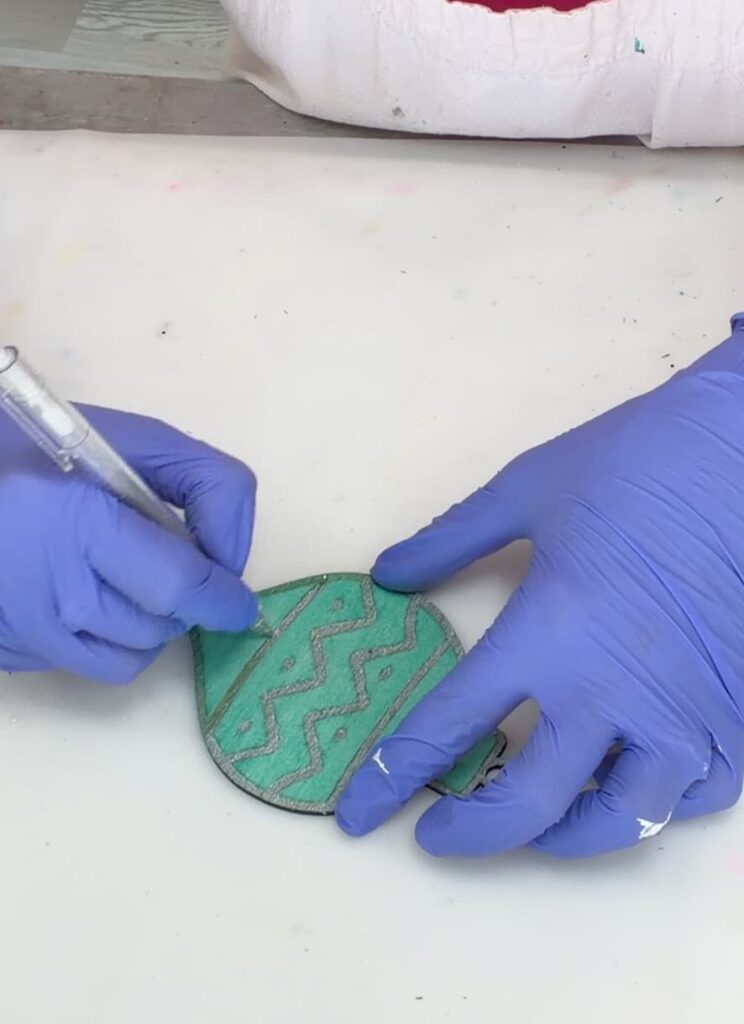
Step 3: Make It Sparkle to the Wood Engraved Ornament DIY
When the tint dried, I grabbed my silver gel glitter pen and colored over the engraved areas. This step completely transformed it. The silver catches the light beautifully and gives just the right amount of holiday shimmer.
If you’ve followed me for a while, you know I’m a sucker for adding a little sparkle to my projects!
Step 4: Add a Ribbon
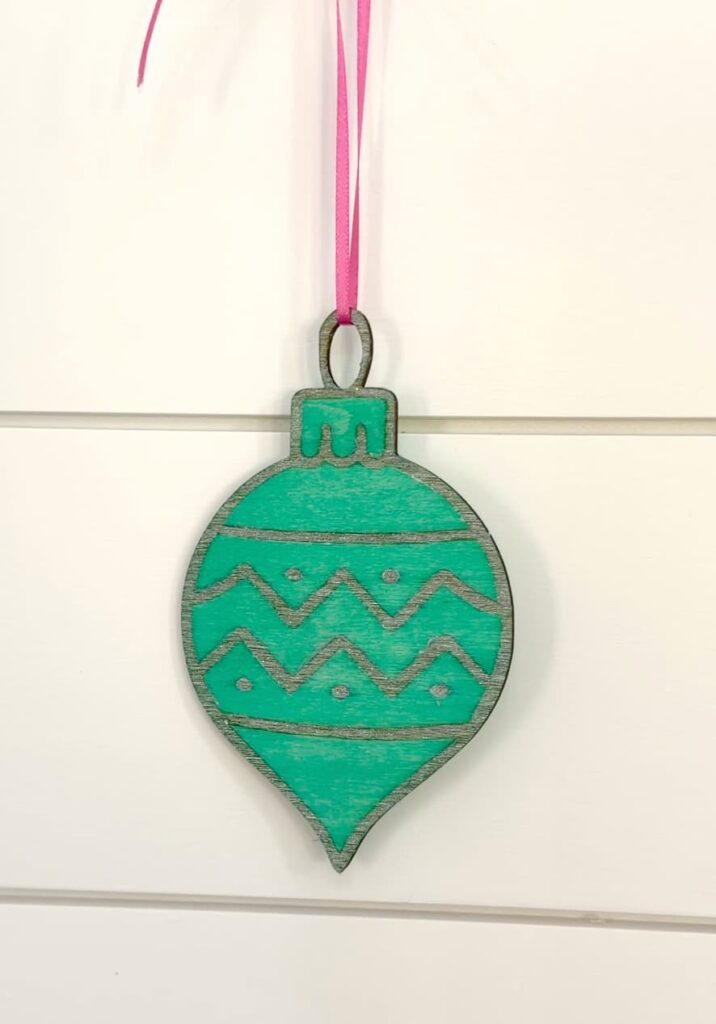
To finish it off, I added a thin pink ribbon through the top. I love how the pink plays off the aqua and silver. It gives the ornament a soft, whimsical look that feels both modern and festive.

Now, it’s ready to hang on the tree or tie onto a gift.
Double Duty: Ornament + Gift Tag
One of my favorite things about this project is that it does double duty. You can use it as a gift tag to personalize your presents, and once the gift is opened, it becomes a Christmas Ornament that can be enjoyed year after year.
Just write the recipient’s name on the back with a fine-tip pen or wood-burning tool.
It’s like giving two gifts in one!
This wood engraved ornament DIY was such a fun and easy project to make. I love that it combines simple materials with a touch of sparkle to create something that feels truly special.
Whether you are making them for your family, as hostess gifts, or to top off your holiday packages, these ornaments are sure to bring a smile.
And the best part? You can customize them any way you like – change the color, the ribbon, or the engraved design to match your holiday decor.
Other Wood Engraving Projects
I’ve done more than this wood engraved ornament DIY with this laser engraver. Check out a few of these projects:
- How to Make Signs for a Coffee Bar
- DIY Cutting Board Laser Engraving
- DIY Wedding Tree
- Front Porch DIY
Thanks for stopping by! Remember: Life’s too short not to shimmer, so grab your glue gun and your glitter!™
Mona