
Create a unique DIY cutting board laser engraving for Valentine’s Day! It’s a whimsical charcuterie board that’s perfect for two!
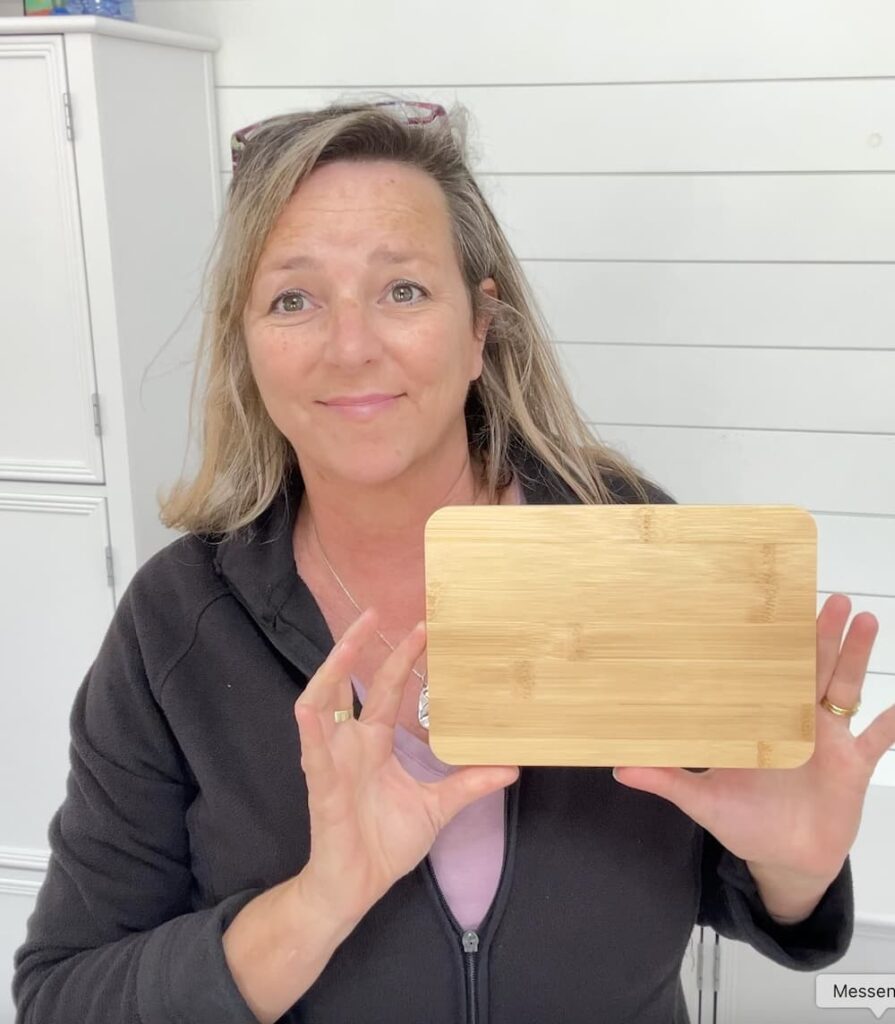
Are you looking for a thoughtful and unique gift for Valentine’s Day? I found this bamboo cutting board at Dollar Tree, what a great deal for $1.25!
It is perfect to be personalized. A little cheese pun and laser engraving make it fun and functional!
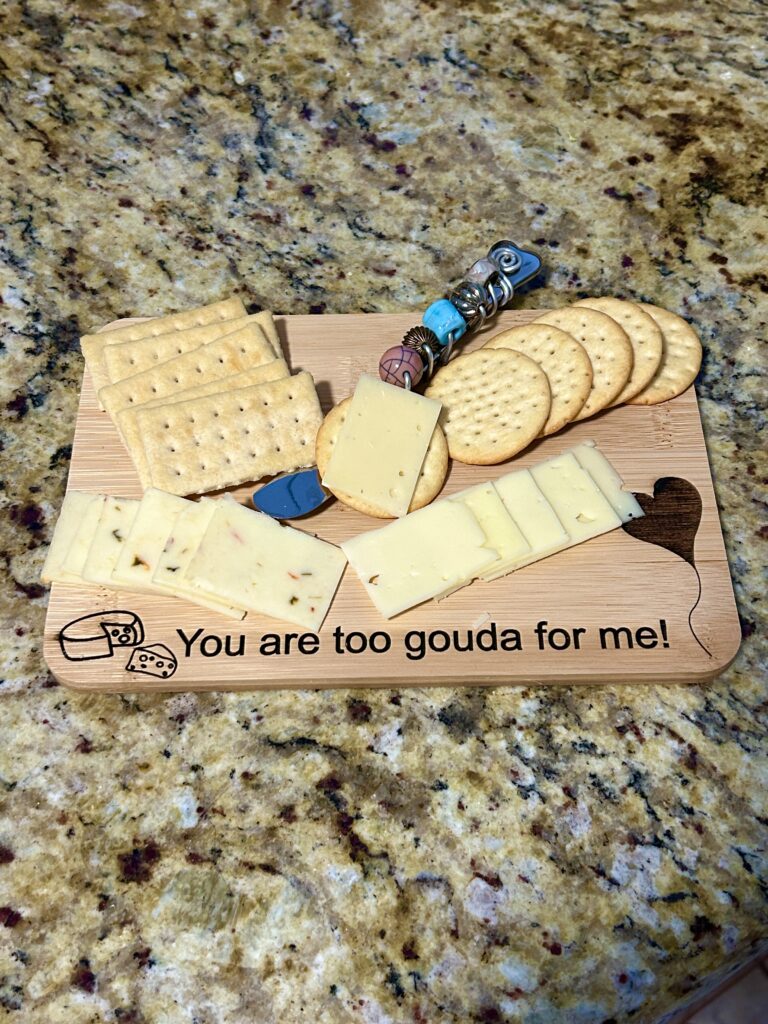
A perfect little charcuterie board to share a snack with your loved one!
DIY Cutting Board Laser Engraving Materials
*Disclosure: This blog uses affiliate links from Amazon and other retailers. I earn a small amount from qualifying purchases at no additional cost to you.
- Small bamboo cutting board
- Laser engraver
- Painter’s tape
- Dawn Powerwash
- Dish brush
- Images and designs
Design Inspiration
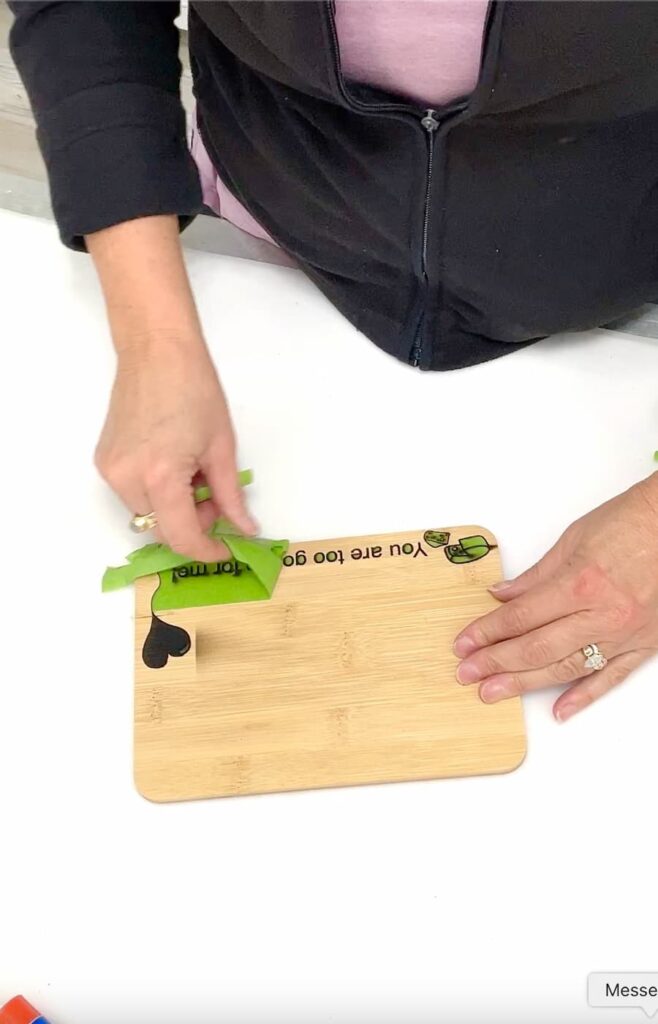
Since I am thinking this is a mini cheese board or charcuterie board, a cheese pun seemed rather appropriate and I decided on:
You are too gouda for me!
It’s the perfect romantic and playful design for Valentine’s Day!
Steps to Create the DIY Cutting Board Laser Engraving
Step 1: Prepare Your Design
I downloaded free images from pixabay.com and imported them into my laser engraver’s software.
I arranged the text and the graphics to fit the cutting board dimensions. The laser engraver that I have has a camera inside so you can see how it looks and the spacing in real time.
Step 2: Apply Painter’s Tape
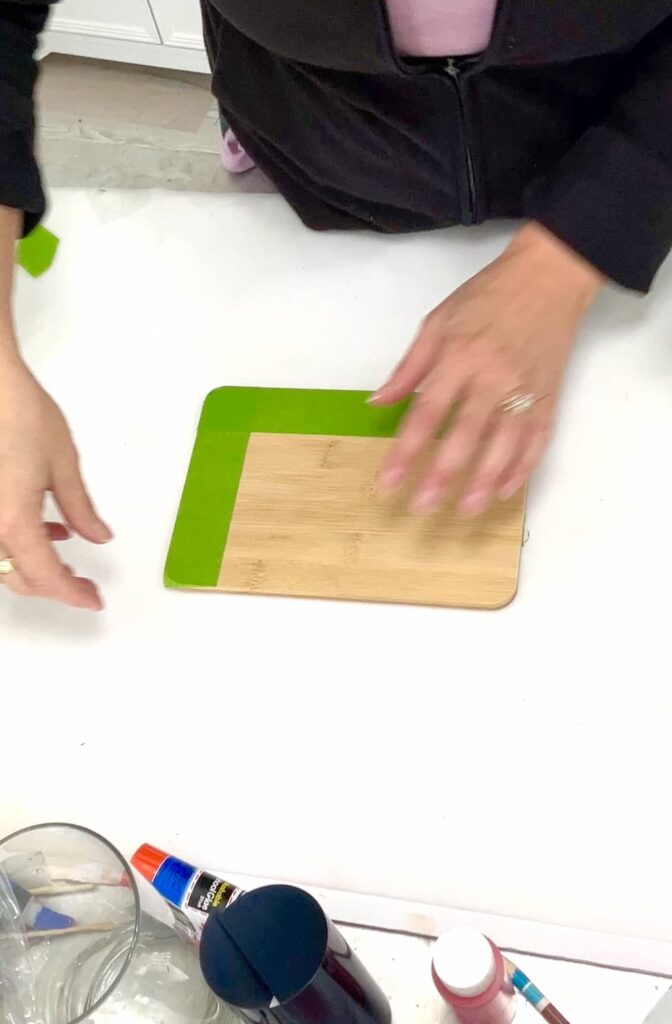
To prep for the cutting board laser engraving, cover the areas of the cutting board to be engraved with painter’s tape. This helps reduce soot marks during the engraving process and makes clean up so much easier!
Step 3: Set Up Your Laser Engraver
My laser engraver is a 20W machine and I used the following settings:
- Speed: 55
- Power: 100
*These settings gave me a nice deep engraving. I don’t think you need to go that deep and you should adjust your settings to reflect your machine, preferences, and needs.
**Always keep an eye your machine while engraving to make sure no fires happen.
Step 4: Start Engraving
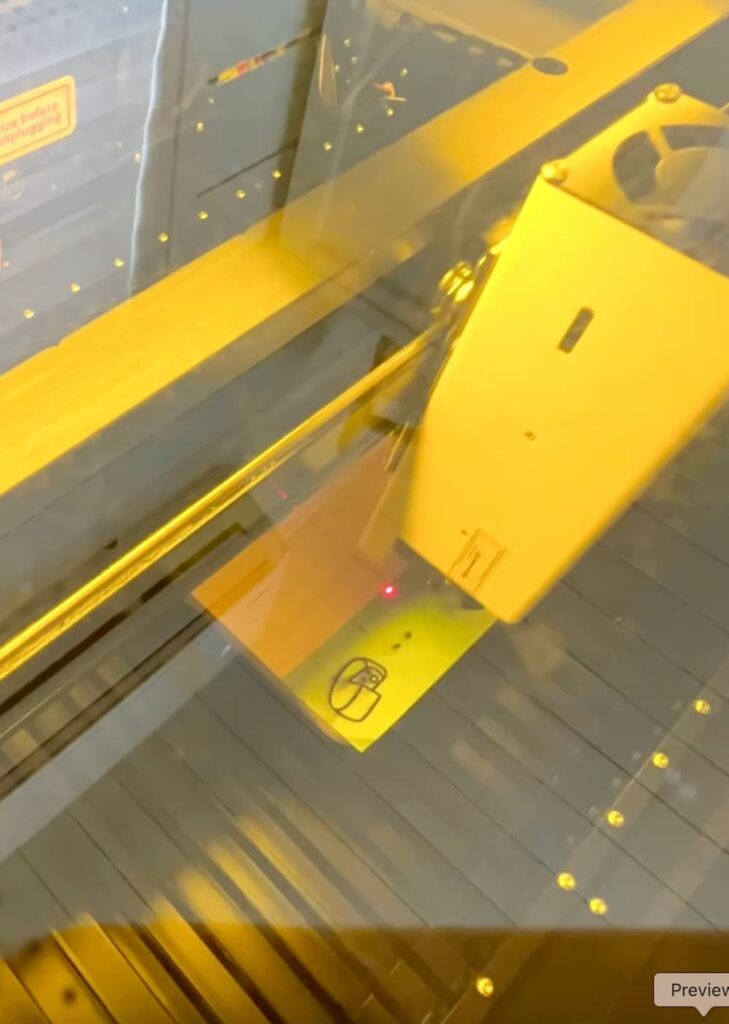
Once your design and settings are ready, begin engraving. My design took about 9 minutes and 30 seconds to engrave.
Step 5: Clean Up
When the engraving is complete, remove the painter’s tape.
Then, wash the cutting board with warm water, Dawn Powerwash, and a dish brush to remove any soot or residue.
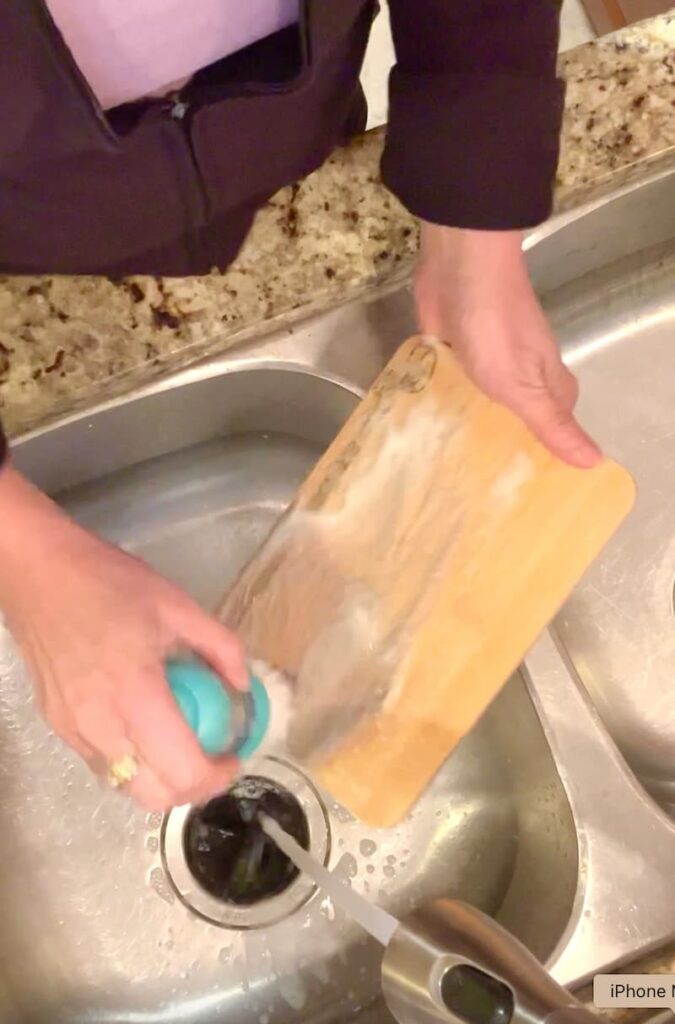
I scrub the whole board and in the engraved portions.
The Finished Project
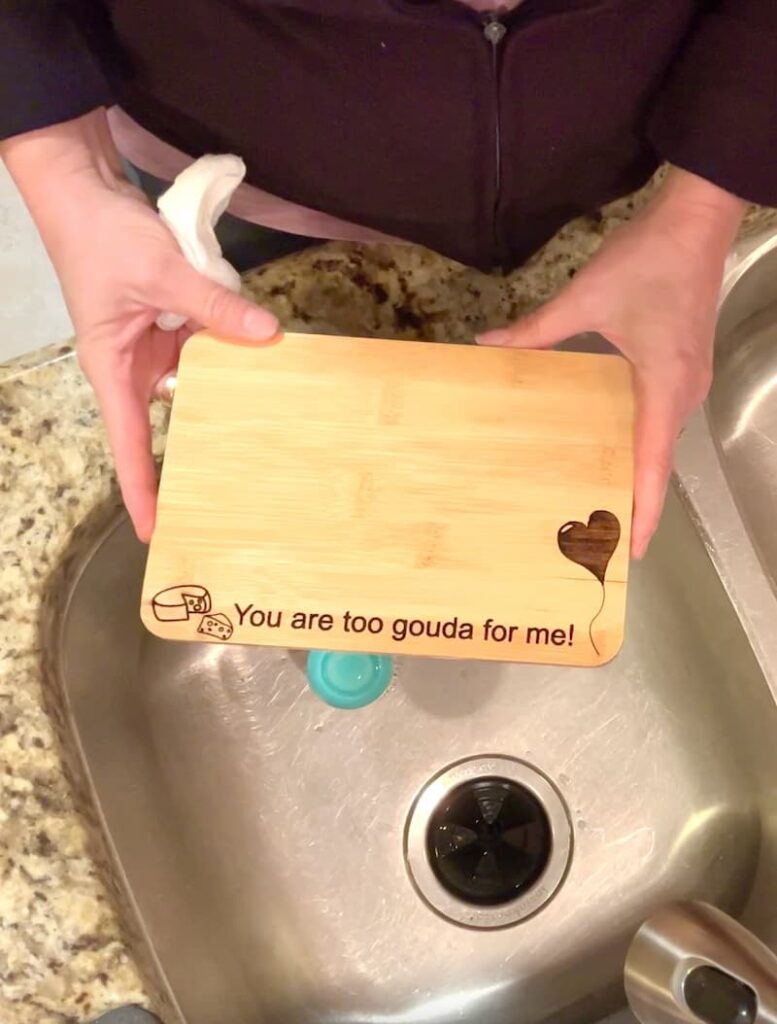
Your DIY cutting board laser engraving is now ready to use or ready to gift to that special someone.
This small board is perfect for a romantic snack for two, featuring cheese, crackers, and other charcuterie delights!
I did a fun engraving but think of all you can make on these cutting boards. You can engrave a recipe in the handwriting of a loved one and so many more things!
Why This Project is Great!
- Affordable: A dollar tree cutting board keeps costs low
- Personalize: The custom engraving makes it truly one-of-a- kind
- Practical: This laser engraved cutting board doubles as a small charcuterie board…perfect for intimate occasions.
- Whimsical: Whenever possible, throw in a pun, because puns are fun and memorable!
Tips for DIY Cutting Board Laser Engraving Success
- Experiment with different laser settings to achieve your desired results.
- Use painter’s tape to protect wood from excess soot, making clean up sooo much easier!
- Make sure to wash the board thoroughly before using it with food.
More Projects!
If you enjoyed the DIY cutting board laser engraving, you are going to love these projects:
- Dollar Tree Heart DIY Bursting with Glitter
- Dollar Tree Distressed Heart for Valentine’s Day
- Stained Cork Coasters Refresh
- Ceiling Fan Makeover You Won’t Believe!
- How to Make a Bowl from Wood
Thanks for stopping by! You are too gouda to me!
Be sure to follow me on INSTAGRAM!
Remember: Life’s too short not to shimmer, so grab your glue gun and your glitter!
Mona