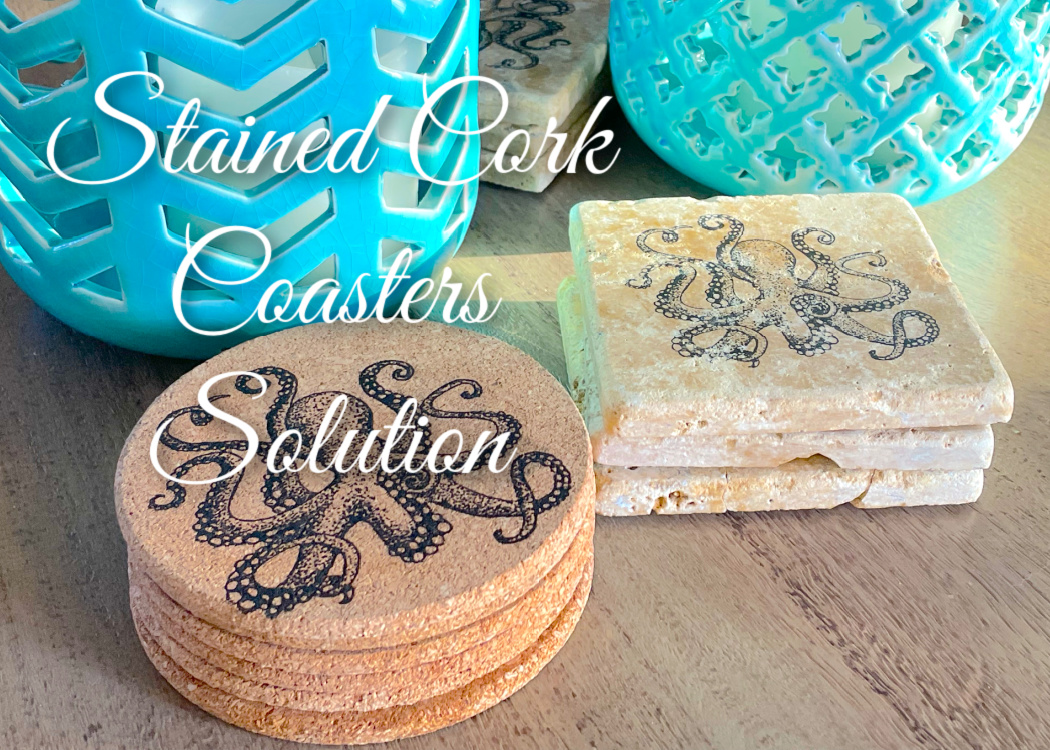
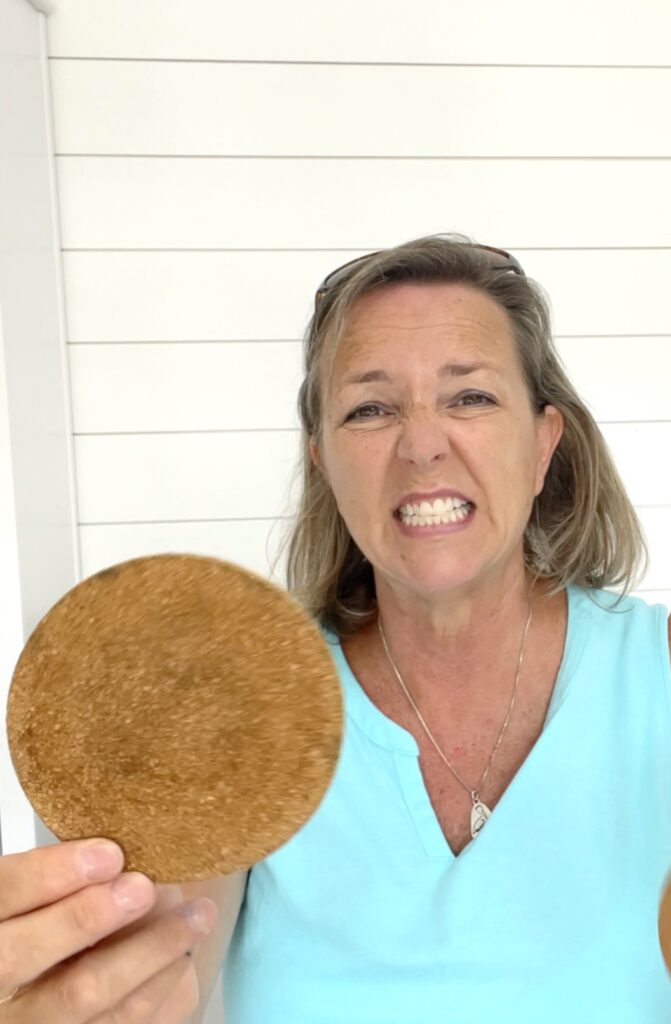
I love using cork coasters! They are inexpensive and lightweight…BUT…they get stained and even if you clean them, they still look yucky! So, I came up with a solution!
It’s so easy! I think you will be amazed!
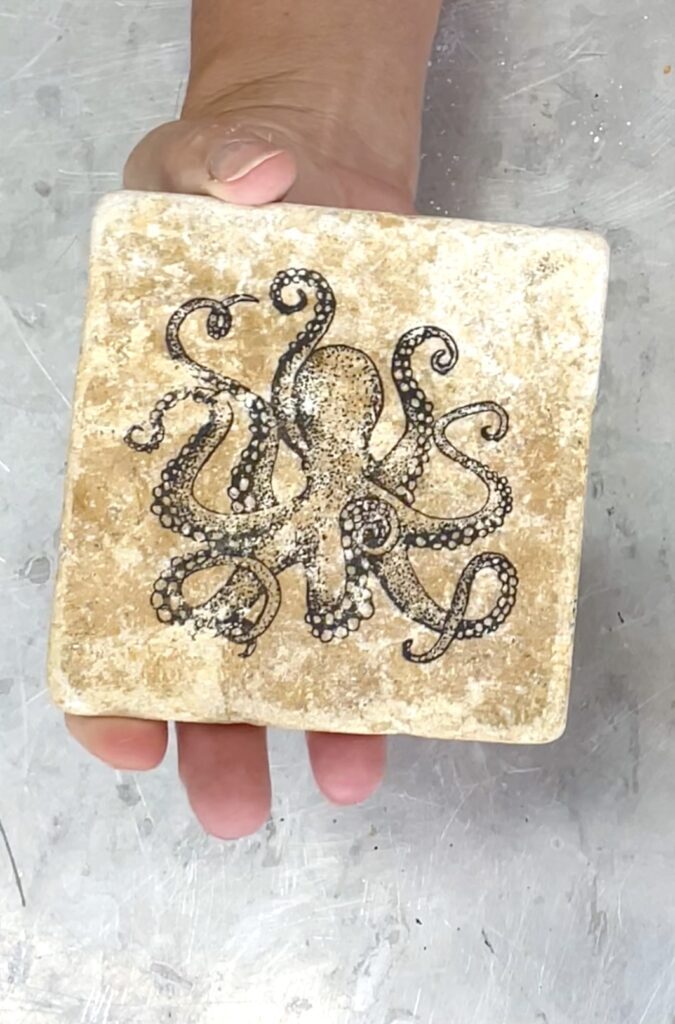
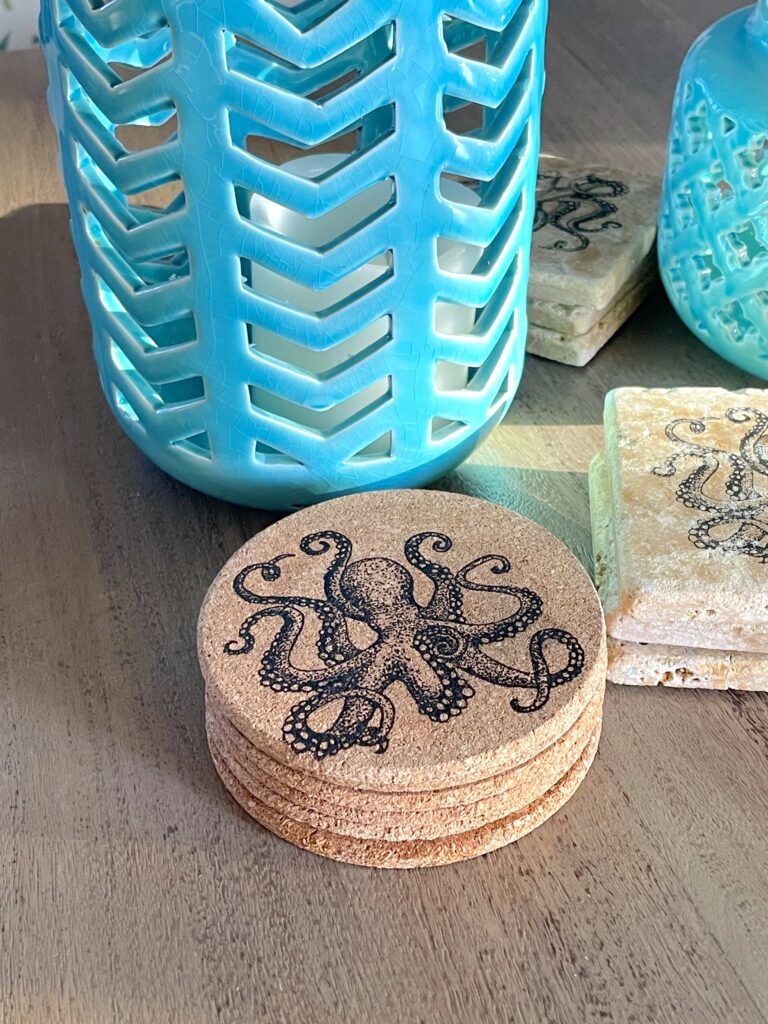
Years ago, I made these octopus stone coasters using tiles from a home improvement store and a rubber stamp. I love the image but I didn’t want to stamp on the cork coasters. After thinking about it for a while, I decided I would try to laser engrave them instead!
With my coasters in hand, I marched out to the shed ready to take on this challenge!
Stained Cork Coasters Refresh Video Tutorial
Here is a quick tutorial, so you can see exactly how I successfully laser engraved the cork coasters.
Materials You Will Need
*Disclosure: This blog uses affiliate links from Amazon and other retailers. I earn a small amount from qualifying purchases at no additional cost to you.
- xTool M1 Laser Engraver (from Amazon)
- Cork coasters
- Octopus stamp
- Black ink pad
- xTool M1 Laser Engraver (directly from manufacturer)
Directions:
Step 1: Find the Image for the Cork Coasters
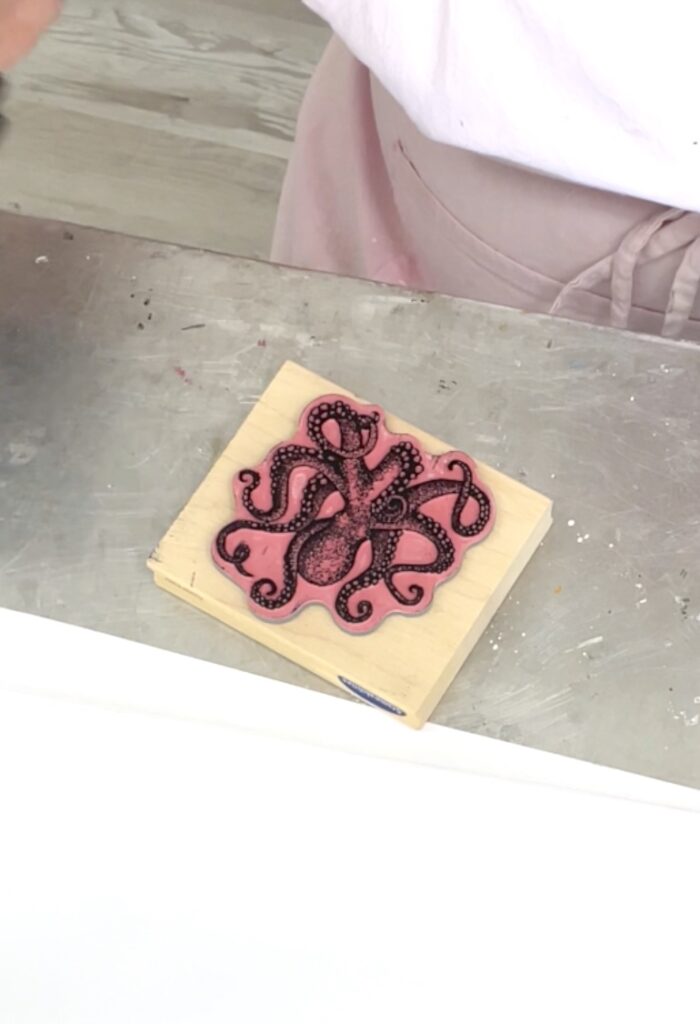
Depending on how stained your cork coasters are, it might impact which image or design you select. I used an octopus rubber stamp that I have had for many years and I wanted to coasters to coordinate with the stone coasters I had stamped before.
You can find images all over the place and you can draw your own, or use kids’ artwork!
Or you can find them on royalty-free image sites all over the place. I laser engraved a ceiling fan with royalty-free images and the rack I have on the porch with a turtle image.
All I did was stamp the octopus on a piece of paper, took a picture of it, and sent it to my computer.
Step 2: xTool Creative Space
If I’m being honest, I was a little intimidated when my xTool M1 laser engraver arrived, but it is remarkably easy to use!
Once I have my image in my computer, I simply import it into the xTool Creative Space app, so I can get it ready to engrave on my cork coasters.
Here are the steps I used once the octopus image was in the Creative Space App:
You can see me do it in the video tutorial with a little more explanation.
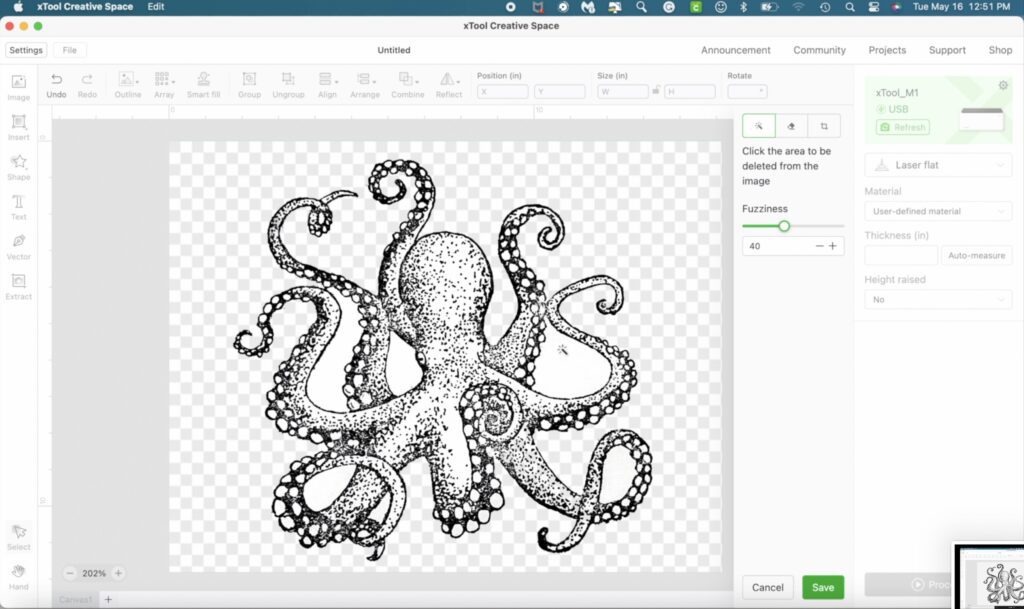
- I clicked on Edit Image and used the magic wand to remove the white background. The xTool M1 has a camera inside of the machine, so you can accurately place the image on your cork coasters. Therefore, having the background gone is a good thing!
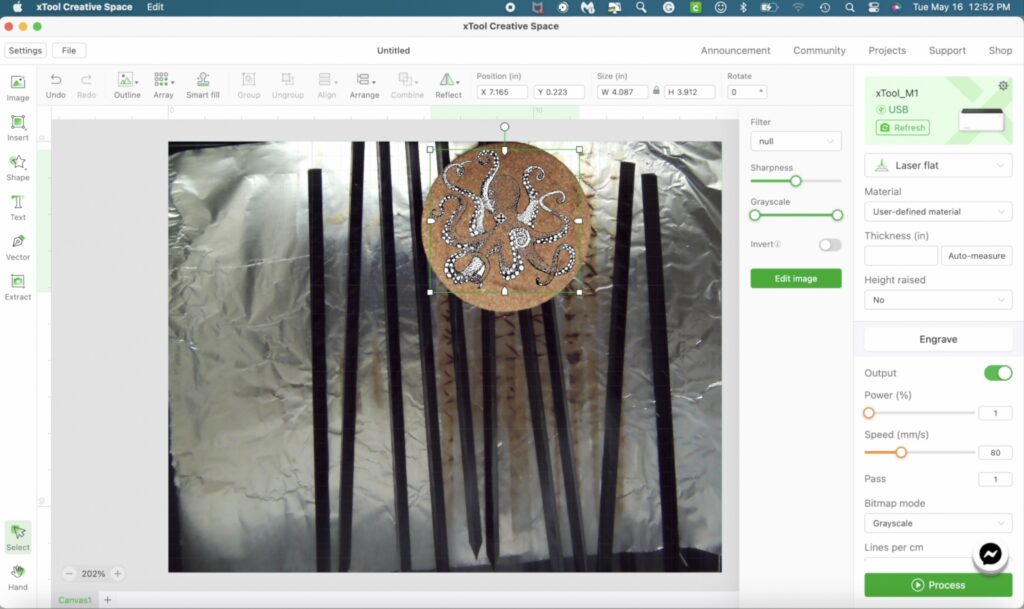
- I sized it to fit the cork coaster.
- Since I had the coaster raised on the triangular prisms that come with the machine, I selected that from Height Raised.
- Under Material, I selected 3mm basswood and Engrave, which automatically set the power to 50 and the speed to 140.
- Then, I clicked on Process, which takes you to a different screen, which allows you frame it, to make sure it’s placed properly. Once the framing is done, select Framing Complete.
- Then, click on Start and press the blue button on the M1 machine.
Step 3: Watch it!
Sit back and watch the M1 do its magic on the cork coasters!

I never get tired of it!
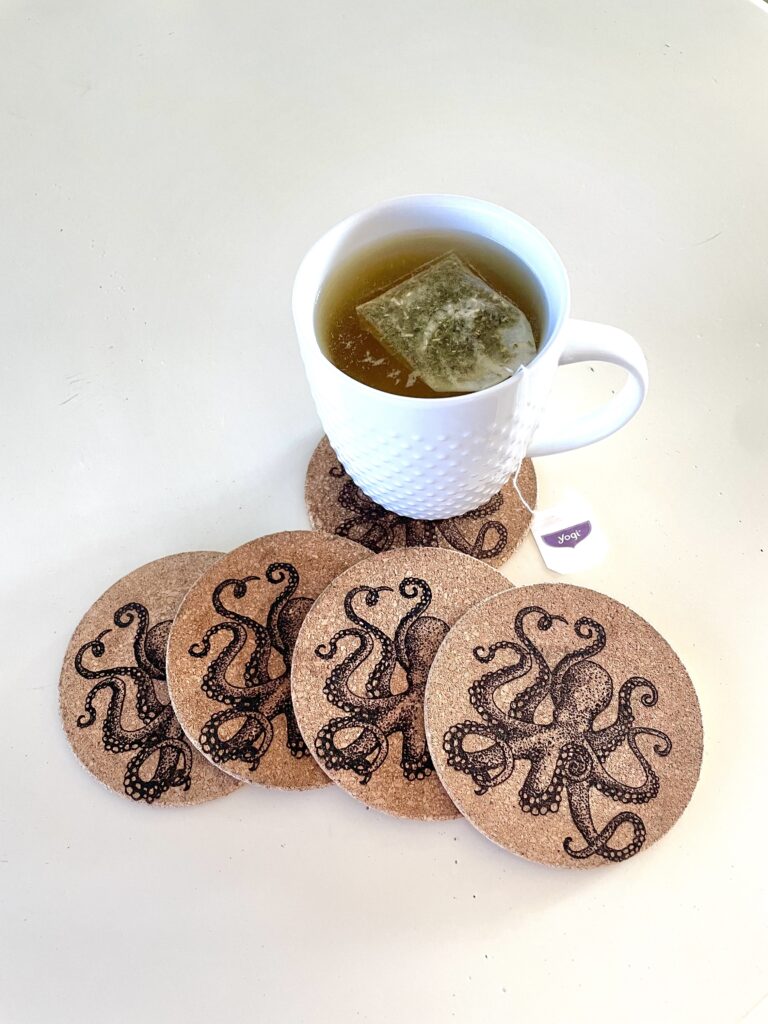
Look at these beauties!
Now, I’m not embarrassed to put these out when we have company! In fact, they always get compliments!
Remember to PIN IT for later!
Other Laser Projects I’ve Done So Far…
I’m just scratching the surface of what the M1 can do, so I’m pretty darn excited! Here are some projects I’ve made so far using the xTool M1.
- Wedding Guest Book Alternative
- How to Make a Leaf Bowl
- Front Porch Rack Makeover
- Ceiling Fan Makeover You Won’t Believe
- Adorable Easter Chick Pillow
Octopus Coaster Alternatives
So maybe you want octopus coasters but laser engraving isn’t your thing, check these out!

Remember: Life’s too short not to shimmer, so grab your glue gun and your glitter!™ Stay safe!
Mona
Thanks designed forr sharing such a pleasant thinking,
post is pleasant, thats why i have read it fully
Thank you