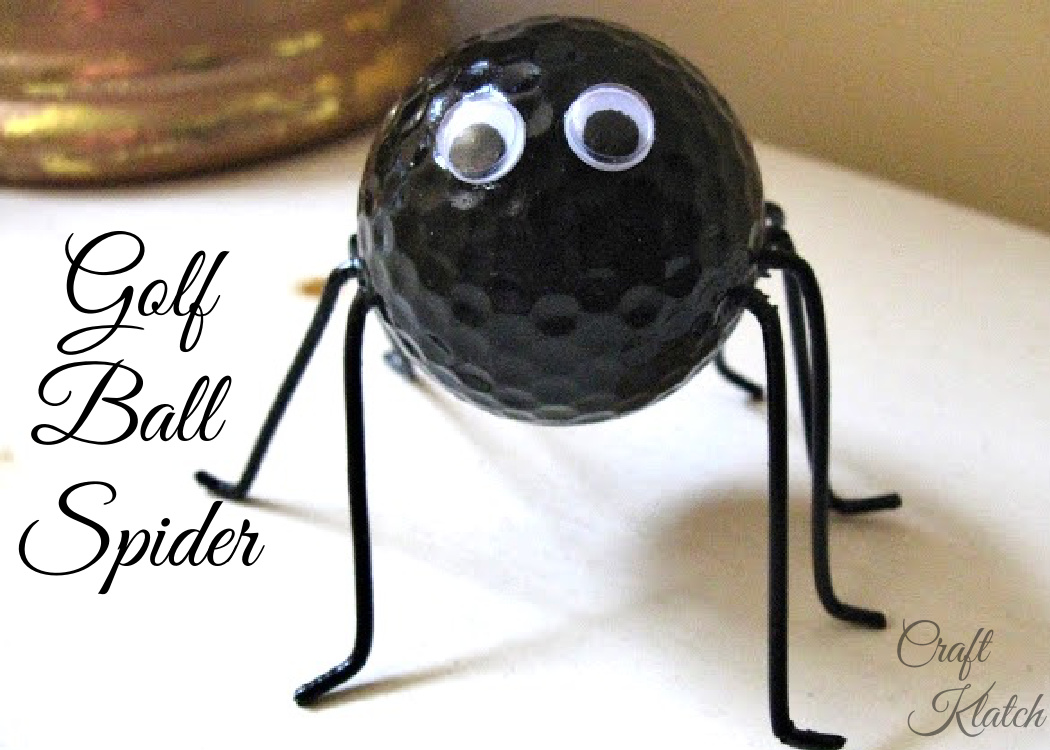
Here’s another golf ball craft! This cute little Halloween spider is made of a golf ball! Think how cute these would be as Halloween decorations or Halloween party favors!
Seriously, how cute is this guy?!

Halloween Spider Video Tutorial
Supplies You Will Need for the Halloween Spider
*This blog uses affiliate links. As an Amazon Associate I earn from qualifying purchases, at no additional cost to you.
- Golf ball
- 2 google eyes
- Wire hanger
- Glue
- Black spray paint
- Wire cutters and needle nose pliers
- Drill or rotary tool
Halloween Spider Directions
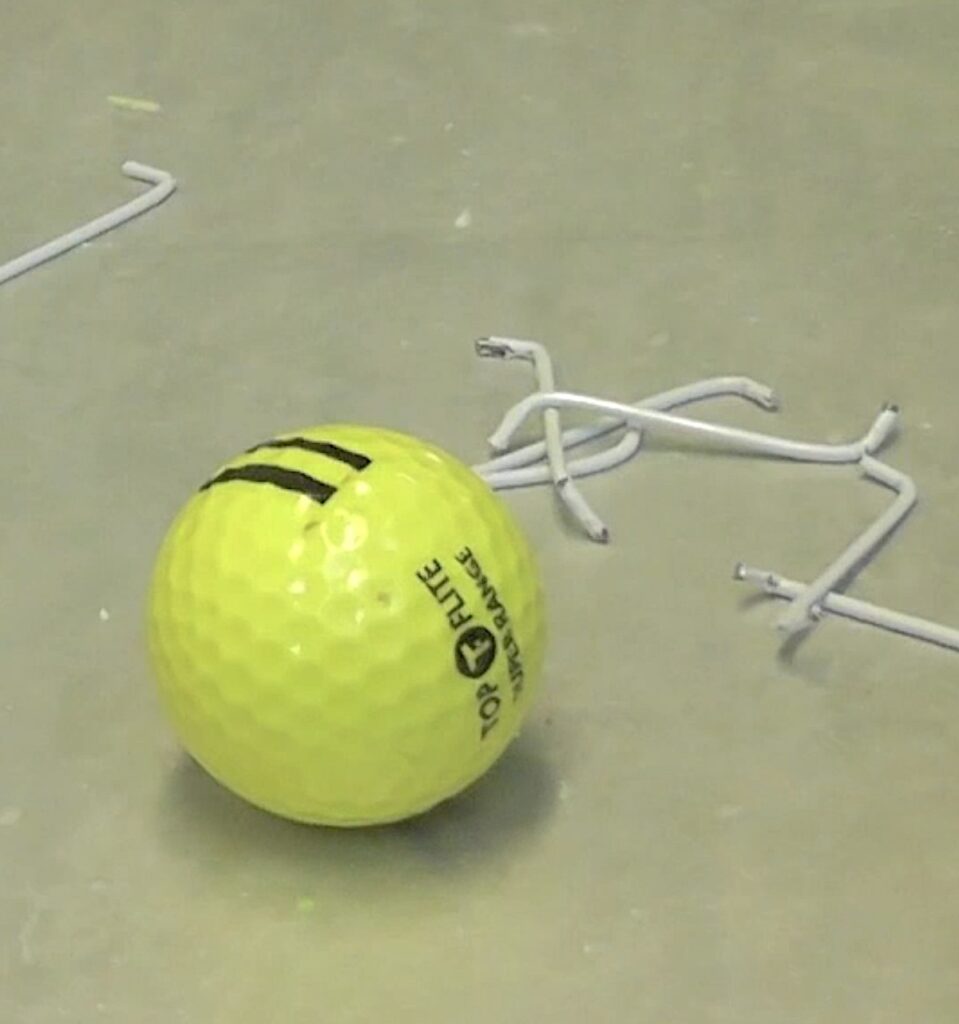
Step 1
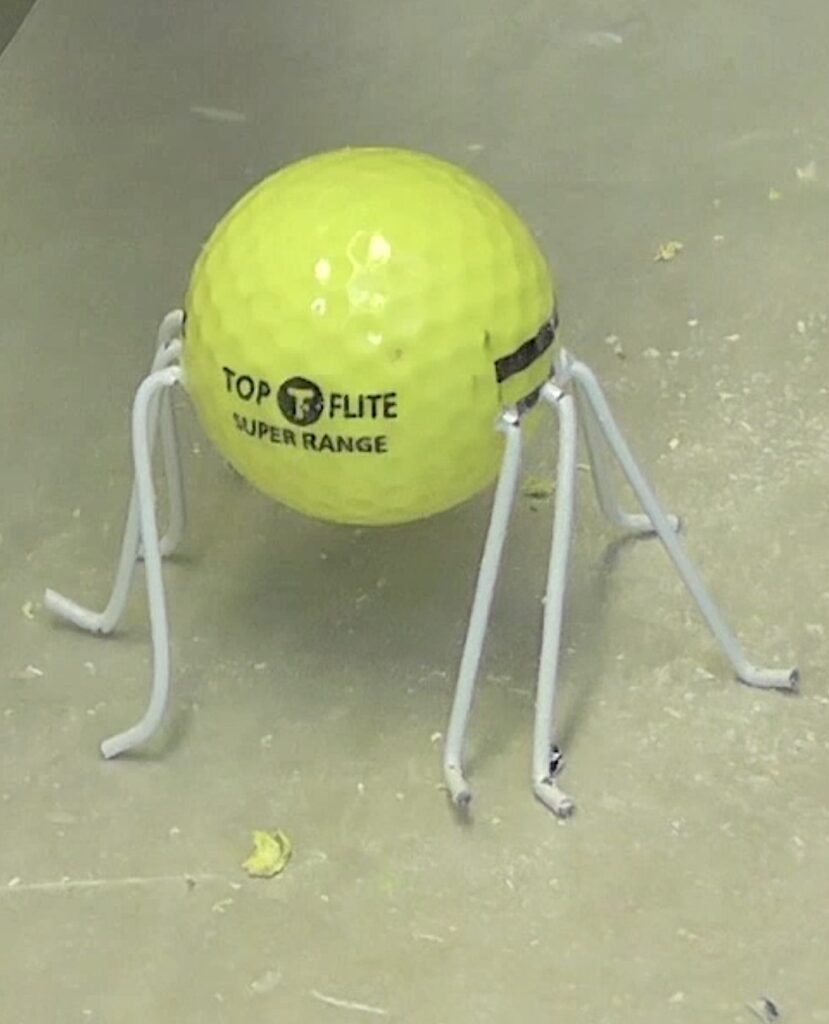
Cut pieces from a wire hanger to approximately 2-inch lengths. You will need eight pieces. Make a small bend on each end to create an “S” shape
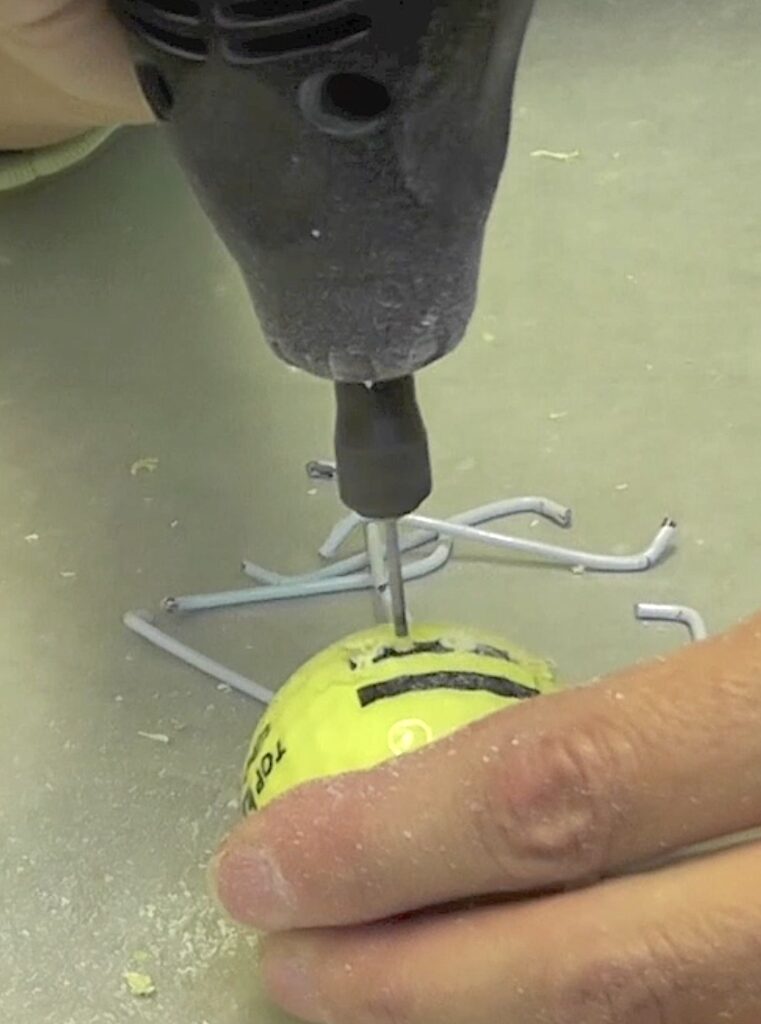
Step 2
Drill eight holes into the golf ball. You will need to have four across from each other.
Step 3
Dip one end of each leg into glue and insert into the ball

Step 4
Position and adjust the legs so he/she stands as you would like and let the glue dry
Step 5
Spray paint the whole thing black and let it dry
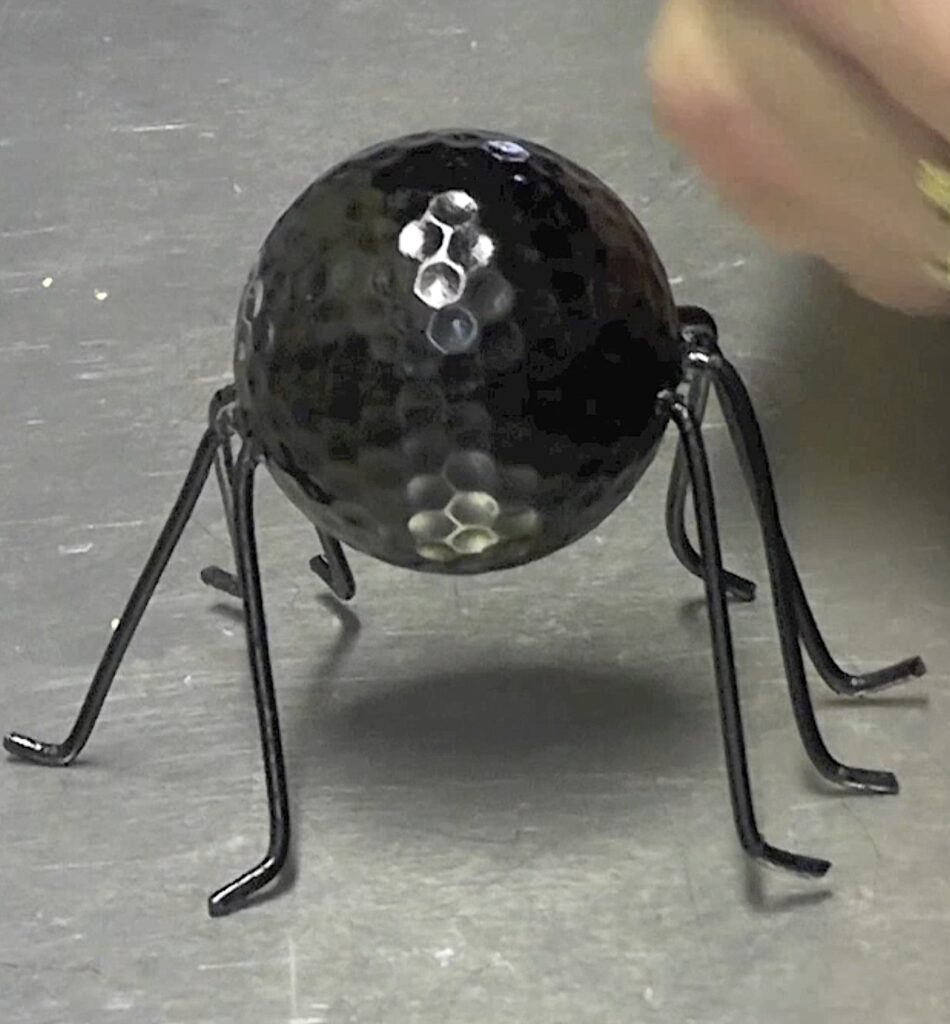
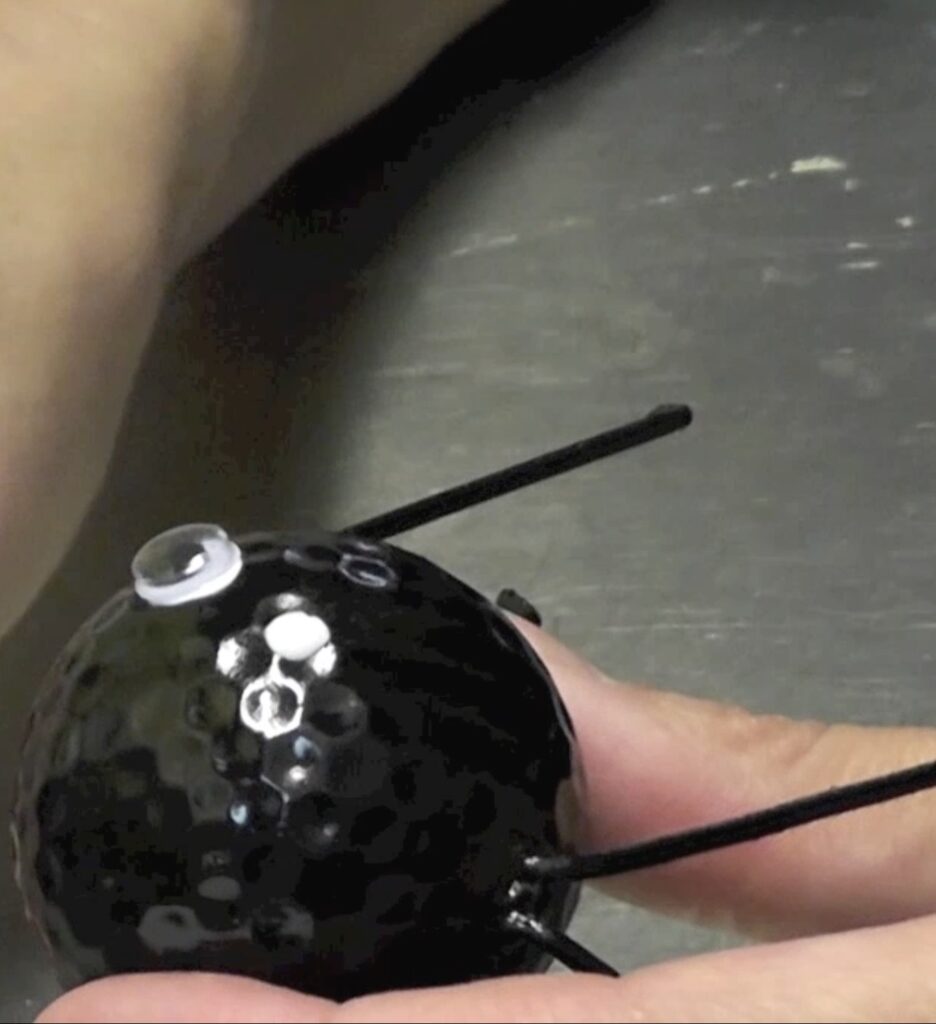
Step 6
Add google eyes and you are done!
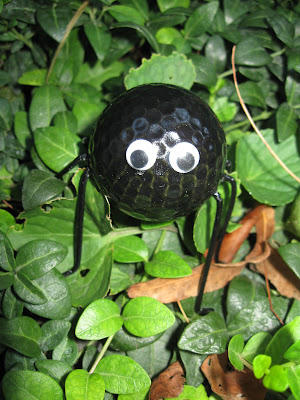
I am considering making several to hang from my dining room light fixture for Halloween! If I hang them, I’ll need to insert a small eye hook at the top and hang them with fishing line.

Have fun with it! I’d LOVE to see what you make! Be sure to share it over on my Craft Klatch Facebook Group! It’s Free! ❤️
More Spiders and More Halloween!
If you enjoyed this spider craft I have 30 Golf Ball Crafts you are sure to love! Here are some other spider crafts I have made!
- Spider Pumpkin
- Creepy Halloween Spider Coasters
- Glitter Spider Votives
- Halloween Glitter Spider
- Creepy Spider Sac
If those aren’t enough, I have 103 Fall and Halloween Crafts that you will want to make!
Super Cool Spider Stuff!!!
Incase you love spider stuff, check out this amazing stuff!

Happy Halloween! Remember: Life’s too short not to shimmer, so grab your glue gun and your glitter!™ Stay safe!
Mona