It’s time for all things Fall! I cannot believe it’s already here! The leaves are changing and it’s time to head out to the pumpkin patch to select the PERFECT pumpkin.
Greg and I were driving the other day and saw fields of orange pumpkins on the horizon. It’s a stark contrast to green cornstalks that, I swear, were JUST THERE!
The beauty of the pumpkin is that it is the ideal fall decoration that easily transitions from Halloween to Thanksgiving.
Seriously!
What a great decorating timesaver! If you are anything like me, there just aren’t enough hours in the day. If I can check something off my list with minimal effort…
I AM IN!
Once you pull yourself out of the pumpkin patch and scrape the mud off your boots, it’s time to get creative with pumpkin crafts!
Today, I am making a pumpkin coaster that looks like you might have found it while you were wandering around the pumpkin patch.
Materials You Will Need To Make The Pumpkin Patch Coaster
- Coaster mold: https://amzn.to/1Hv8Lpc
- Jewelry clay: https://amzn.to/1MmmGn5
- Acrylic paint: Orange, Metallic Gold, Black
- Pigment powder: https://amzn.to/1HvaD1p
- Green construction paper
- Super Gloss Mod Podge: https://amzn.to/1PqNP9v
- Orange pigment: https://amzn.to/3kB4bQI
- Resin
- When deciding on which resin to use for your coasters, you need to keep in mind whether you want it just for cold cups or for hot ones as well.
- If only for cold drinks, you can be flexible and use whatever brand you like:
- If you want it to work for both hot and cold drinks, you need to look for a heat-resistant resin, like these:
- Stone Coat (Quick coat)
- Stone Coat (Heat resistant)
- FX Poxy ~ According to the manufacturer, this one is heat resistant to 500° F.
Here is the video tutorial:
Pumpkin Coasters I Have Made
This is definitely not my only pumpkin coaster. In fact, I have made a few.
I made one as part of a Thanksgiving Coaster Set. The coasters were made out of wood and also included an acorn, turkey, and Fall leaf.
Did I mention they were EASY?
You’ll even learn how to distress wood!
I made a Halloween Confetti Coaster that had some little pumpkins and ghosts. This is a great beginning resin project! Confetti coasters are the easiest resin coasters to make and they always look great!
I made a Jack O’ Lantern Pumpkin Coaster that actually had a glow-in-the-dark quality. It was a fun technique that was a little different but still easy!
I know I keep using the word easy, but this Pumpkin Patch coaster is the hardest of the pumpkin bunch and it is easy! I made a square Pumpkin Tile Coaster that used a pre-made wood pumpkin. No painting was required, so that made it extra easy!
Directions on how to make the Pumpkin Patch Coaster
Step 1: Let’s get this pumpkin coaster started!
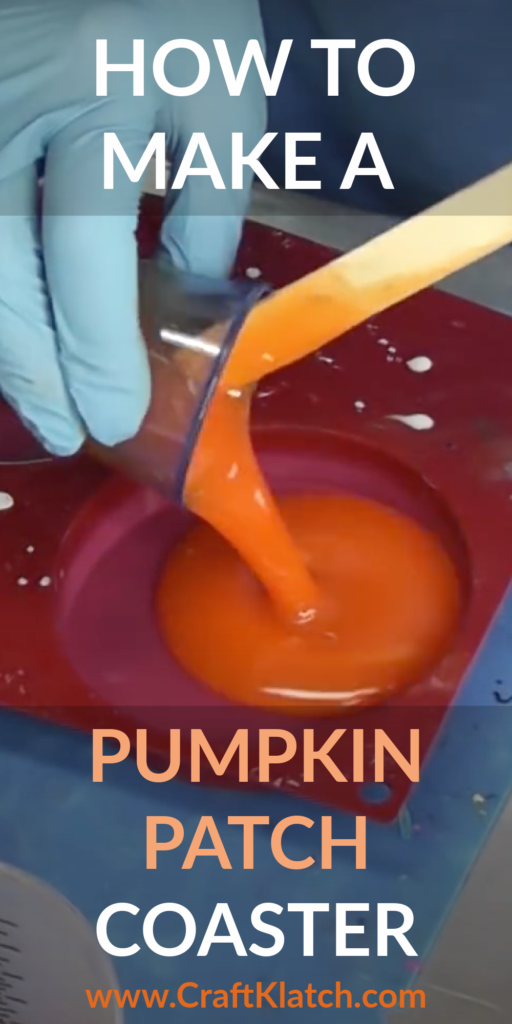
To prepare for the pumpkin coaster, I mixed my resin. I did two ounces, but one would probably be fine. I added the orange resin pigment. (Always follow directions when mixing resin and adding pigment).
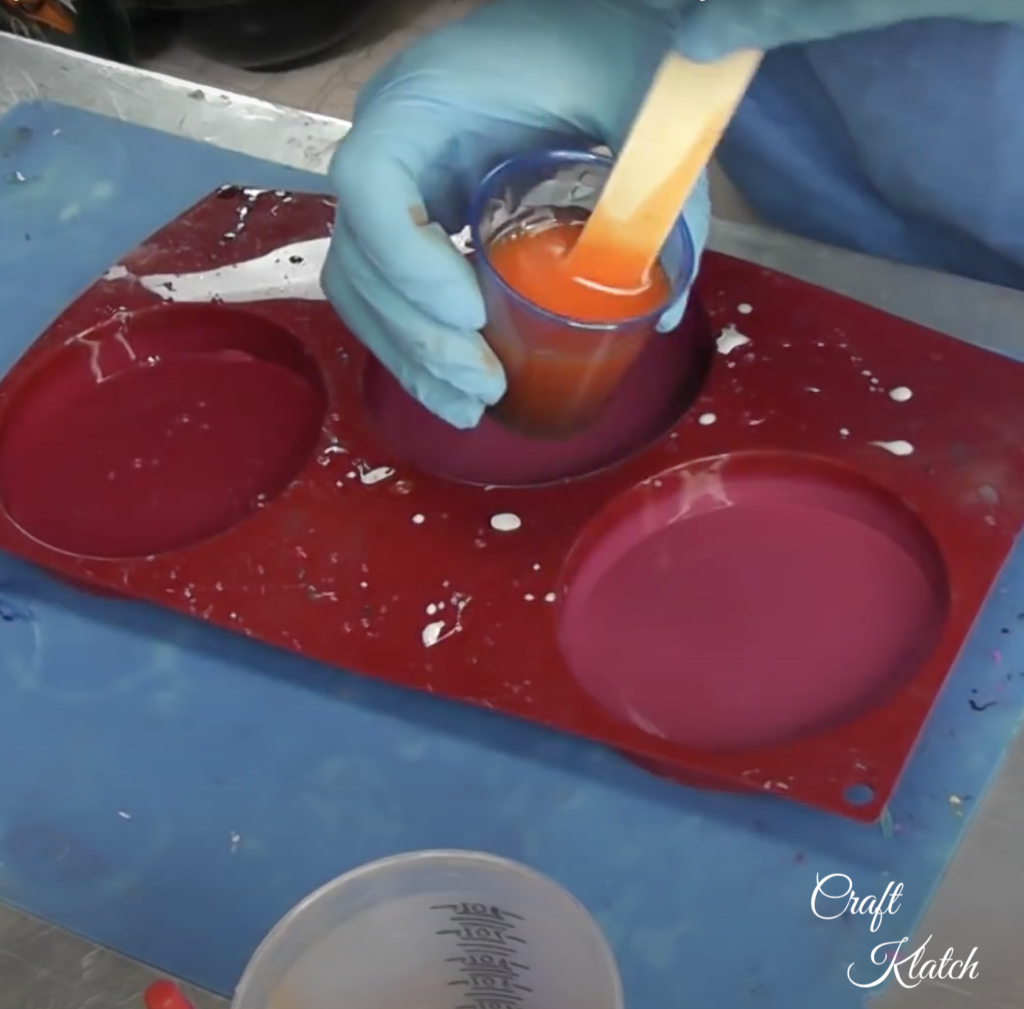
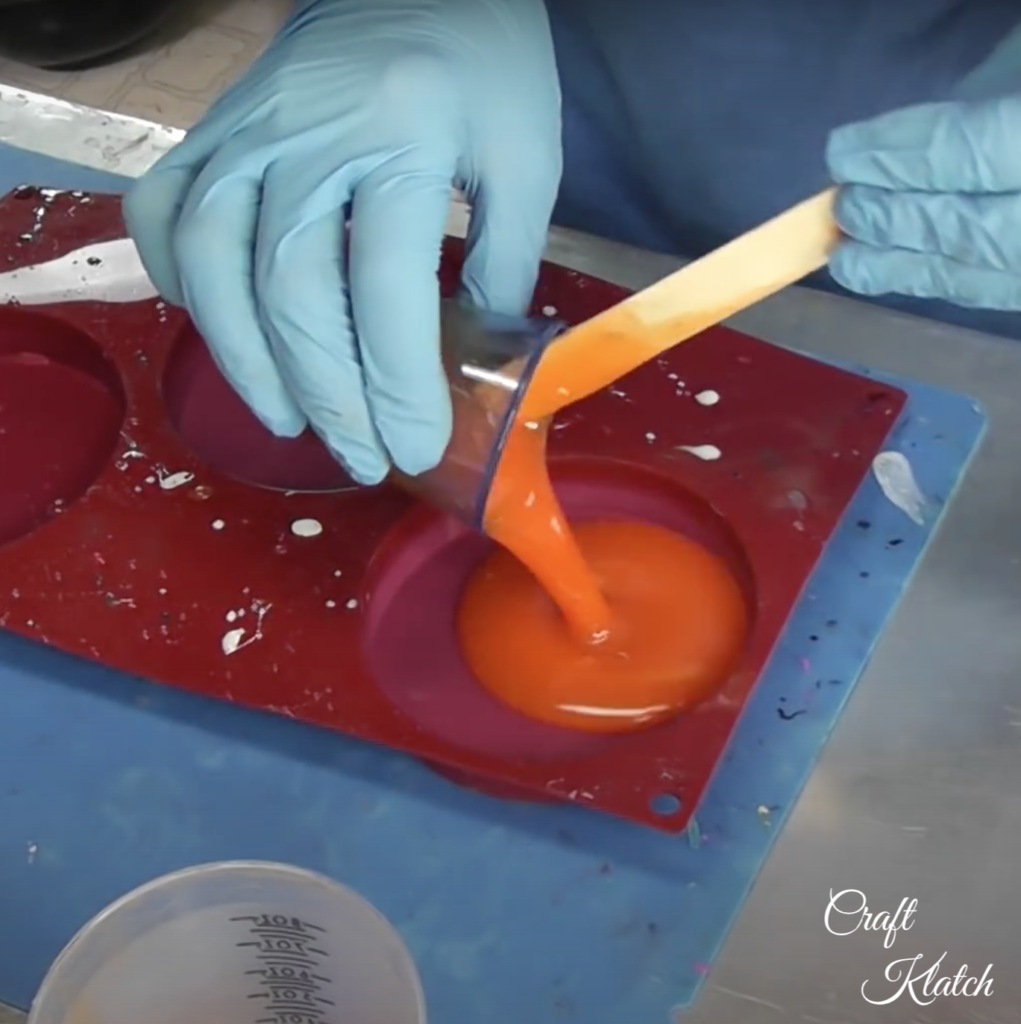
Step 2: Now that’s some pumpkin orange resin!
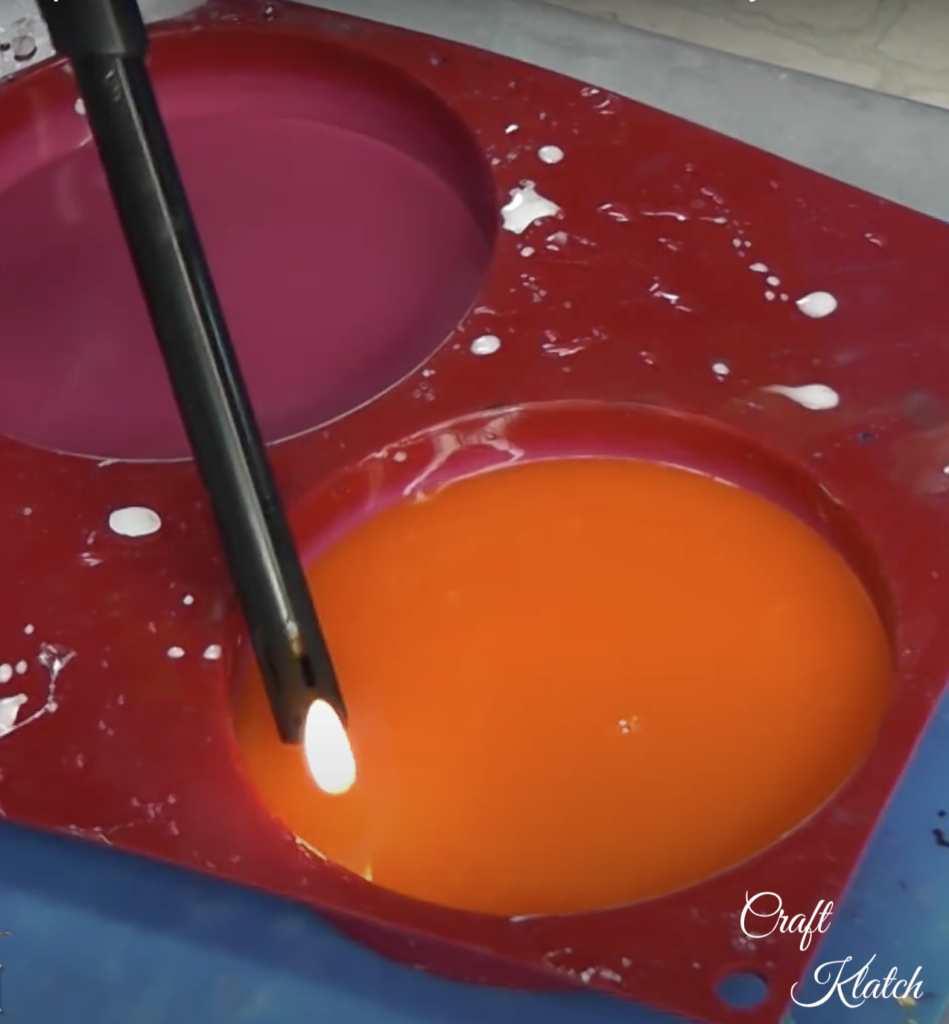
I poured it into the mold. I popped the bubbles with my lighter and allowed it to cure a minimum of 12 hours.
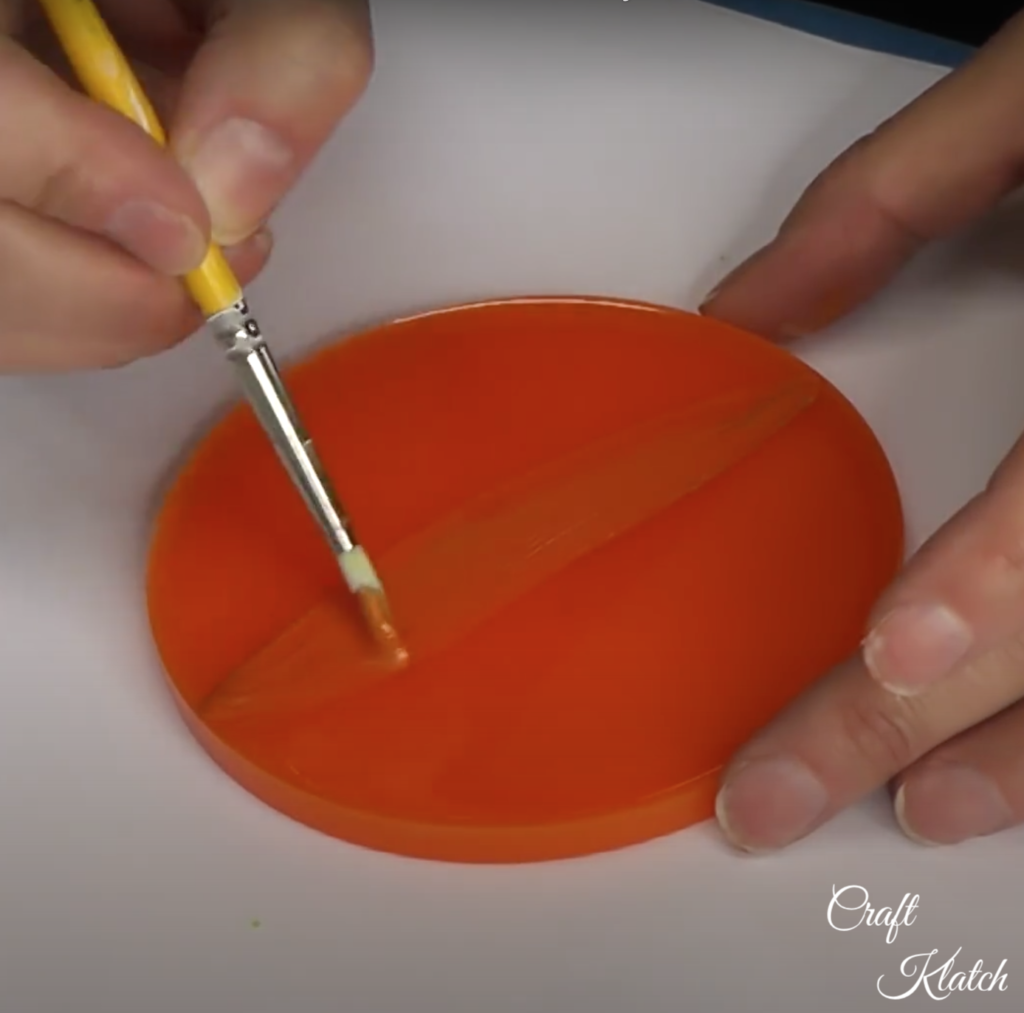
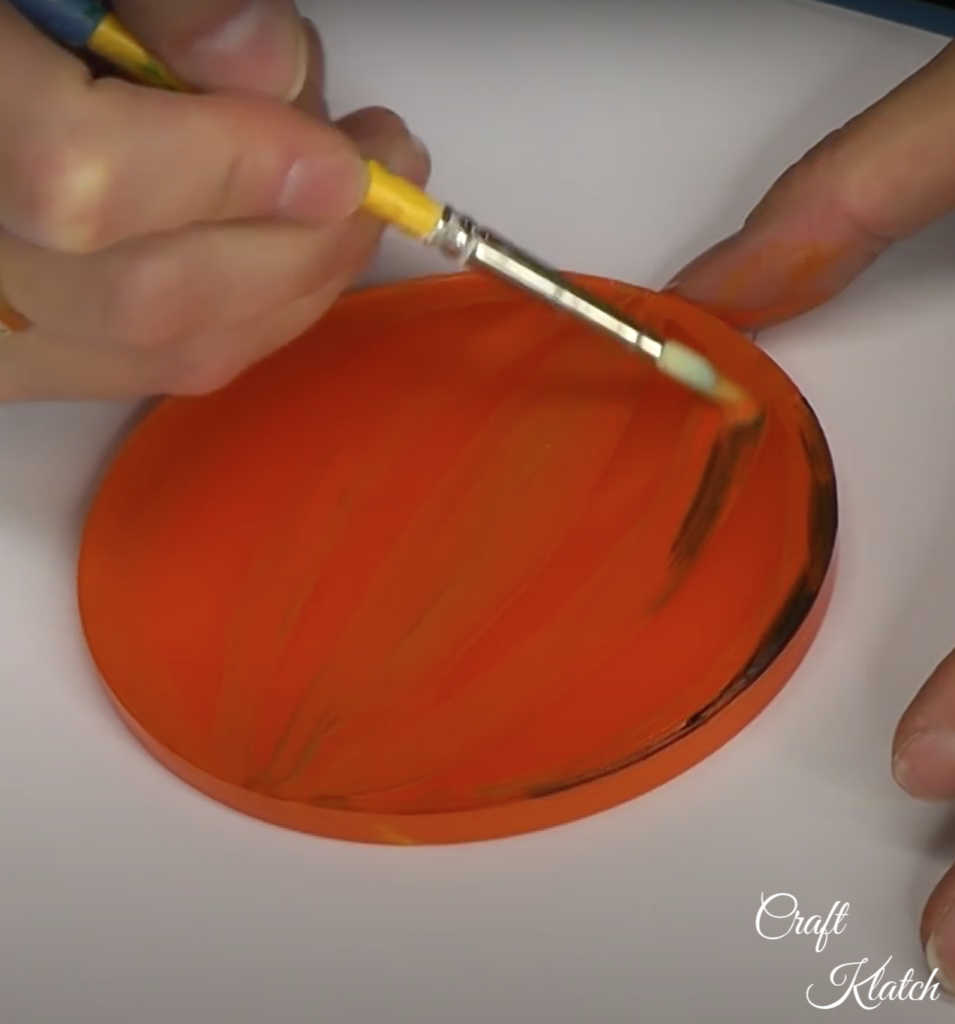
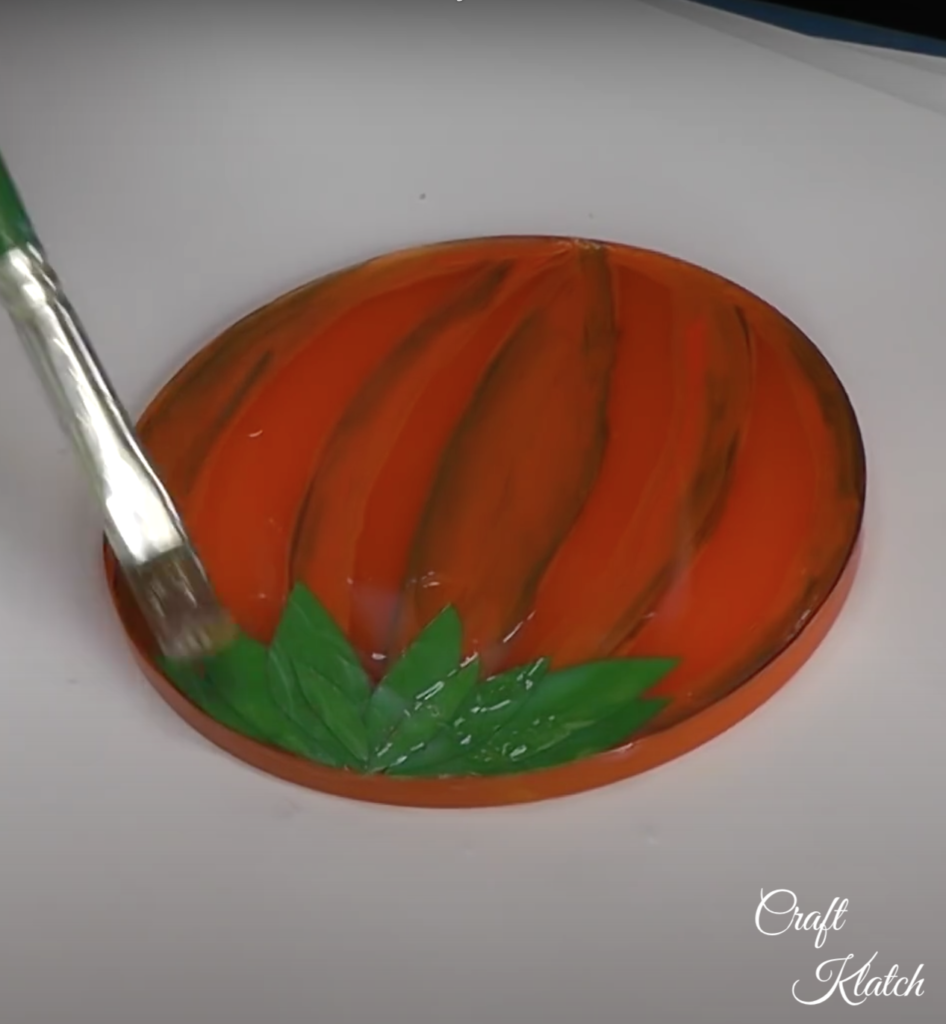
Step 3: Time for easy pumpkin details!
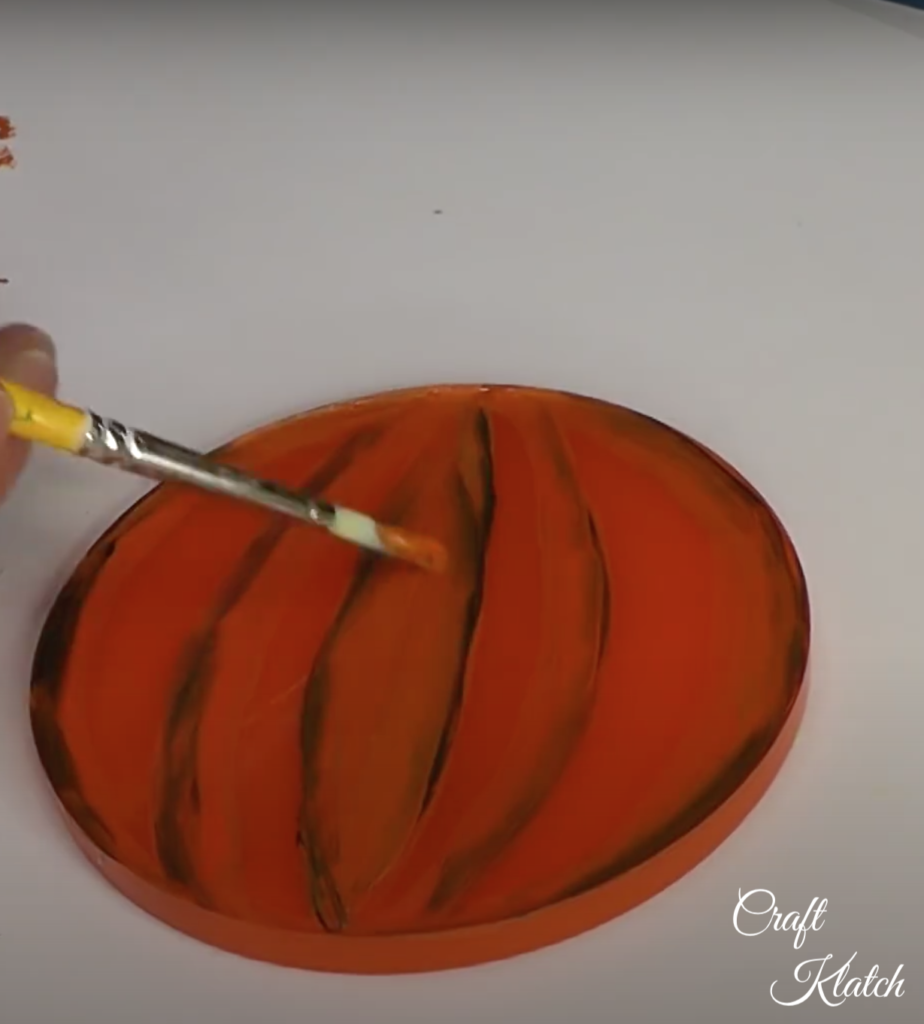
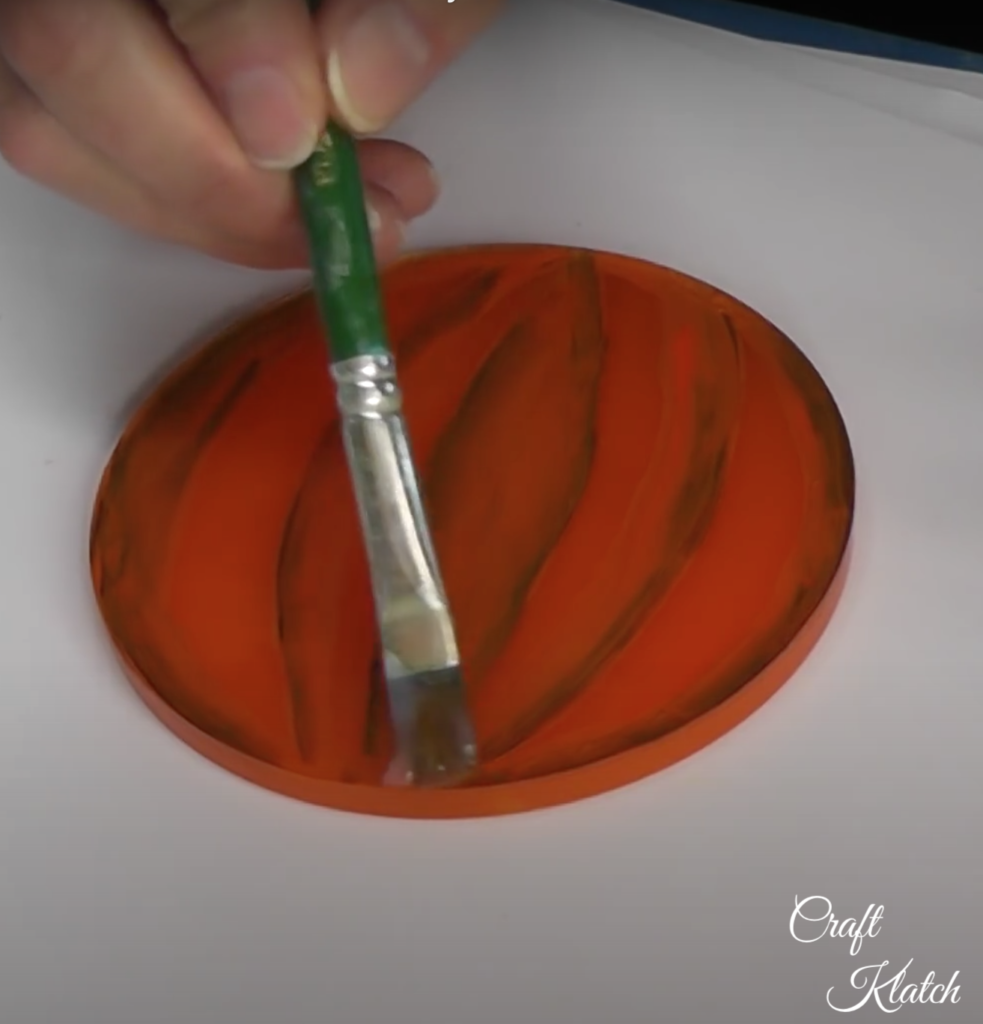
Once cured, I removed it from the mold. I took a combo of orange and gold acrylic paint to paint on the pumpkin details. Black was used to highlight the pumpkin details as needed. I allowed it to dry.
Don’t worry about your painting skills. I have no training in painting and I am not a good painter.
Here is a little secret: Everything looks better when you cover it in resin! Okay. Maybe not everything, but darn near everything!
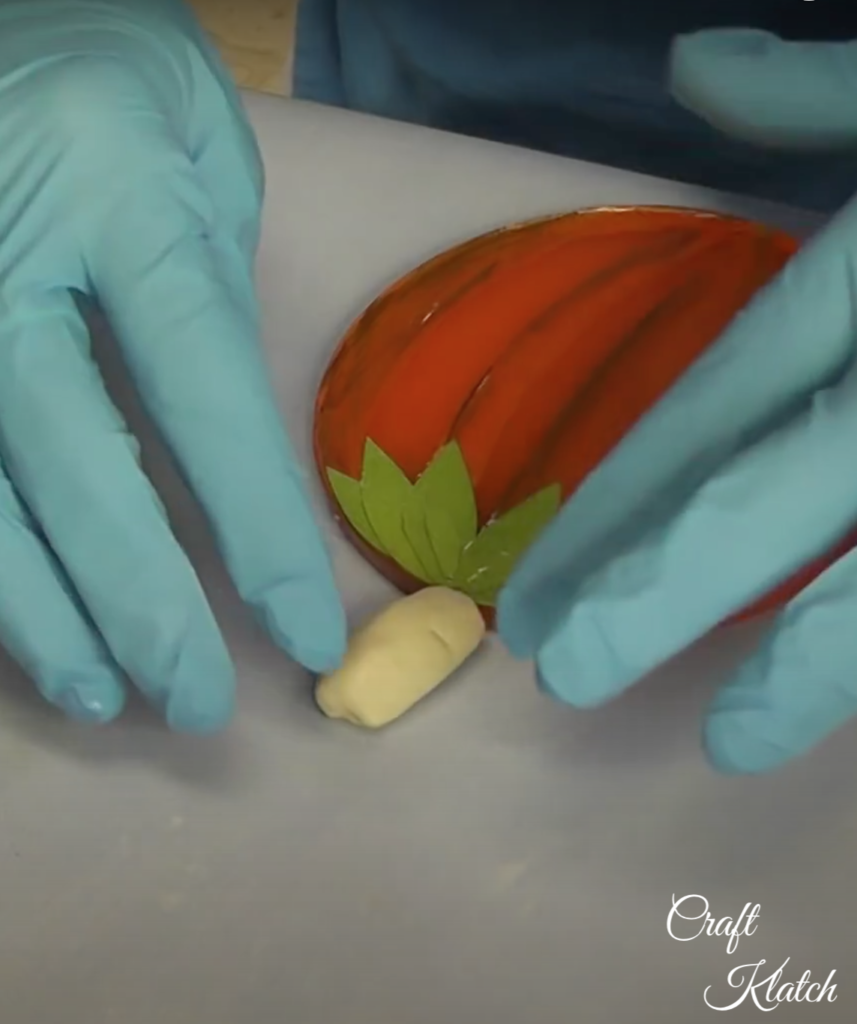
Step 4: Leaves and sealing tips for your Pumpkin Patch Coaster!
Using green construction paper, I cut it into the shape of leaves and used Mod Podge to put them in place. I followed with one or two additional coats over the whole front of the coaster. I allowed it to completely dry. There are two important things I have learned. You will see I did a little later where I did not learn it yet on this coaster.

You MUST seal paper before you pour resin on it, or it will blotch. That is why I use Mod Podge to cover it.
The really important thing is to make sure you have it COMPLETELY covered and sealed.
It’s better to be extra cautious. Paint the Mod Podge on in all directions and I would suggest a minimum of two coats.
Then, you must let the Mod Podge COMPLETELY dry, or you will get cloudy spots that won’t ever go away.
When you use Mod Podge or any type of sealer, you want to cover your whole piece.
For example, on this project, I only needed to attach the paper leaves. It would seem logical to only brush the Mod Podge on the leaves. I have found that sometimes you can see where you stopped brushing and if you don’t have it all over, you might see that after you pour your resin.
It’s an easy solution. All you need to do is brush on your leaves. Once they are on, you just need to brush over the whole coaster. Once is fine.
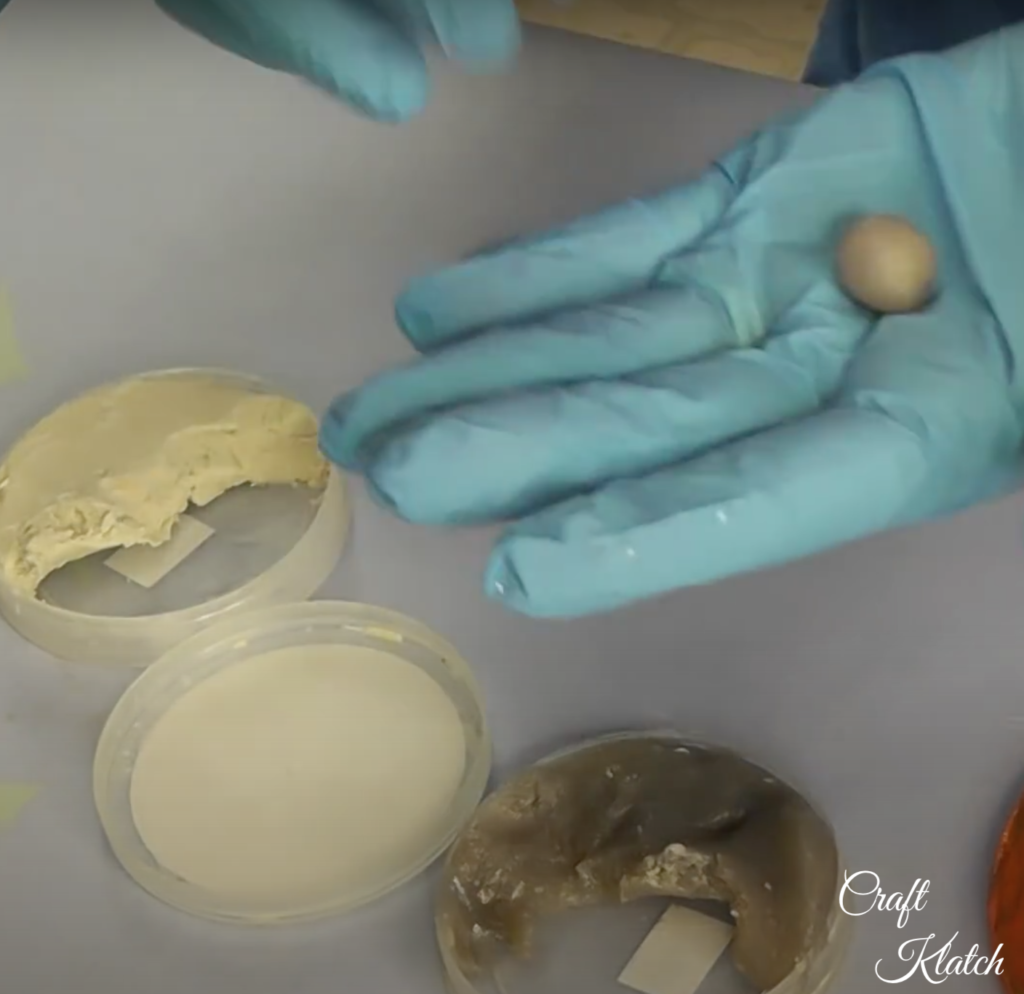
Step 5: Pumpkin stem time!
I prepared some jewelry clay and shaped it into a log. I attached it to the top of the pumpkin.
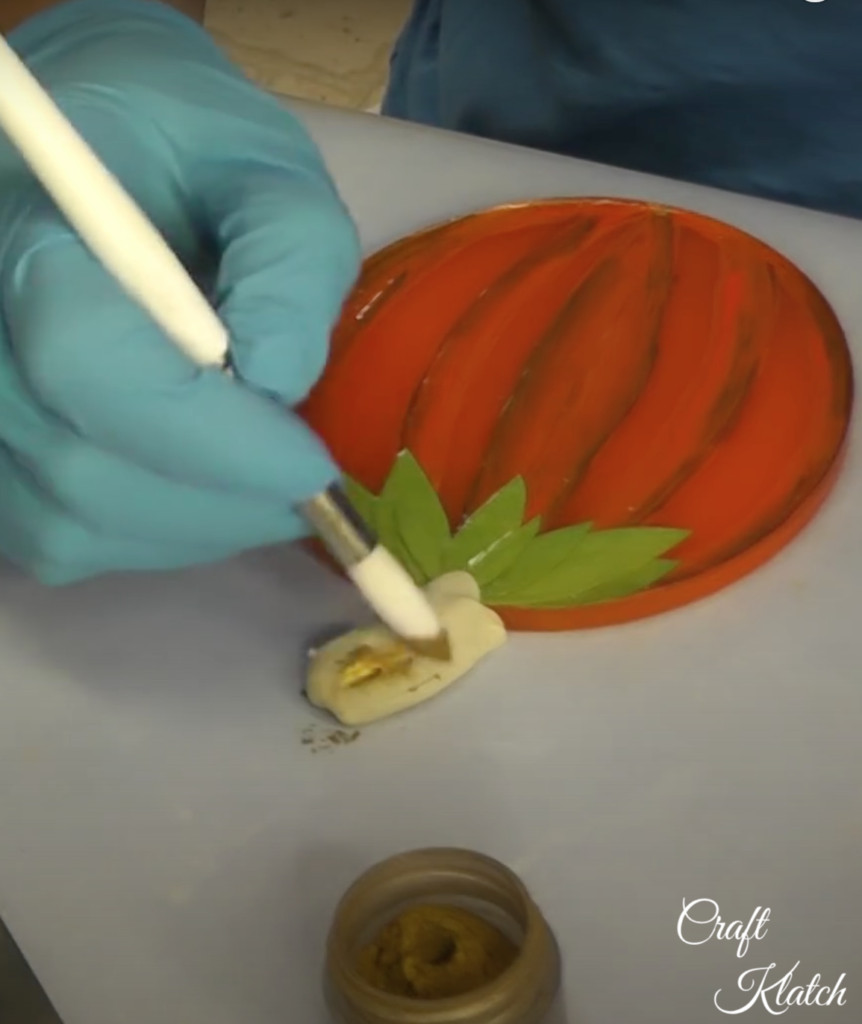
Step 6: Brush! Brush!
I carefully brushed on pigment powder, on the front and back of the stem. I wanted to make sure I was careful so I did not get any pigment on the coaster.
Step 7: Let’s finish off this pumpkin patch coaster!
I prepared more resin (1 ounce is perfect). I poured it onto the front of the pumpkin coaster, trying not to let it overflow. Take your time, no rush!
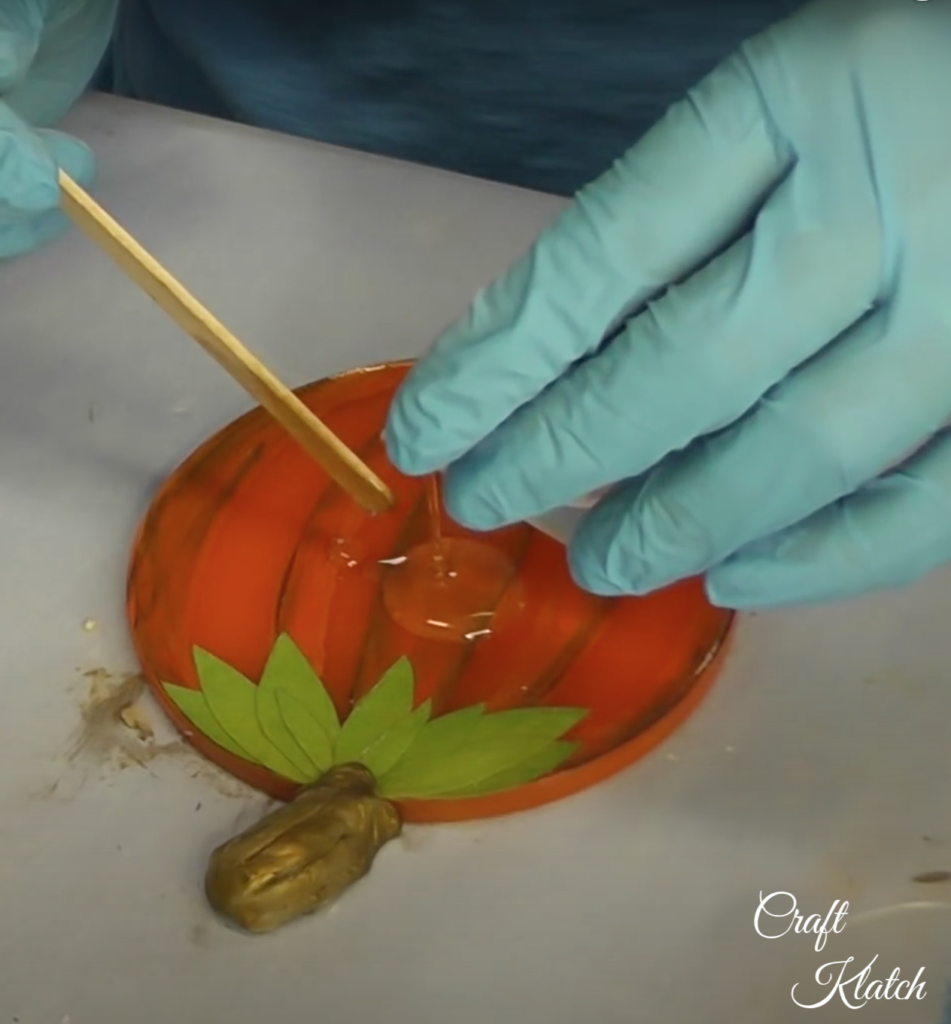
I popped the bubbles.
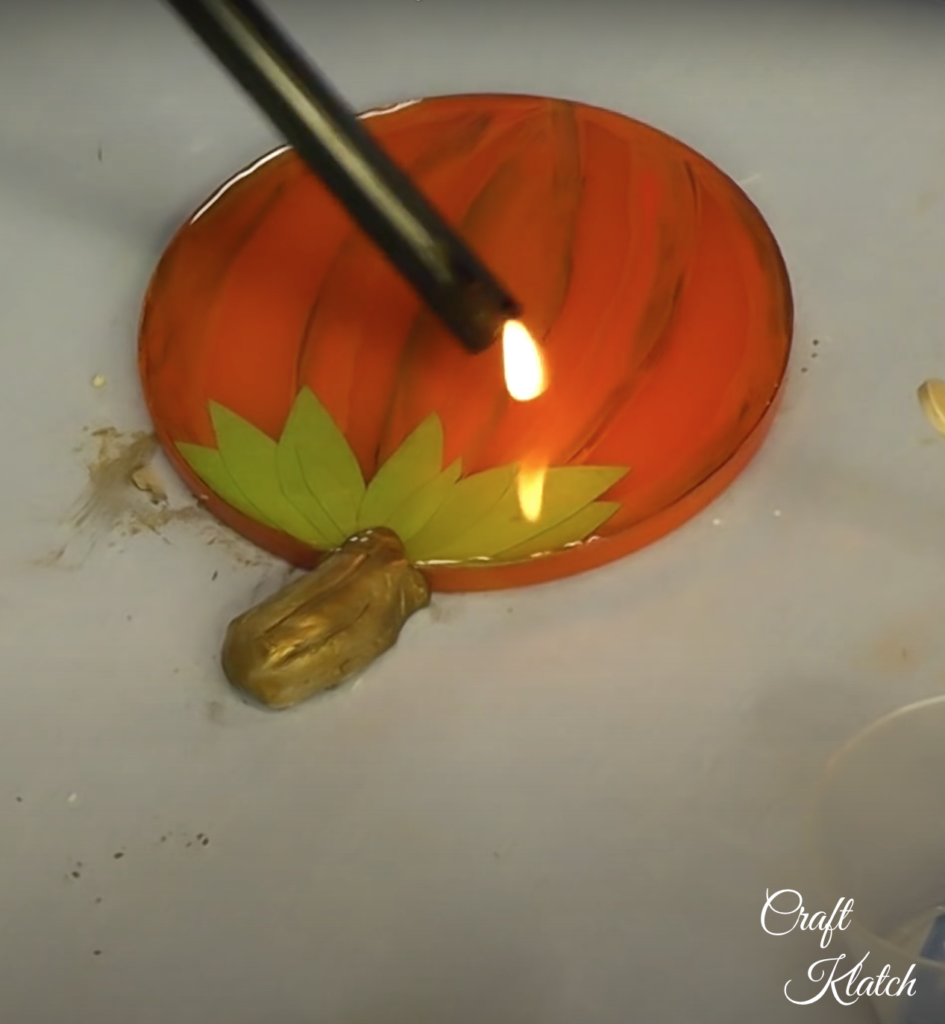
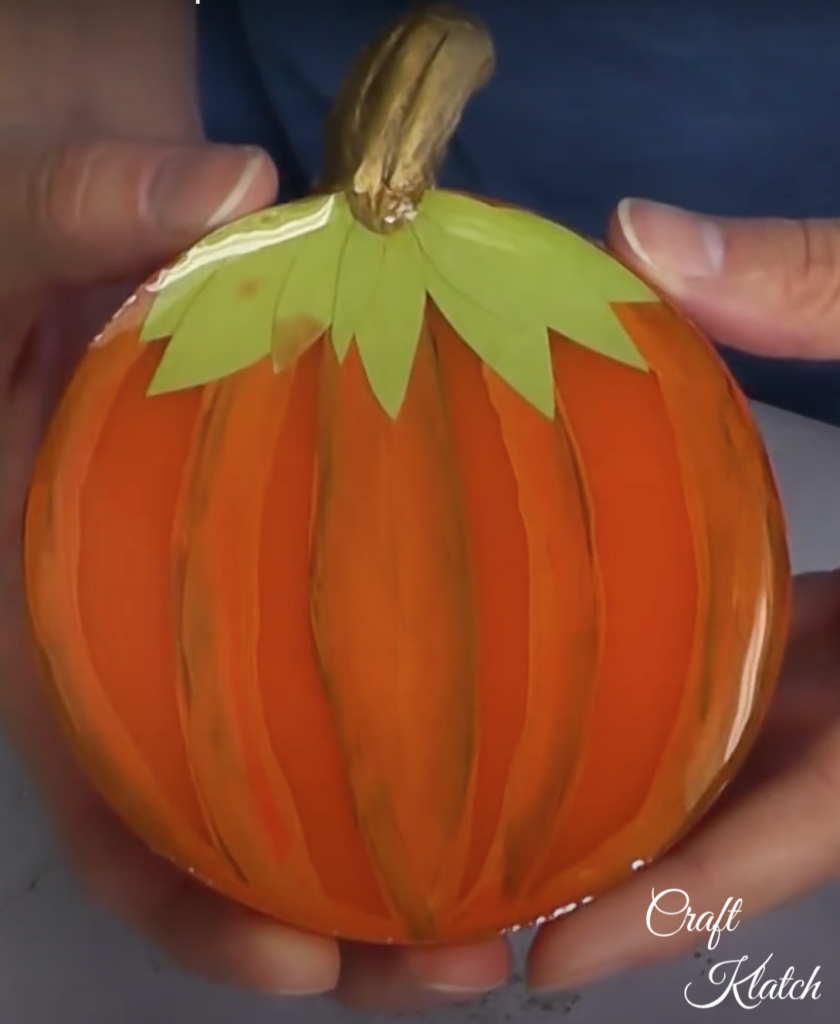
Once it cured, that was it! Look at this fun pumpkin coaster! The only thing I might have done differently is to have drilled a hole into the edges, by the stem, and add little wire tendrils. But that would be totally optional.

Look at the picture of the pumpkin coaster below. Where I am pointing is a spot that I did not completely seal with the Mod Podge.
I have since started brushing in all directions when I add the sealer. I brush it on the back, put it down, and then brush from all directions – up, down, left, right.
On this particular project, it didn’t really bother me because fall leaves change color, so that was lucky. On a different project, it might have upset me.
I hope you guys are geared up for fall and making the most of it! Before you head out to the pumpkin patch, let me know in the comments below what you have planned for fall and what is your favorite part of fall. I happen to LOVE cider donuts!
If you need more fall and Halloween inspiration, I have over 103 Fall and Halloween Crafts just for you!
Here is a question I get asked all the time:
What resin is best for coasters?
Answer: Back when I did this coaster, there were very few resins on the market and the choices were limited. Since that time, the resin market has exploded! My early coasters yellowed and hot cups would stick to the coasters.
Kind of frustrating.
There are so many high-quality resins now. When you look for resin, if you are making a coaster, you want it to be heat resistant. I have one linked above is heat resistant and it also is UV resistant and has zero VOCs. All are great qualities to get the results you want!
Fun Pumpkin Coasters!
If you don’t have time to make your own pumpkin coasters, there are so many beautiful ones available, like these!

Thanks for stopping by! Stay safe!
Remember: Life’s too short not to shimmer, so grab your glue gun and your glitter!™ Stay safe!
Mona

If you enjoyed this project, be sure to SHARE and PIN IT!
I’ve yet to try resin crafts, but your pumpkin coasters make it more tempting. They turned out great! Join in on the fun at the #HomeMattersParty every Thursday (9pm est) through Monday. Hope to see your there! Southern Sunflowers . com
Thanks Allyson- I think you should definitely give resin a try! I’ll check out the link party!
Thanks for linking up! I’m featuring your cute pumpkins at this week’s party, which starts tonight. Weekly features will be shared on my facebook page and in my email newsletter.
Thank you, Allyson! I’m so sorry I didn’t respond sooner! I appreciate the feature! You commented the day after we went through Hurricane Ian. We are still working on cleanup and recovery down here. I just wanted to make sure you knew I wasn’t ignoring you and that I really appreciate it! ❤️
Mona