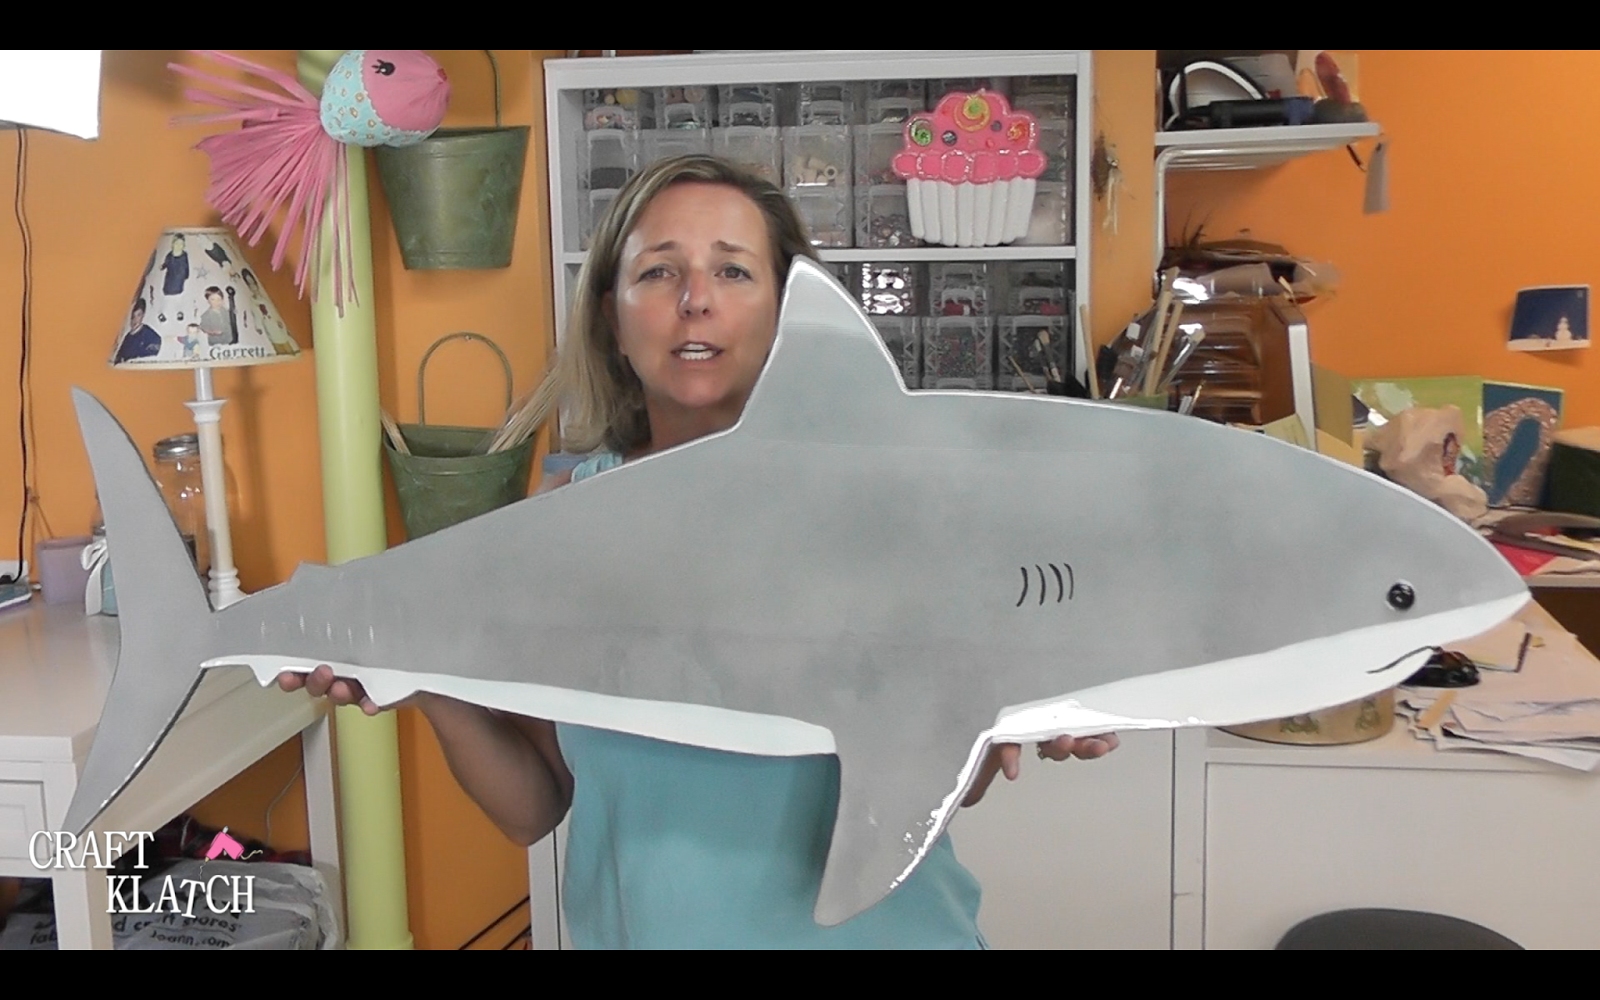
Let’s kick it up a notch and make BIG Resin Shark Art! It’s a great DIY project for your garden, or your home decor!!!

You will need:
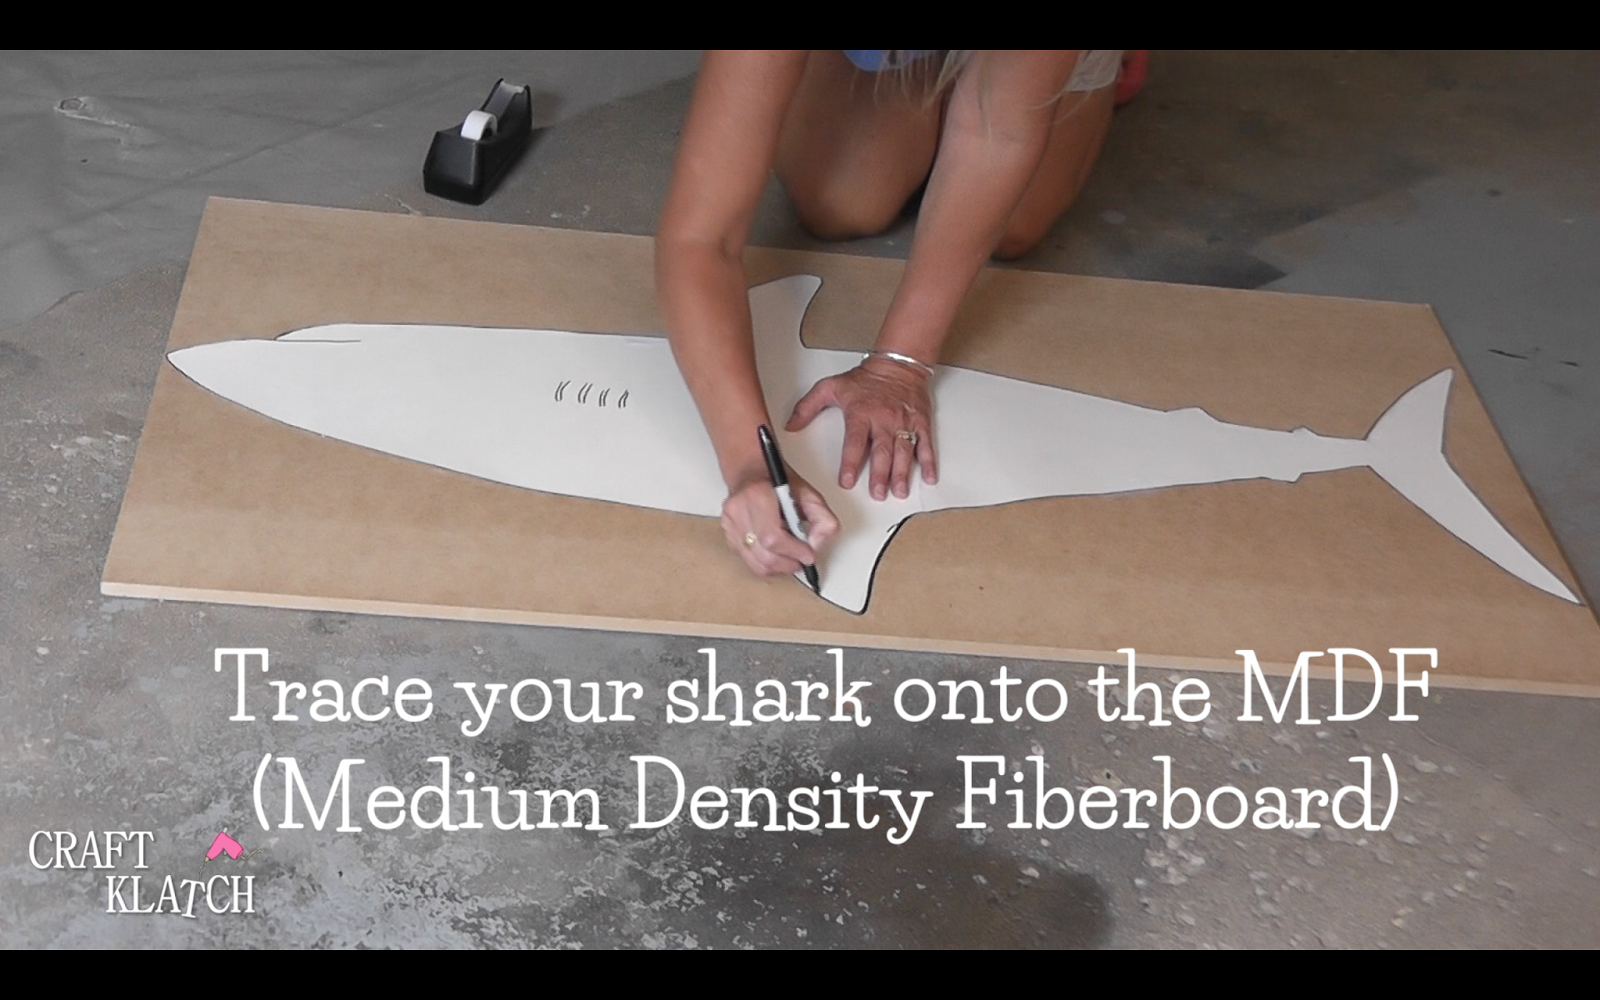
2′ x 4′ MDF: hardware or home improvement store
Silver spray paint/primer: https://amzn.to/2vzvWAf
Glass gem: craft store – in the floral department
Black multi-surface paint: https://amzn.to/2tSFV1K
White acrylic paint: https://amzn.to/2uqMcDC
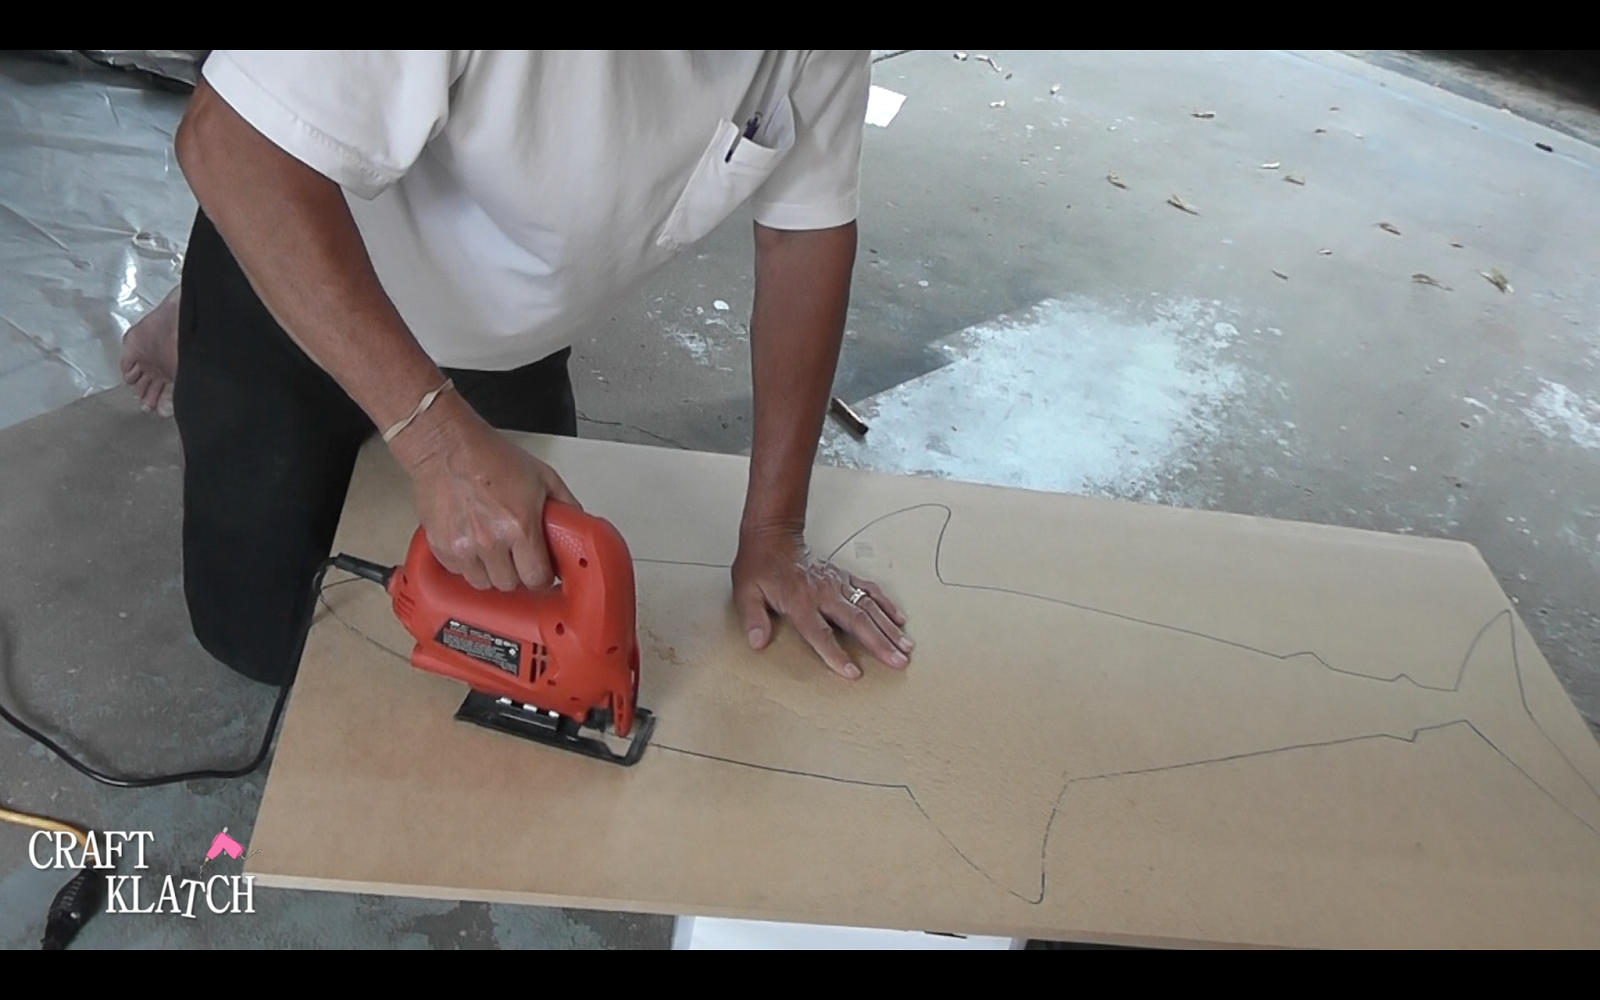
Jigsaw: https://amzn.to/2vA3Gh4
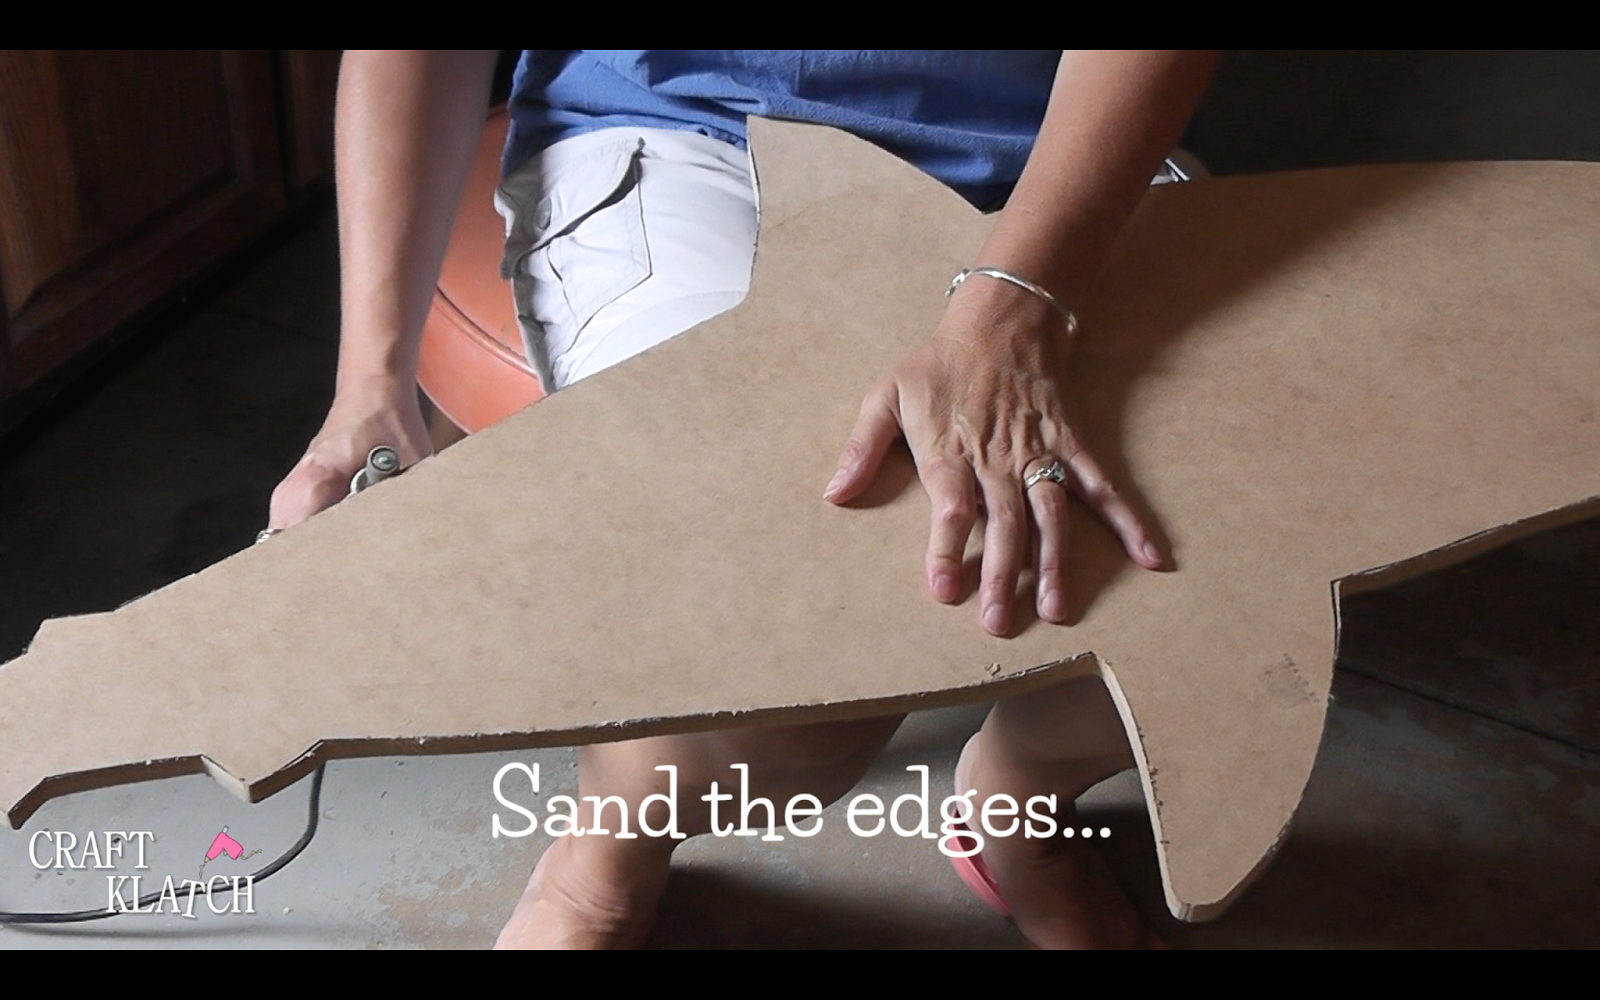
Dremel for sanding: https://amzn.to/2gVSoR4
Resin: Use whatever resin you are most comfortable with! If you want to put it outside, use a resin that is UV resistant.
https://amzn.to/2yt3SQK
https://amzn.to/2yffDcs
2. Cut it out with a jigsaw.
3. Sand the edges.
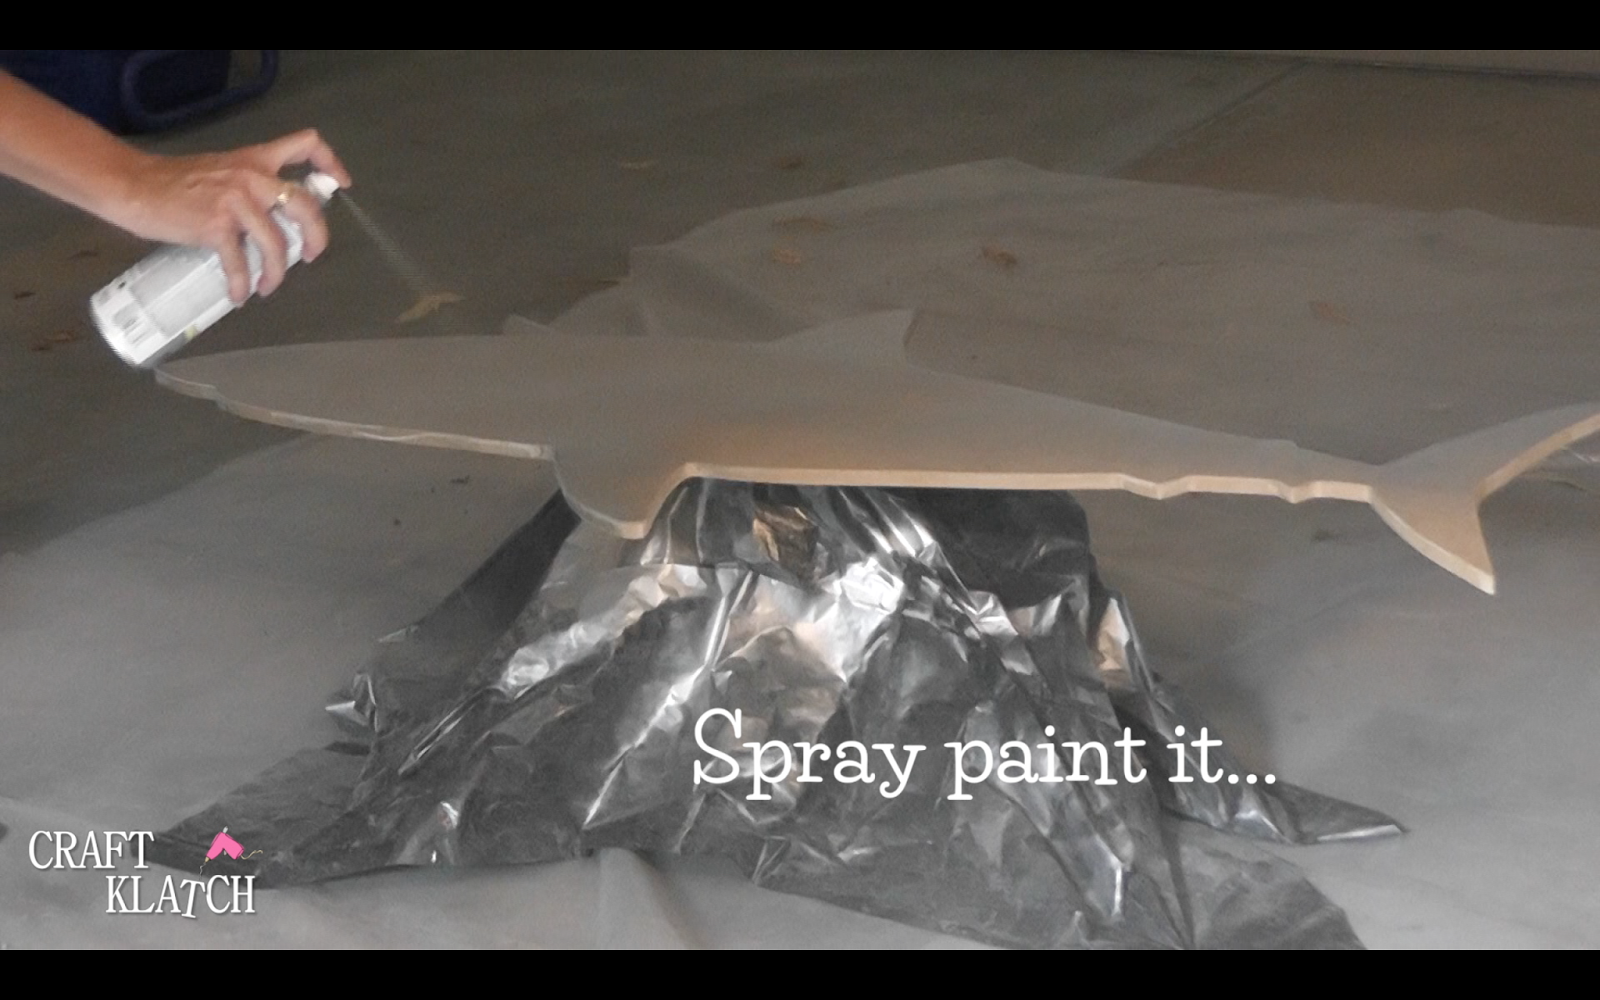
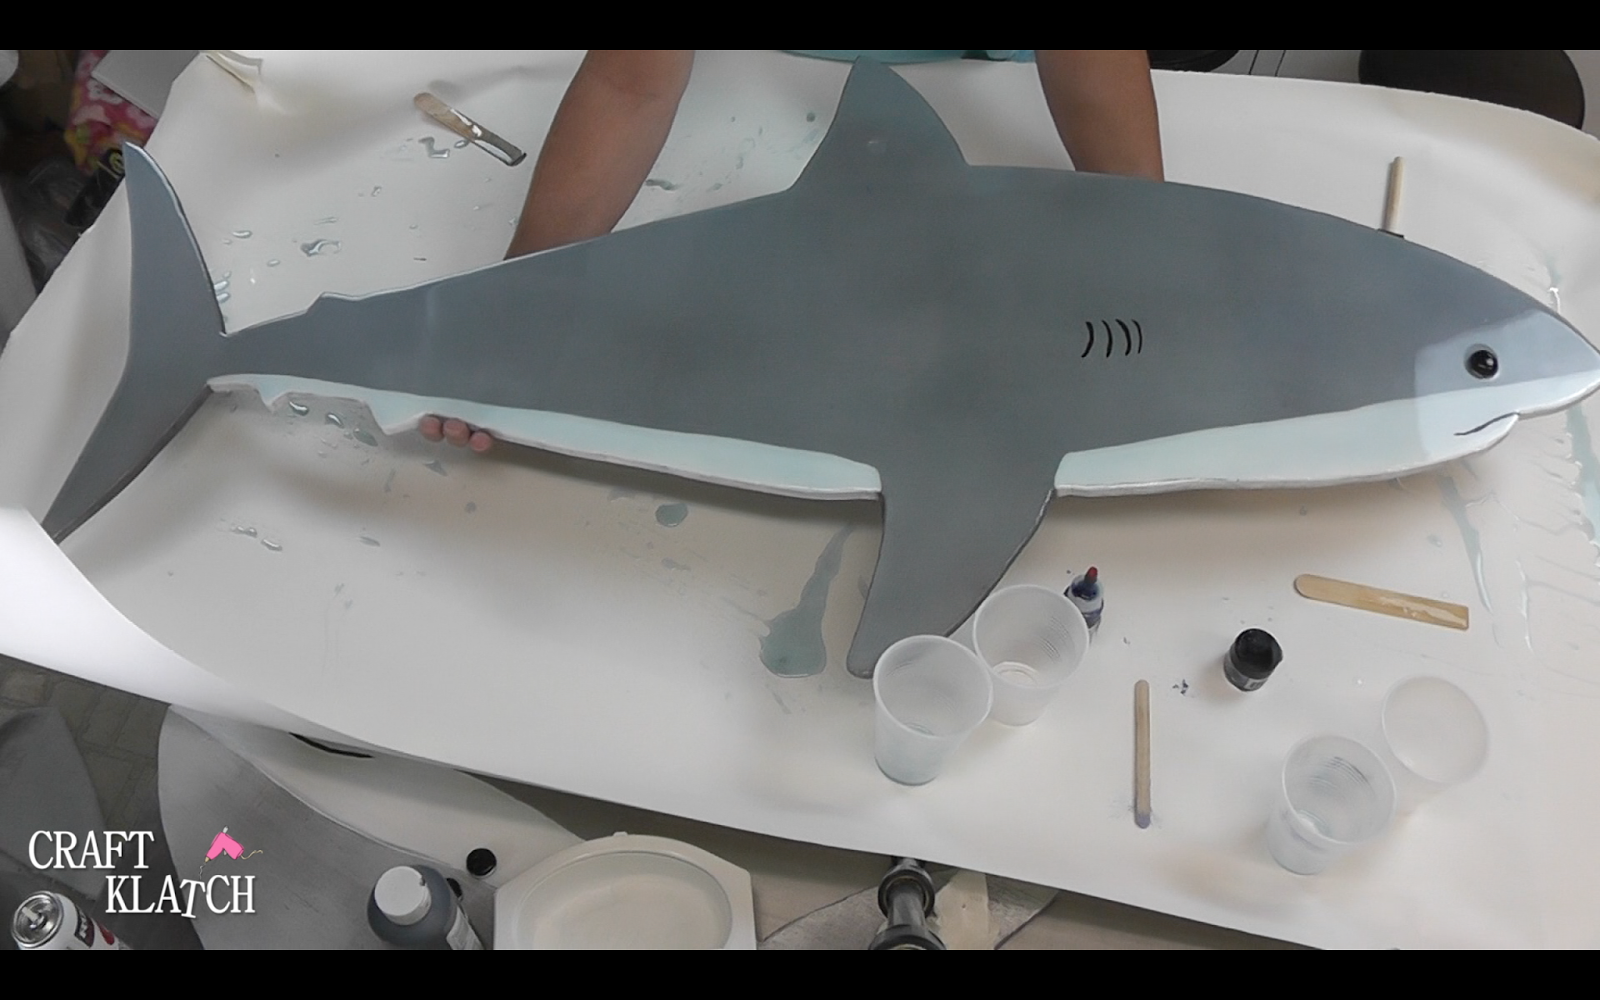
4. Spray paint it silver or gray.

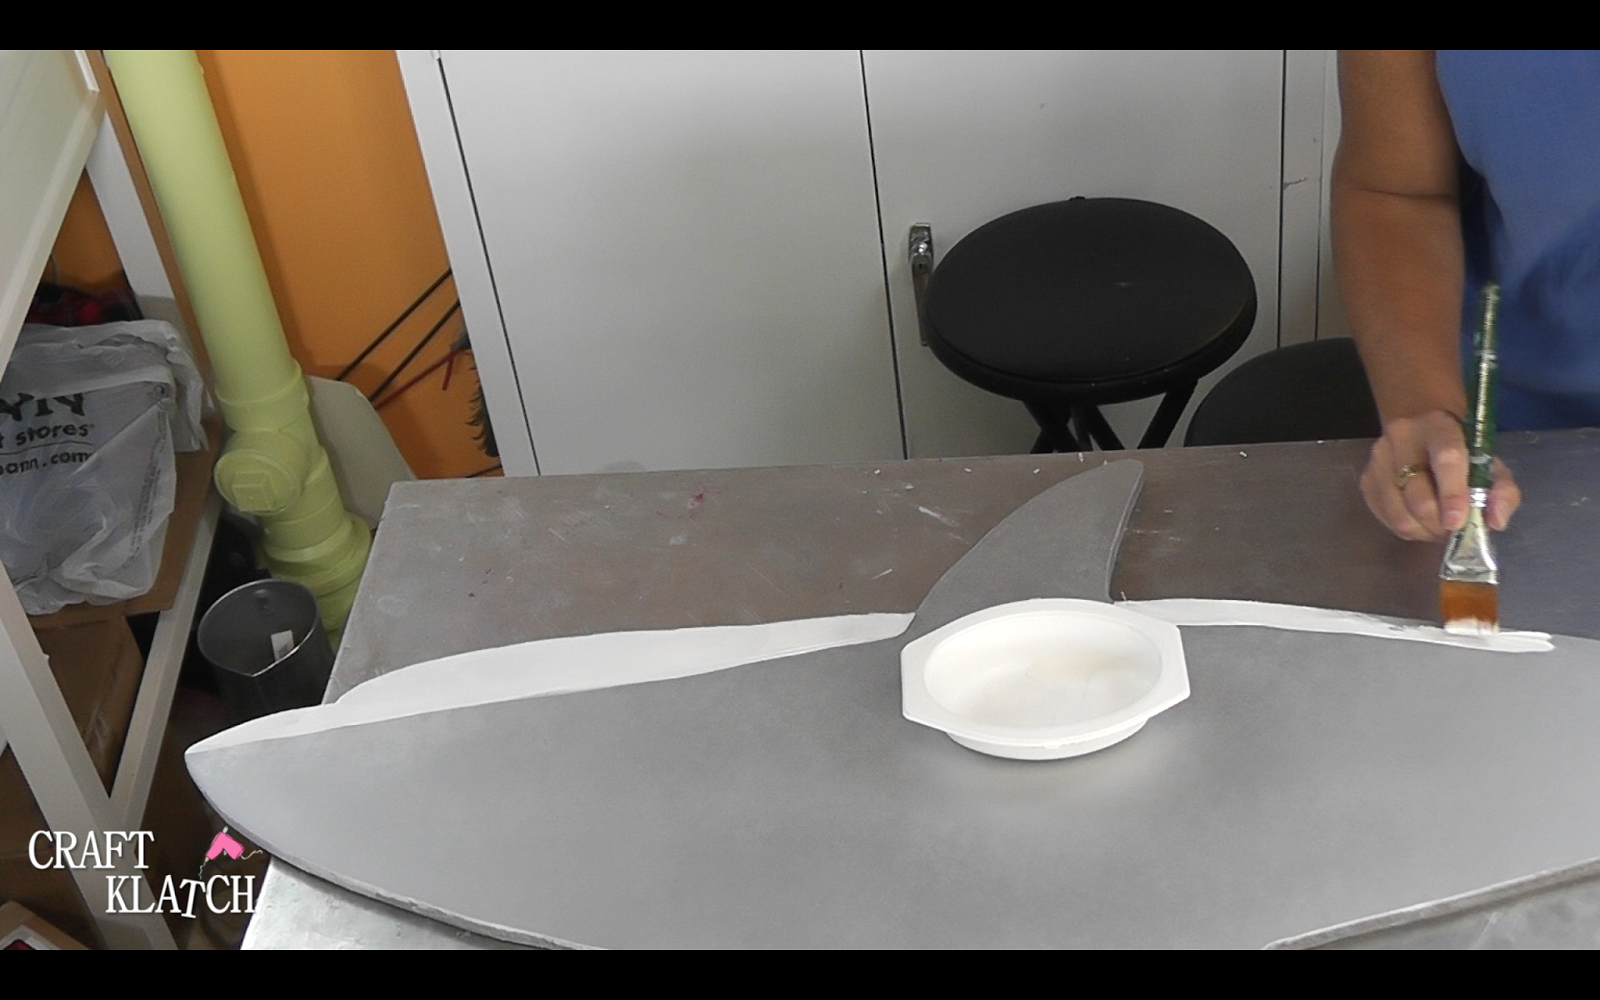
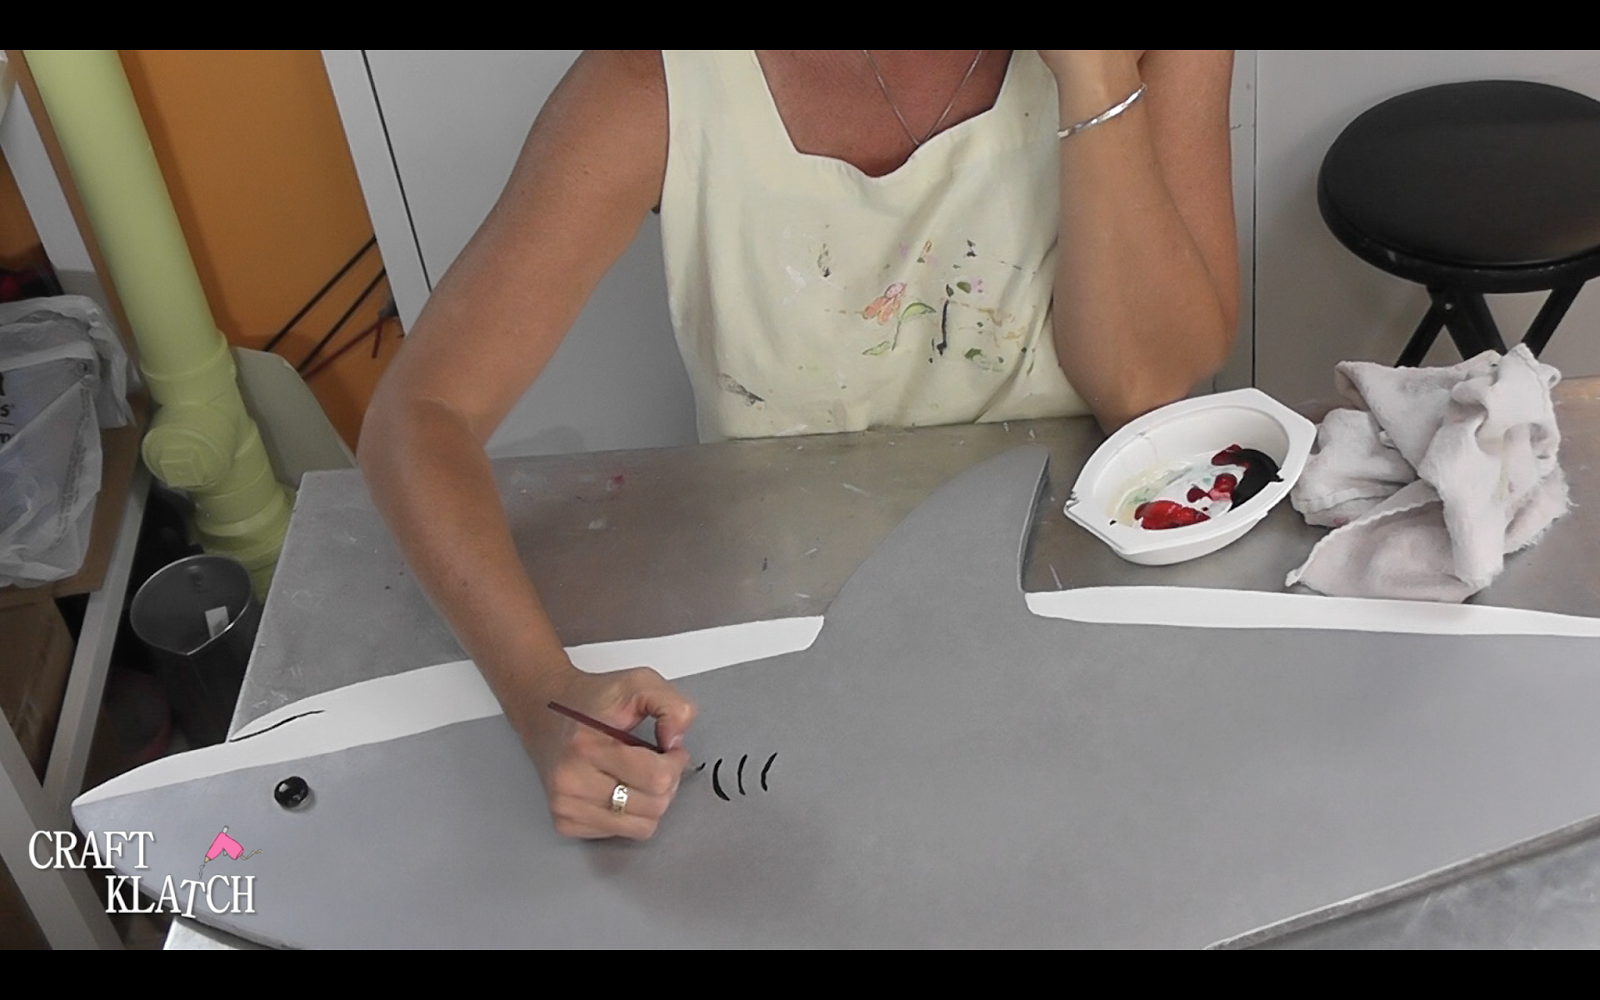
5. Paint on the details –

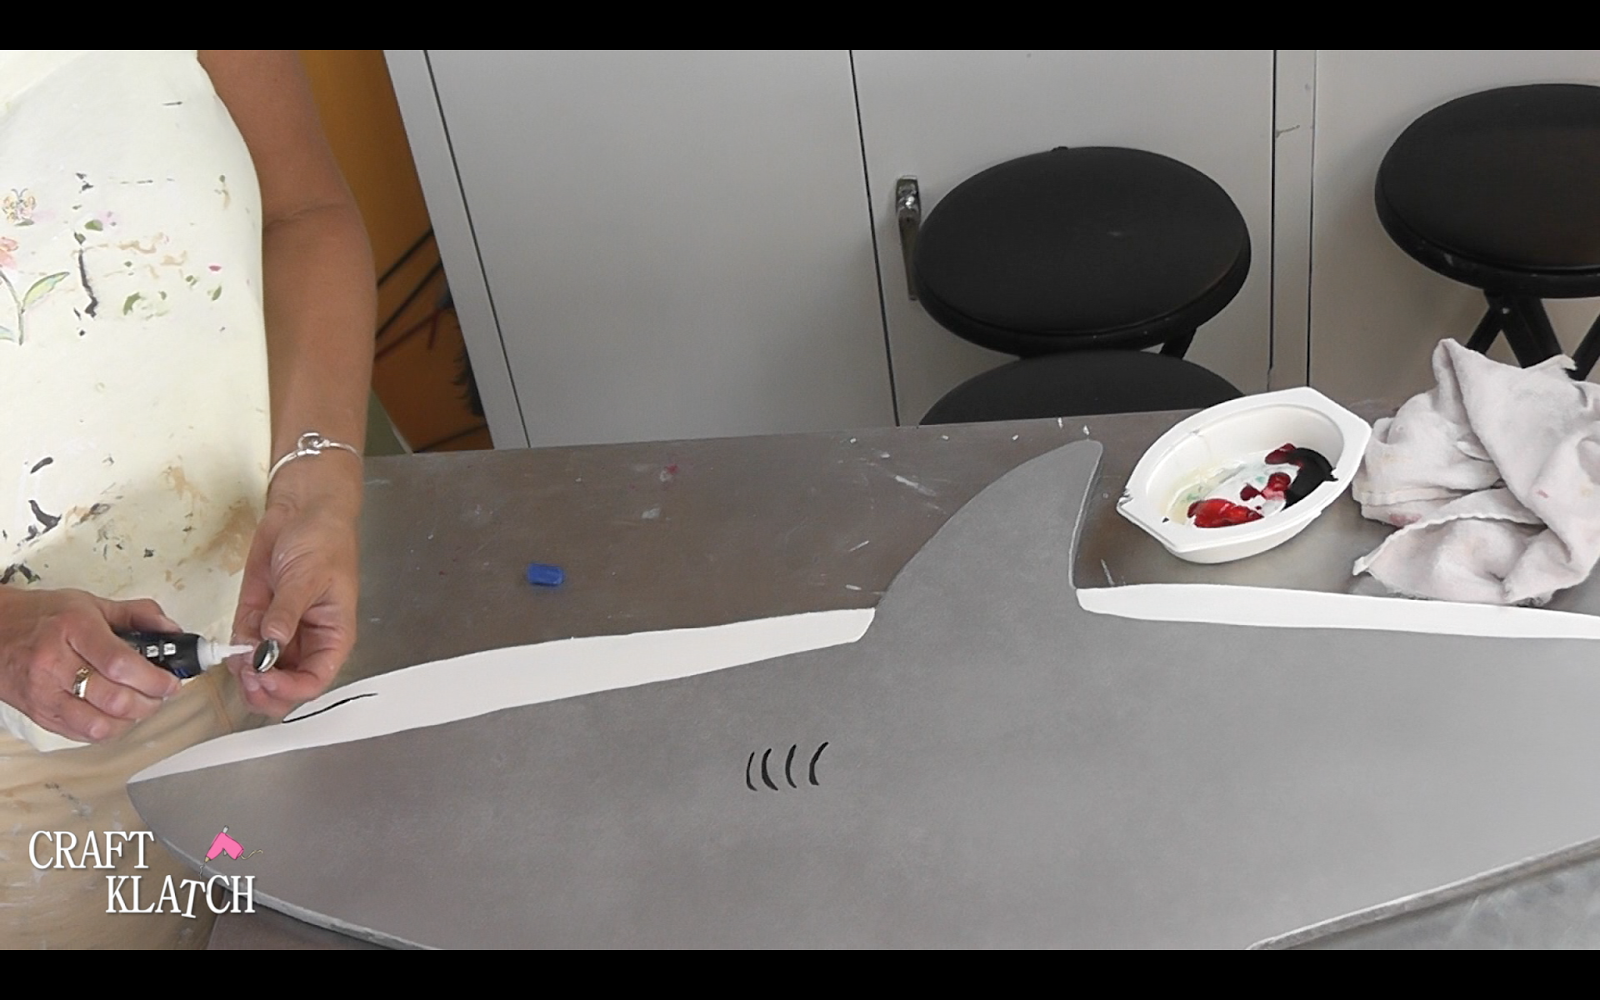
Like the belly…
The mouth…
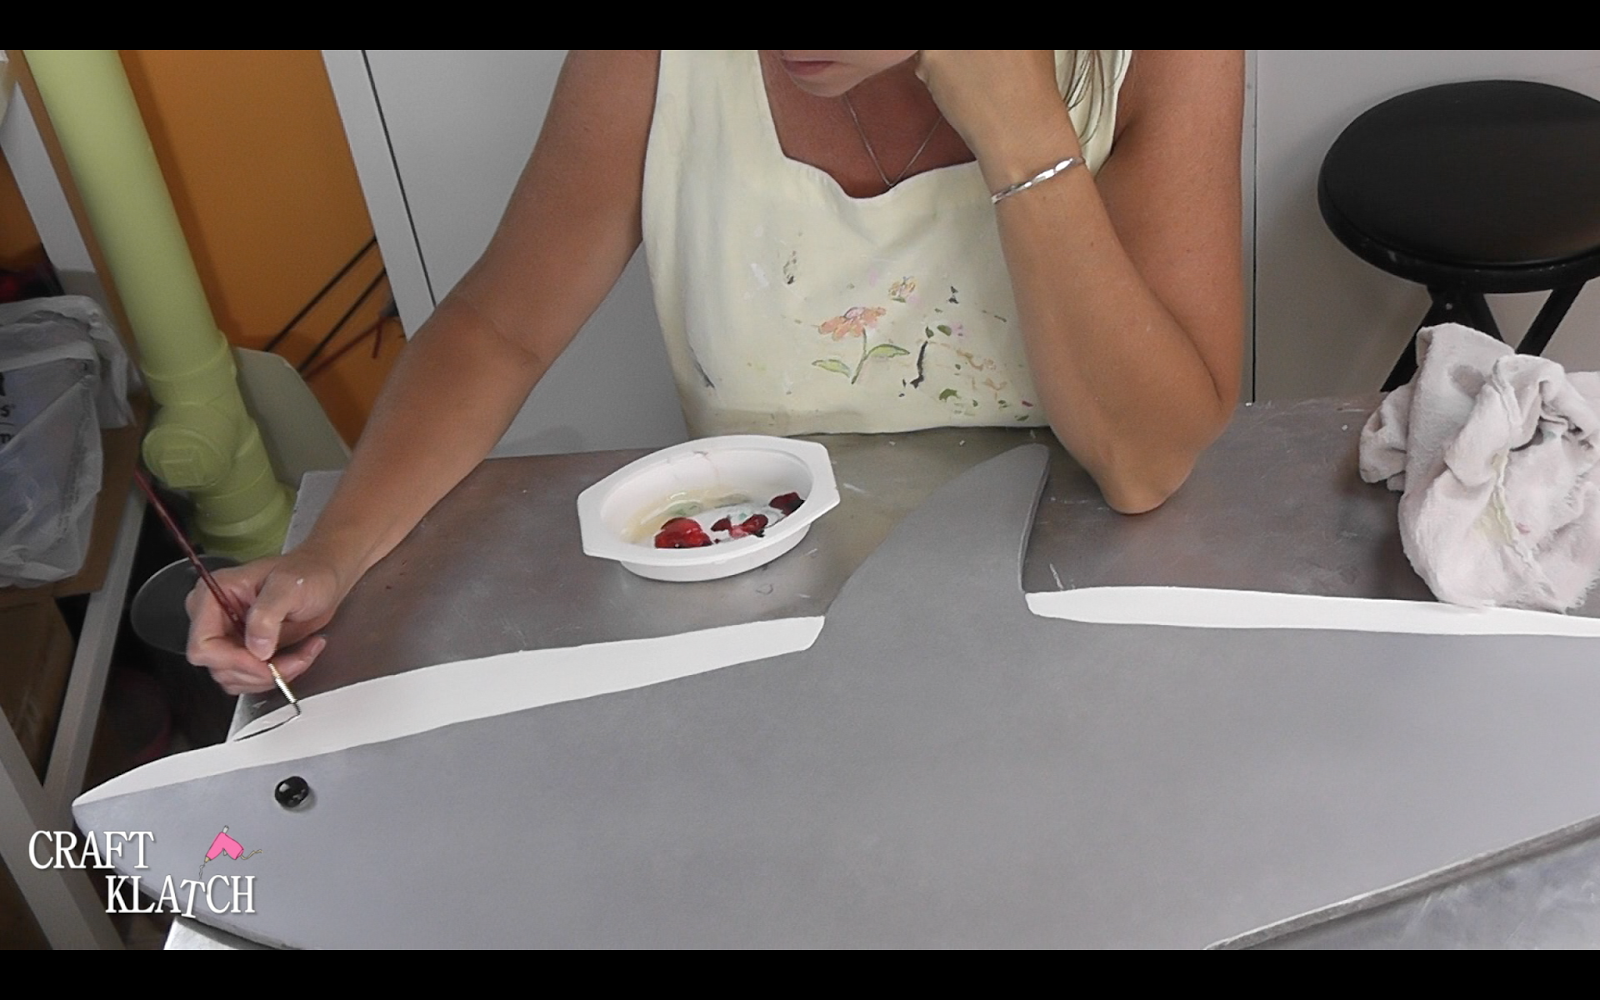
The gills…
6. Glue on the eye. I made the eye out of a glass gem and painted the back of the eye black, with multi-surface paint.
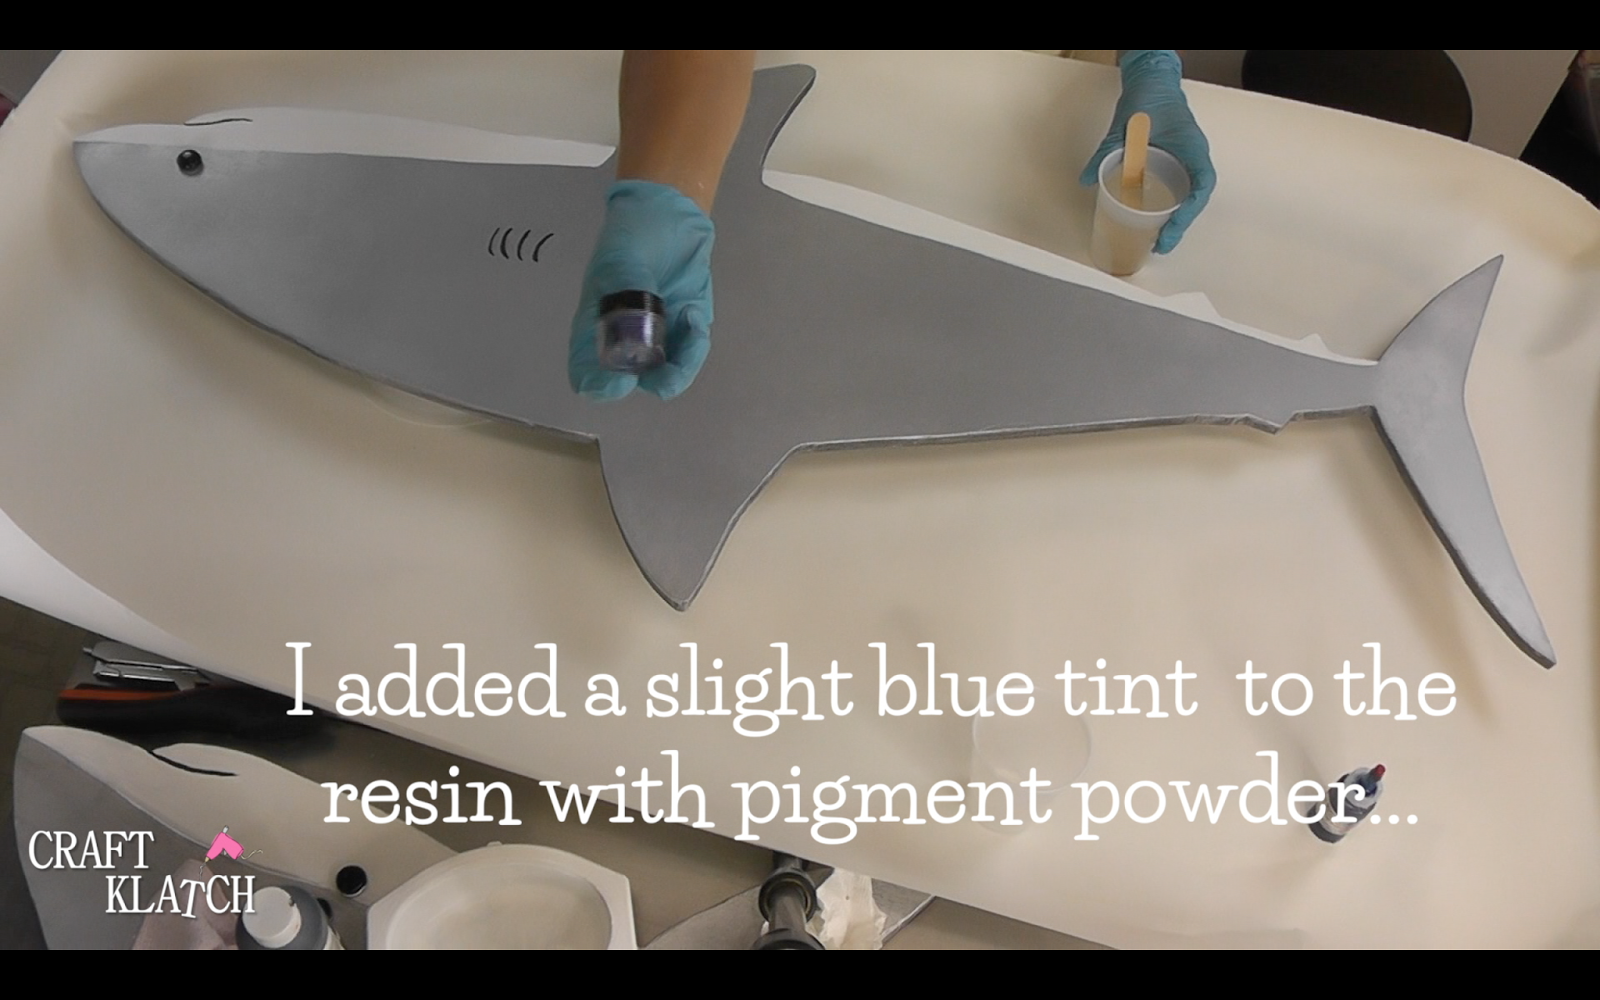
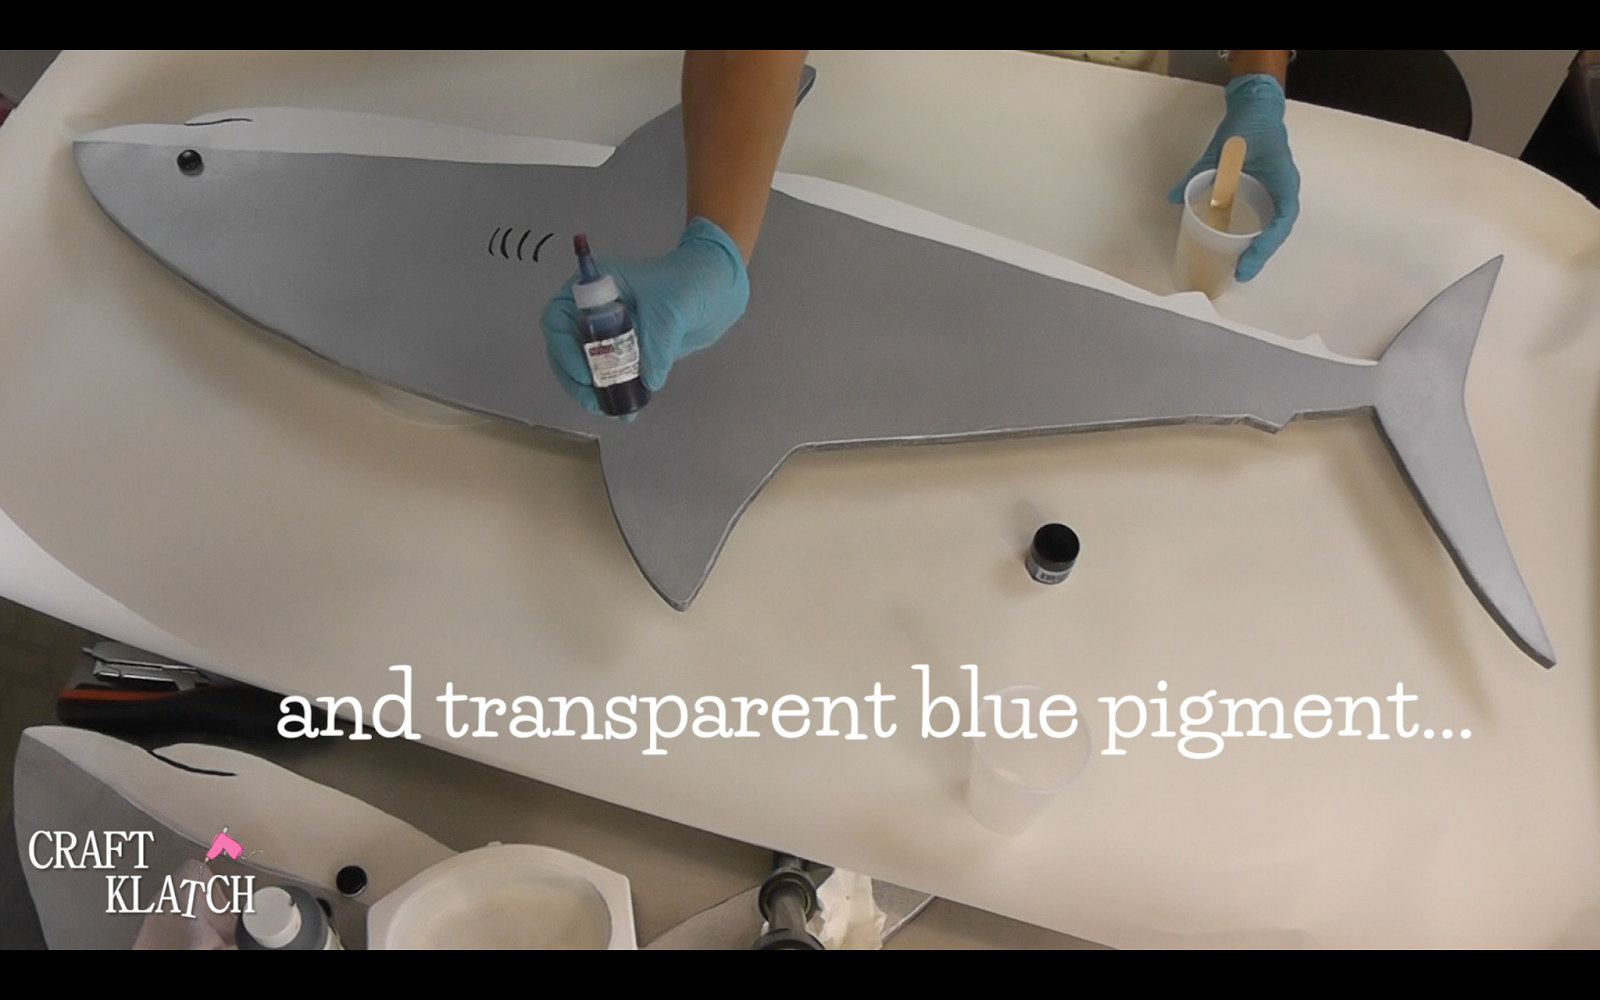
8. Pour it onto the shark and move it around.

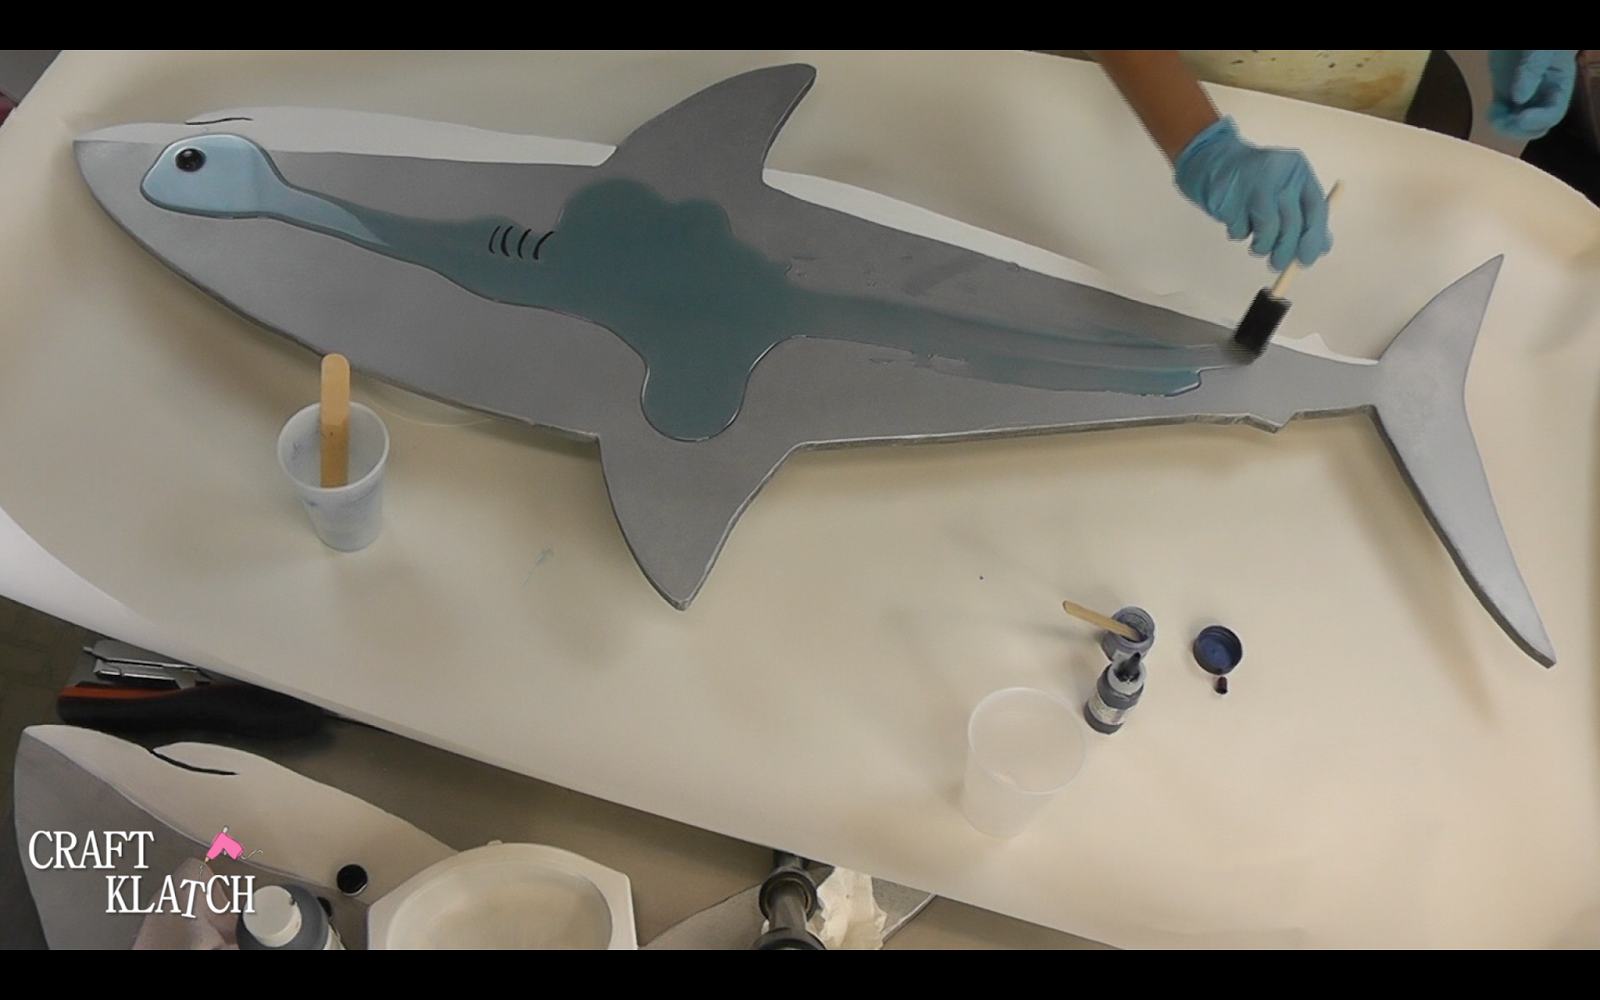
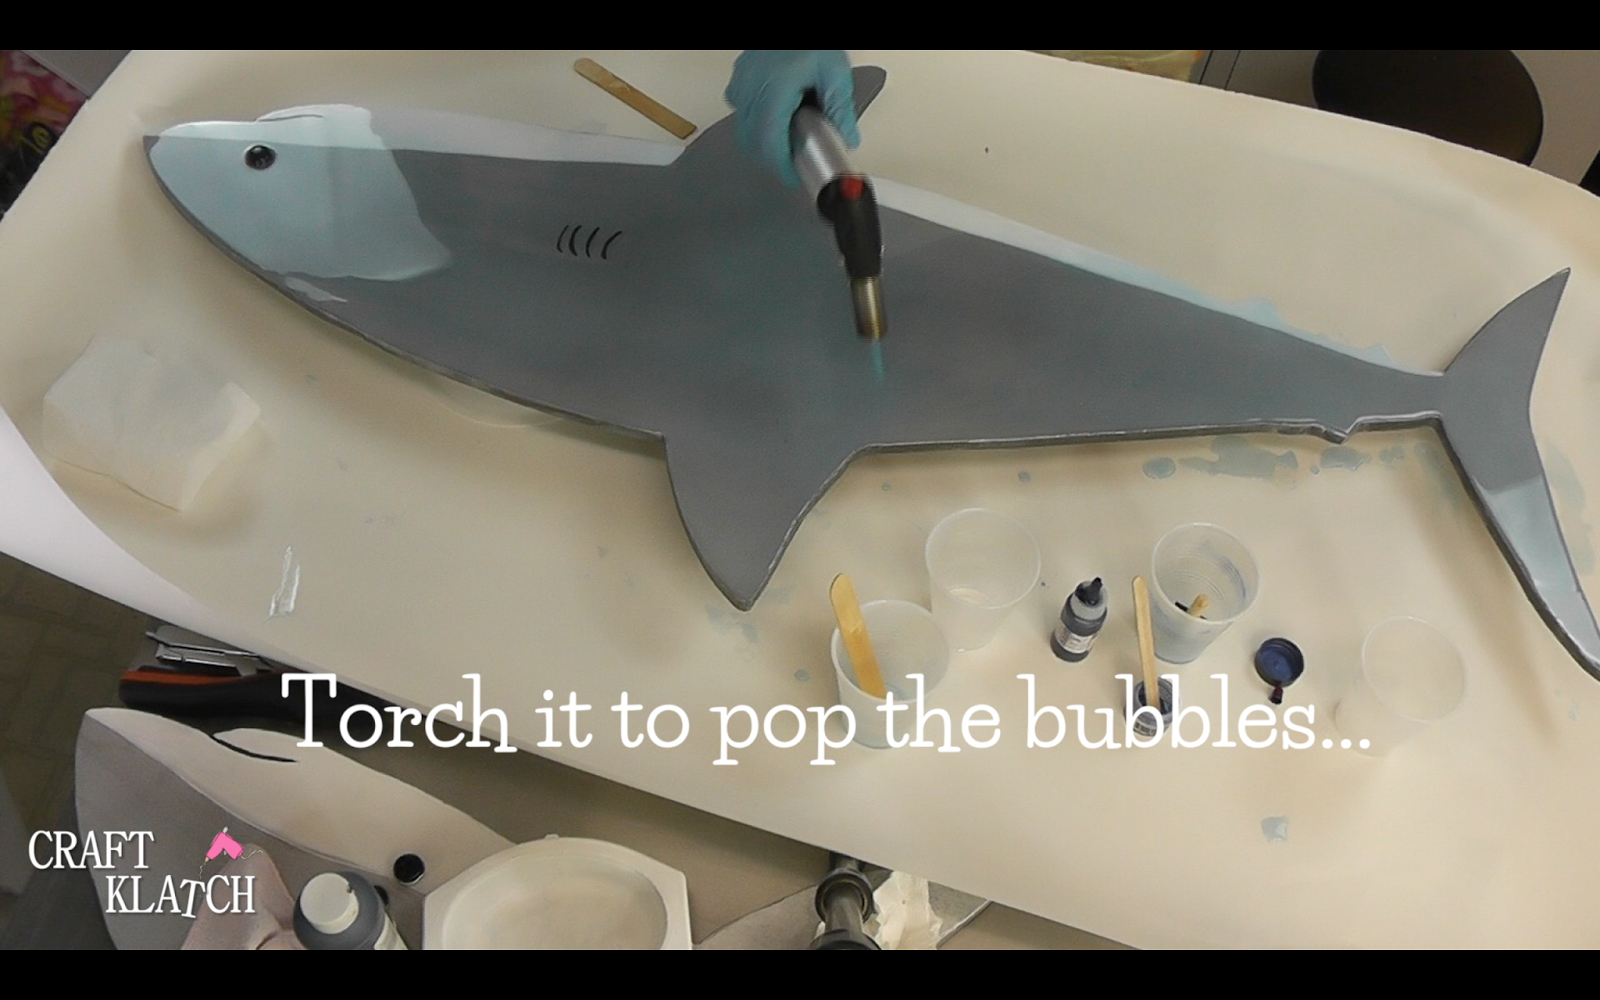
9. Use a torch to pop the bubbles.
10. Allow it to cure for 12 hours before handling it.
11. Now you have a colossal shark to for your decor inside, or out! If you put it outside, be sure to seal the backside too!