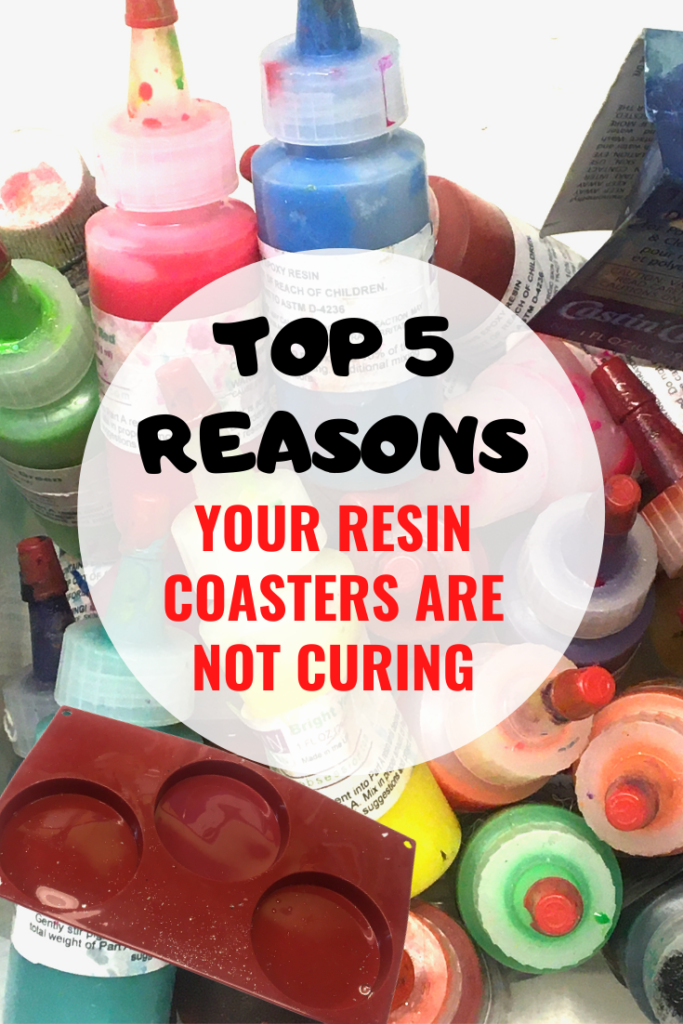
The most frequent question I get is Why didn’t my coaster cure? A lot of resin has passed through my hands, has stuck to my craft table, and in my hair…so hopefully, I have some answers for you! I am going to go over the five most common reasons why your resin coasters are not curing properly. I will discuss epoxy resin curing temperature and time. In addition, I will talk about what to look for when you are shopping for resin. If you buy the right resin, you will be happy with your finished project.
Before I get into the reasons why your resin coasters are not curing, let’s get a little background:
- What is resin
- Which resin to use and why.
What Is Resin
For our crafting purposes, resin is a liquid that hardens and we can make amazing things with it. There are different kinds of resins: epoxy resin, polyester resin, and UV resin. There may be more (I don’t really know), but those are the three most common resins you will find.
Epoxy Resin
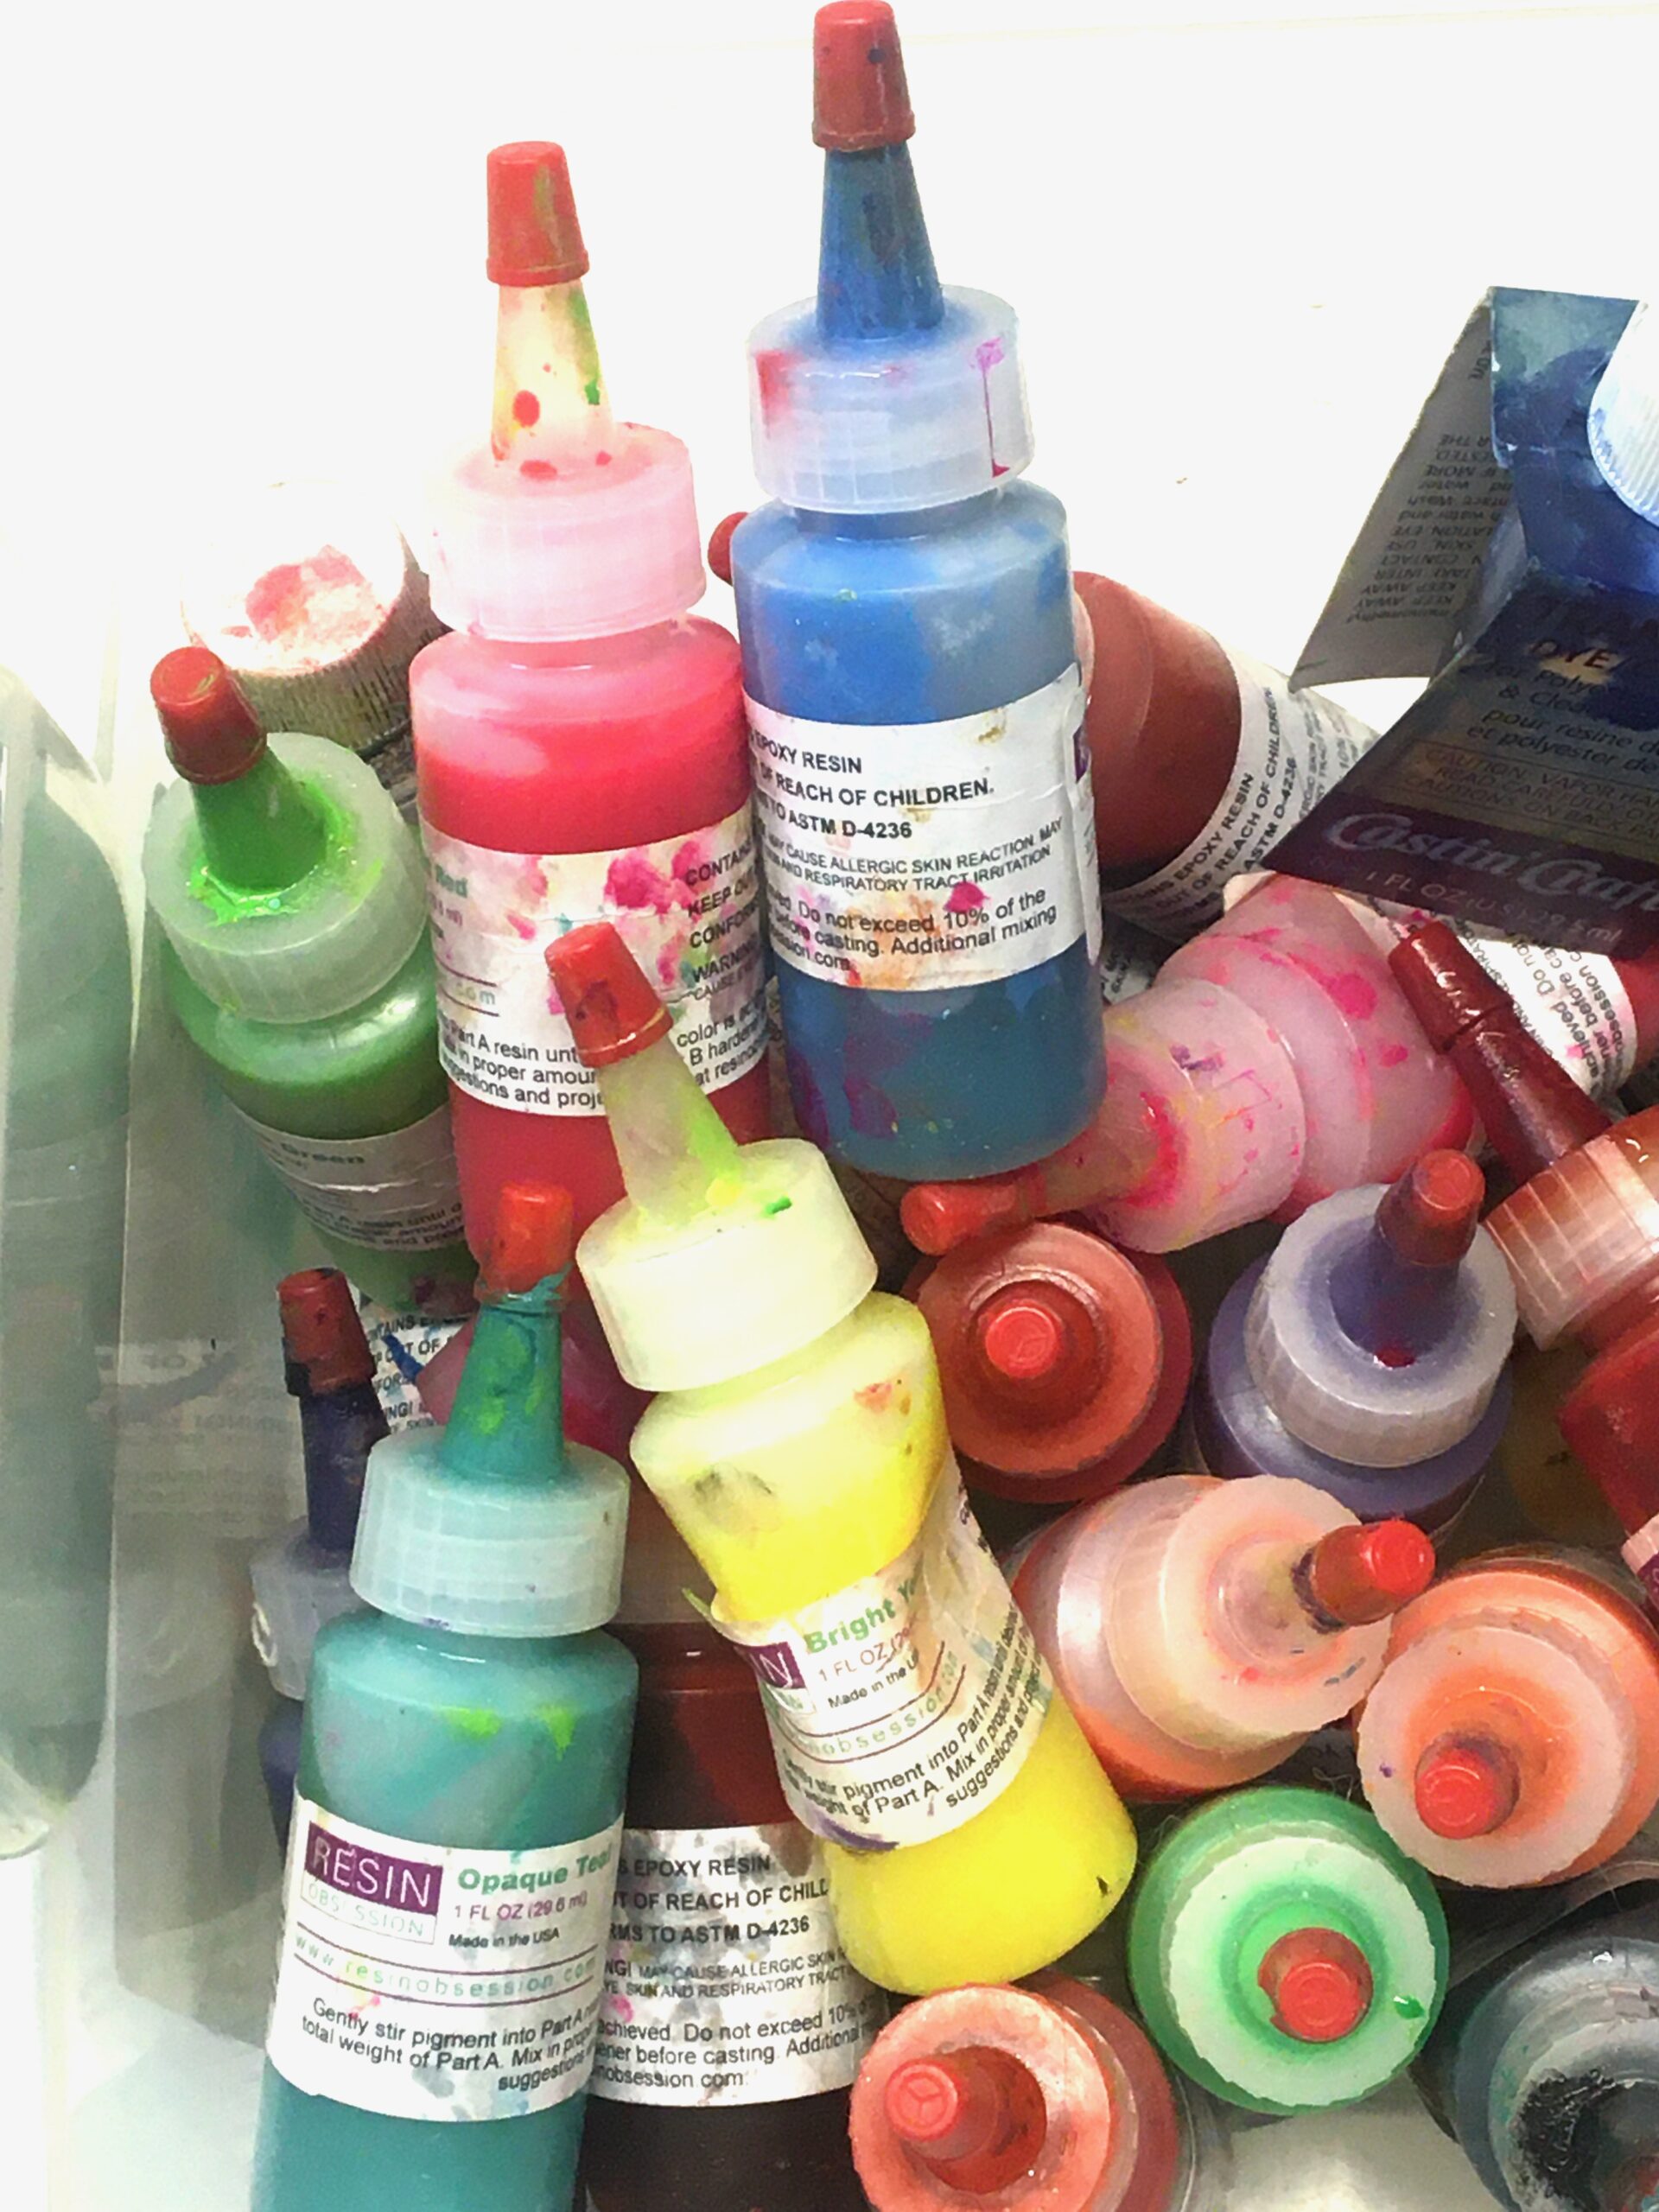
The resin I use is a two-part epoxy resin. Two-part epoxy resin comes in a box with two bottles of liquid. One bottle is the resin and the other bottle is the hardener. Basically, you mix equal parts together and it starts a chemical reaction that causes the resin to harden. The resins I have used require a 1:1 ratio of resin to hardener. It’s important to note there are resins out there that require a 2:1 ratio. You will hear me say this over and over: Read the directions that came with your resin! The directions will address epoxy resin curing temperature and time and a multitude of other really important things.
*This blog uses affiliate links. As an Amazon Associate I earn from qualifying purchases, at no additional cost to you.
Polyester Resin
I have used polyester resin one time. It is a liquid resin and you have to add a small amount of catalyst to start the curing process. I don’t use this resin because the fumes and odor are pretty strong. That does not mean it is not a good resin, it just does not fit my needs.
UV Resin
I have not tried UV resin. As I understand it, you need UV light, or sunlight to get it to cure. Again, I have not used it and I have heard some people absolutely love it and others do not. I truly don’t have an opinion on it either way.
Which Resin To Use and Why
I will only be discussing epoxy resin. Epoxy resin is the most common resin you see being used in resin tutorials. People use it whether for coasters, jewelry, lamps, furniture or resin art. It’s easy to find and easy to use.
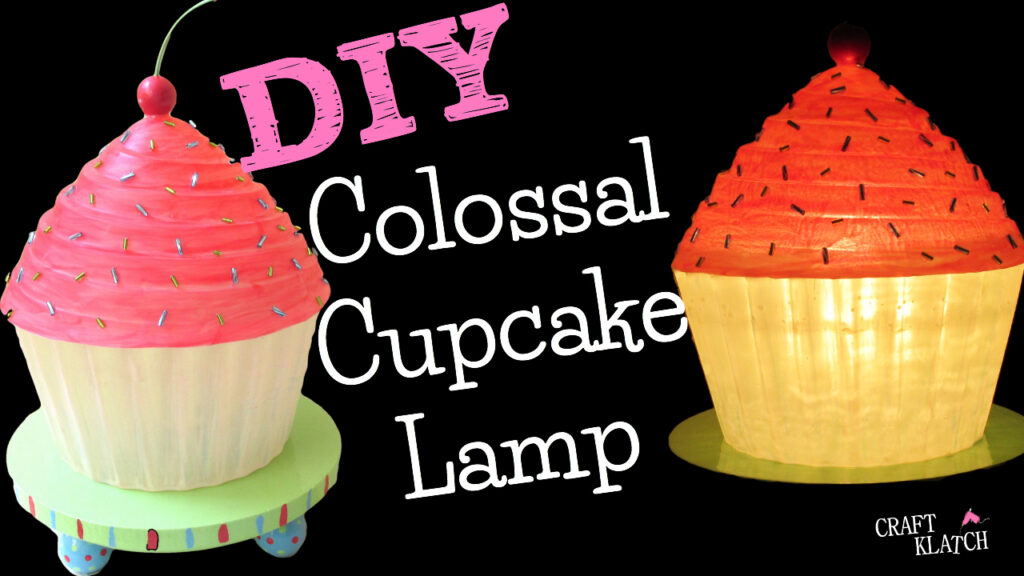
By the way, did I tell you I have made four lamps using resin? You can find them HERE!
Here is the fun cupcake lamp I made:
There are different kinds of epoxy resin. Which epoxy resin to use and which resin is best can depend on the project you want to make. You might have different reasons for choosing a specific resin. I’m not going to get too crazy on the whys because we’d be here forever. There are different viscosities (how thick and/or fluid it is) and different working times, meaning some cure faster than others. Some epoxy resins should only be poured up to 1/8″ thick. Other resins are made specifically for a deeper pour. Most of the projects I do are not affected by any of that, so I don’t stress out about it too much.
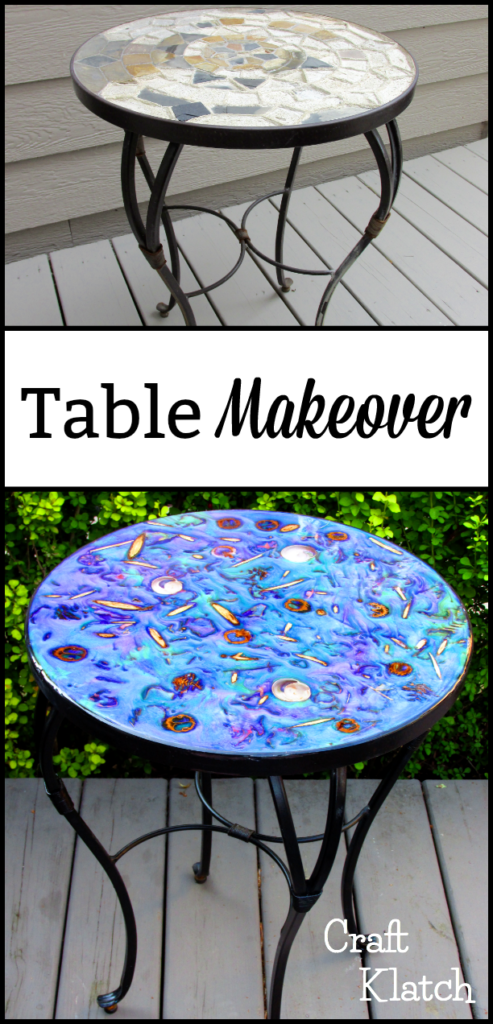
I’ve made everything from coasters to tables, like my Glam Resin Table, without concern for either of those factors. That was a thick pour, but I did it in stages, so don’t worry too much about the viscosity or the thicker pouring capabilities.
The factors I am more concerned with are the following:
- No VOCs (volatile organic compounds or solvents)
- Non-toxic
- UV resistant
- Non-yellowing
- Heat/temperature resistant
Those factors are more important to me. Since we are specifically talking about resin coasters, the last one is really important!
Heat Resistant Resin
When I started making coasters, I just used whatever resin I could find at the craft store. I feel like the resin market has exploded since then. Now there are so many options for so many different applications. I found when I started, the coasters looked great, but they did yellow over time. Even more distressing, my hot tea mug would stick to the coaster. Turns out that was because the resin I was using was not heat resistant.
I’m not sure there was heat resistant resin at that time, but I have started using a resin that is heat resistant to 500° F. Problem solved. If you find your coaster still sticks to the bottom of your mug, you have created a vacuum between the mug and the coaster because of the heat. Not to worry, you can easily slide it off sideways and your mug has not actually stuck to the resin or imprinted it. Even though heat resistant resin is important, the other items are too. Luckily you can find multiple resins that have all of those characteristics. Read the descriptions of the resins you are considering buying. If it has those qualities, they are definitely going to mention it in the description and shout it off a mountain top!
Since we’ve covered some of the basics, let’s move on to the Top 5 Reasons Your Resin Coasters Are Not Curing!
Top 5 Reasons Your Resin Coasters Are Not Curing
Here is a quick video with me explaining why your resin coasters are not curing:
1. Why Your Resin Coasters Are Not Curing: You Did Not Measure Correctly
If you read the directions that came with your resin, you will see measuring is important! What you need to look for is the ratio of resin to hardener that needs to be mixed. I cannot stress this enough! If you mix the wrong amounts of resin and hardener, your resin WILL NOT CURE. Period. There is no fixing it. There is no going back later. As I mentioned earlier, I have only used resins that have a 1:1 ratio, but there are plenty of resins out there that have a 2:1 ratio. Just be sure you know which one you are using! To keep this simple, I am going to refer to equal parts, BUT know your resin! If it’s 2:1 go 2:1!
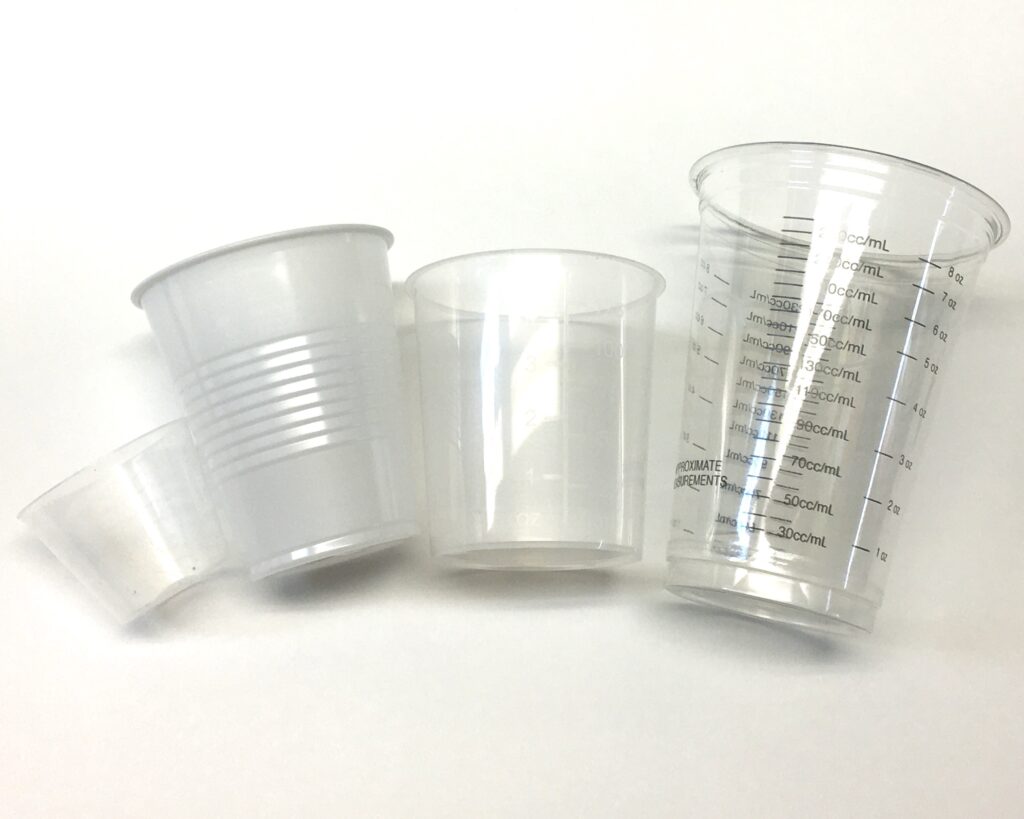
There are two ways to measure:
- By weight
- By volume
Measuring Resin By Weight
I personally have never measured resin by weight. Other people do it all the time. You need a scale and you need to weigh equal parts of the resin and hardener to mix together. Easy peasy. If you do it this way, you don’t need plastic measuring cups, any plastic cups will do.
Measuring Resin By Volume
This is the way I do it. I buy inexpensive measuring cups and keep a variety of sizes on hand. To measure, I use two cups. I measure the resin in one cup and the hardener in the other and then mix them together. If you want, you can clean out the one cup with rubbing alcohol or wet wipes and use it again next time.
Whichever way you measure your resin, just make sure you measure correctly. If you do not, your resin will stay soft or liquid and you will have a heck of a time trying to clean out your mold. Don’t say close enough. Don’t eyeball it! Get as close as you can!
2. Why Your Resin Coasters Are Not Curing: You Did Not Mix Properly
Mixing resin properly is just as important as measuring properly. If you do not mix your resin properly, it will either have soft spots, not fully harden or stay a sticky liquid. None of those outcomes are good! So, how do you mix resin? I will give you a general example, but again, READ THE DIRECTIONS THAT CAME WITH YOUR RESIN!
If you have a 1:1 ratio of resin to hardener, you will want to combine equal parts into one cup. Then, you need to start mixing. The directions that came with your resin will tell you how long to mix.
*The manufacturer knows their product better than anyone else. Therefore, they are going to know the best practices on how to use their products. What I tell you or what anyone else tells you does not matter. As far as I am concerned, the manufacturer is the All-Knowing Creator of the resin you have in your hand and trumps anyone else. Period.
I have used resin that needed to be mixed for three minutes and transferred into a second up and mixed for another three minutes. I have also used resin that needed to be mixed for 4-5 minutes and then transferred into another cup and mixed for that long again. Again, it depends on the resin you are using.
Two Cup Mixing Method
So, let’s talk for a minute about the two-cup mixing method. I spoke to a manufacturer years ago about this. He told me that you NEED to do two cups. As you are mixing the resin, it will be hard to get all of the stuff properly mixed from the bottom of the cup. Basically, if you pour your resin into a mold and the stuff on the bottom (which was not mixed in properly) is now on top it will leave you with sticky or soft spots – because it will not cure properly.
The next time you mix resin, notice when you transfer it to the second cup and you scrape all the resin off the bottom of the first cup, you will probably see swirls in your resin. This is because it has not been completely mixed. You should not see any swirls when you are done mixing.
Two quick tips:
- While mixing resin always scrape the sides and the bottom of your cups. Doing this helps incorporate everything into the mixture.
- While mixing, scrape your stir stick on the side of your cup, so the resin on the stir stick gets mixed in too.
Again, do not cut corners. Mixing resin is important but can be a little boring. I usually set a timer on my phone and turn on some music or a podcast. Time goes much quicker. I know 6-9 minutes is a relatively short amount of time, but mixing resin is much like watching paint dry, or grass grow. It’s the boring part that gets you to the good stuff!
3. Why Your Resin Coasters Are Not Curing: It’s Too Cold
This is where we get to discuss epoxy resin curing temperature and time!
What does too cold mean? Either your resin is too cold, your room is too cold, or your room and your resin are too cold! Whatever the combination, it doesn’t matter, warm things up! If you read the directions that came with your resin, you would see that your resin has a temperature minimum to cure. Often times, the ideal temperature is over 70° F. The hotter it is, the quicker your resin will cure. You don’t want it so warm that you don’t have time to work with it, but you don’t want it so cold that it won’t cure.
Let’s discuss room temperature and resin temperature, how they relate to your resin and what to do.
Room Temperature
Why is your room cold? There could be many reasons your room is cold. It could be summer and you have the air conditioner on and it’s cold in your house or space. It could be winter and you don’t have the heat set high enough or you have cold spots in your house (like in my basement). The room temperature is a factor in your resin being cold, but also in how your resin will cure. If you have poured your project and the room is too cold, your project will either take longer to cure or won’t completely cure. Definitely keep that in mind after you pour your resin and be sure to regulate the temperature during the cure time. Yup. Read those directions that came with your resin! Maybe turn up the heat or turn down the air conditioner temporarily.
Resin Temperature
What if your resin is cold? Was it near a window? Could it have been near an air conditioning register? Was it on the concrete basement floor? Whatever reason your resin is cold, you need to warm it up. If you try to use cold resin, it will be very hard to pour when you want to measure it and it will be very hard to mix. We know if we don’t measure right and we don’t mix right, bad things will happen! So, how do we warm up the resin?
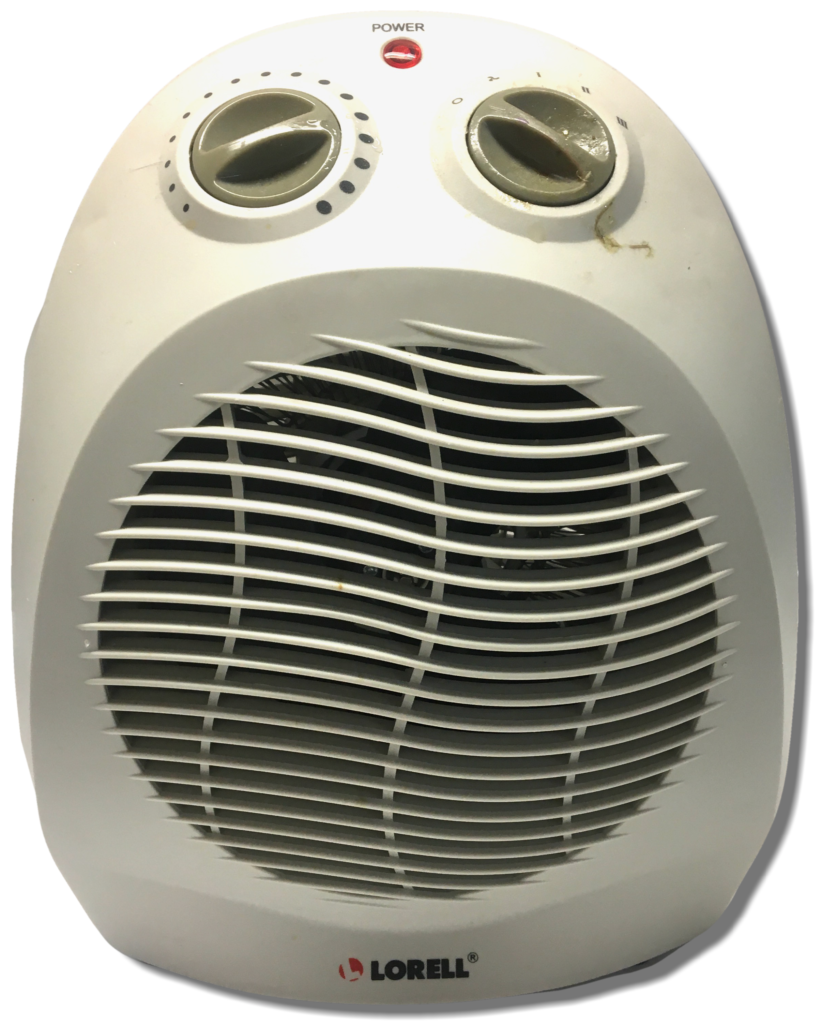
Ways To Warm Up Resin
Obviously, you can plan ahead and make sure your resin is in a warm spot (not hot, warm) and when you are ready to use it, it will be ready to go. However, I am not a Planner-Aheader. I’m a Last-Minute-Wing-Iter.
There are three effective ways I use to warm up resin:
- Microwave
- Put it in front of a heater
- Warm water bath
Microwave
If you have a microwave designated for your craft room, that would be my recommendation. I’m not a scientist I don’t know if these chemicals stick around or not, but you might not want to use it for food. You can pick up a used one on Marketplace or Craigslist for cheap! Measure the resin in your cup. Microwave it for five seconds (the resin portion only not the hardener), then mix it with the hardener, and start mixing as directed. Again, you don’t want to get it too hot because it’ll set up right in your cup.
A Heater
I have a little space heater in my basement craft room. I use it to warm up the room and to warm up my resin. While the resin and hardener are still in their bottles, I put them in front of my little heater. I don’t put them directly in front of the heater, I keep them back 1-2 feet. I let them get warm and rotate them a couple of times so they are not warm on only one side. When they are warm, not hot, never hot, I can start my project.
Warm Water Bath
In the beginning, this used to be my warming technique of choice. I hadn’t thought of the other two yet. What you do is get a bowl or tray that you can fill with warm water – not hot. You put your bottles in the water. They do not need to be fully covered. Half covered is plenty. You just want to warm them up. Here is the problem with the water bath, it’s water. Resin and water do not mix. Your resin will not cure right if it has water mixed into it. Therefore, it’s important to make sure you carefully wipe off any and all water from the outside of the bottles before pouring them to measure. It’s easy to accidentally have a drop or two of water roll down the side and right into your resin cup. That brings me to reason #4.
4. Why Your Resin Coasters Are Not Curing: It’s Too Humid
As I just mentioned in #3, resin and water do not mix. Humidity is moisture or water. If your space is too humid, your project will not cure properly. If you live in a humid climate, you might want to turn the air conditioner on to remove some of the humidity from the air. As I have mentioned, I have my craft space in the basement. Consequently, it can be a very humid space. My solution is to run a dehumidifier in the summer and the furnace takes care of the humidity in the winter.
There is something else people do that unintentionally creates a humid environment for their resin projects. If you need to cover your project because you are worried about dust, pet hair, prying fingers, etc., put something like cardboard or paper over it (not actually touching the resin). DO NOT put something plastic over it. Resin gives off heat during the curing process. Plastic will potentially trap moisture under it and prevent your project from curing. Even if you use cardboard, make sure there is a little room for air to get in and for it to breathe. For the coasters, I just lay a piece of paper across the top of the mold. Works great!
5. Why Your Resin Coasters Are Not Curing: You Mixed Something Into It
We have discussed mixing and measuring resin, epoxy resin curing temperature, and time, but we have not discussed the last reason your resin coasters are not curing. If you have been around for a while you know I love resin. Resin is a beautiful thing! Clear resin brings shine and depth to otherwise bland things. But sometimes, you want to add things to resin or to color resin and sometimes that makes it even more beautiful! The problem arises when you mix something into resin that prevents it from curing properly.
Powders
Every time you mix something into anything else, you are basically changing the chemical composition of it. The same is true for resin. Pigment powders, powered eyeshadow, and glitter are pretty safe things to add to resin. They mix well, they create color, and things cure and look pretty amazing.
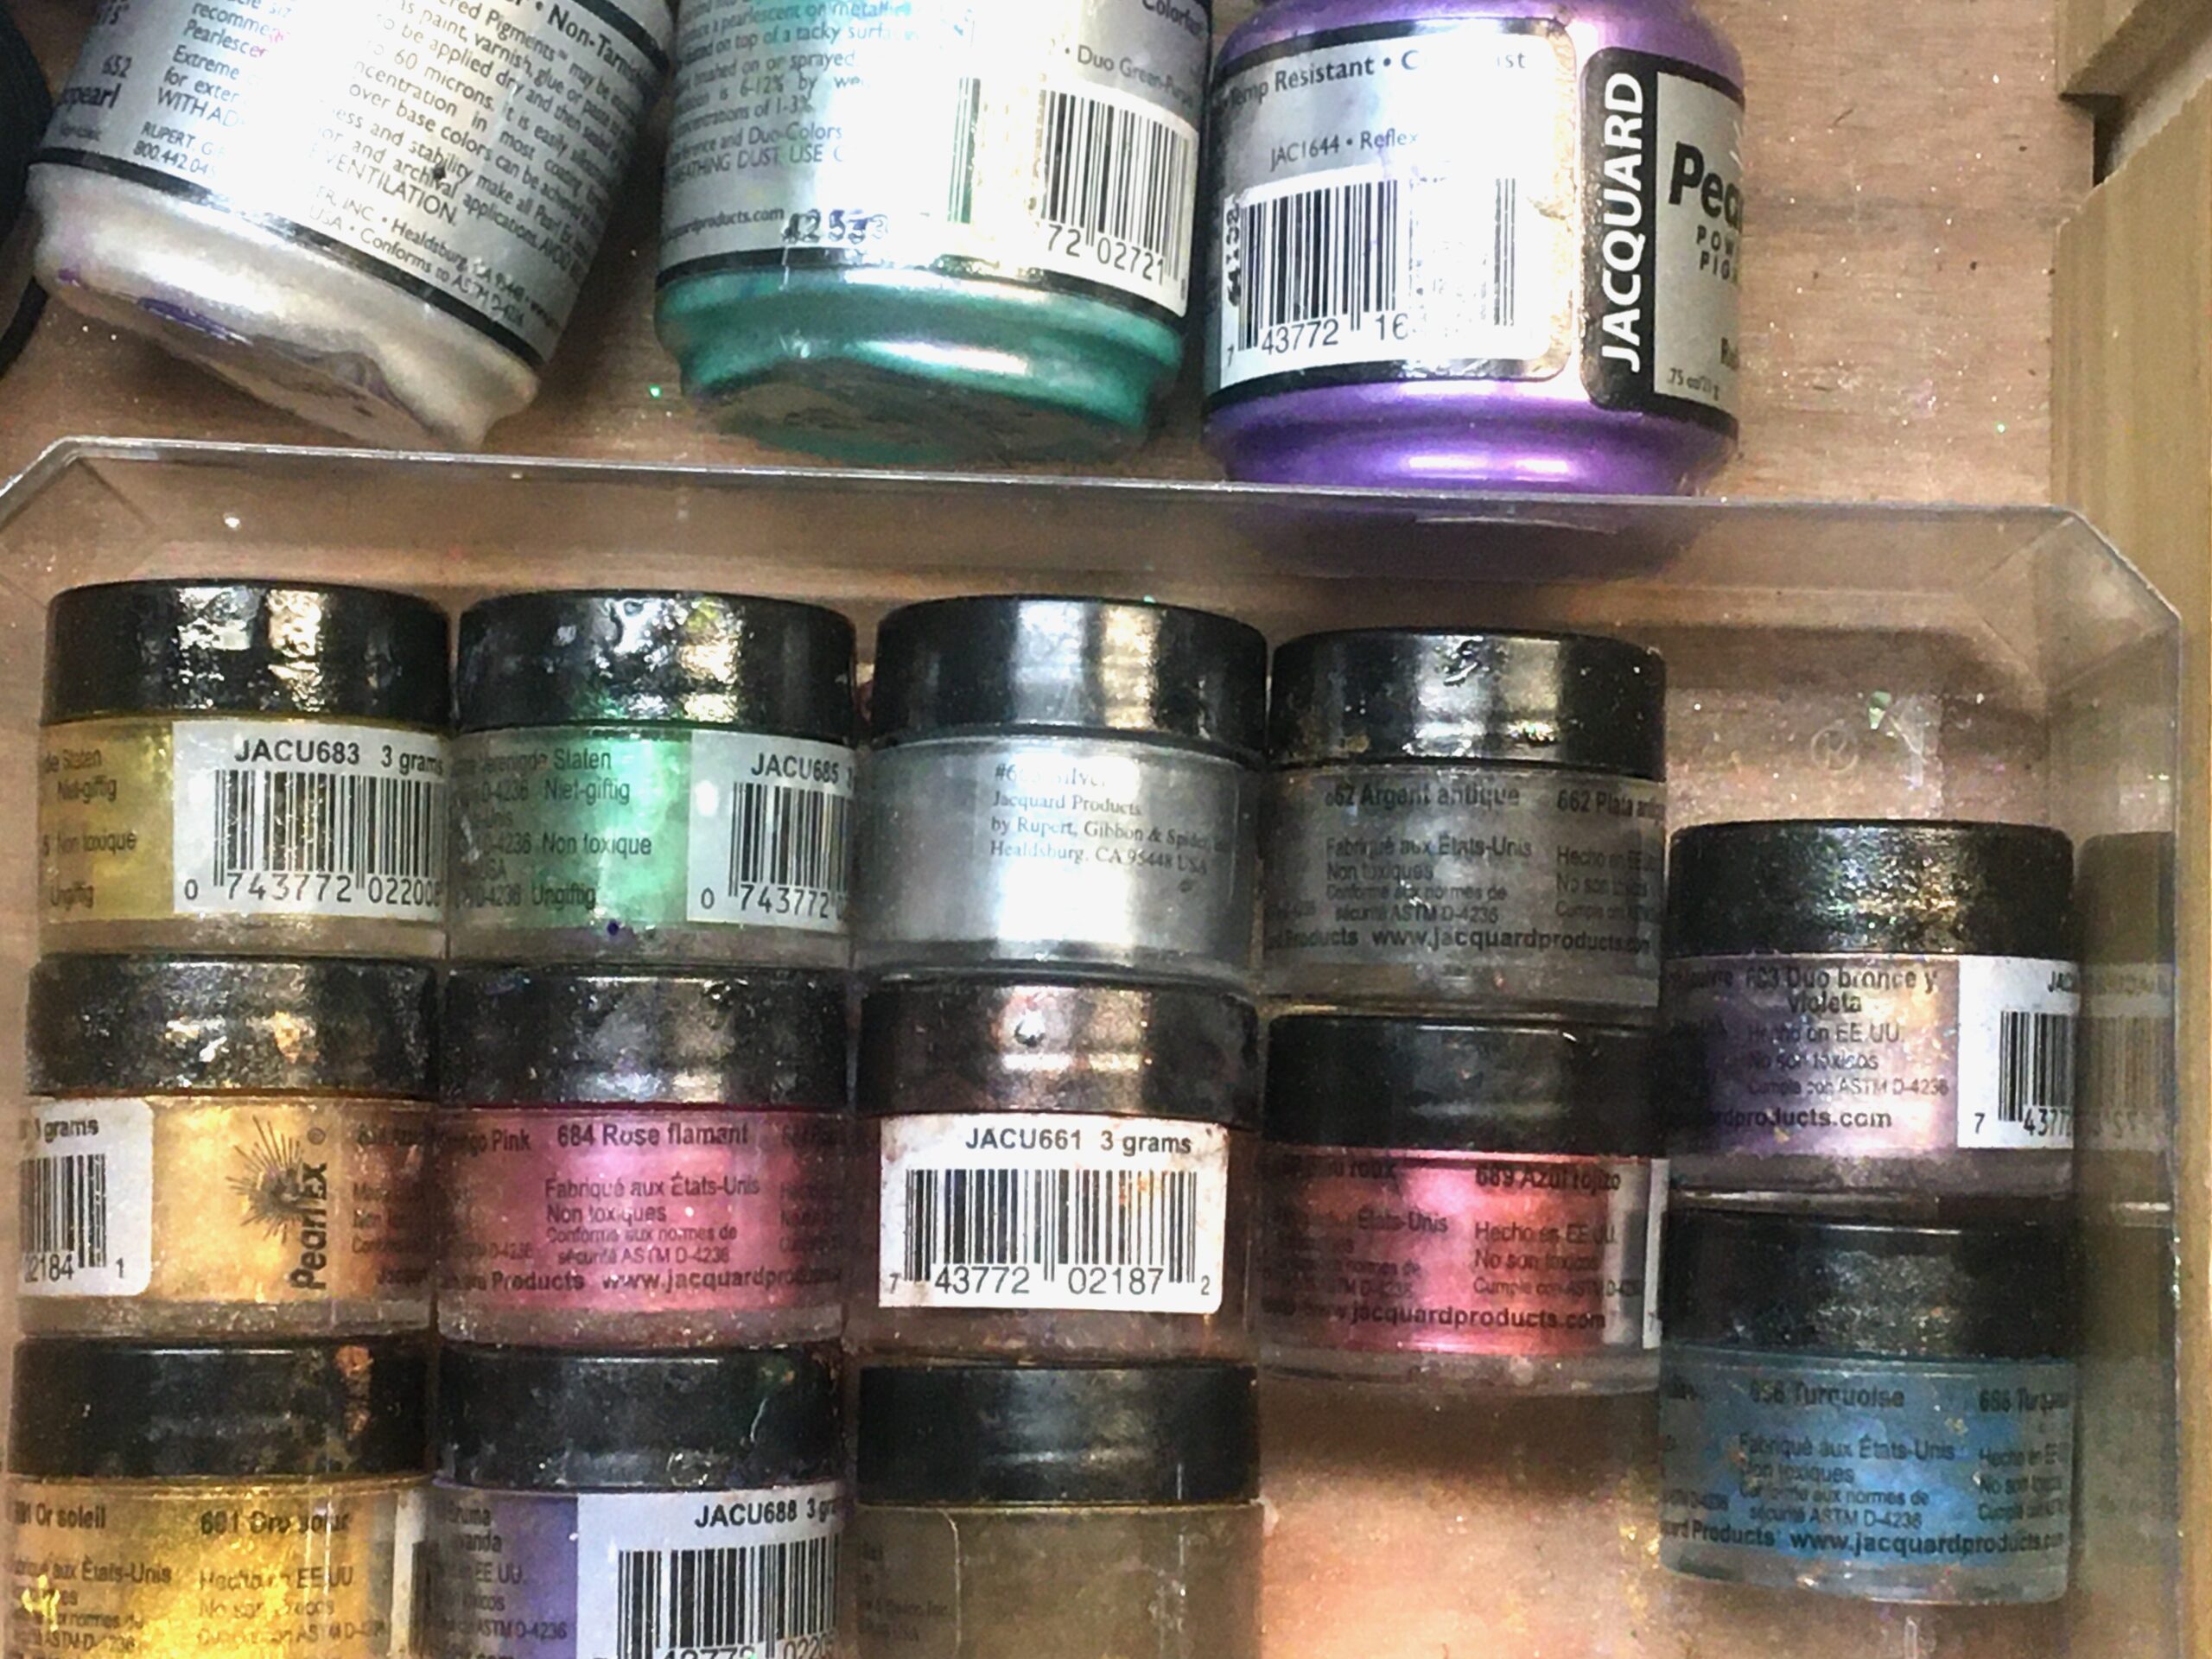
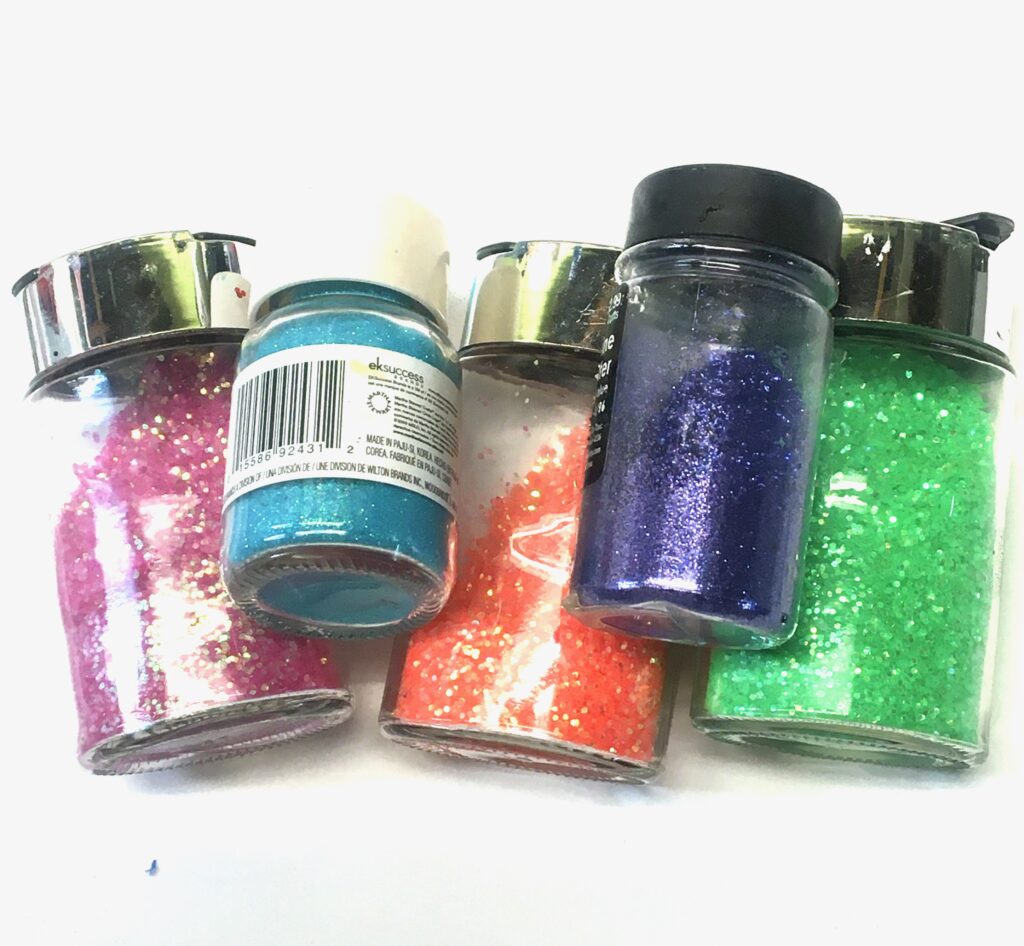
TIP: Pick up cheap eyeshadow at the dollar store!
Gels and Liquids
You start running into resin curing issues when you move toward a gel or liquid additive. There are gel and liquid pigments that are specifically made for resin. They work great and there is an amazing variety of colors to choose from. However, if you add too much, you run the risk of things not curing as hard as they might have otherwise. The good news is these products have a lot of pigment in them and they don’t require that much to reach your desired color.
Just keep that in mind when you are experimenting with color, acrylic paint and food coloring are two to use sparingly. They can be used to tint or color resin, but they are both water-based. If you are looking for a strong color, food coloring won’t do it for you because you are going to need to add a lot to get a bold color. It does work for a tint. I once used acrylic paint in a coaster and it did cure. However, it always stayed bendy and really never got hard, but it was a really pretty blue. Alcohol inks and India ink also work, but I would use them sparingly as well. Use them as tints, but they do pack more punch than food coloring.
Just a little more about resin curing…promise!
We have discussed a lot of stuff! In case you missed it, I want to remind you to read the directions that came with your resin. There is a lot of great information in there!
Besides the epoxy resin curing temperature and time thoughts I shared above, I wanted to mention one more thing about resin curing. Cure time is the time it takes for the resin to harden. However, there are different cure times. For example, with the resin I use, after 12 hours it has cured enough for me to take it out of the mold and to handle it. It has the possibility of still being bendy. It’s still young and impressionable. After 72 hours it has cured as hard as it is going to get. Again, this can vary from resin to resin. So in the case of coasters, I would not put a hot cup on a resin coaster for at least 72 hours. This is the last time I’m going to say this (today): Read the directions that came with your resin, so you know what to expect.
That’s it, you guys! I hope you found it helpful and if you have any thoughts or advice to add, please leave it in the comments below! We all gain more by sharing with each other!
Remember: Life’s too short not to shimmer, so grab your glue gun and your glitter!™ Stay safe!
Mona
what resin do you use for your coasters? I have tried art resin, aluminite and clear casting resin and everything I make comes out bendy even after a week. Some are hard but most are not, especially things thin like my antlers for my deer mold are so soft I cannot use them. Any suggestions?
Hi Debra –
Look at my latest post – Christmas Lights Coasters. Check out the heat resistant resins. They tend to cure harder. They are actually made for countertops.
Wow, what a helpful article. I also love your sense of humour and cats. I had Casey (Main Coon) for 10 years, Bailey (ginger) 16 years, Morgan (Tabby) (10 years and now Malcolm (ginger) who is about 19 and is still thriving – rescue cat. I have Just started resin coasters. The very first one I did, turned out really well. My next 4 got ditched. The ones I made yesterday, have hardened but not totally. They are beautiful with dried flowers. I think I under mixed. Didn’t realize how important mixing is. I made one layer, added flowers, let cure for 5 hrs and then added top layer. I would like to add lace flowers, and also do bloom coasters. Any tips you have would be appreciated. I use Let’s Resin 1 to 1 ratio. P.S. I wish I read your article before.
Wow! You are a cat lover too! I love that! The mixing is so important. I really have not done much with dried flowers, so I’m not sure I’m the best person to ask. As for the lace flowers, I would seal them with Mod Podge Super Gloss before putting them in the resin, to make sure they don’t get dark spots. I hope that helps!
Mona