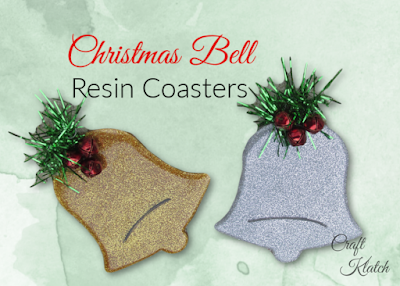
Learn how to make Christmas Bell Resin coasters! It’s a great home decor idea for decorating for the holidays and because the wood cutouts are from Dollar Tree, they are great for decorating on a budget!
*This blog uses affiliate links. As an Amazon Associate I earn from qualifying purchases, at no additional cost to you.
Bell cut outs: https://amzn.to/2Kpe58n
Gold paint: https://amzn.to/2rH8OlQ
Silver paint: https://amzn.to/2KlrpdR
Fine gold glitter: https://amzn.to/379AD6Q
Fine silver glitter: https://amzn.to/2CNCXSX
Painters tape: https://amzn.to/2CO3TC2
Glue: https://amzn.to/35chy25
Cork: https://amzn.to/32UDHA5
Tinsel glitter: https://amzn.to/2OfN34q
Jingle bells: https://amzn.to/2q66ggV
Resin (use whatever resin brand you like):
Easy Cast: https://amzn.to/2yjYmBC
Art Resin: https://amzn.to/2yk9X3z
Clear Cast: https://amzn.to/2z4rxGw
This is the resin I used for this project:
FX Poxy: https://amzn.to/2AF3Pkk ~ According to the manufacturer, this one is heat resistant to 500 degrees F.
Here is a video tutorial, so you can see exactly how I made them:
Directions:
- I found these wood cut outs at the Dollar Tree and thought they would make good coasters!

2. I painted the silver and gold. Since I was going to do silver and gold glitter, I wanted to make sure I had a complimentary background, incase is shone through.

3. I used painters tape and taped one side.

4. I burnished down the tape, to make sure it had stuck.

5. I used my craft knife to cut off the excess tape.


7. I put them up on a couple of cups and mixed one ounce of resin and separated it into two cups.

8. I mixed glitter into each of the cups of resin.


9. I poured the mixture onto each of the bells.


10. I used my stir stick to move it around on the cutouts.

11. I used a lighter to pop the bubbles and let it sit a minimum of 12 hours, before handling.

12. I used my craft knife to cut along the edge of the coaster so that I could remove the tape and drips.


13. I took cork shelf liner and cut off two pieces a bit larger than each bell.


14. I removed the back liner from the cork.

15. For a little extra strength, I put a bead of glue around the edge of the bells and then put them on the sticky side of the cork shelf liner.


16. I used my craft knife to cut the excess cork from around the bells.

17. I used my paint marker to add the detail that we covered up with the glitter.

18. I used my glue to add some tinsel garland I had on hand.


19. I glued three little jingle bells on each. I made sure to keep it hunched toward the top, so I wouldn’t decrease the space for a cup or glass. Plenty of room!


Here is the cork back!

Here they are!

Remember: Life’s too short not to shimmer, so grab your glue gun and your glitter!™ Stay safe!
Mona
wish I could print the instructions and supply list from the tutorial.