Create a charming DIY gnome pendant with my easy tutorial! Perfect for jewelry lovers and gnome enthusiasts, this fun craft will add a touch of whimsy to your accessory collection.
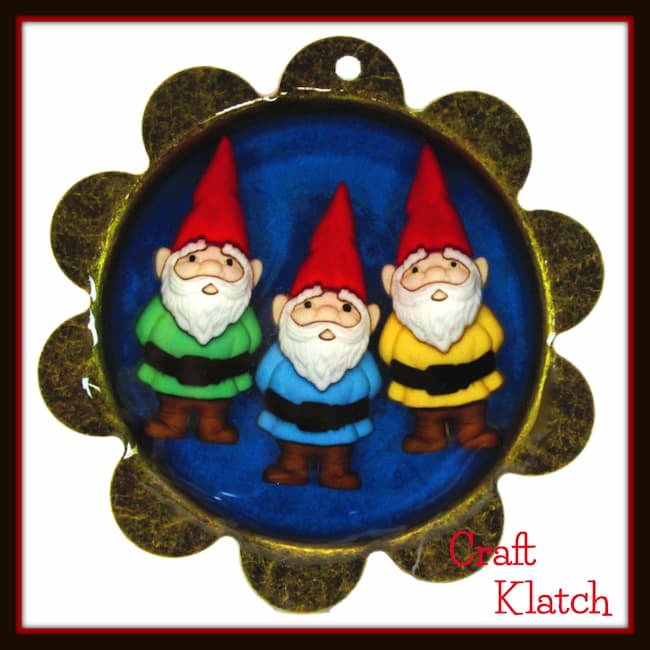
You have to admit, gnomes rock! Today, I’m going to show you how I made this adorable gnome pendant.
How can you not love this cute little trio?!?!
Materials Needed
*This blog uses affiliate links. As an Amazon Associate I earn from qualifying purchases, at no additional cost to you.
- Resin:
- When deciding on which resin to use, there are a lot of qualities that might be appealing, UV resistant, price, heat resistance, etc. Just make sure to select a resin that fits your needs.
- Use whatever brand you like:
- Easy Cast
- Art Resin
- Let’s Resin
- Promise Epoxy
- These are heat resistant resins:
- FX Poxy
- Stone Coat
Video Tutorial
Watch the full video tutorial here:
Be sure to follow me on Instagram HERE!
Directions
Step 1: Prepare the Bezel for the Gnome Pendant
My bezel had a hole in it, so to prevent the resin from leaking out, I covered the back with a piece of packing tape.
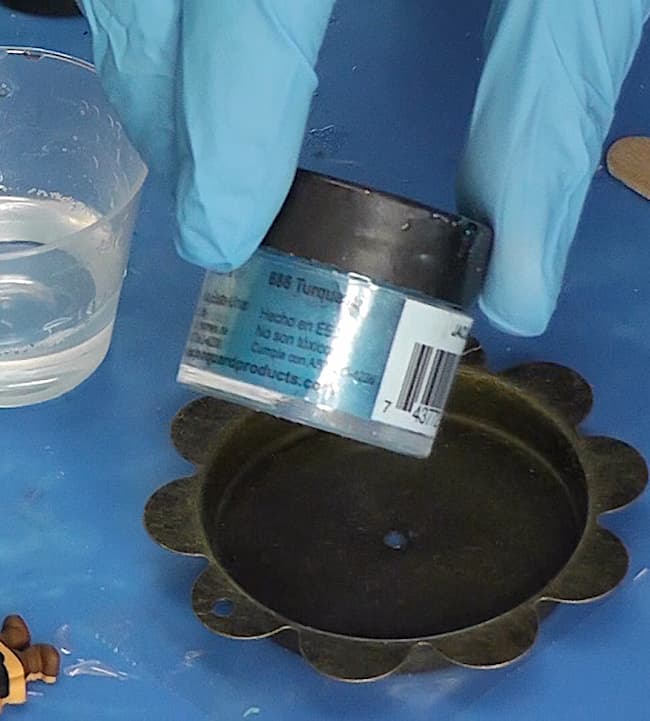
Step 2: Mix and Pour Resin
I mixed a small amount of resin and added two different blue pigment powders. Then, I poured the mixture into the bezel.
I used a lighter to pop any bubbles in the resin and allowed it to cure for at least 12 hours. Once it was cured, I removed the tape from the back.
Step 3: Prepare and Attach the Buttons
Next, I cut off the back loop of the buttons that is used for sewing and added a little crazy glue to ensure they stayed intact.
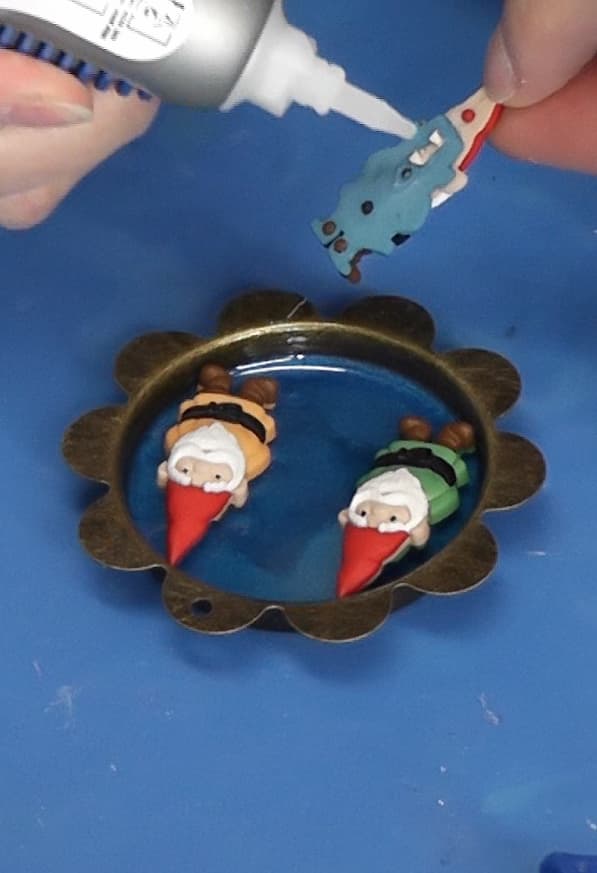
I used a bit of crazy glue to tack the gnome buttons to the cured resin. This kept them from moving when I poured the final layer of resin.
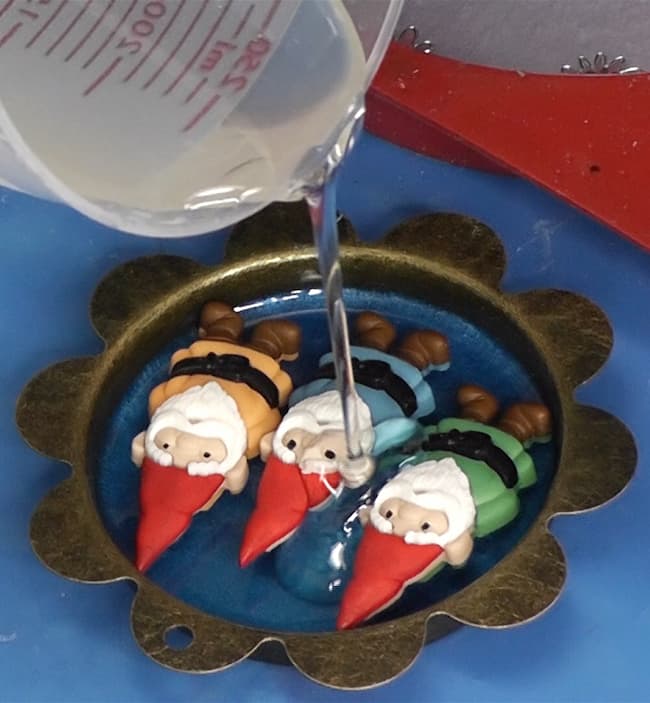
Step 4: Pour the Final Resin Layer
I mixed a little more resin and slowly poured it over the gnomes. I was careful to ensure it covered everything without overflowing. I popped any bubbles and let it cure.
Step 5: Finishing Touches
Once the resin was cured, I added a jump ring to the bezel and attached it to a necklace chain or keychain.
Here is my finished gnome pendant!
Other Fun Gnome Projects
You are going to love these projects too!
Fun Gnome Jewelry

Thanks for stopping by! Remember: Life’s too short not to shimmer, so grab your glue gun and your glitter!™
Stay safe!
Mona