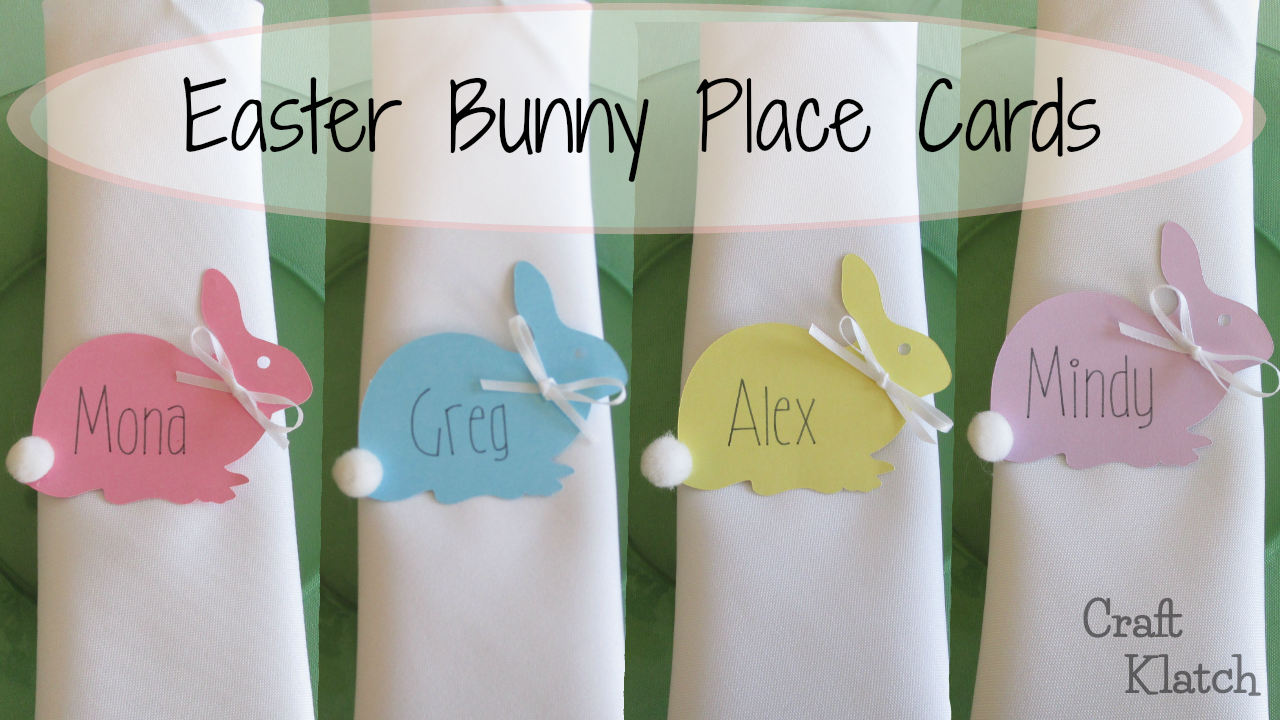
Learn how to use your Cricut cutting machine to make Easter Bunny Place Cards in this craft tutorial! It’s an easy Easter DIY!
Supplies You Will Need
*This blog uses affiliate links. As an Amazon Associate I earn from qualifying purchases, at no additional cost to you.
- Cardstock: https://amzn.to/2XRud7y
- Cricut (Amazon): https://amzn.to/2wChE2l
- Pom poms: https://amzn.to/2u3PL36
- Ribbon: https://amzn.to/2u32q6r
- Hot glue: https://amzn.to/2u1BiF1
Here is a quick video, so you can see exactly how I made them:
1. I went into Cricut Design Space and opened a new project. I clicked on images and typed in bunny. The image I wanted for this project was the first one.

2. It was actually a good size at 3.64″ x 3″, but you can size it to whatever size you want.

3. I changed the color to pink, to go with the card stock I used.


5. Click on the bunny and select duplicate.


6. I selected each bunny and changed it to the color that corresponds to the card stock I will be using.

7. I clicked on text and selected a writing font and I happened to use the one named Awesome. I sized it to 62.71. I moved the text box to the middle of the first bunny.

8. I then repeated the same process and added names to all of the other bunnies. I then selected each bunny and its corresponding name and clicked attach, so they would become one. Tip: Double check that the bunnies and eyes are on cut and the names are on draw.

9. Click the Make It box and you will have a screen that shows your bunnies separated on different colored mats.

10. It defaults to a 12″x12″ size for the materials. My material is 8.5″ x 11″, so I changed it. It did not matter for this particular project, but if I had more bunnies, it would have properly placed them, based on my material size.

11. I placed my card stock on the mat and rubbed it down.

12. I set the machine to go and made sure it was set to card stock. I also made sure I had my marker in place.

13. Once it cut and drew, I easily peeled off the excess card stock.

14. Here are the cute bunnies! You can be done right here, or you can add just a little more.

15. I used thin ribbon an dried a small bow.

16. I hot glued it onto the bunny.

17. I hot glued a small pom pom onto the tail.


That’s it! Now you have these adorable bunny place cards!

They can be used as place cards, but if you are doing a buffet, instead of names, you can write the dishes onto the bunnies. You can then glue them to stir sticks or skewer sticks and put them in the food, or just lay them in front of the bowls or dishes.
Thanks for stopping by! I hope you give them a try! Remember: Life’s too short not to shimmer, so grab your glue gun and your glitter!™ Stay safe!
Mona

Super Cute Bunny Place Card Alternatives!
If you don’t have time to make the Easter Bunny Place Cards, but want to add some cute to your Easter tablescape, here are some fun and adorable options!

Remember to Pin It for later!
