SUBSCRIBE to my YouTube Channel!

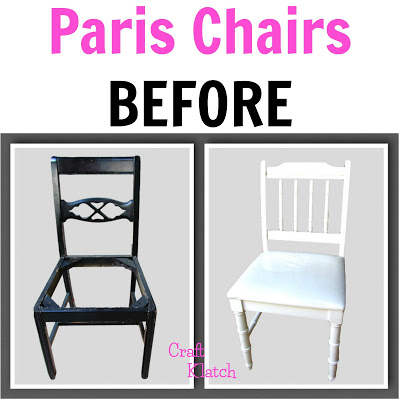
These two gems were great finds! The black one was found curbside and I was ecstatic to beat the garbage man to this one! I love the size and the shape. It was missing the seat, but that could easily be cured. The white one was a $5 buy on Craigslist. It was a good deal, but that was before I found people give amazing things away for free and generally prefer to leave it outside and i don’t have to see them and they don’t have to see me.
I thought these would be quick updates and fixes, until I cleaned the white one and a layer of paint started washing off. Ugh…of course!

Items I used:
Black spray paint (with primer): https://amzn.to/2ay2xuV
Sandpaper: https://amzn.to/2aEd6fK
Foam: https://amzn.to/2aZwgki
Quilt batting: https://amzn.to/2b1UMm8
Heavy duty stapler and staples: https://amzn.to/2ay3oM4
Plywood to replace the missing seat: best bet is hardware store
Paris fabric: I bought it at Hobby Lobby, but there are a lot of great options https://amzn.to/2aKer8A
Stripper: https://amzn.to/2ay4848
Scraper: https://amzn.to/2aEdISp
Odorless mineral spirits: https://amzn.to/2aZwQP0
Here is the video tutorial:
Directions:
1. I removed the seat from the chair that had the seat. Make sure you keep the screws.
2. I washed the chairs – that’s when the white paint started washing off. So, I ended up stripping the whole thing…..it was like 1000 degrees in the garage. I was not happy!
3. Once I stripped it, I cleaned it with mineral spirits.
4. Then, I painted everything with a paint that already had primer built in.
5. I created a template for the chair missing the set. I taped some pieces of paper together, and placed it on the chair and cut it to fit.
6. I traced it on the plywood and then cut it out.
7. I traced the seats onto the foam and cut it out.
8. I cut quilt batting and doubled it up.
9. I layered the fabric (face down), the quilt batting, the foam and then the wood seat. Once you have it placed, be sure to lift up one end to see where the pattern falls and adjust accordingly.
10. Start stapling. I like to put one staple into each side and then go around, leaving the corners until the end.
11. Trim off excess and reattach them to the chairs.
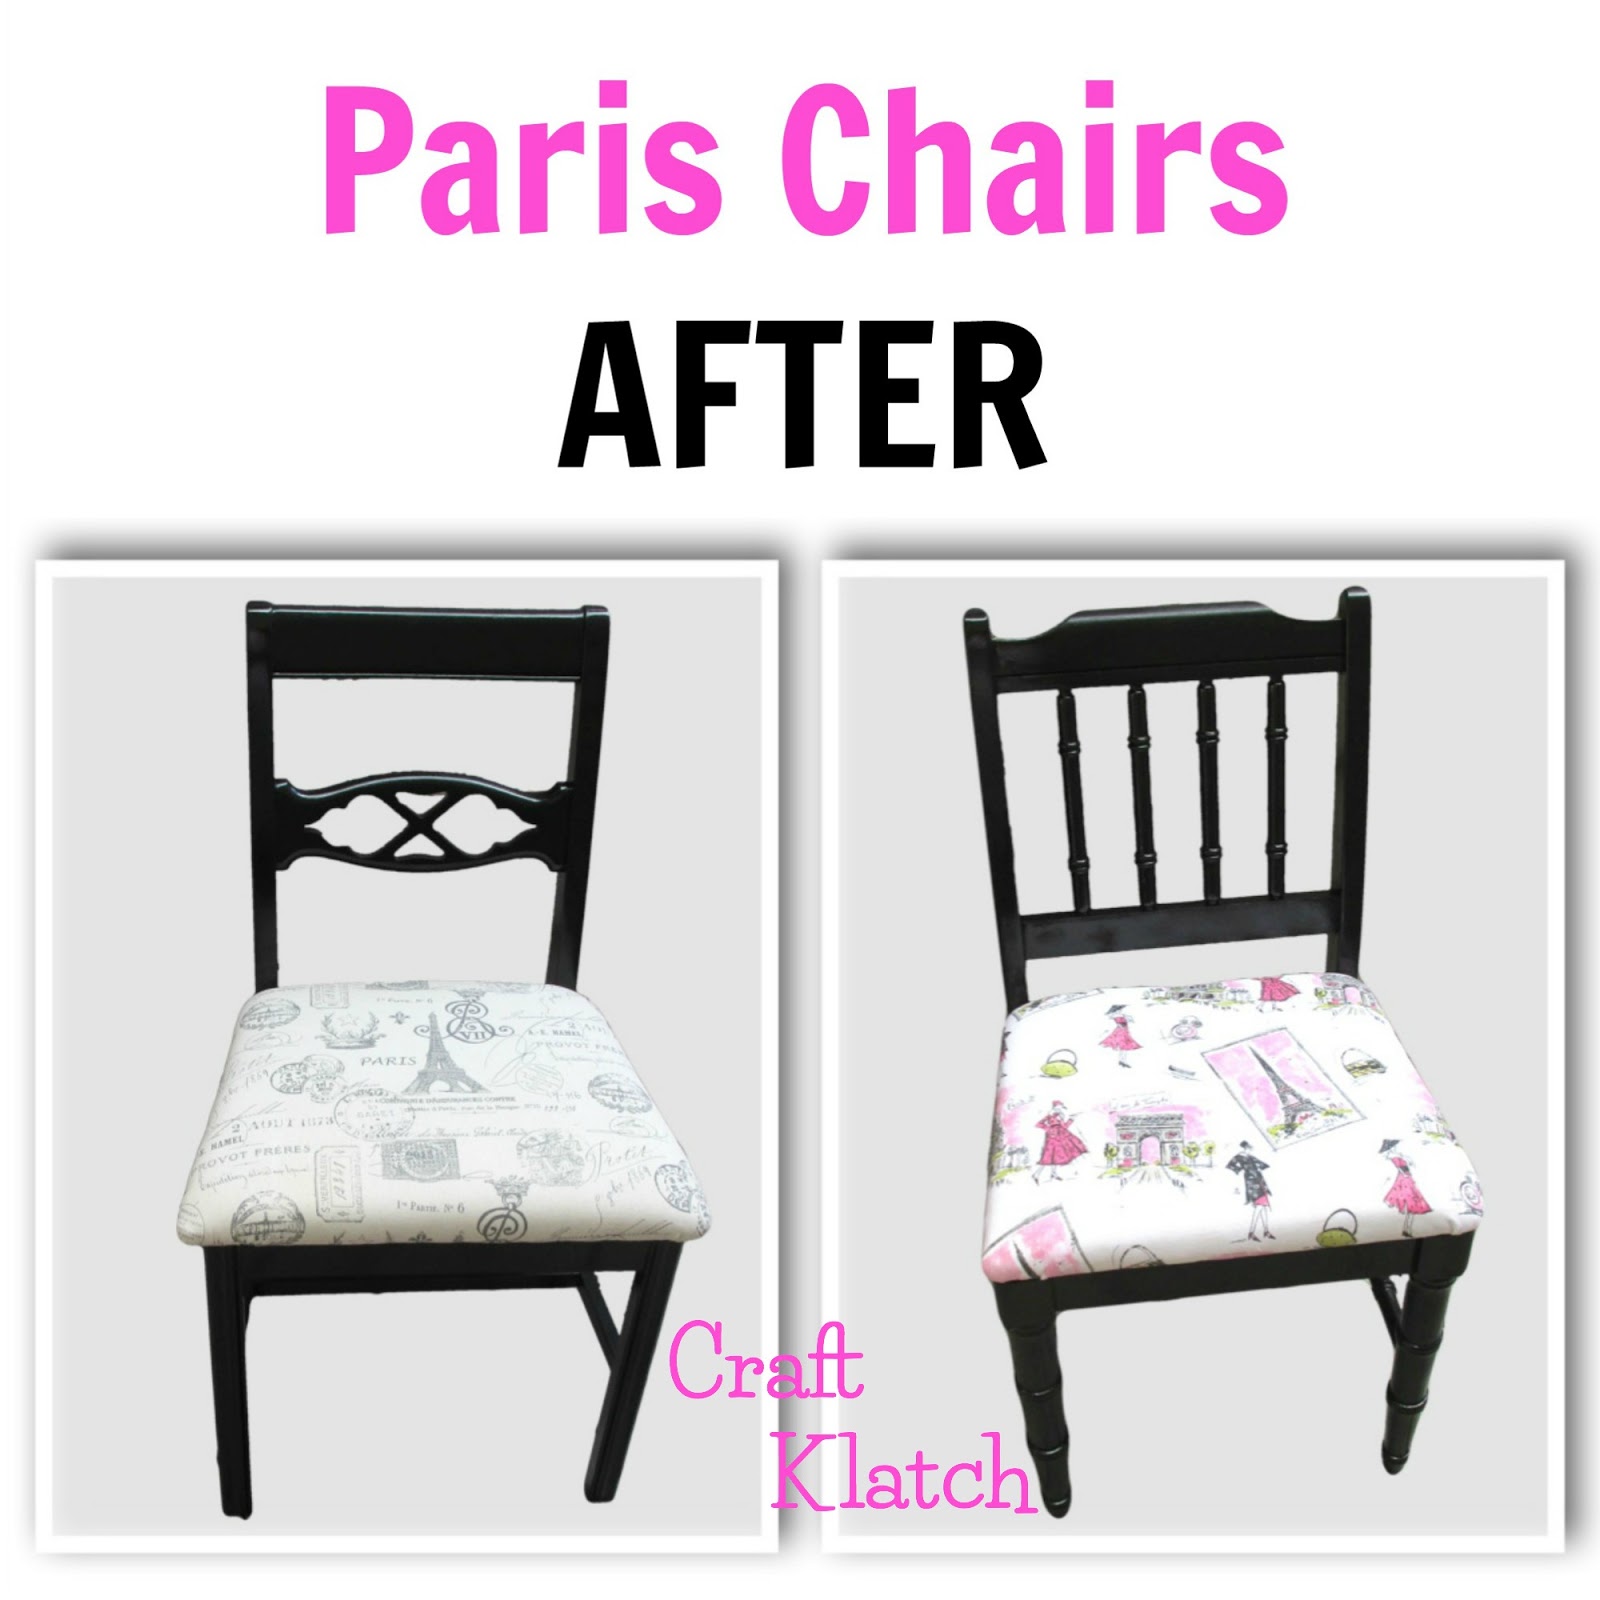
That’s it! Now you have fabulous Paris chairs!!
Thanks for stopping by! Now go make something beautiful again!
Remember, Life’s too short not to shimmer, so grab your glue gun and your glitter!™
Stay safe!
Mona
