SUBSCRIBE to my YouTube Channel!
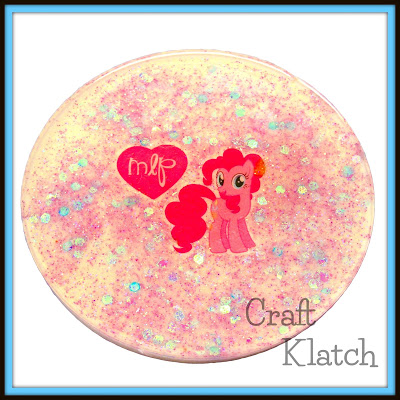
Today’s Another Coaster Friday is a My Little Pony coaster, including Pinkie Pie! Watch the craft tutorial to see how I made them with temporary tattoos, gem rings and a puzzle.


Items I used:
Coaster mold: http://amzn.to/2anrjT6
Resin (Fast Cast): http://amzn.to/2aNORP5
Resin (Easy Cast): http://amzn.to/2ardcaJ
Temporary tattoos: http://amzn.to/2b0Jvjj
Temporary tattoos: http://amzn.to/2b0JgVk
Rings: http://amzn.to/2aA8SZJ
Puzzle: http://amzn.to/2aDtnVO
Ultimate glue: http://amzn.to/2aoMB2w
Mod Podge: http://amzn.to/2aAqDVo
Here is the video tutorial:
Directions:
For the puzzle coaster:
This happened to fail for me, but it doesn’t have to for you!
1. Put your puzzle together.
2. Paint on four layers (let it dry between layers) of the Mod Podge to seal and preserve it. That means, four layers on the top and four on the bottom. Allow to completely dry.
3. Mix resin according to the package directions. Make sure it is clear curing resin, like Easy Cast. You will need at least 2 ounces.
4. Dome the top of the puzzle and try not to let it run over the edges.
5. Pop bubbles with lighter and allow to cure.
For the temporary tattoo coaster:
1. Pour one ounce of resin into the coaster mold. I used the Fast Cast because it is fast and I wanted a white background. You can absolutely use the Easy Cast, but add the white pigment.
2. Once cured, take your tattoo and remove the plastic protective piece.
3. Place the tattoo side of the tattoo down on the cured resin and gently rub it down.
4. Using a wet paper towel, or a wet wipe, with a little added water, dampen the paper backing of the tattoo. The tattoo should then adhere itself onto the coaster.
5. We need to let it dry, so I mixed some glitter with Mod Podge and painted it around the tattoo and let everything completely dry.
6. Once dry, add a layer of clear resin, pop bubbles and allow to cure.
Ring coaster:
1. Mix one ounce of resin. I used the Fast Cast, but you could easily use the Easy Cast, with added white pigment.
2. Pour it into the mold.
3. Sprinkle glitter onto it, while it is still wet. I swirled it around, since I accidentally poured too much on it. Let it cure.
4. Cut the backs of the rings off and glue them onto the cured resin.
5. Using a clear drying glue and a skewer stick, add glue to the inside edges of the rings, so the resin won’t discolor . Allow everything to dry.
6. Mix at least two more ounces of resin (it might need more)
and pour it over the coaster.
7. Pop bubbles with your lighter.
That’s it! Now you have some adorable coasters!
Thanks for stopping by! Remember, Life’s too short not to shimmer, so grab your glue gun and your glitter!™ Stay safe!
Mona

