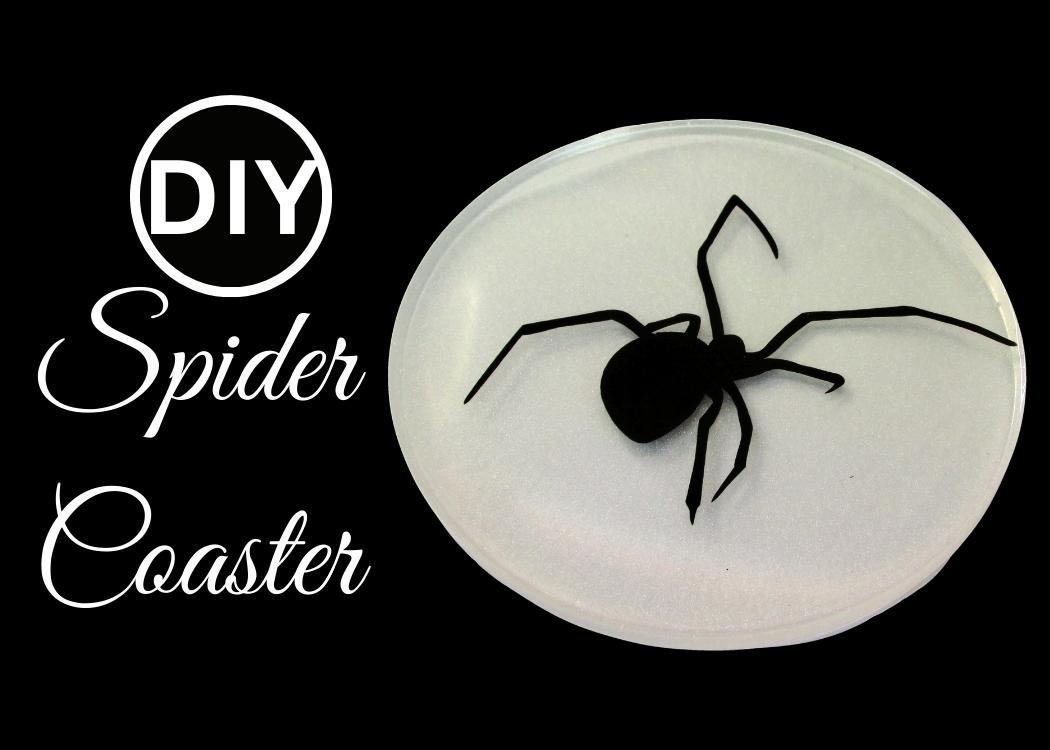
I’ll show you an easy spider craft using resin and Cricut! Learn how to make a spider coaster that’s creepy, cute, and perfect for Halloween fun.
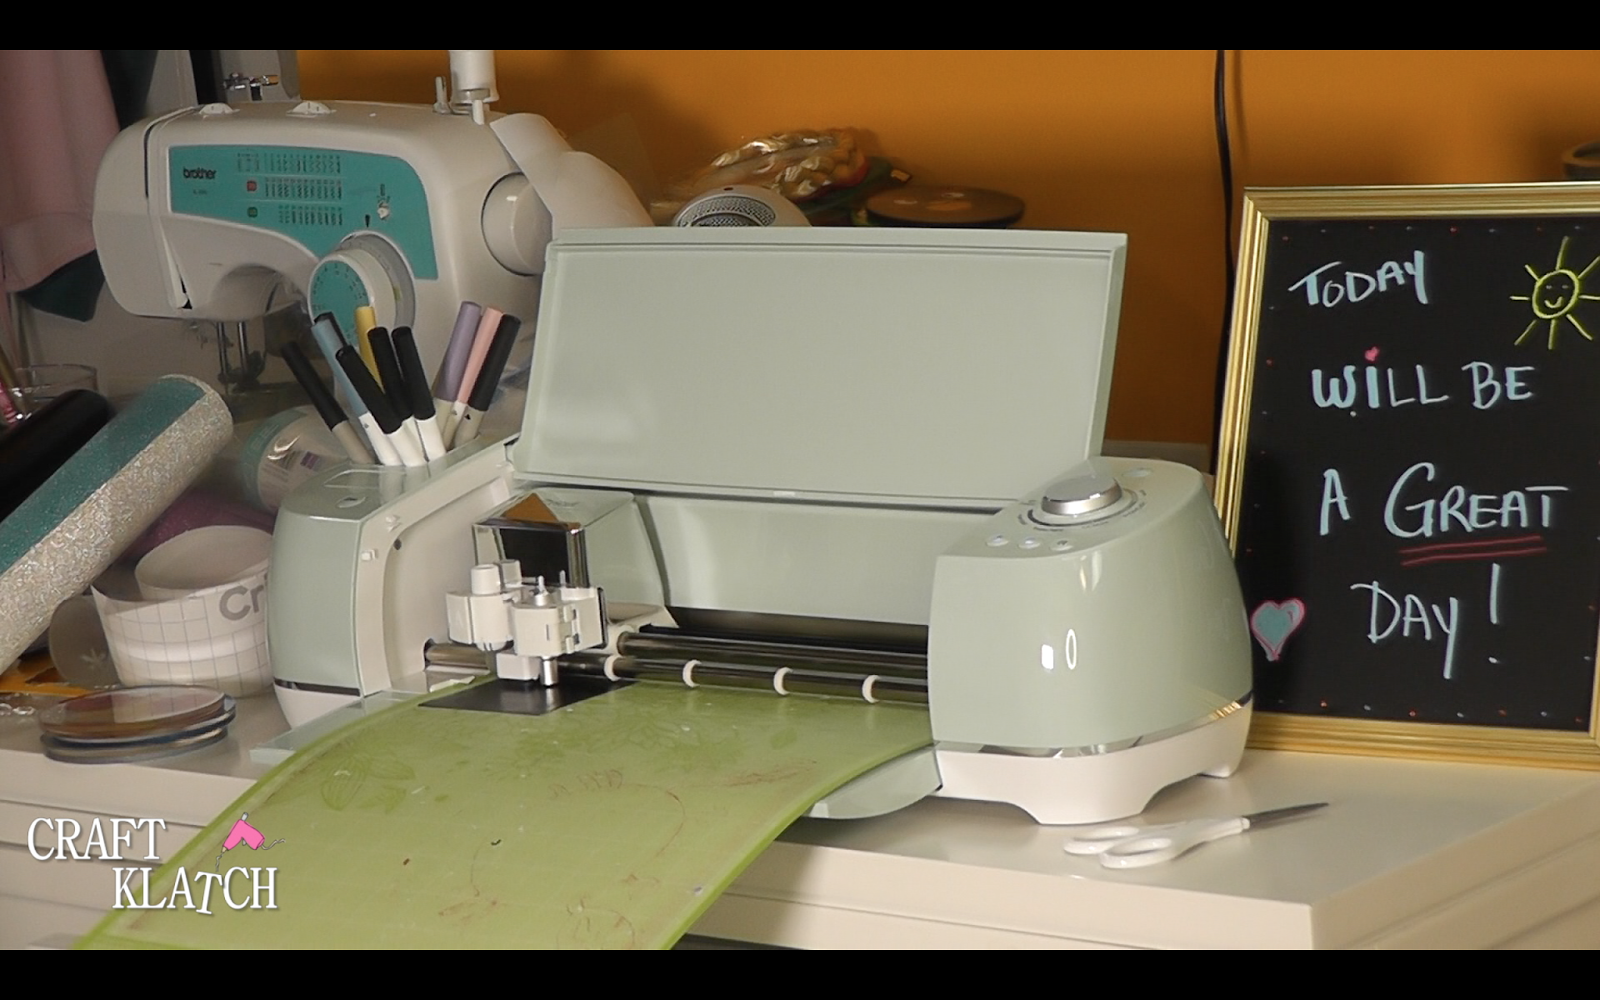
It’s always fun to make things for Halloween! I like to make more involved project and easy projects. This one is pretty easy. I’ve also wanted to get my Cricut involved in my Halloween projects and this seemed perfect!
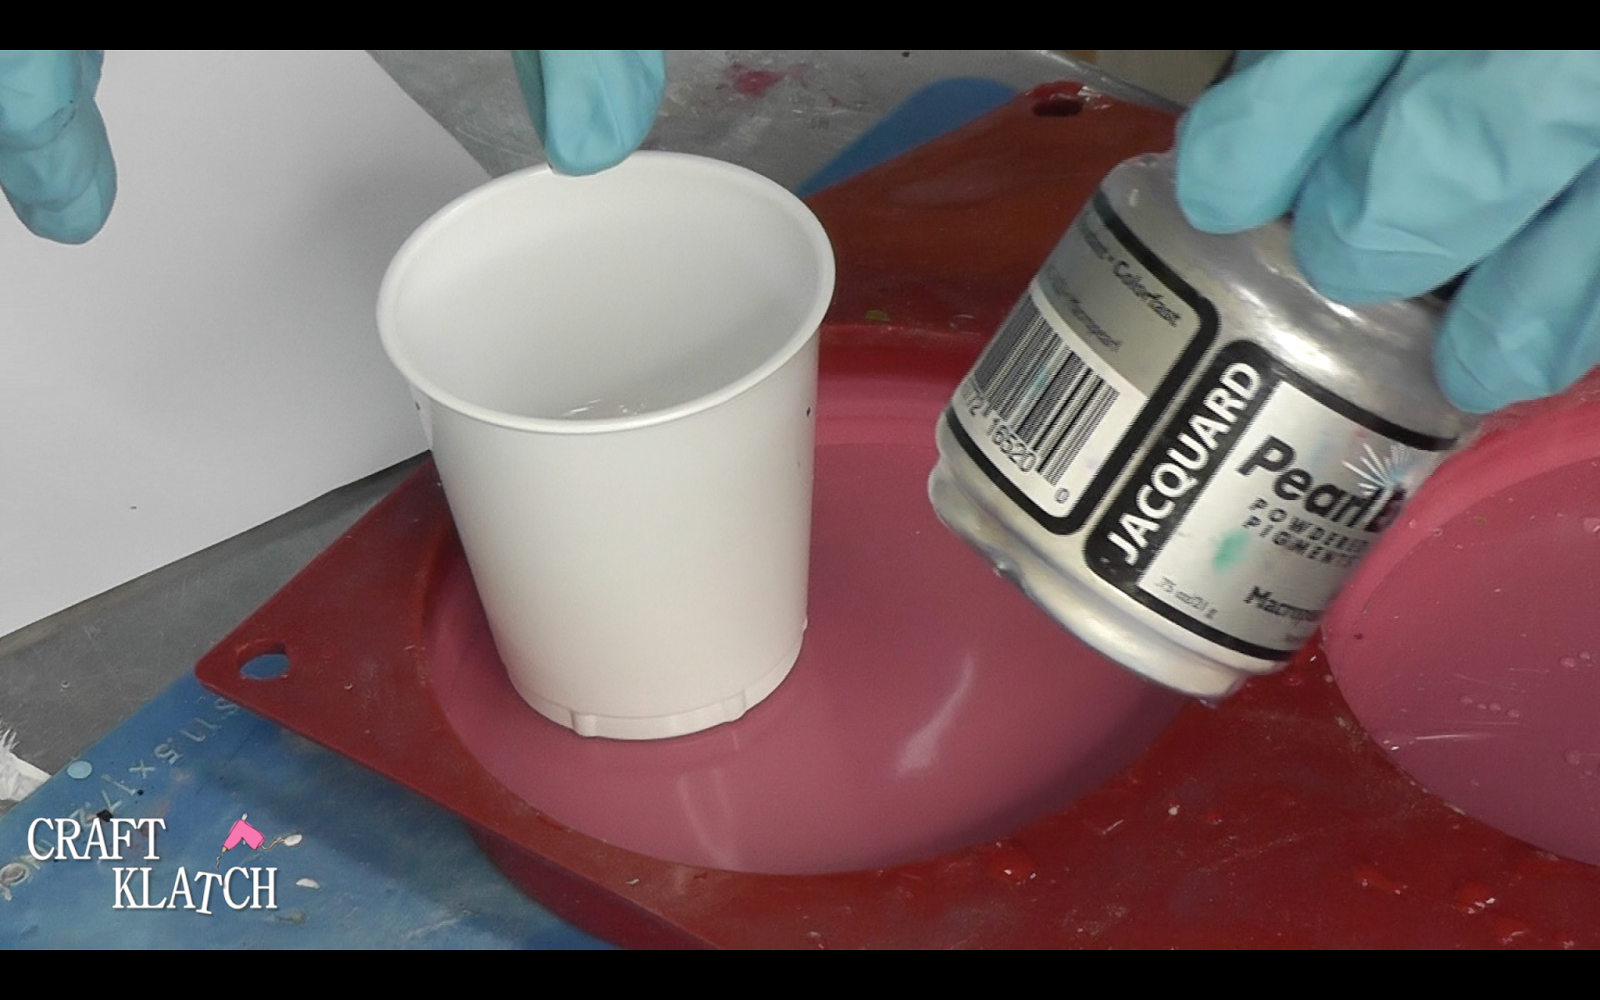
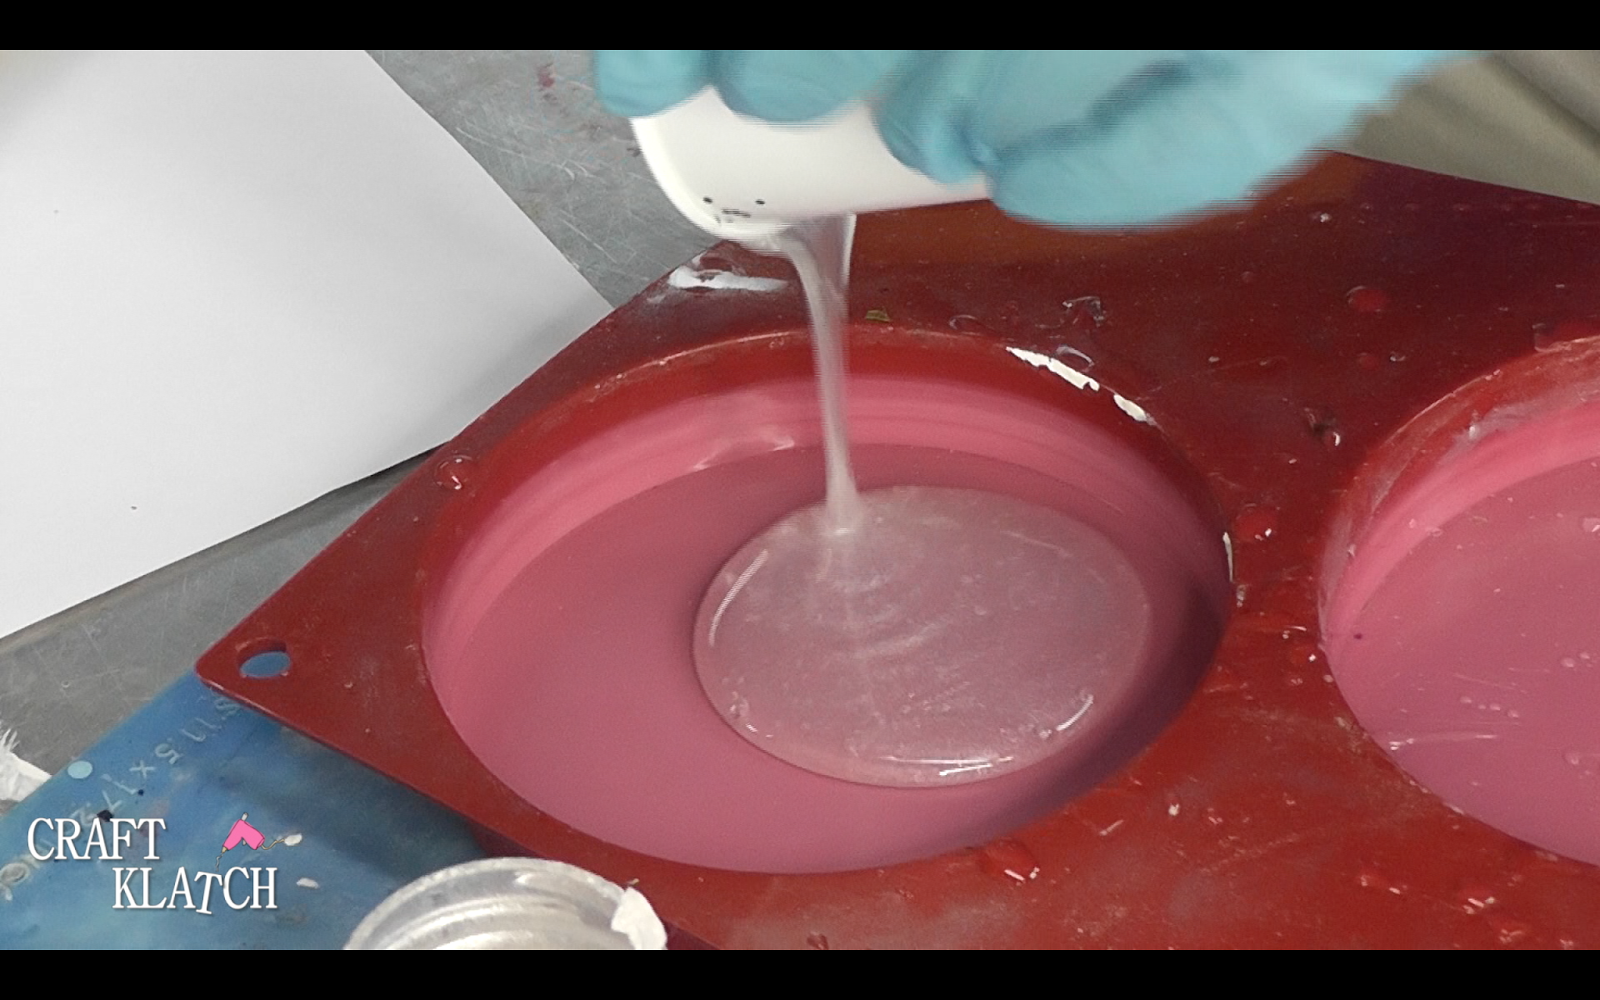
2. Add some PearlEx powder to give it a misty look.
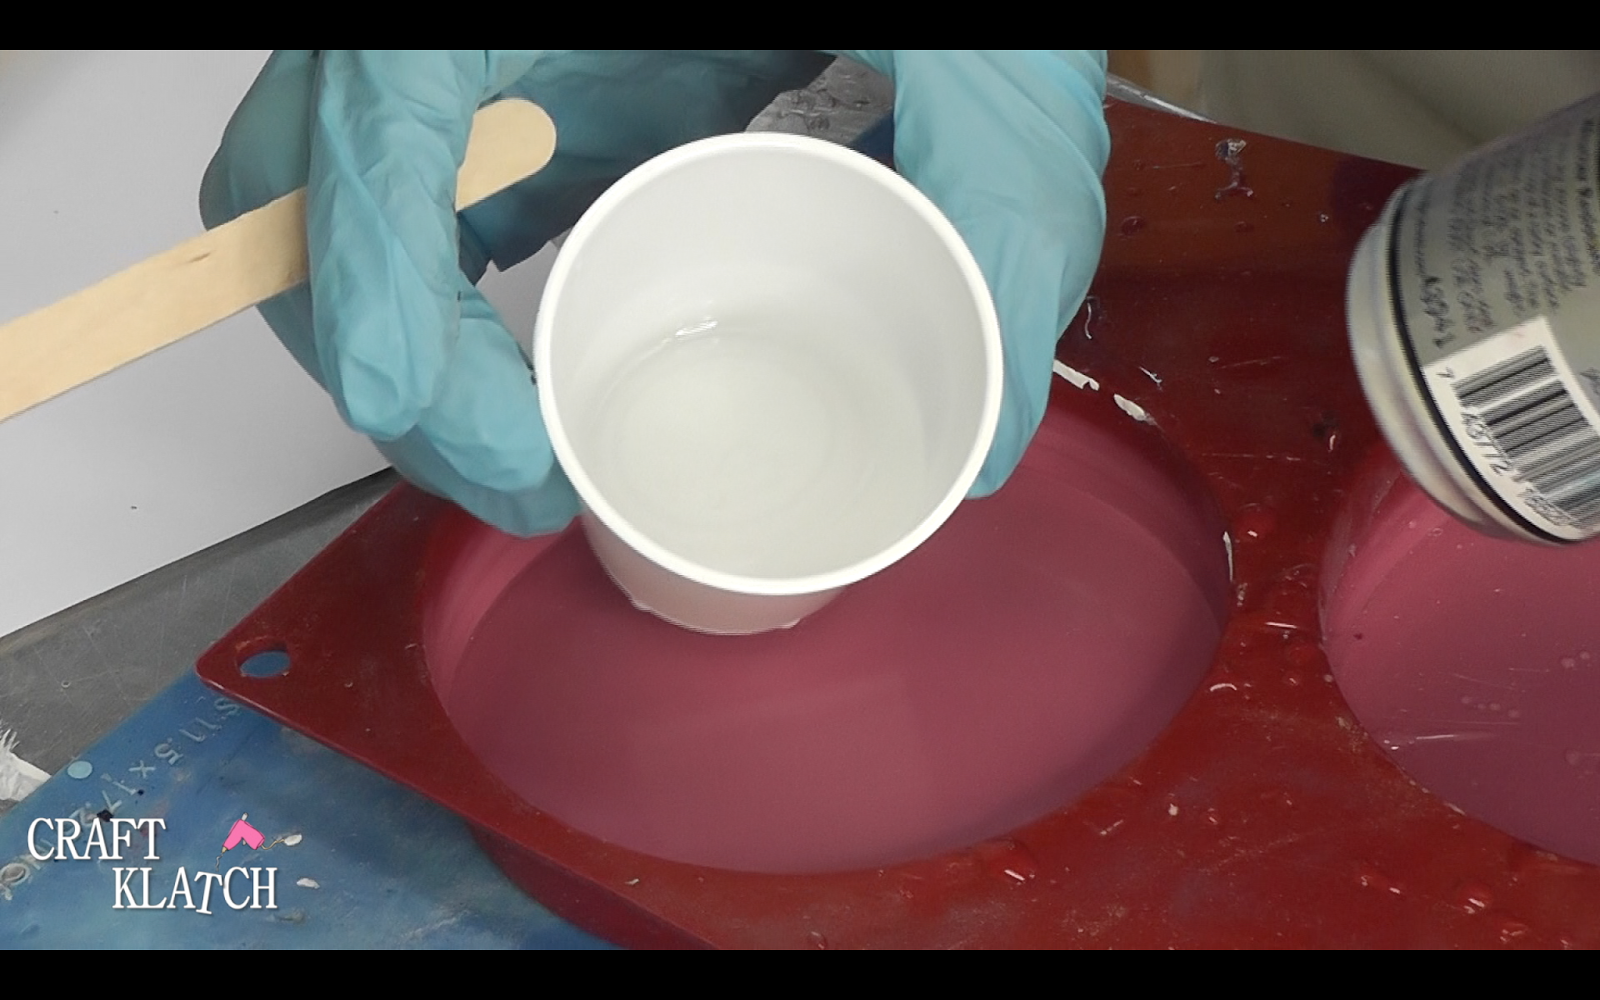
3. Pour it into the coaster mold.
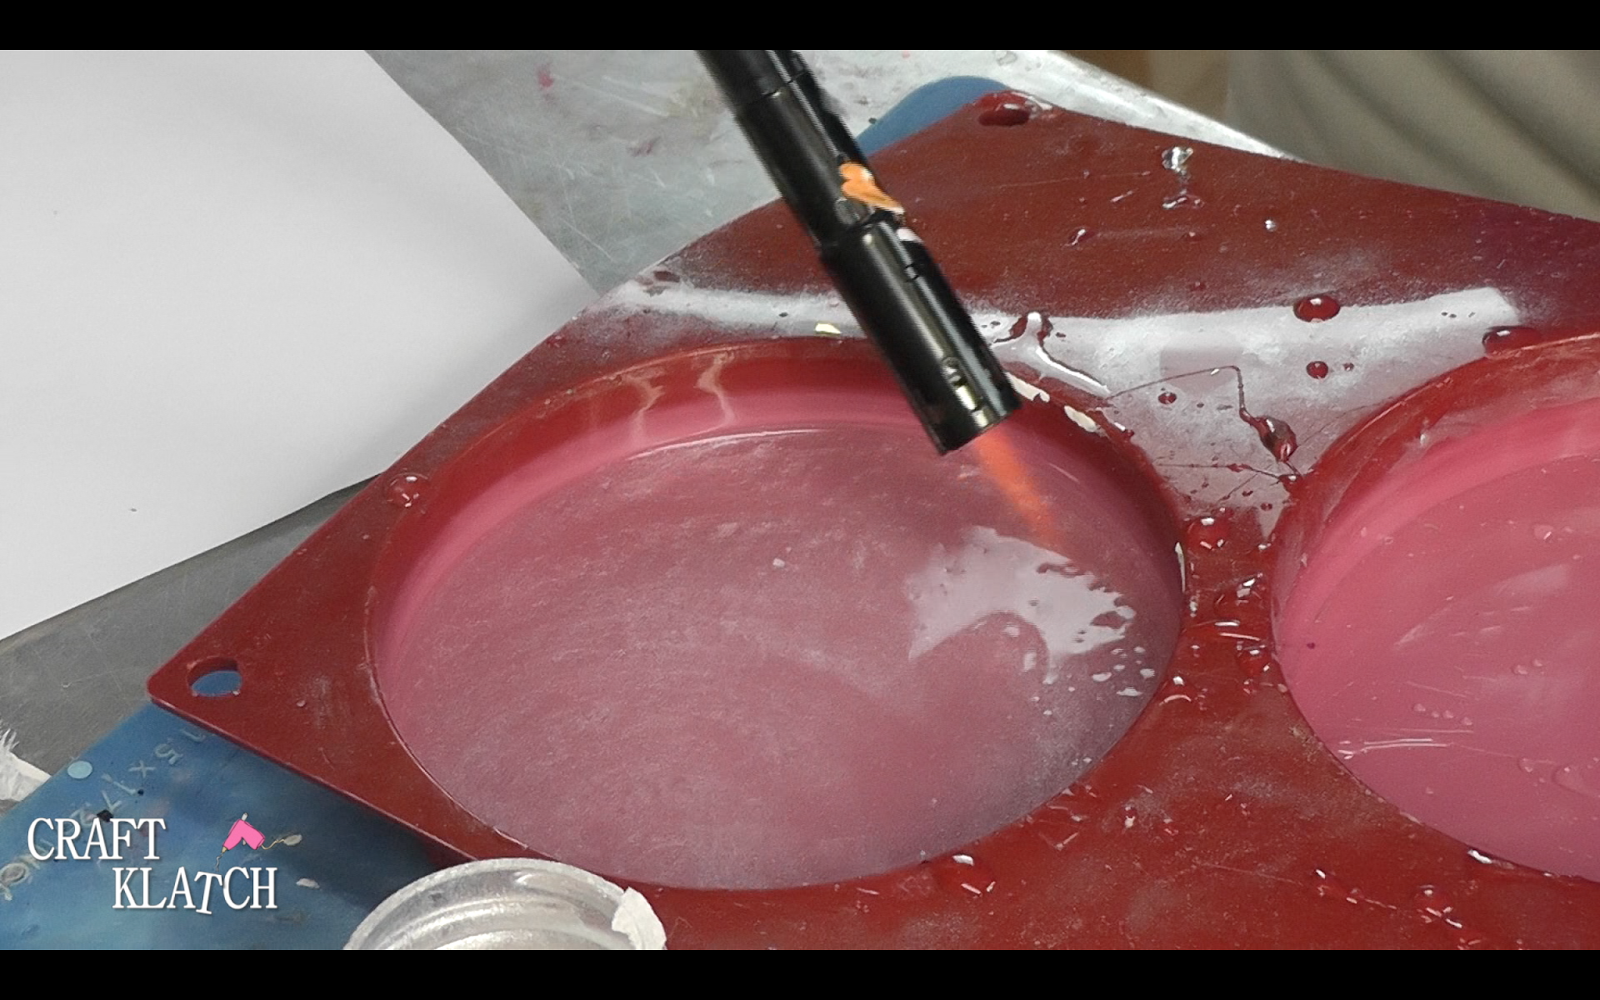
4. Pop the bubbles with your lighter.
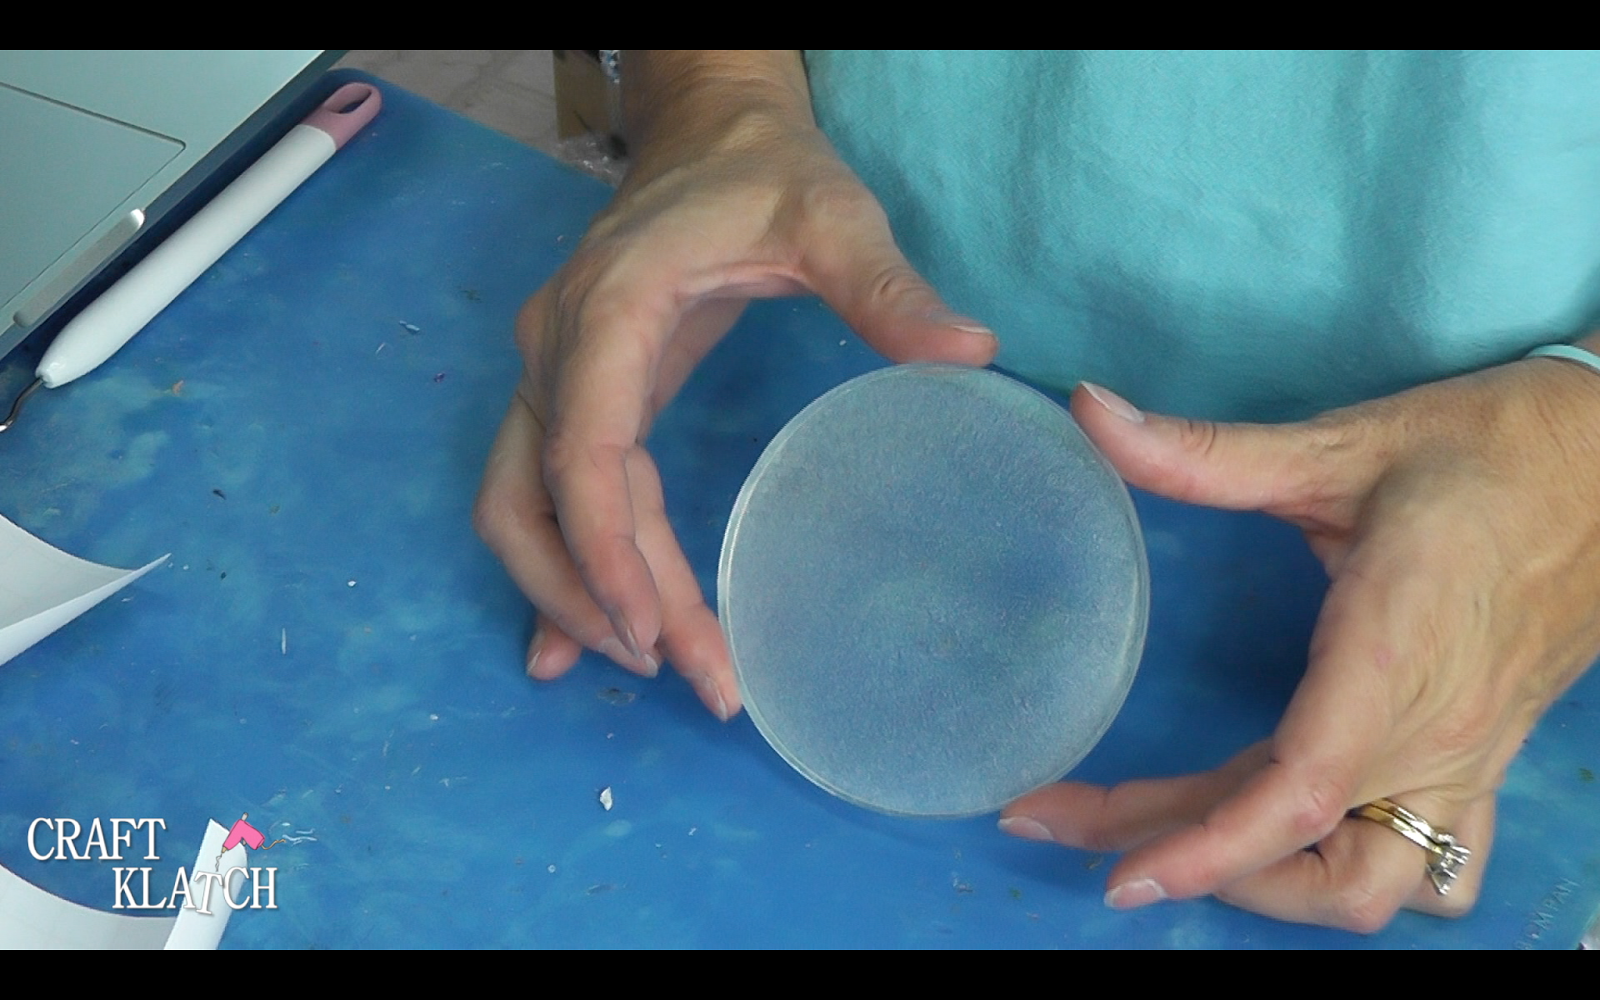
5. Once it has cured (a minimum of 12 hours), remove it from the mold.
6. I found a creepy spider image and in the Cricut Design Space, I sized it to fit onto the coaster.
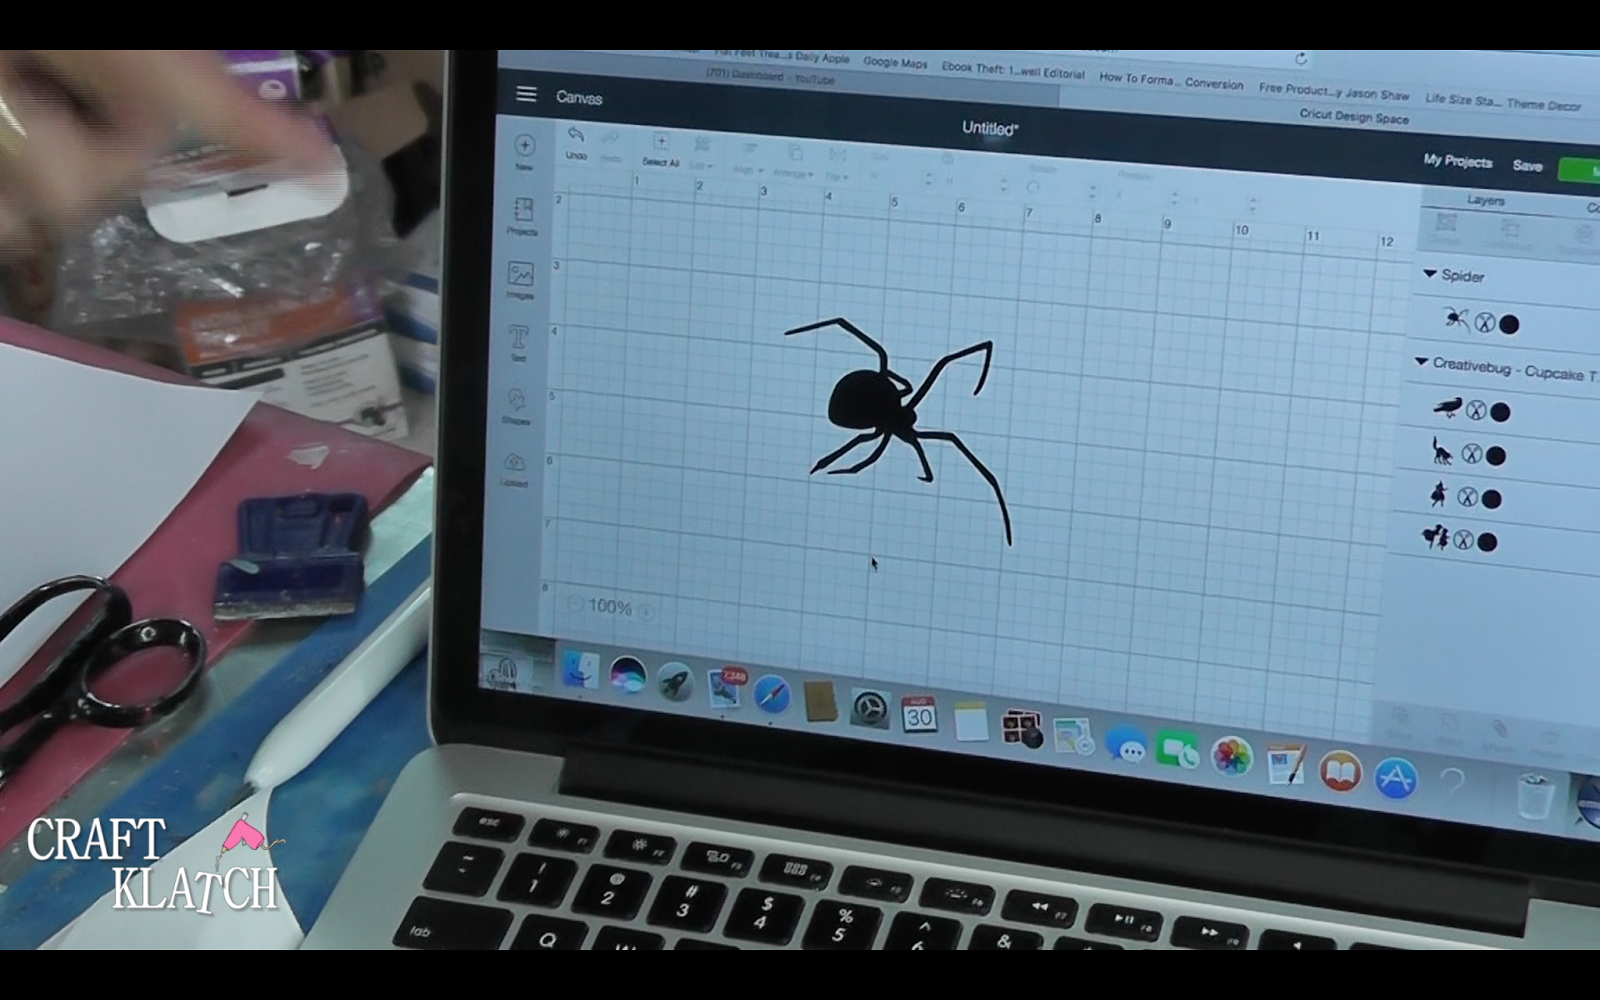
7. Then, I cut the image out of vinyl.
8. Peel off the outer vinyl.
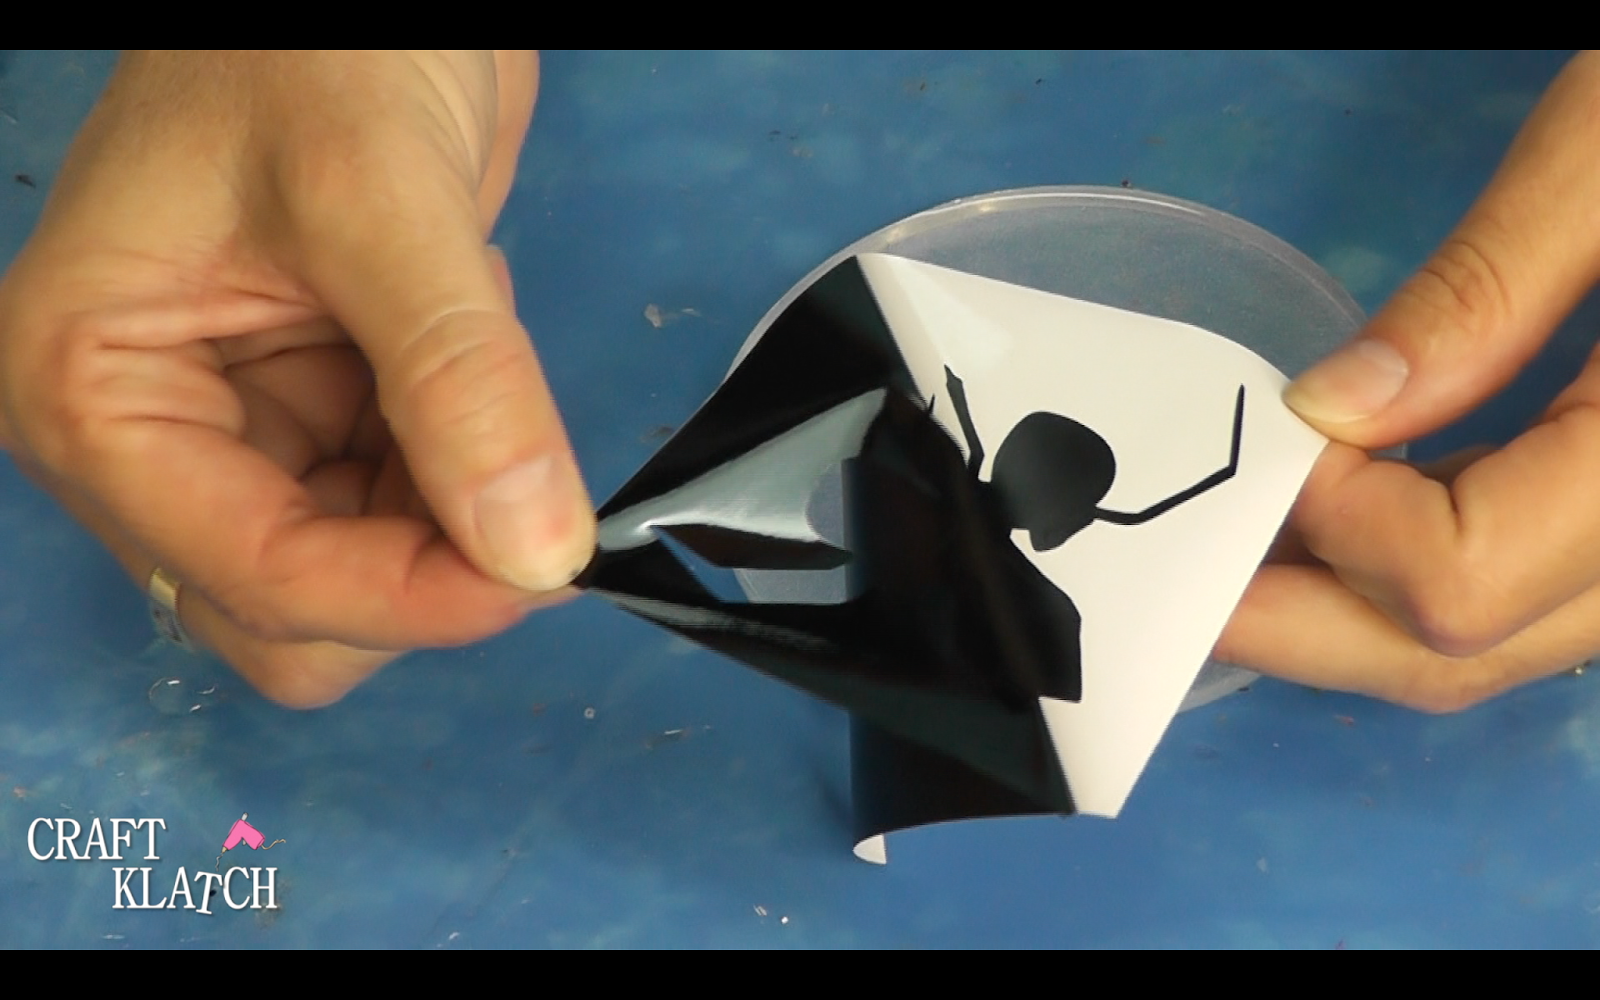
9. Pull of the spider image.
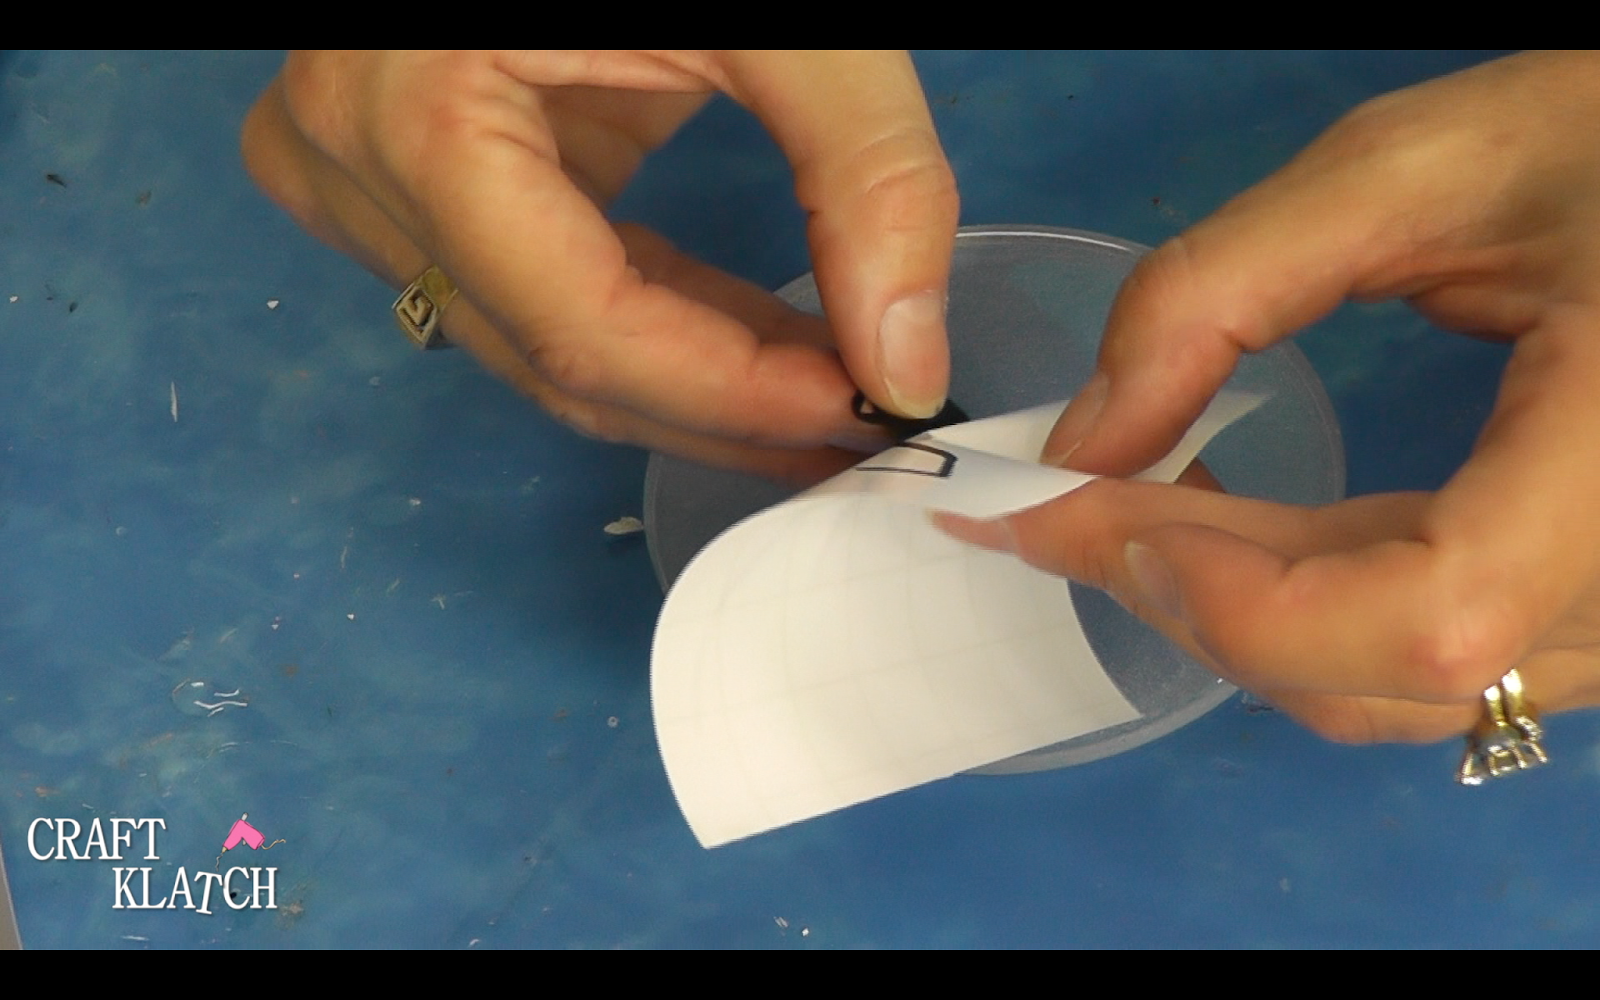
10. Add the image to the coaster.
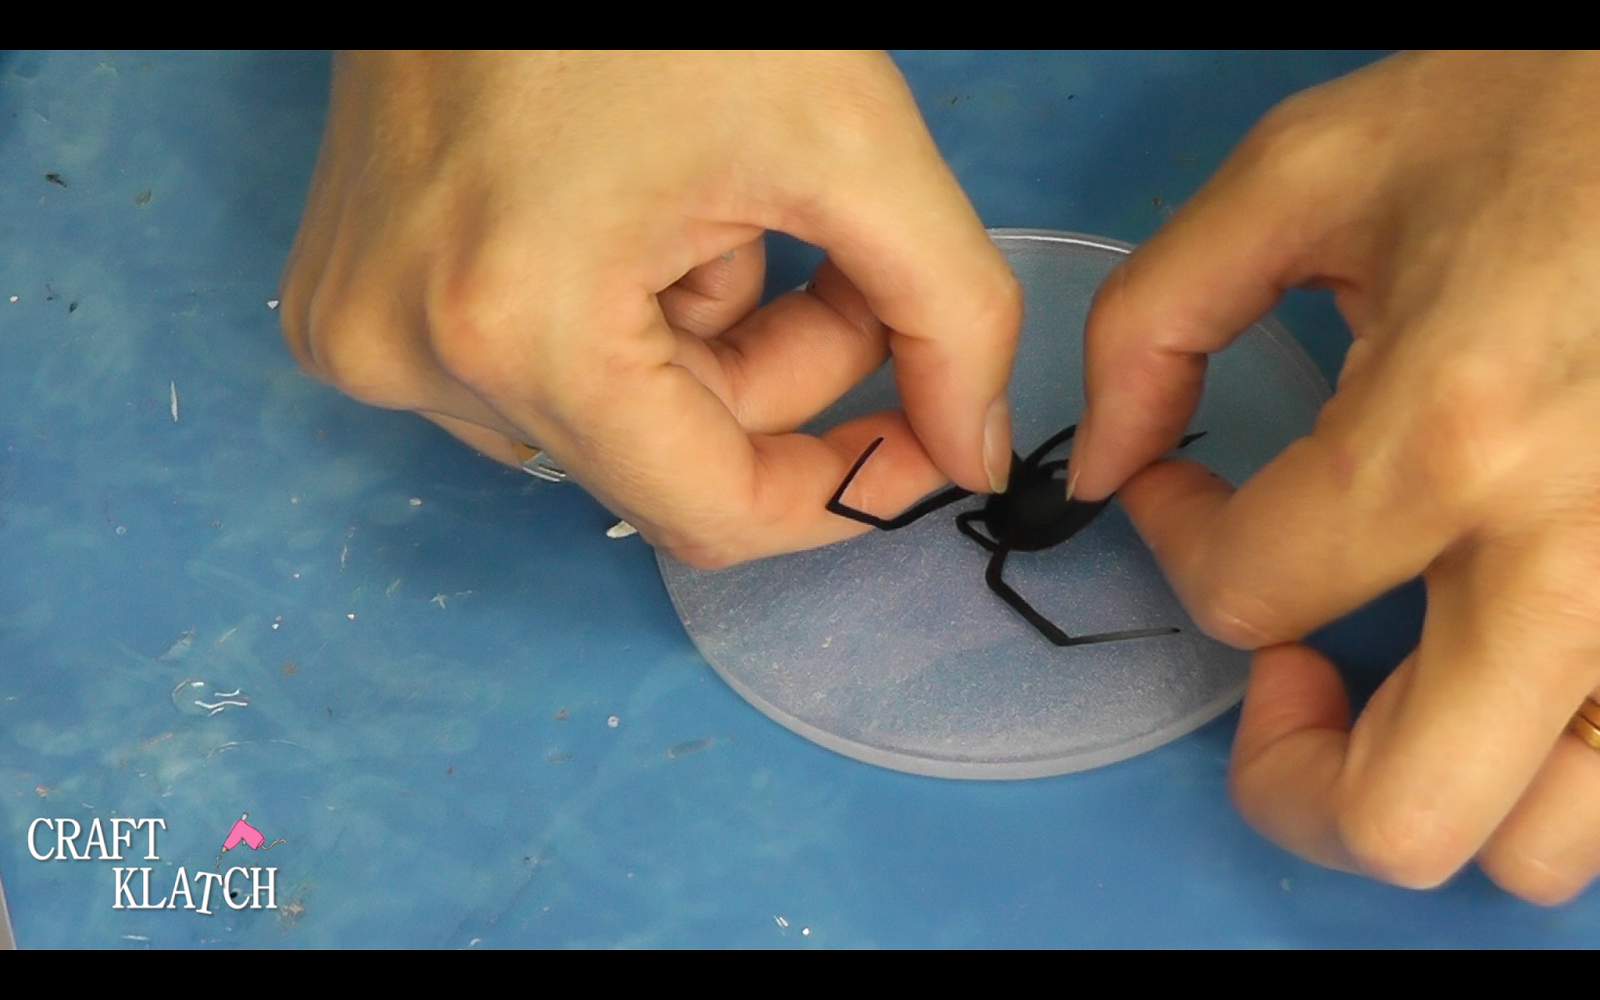
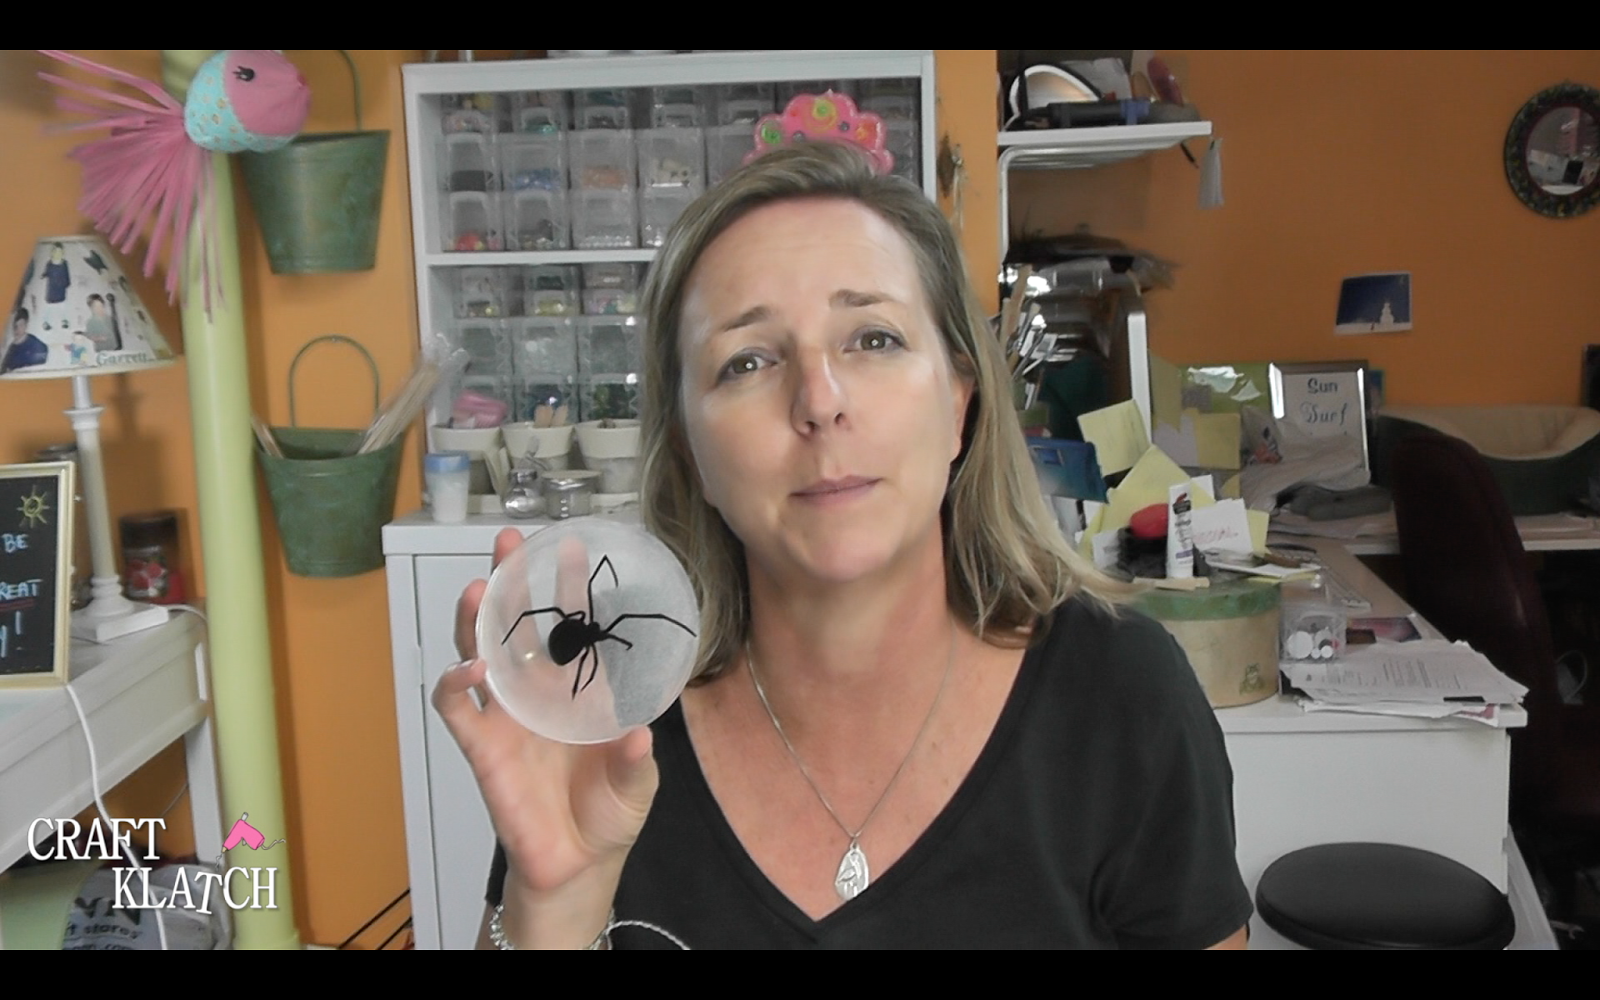
Now you have this cool spider coaster that really screams Halloween!!!

If you are worried about the vinyl sticking, so was I. Before I made the coaster, I cut a piece of vinyl and stuck it on a coaster I had made before. I then soaked it in water for 24 hours. The vinyl did not budge, or peel. Yay! So you can embed the vinyl in resin, but you don’t have too!