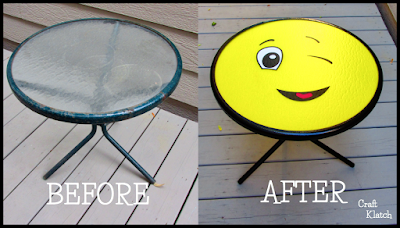
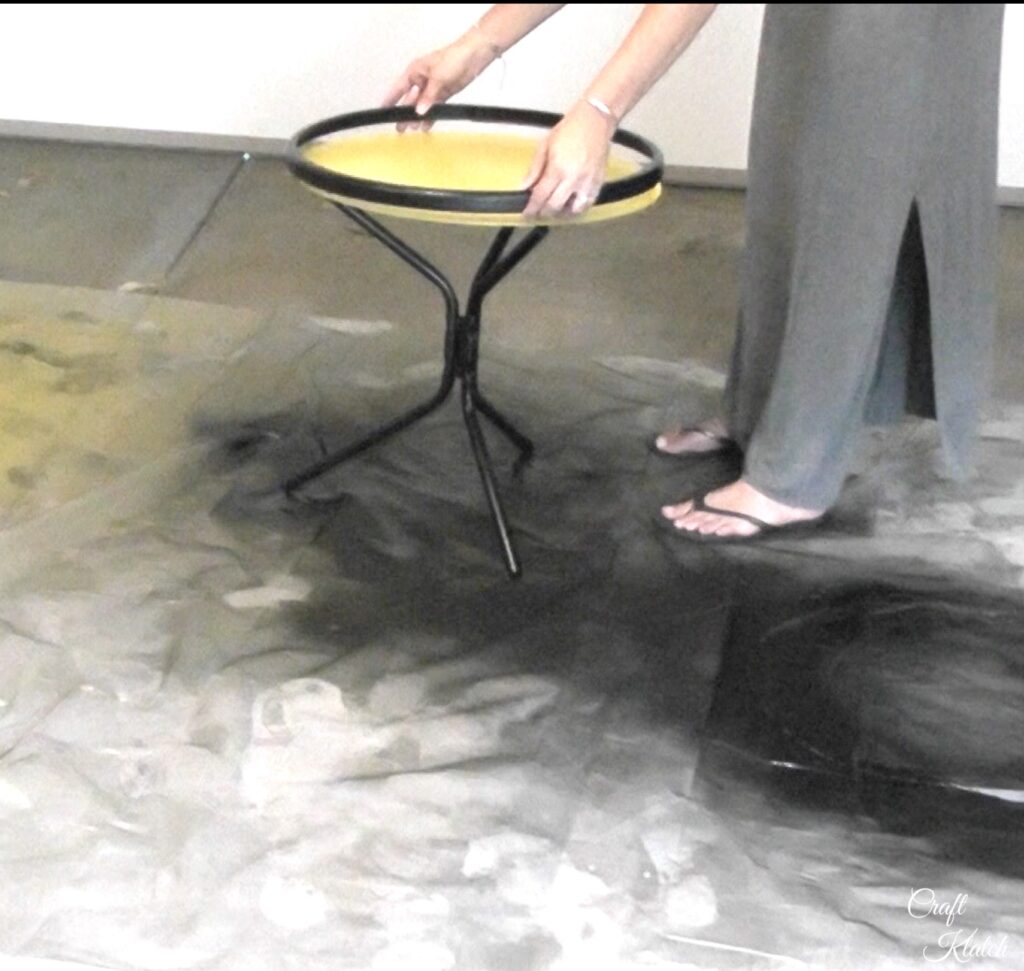
Learn how to do this DIY Emoji table makeover. I found this table in the trash and wanted to give it a fun new look…it is a total transformation!
It’s always fun to redo furniture and give it a new life. I found this dirty, rusty table on the side of the road..actually, I found it at the end of my neighbor’s driveway. My neighbor threw it away and snuck out (under the cover of darkness) and snagged it!
Be sure to PIN IT for later!

So Many Projects!
I’m going to get to the step by step for the emoji table makeover in a minute, but if emojis aren’t your thing, don’t worry, I have plenty of other projects you will love!
- Glam Resin Table Makeover Garbage to Gorgeous #17
- Table Makeover: Garbage to Gorgeous #3
- Dining Room Makeover : Garbage to Gorgeous #10
- DIY Gumball Lamp: Garbage to Gorgeous #25
- Chair Makeover: Garbage to Gorgeous #9
Here is a quick Video Tutorial to see exactly how I made it:
Supplies You Will Need
*This blog uses affiliate links. As an Amazon Associate I earn from qualifying purchases, at no additional cost to you.
- Round glass table: check garage sales and drive around on garbage day
- Yellow spray paint: https://amzn.to/2glvKBw
- Black spray paint: https://amzn.to/2wPho3v
- Rust reformer: https://amzn.to/2wP16aW
- Scraper: https://amzn.to/2wkCgMJ
- Wire brush: https://amzn.to/2vo6XmY
- Cricut: https://amzn.to/2wkRXnb (Amazon)or by direct from Cricut: (Cricut site): https://www.shareasale.com/r.cfm?B=993649&U=1248544&M=51766&urllink=
- Face image: https://publicdomainvectors.org/en/free-clipart/Winking-smiley-face/40265.html
Directions
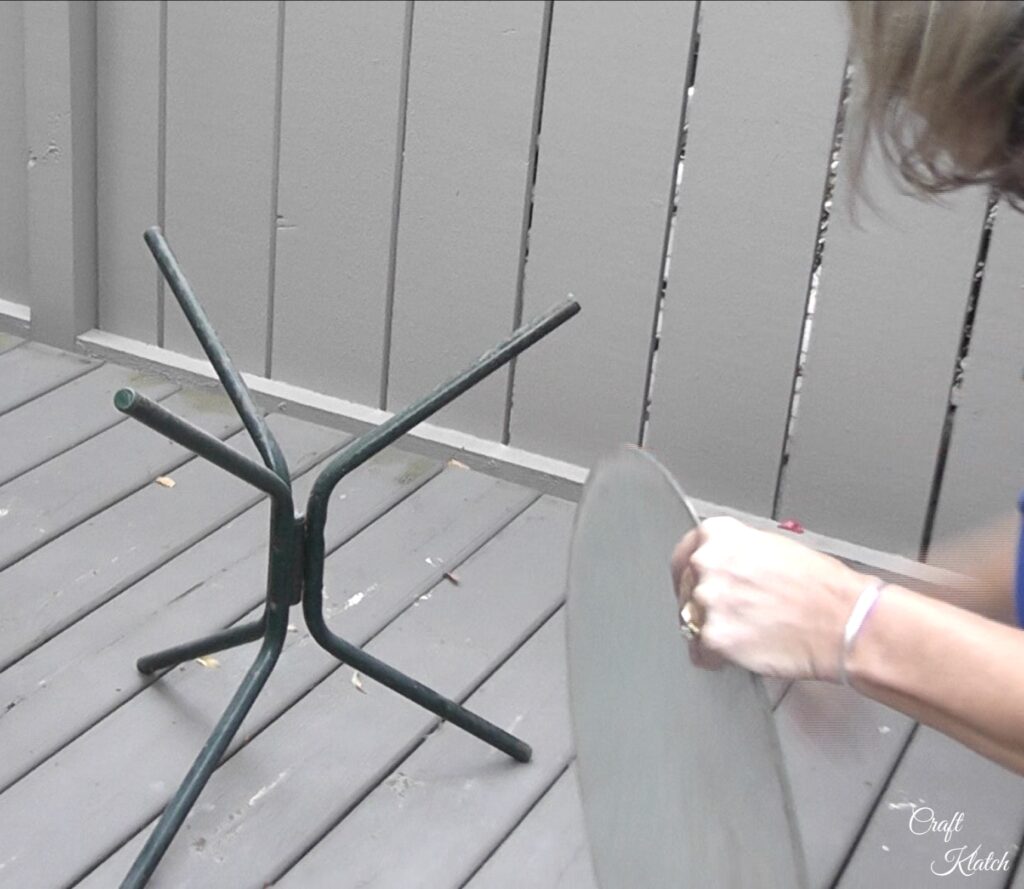
1. Take the table apart.
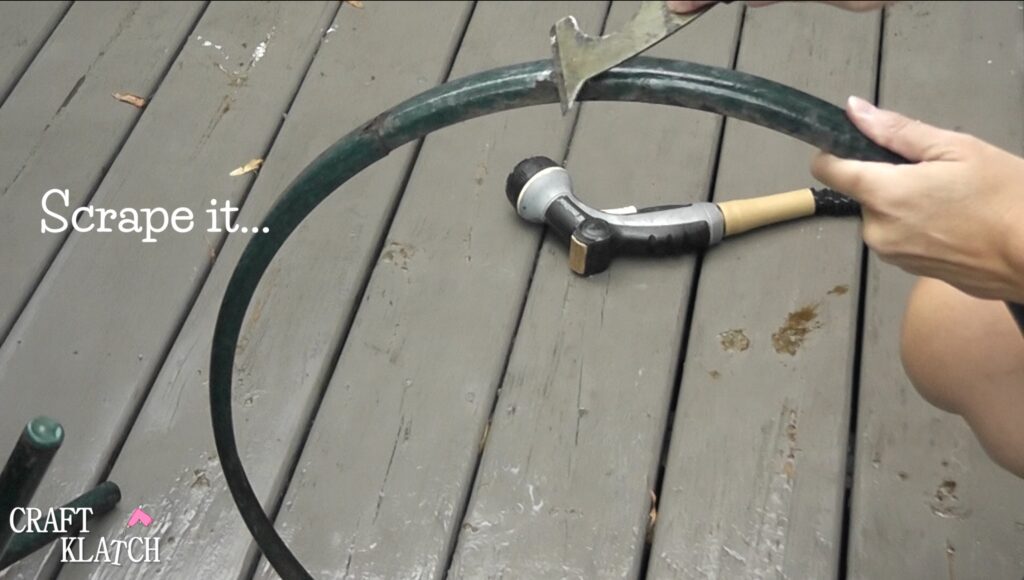
2. Scrape off any loose paint.
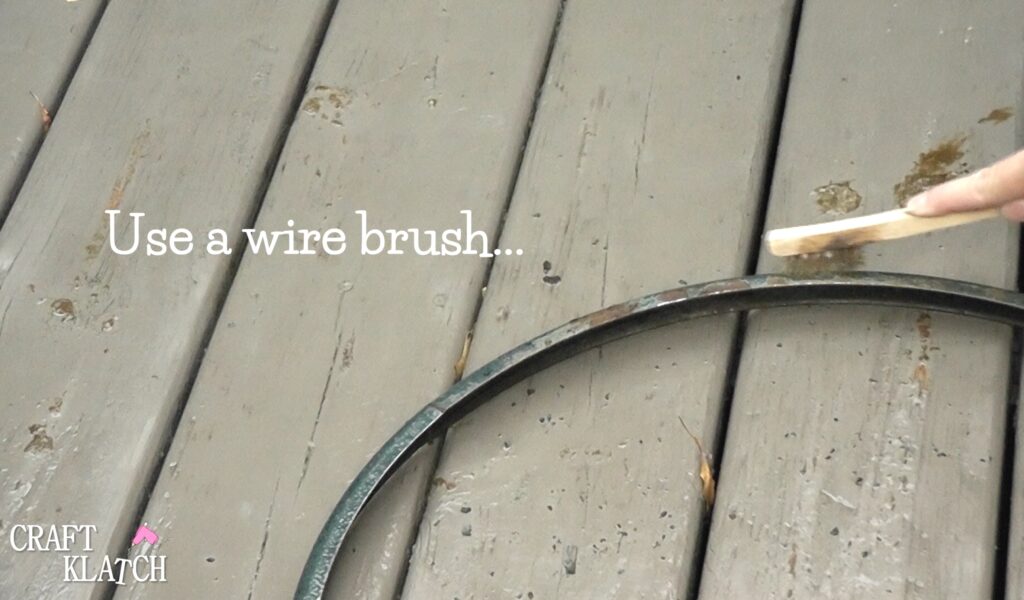
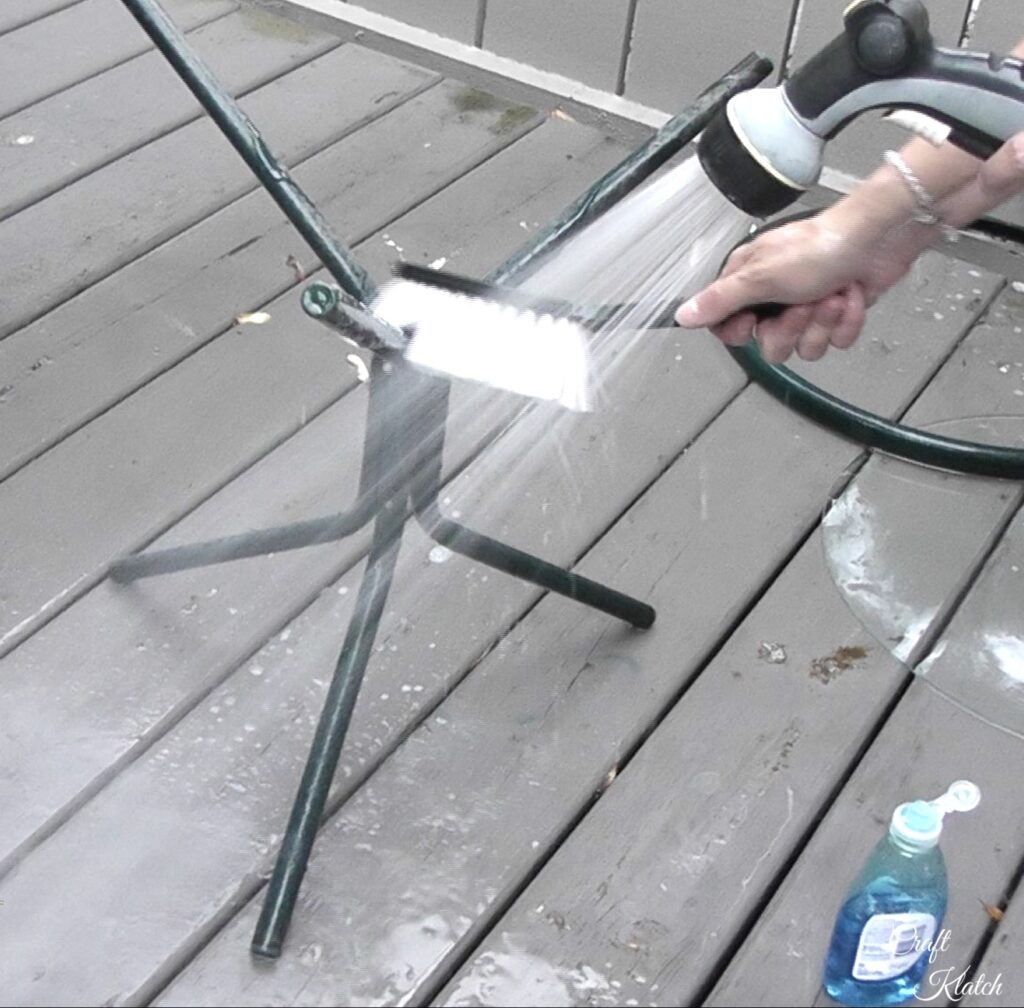
3. Follow up with a wire brush to make sure you have all the loose paint off. This is an important step because if you don’t remove all of the loose old paint, the new paint will flake off.
4. Wash it and dry it.
5. Use a rust reformer if necessary. Because there was rust, I used a rust reformer to neutralize the rust. Hopefully, this will prevent anymore rust from forming under the paint.
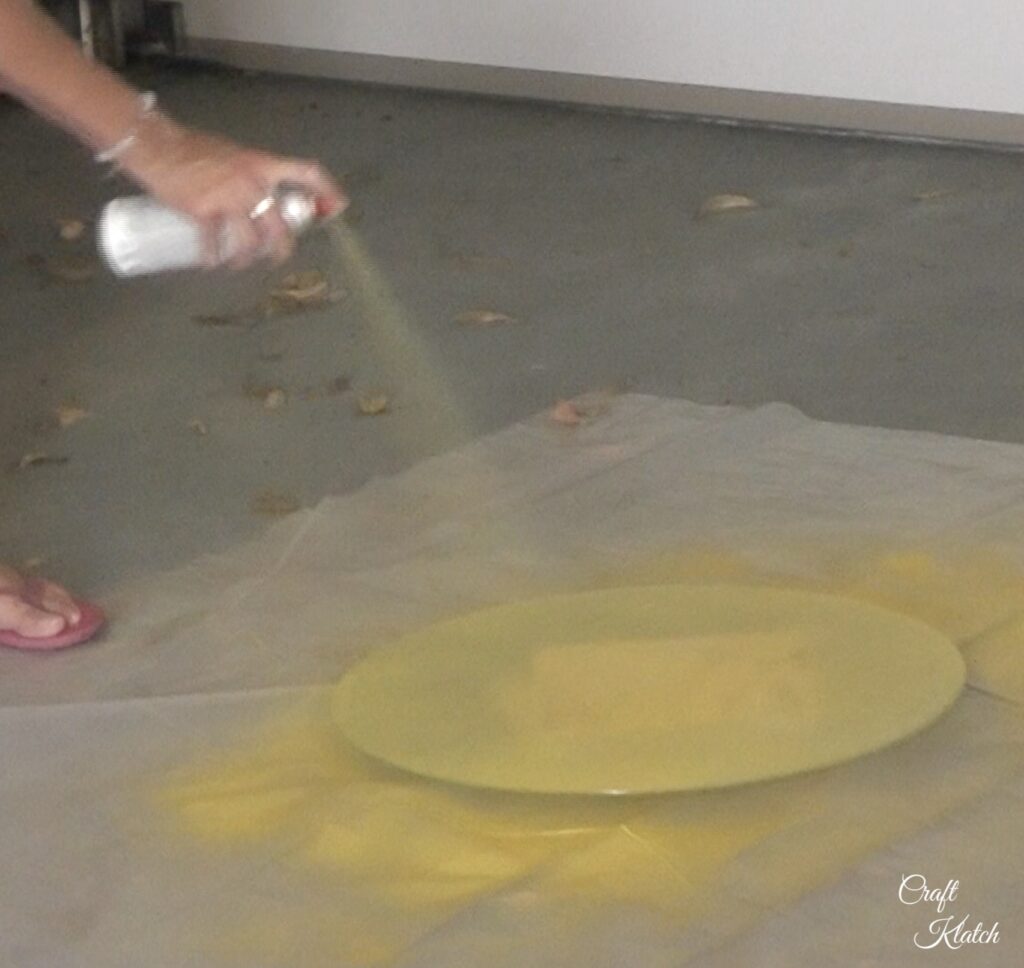
6. Paint the glass yellow. I went with a nice bright emoji yellow. It reminds me of the surface of the sun.
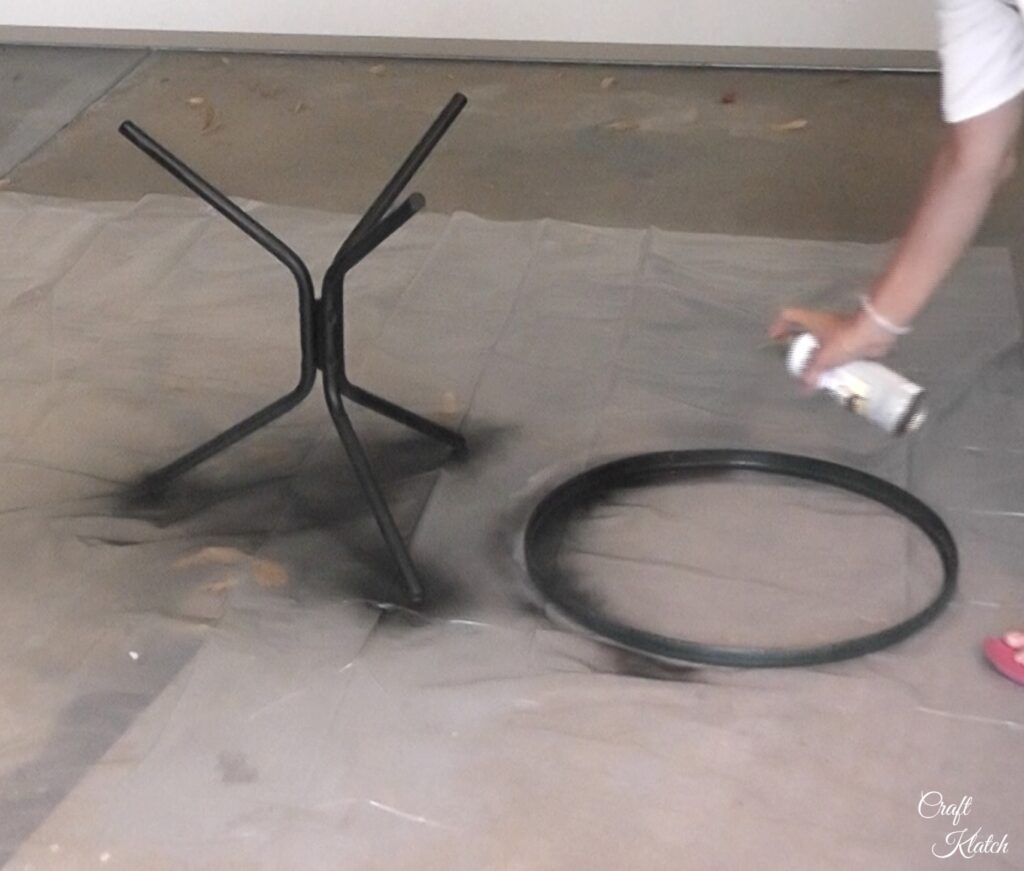
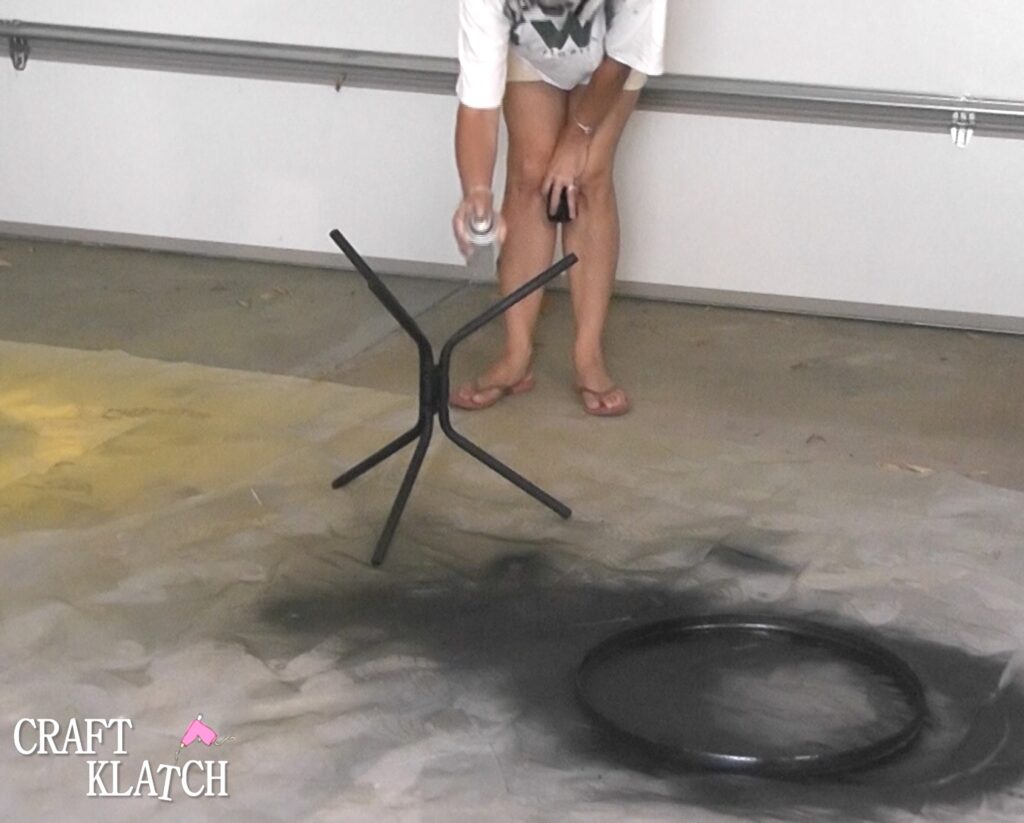
7. Paint the frame black.
8. When everything is dry, put it back together.
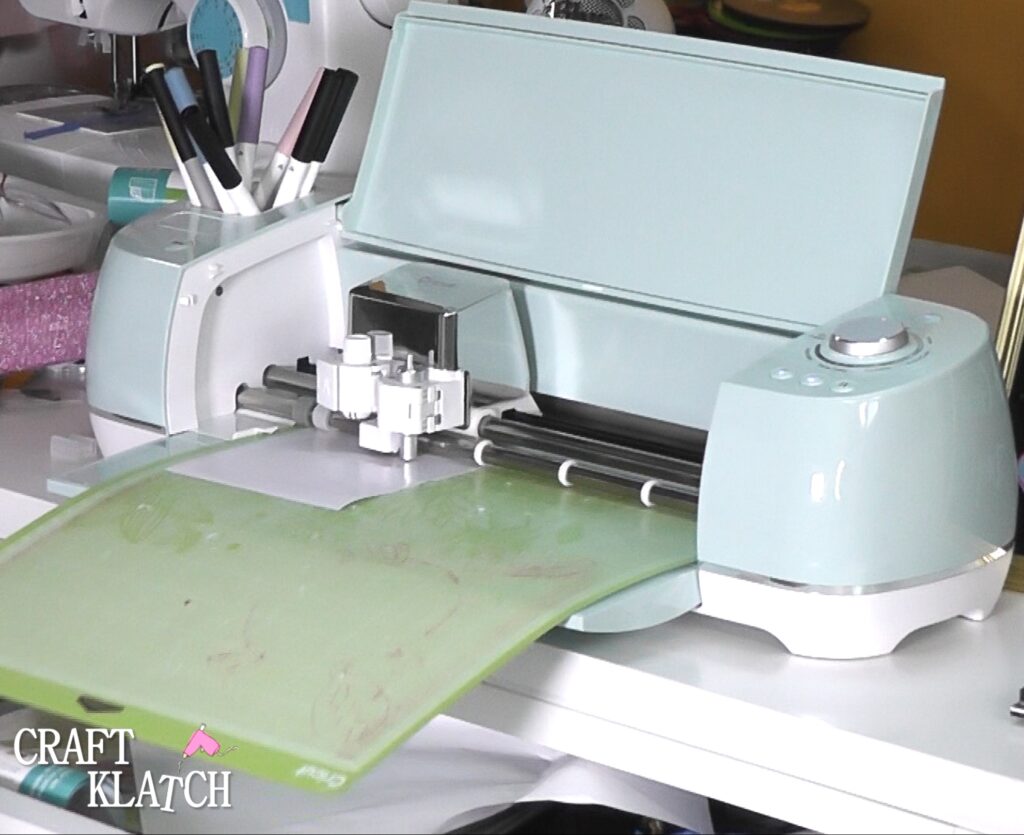
9. Use a cutting machine to cut out the face image, in different color vinyls. I used my Cricut. Any cutting machine would work. You could also use a craft knife and cut out the features by hand. It would take more time and effort, but would totally work!
10. Apply the vinyl pieces to the table. Use transfer tape if you need to.
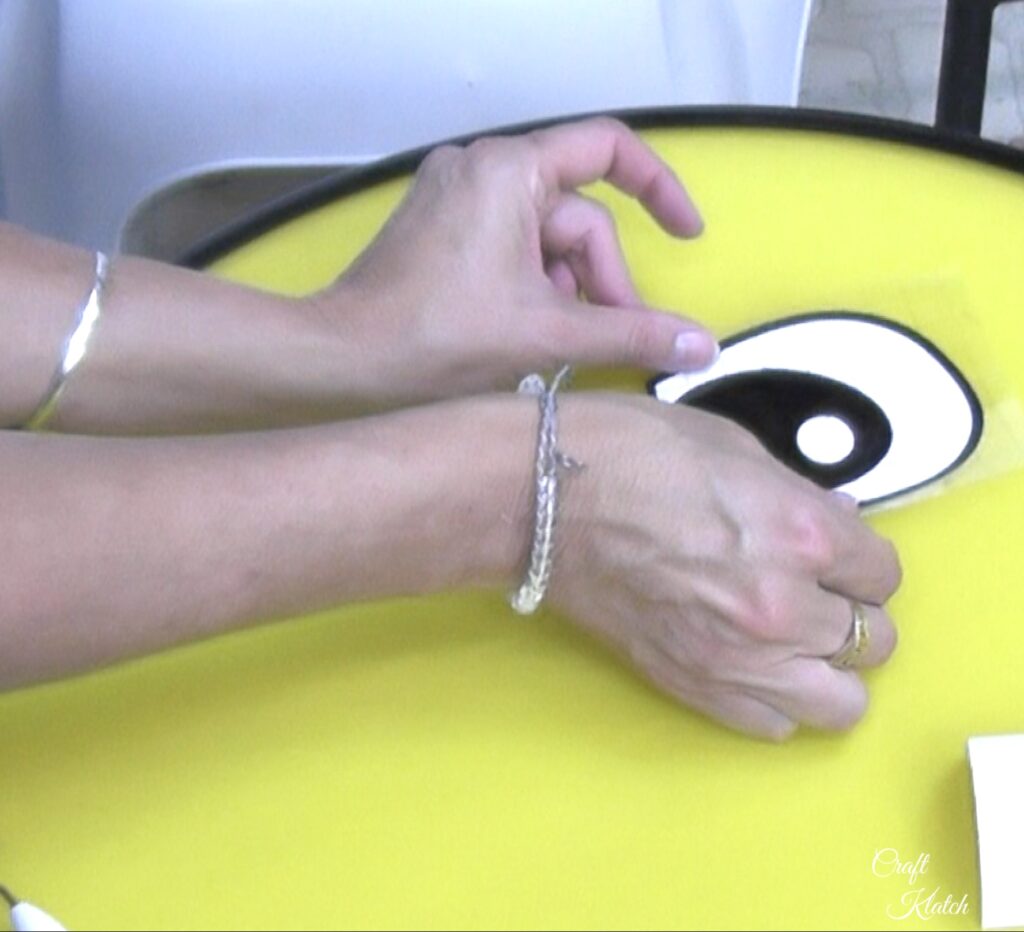
I chose to apply the vinyl to the top of the table. I did this for two reasons:
- First, the vinyl is very durable and will last a long time. It can withstand water and regular use. Should it start to peel, just cut a new one.
- Second (and this is the biggie), you can change it whenever you want! Maybe you want to change it with the seasons or for the holidays. Maybe it starts out in the family room with a happy face. Then, it moves to a bedroom and a sleepy face might be more fitting! You can change it as the mood moves you! Yes you can put it under the glass and then paint, if you want it to be permanent.
Here it is! It’s a fun look and perfect for a number of different uses.
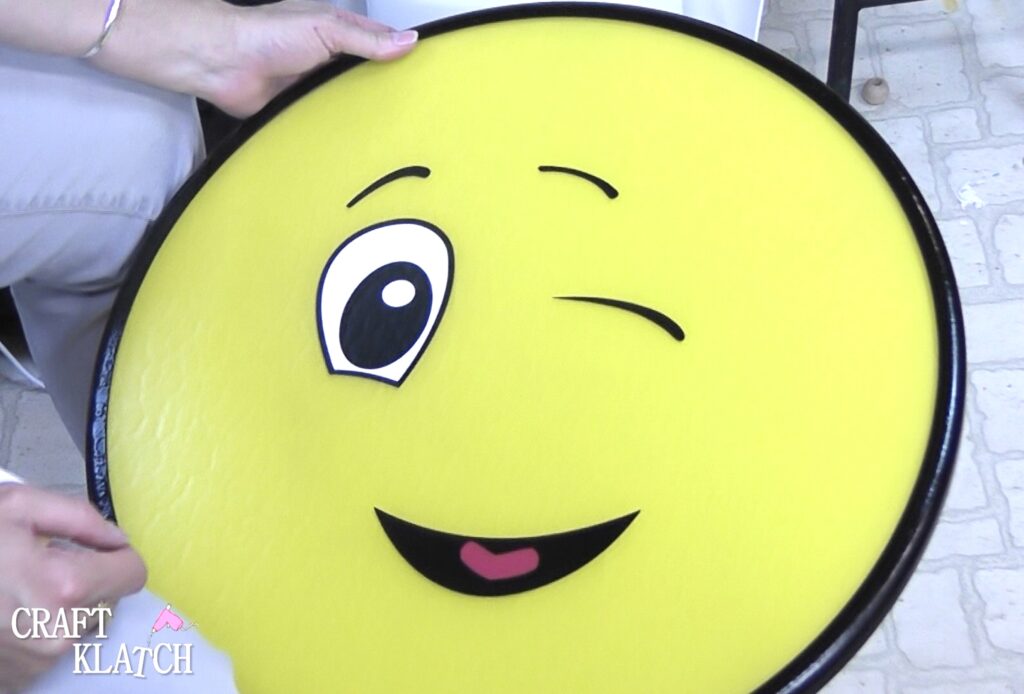
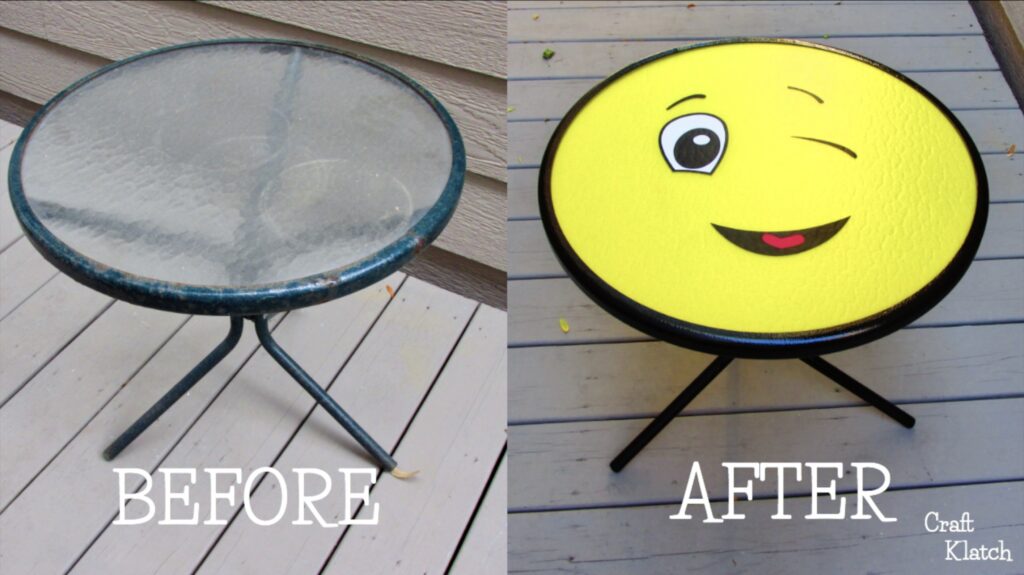
Here is a side by side before and after!
I hope you like it!
Emoji Furniture and Home Decor Alternatives
I realize not everyone is going to run out and make an emoji table, but really, who doesn’t appreciate a well placed emoji? Here are some fun emoji home decor alternatives to brighten you life!

Remember: Life’s too short not to shimmer, so grab your glue gun and your glitter!™ Stay safe!
Mona
OMG!! My daughter just flipped out over this table. I don't have a cutting machine tho. Could you buy the vinyls somewhere? Could you seal the top of the table to protect the vinyls forever? She said that's how long she wants it lol. Thank you so much for sharing.
Could you adhere the vinyl pieces to the underside before you painted it? It would seem that would alleviate the need to seal the side you will be using and better protect it.
I like this idea! Maybe she forgot to include it, because if she wanted to change the decals I think the paint would come off.
Hi Shirley-
Actually, the glass is painted on the backside. The decals, which hold up great, are on the topside, so they don’t even touch the paint.