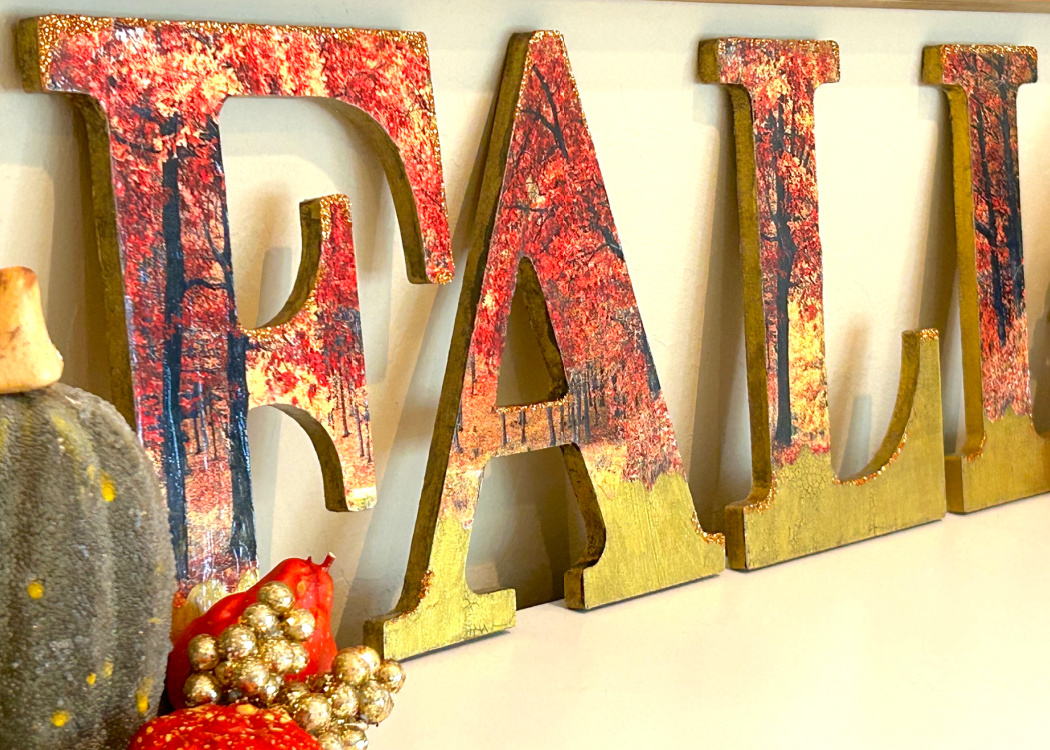
As you stroll down a wooded lane, the air is crisp. Beneath your feet, the ground is carpeted with vibrant fallen leaves in reds, oranges, and golds. You want to capture this moment, this feeling… You can! I’m excited to show you how to decoupage wood letters and make this perfect fall scene part of your home decor!
You can snap a picture and frame it. You can remember this perfect day in your mind. Or you can make it a unique display as part of your Fall decorations that you can bring out year after year!
*This post is sponsored by Plaid. The ideas and opinions are all my own.
Be sure to stick around until the end for a special coupon exclusive to Craft Klatch!
Plaid has come out with these amazing wood letters that are just waiting to be decorated! Just looking at them gets my creativity flowing. I know your mind is already coming up with some fun ideas too!
I’m going to show you how to decoupage these wood letters with a perfect fall scene. It’s as easy as using Mod Podge!
Oh…did I mention that I’m going to do a little crackling too?
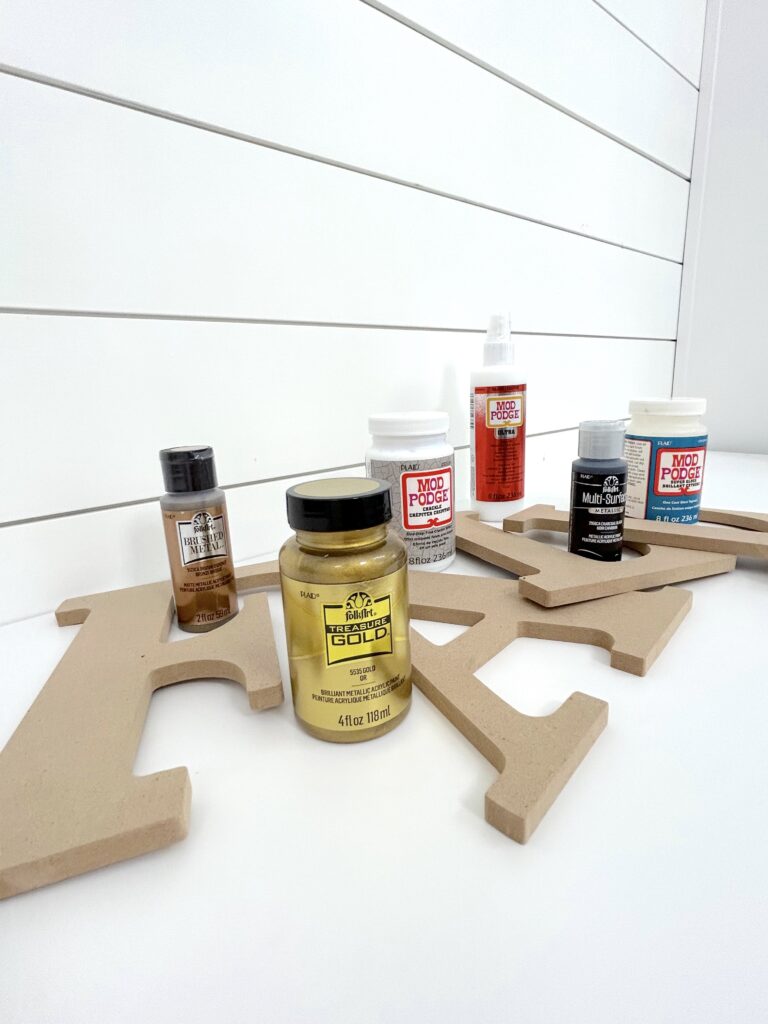
Materials you will need
- 8″ Plaid Wood letters
- Mod Podge Gloss
- Mod Podge Crackle Medium
- Treasure Gold Paint
- Black Metallic paint
- Bronze Metallic paint
- Mod Podge Gloss Spray
- Copper glitter (optional)
Directions
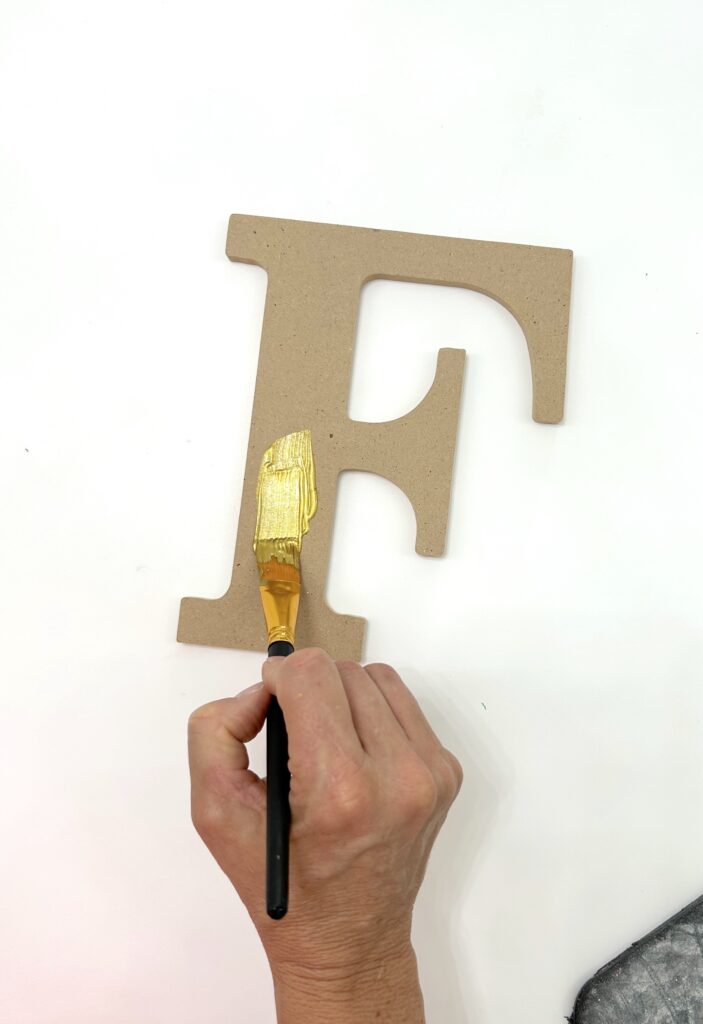
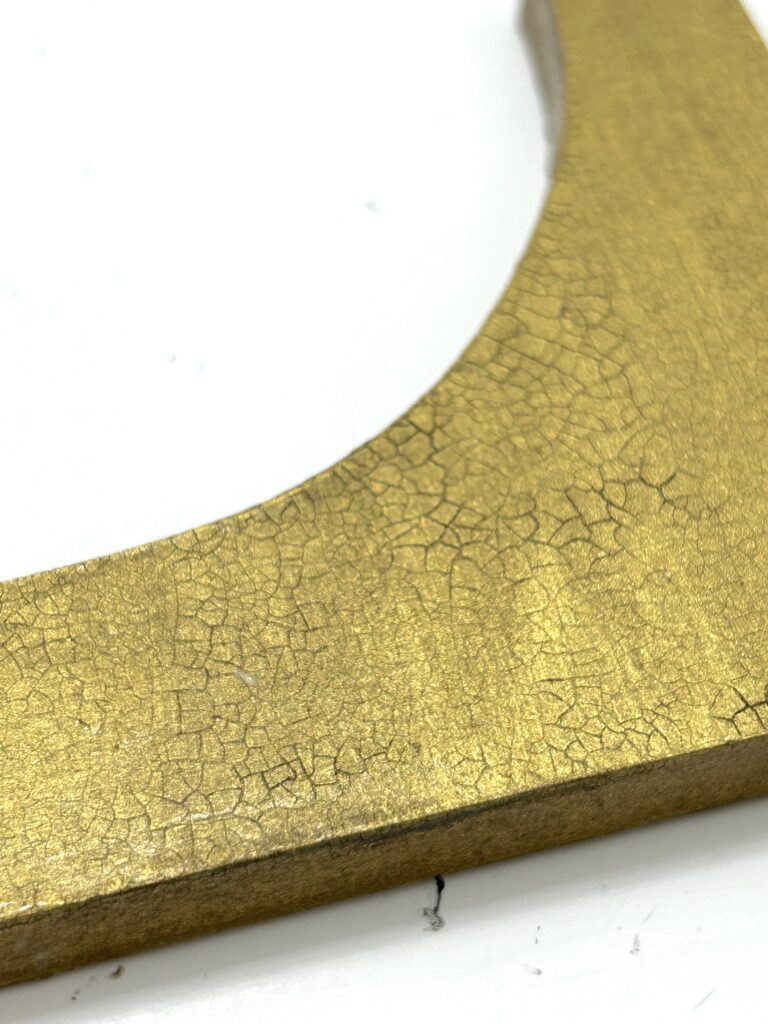
Step 1: Go for the Gold
Using this really beautiful and vibrant gold paint (from the FolkArt Treasure Gold collection), paint the wood letters. The letters are smooth, so it takes the paint beautifully and has a nice finish.
Step 2: Finding a Fall Scene
If you have a perfect fall picture that you took, you can absolutely use that. I printed out a royalty-free image of a fall scene using my laser printer.
*TIP: I printed the image 3 times on 8.” x 11″ paper. That was to make sure I had enough image to span across the letters.

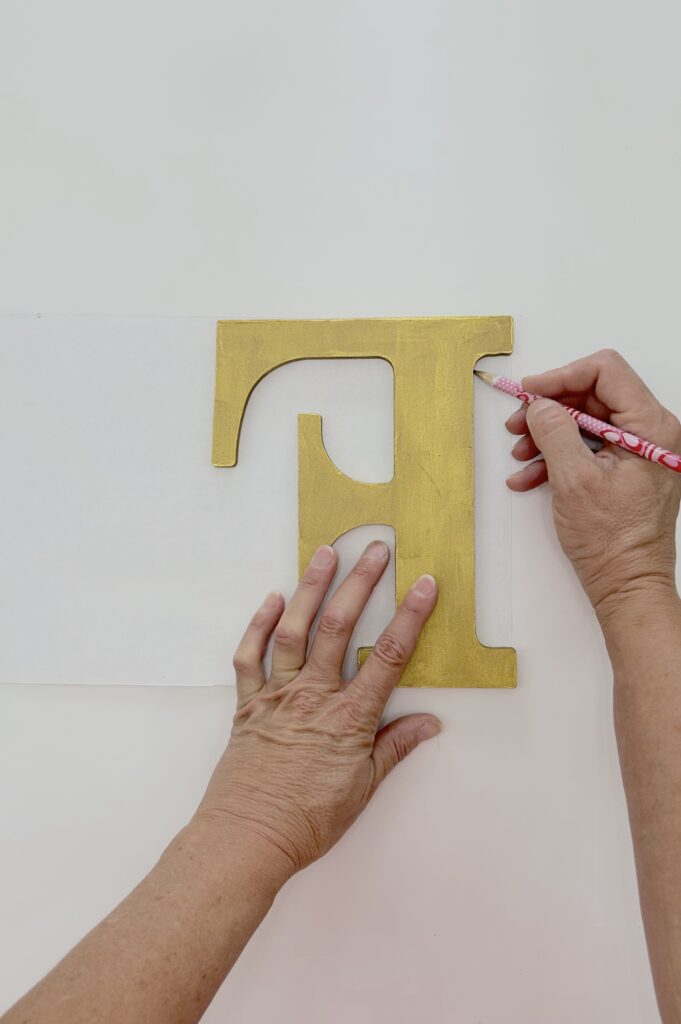
Trace the letters on the back side of the printed images and cut them out.
*TIP: Remember to flip your letters on the back of the image, otherwise your cut out will be facing in the wrong direction.
Then, cut the bottoms a few inches up with scissors that have a decorative edge, or you can tear them for a rougher edge.
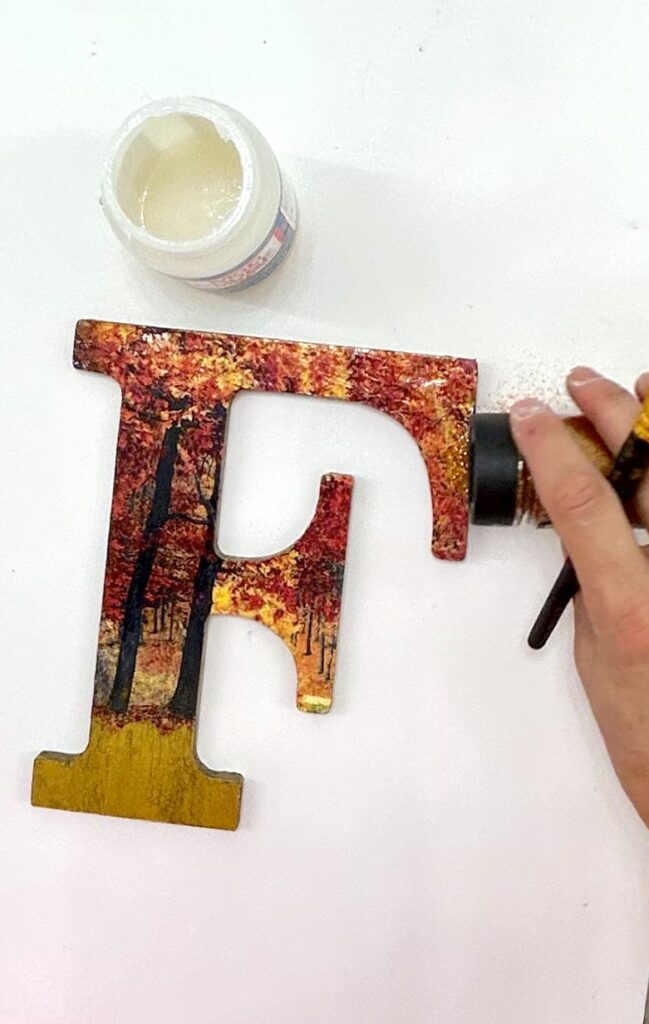
Step 3: How To Decoupage Wood Letters
Use Mod Podge to decoupage the cutout images onto the wood letters.
If you are unfamiliar with decoupage, it is basically applying or gluing an image onto a surface. The image can be printed, it can be a photo, it can be a napkin or so many different things.
I like to brush the Mod Podge onto the surface I apply the image onto, in this case, the wood letters.
Then, I like to also brush it onto the back of the image before carefully laying it on the surface.
Then, I brush more Mod Podge on top of the image.
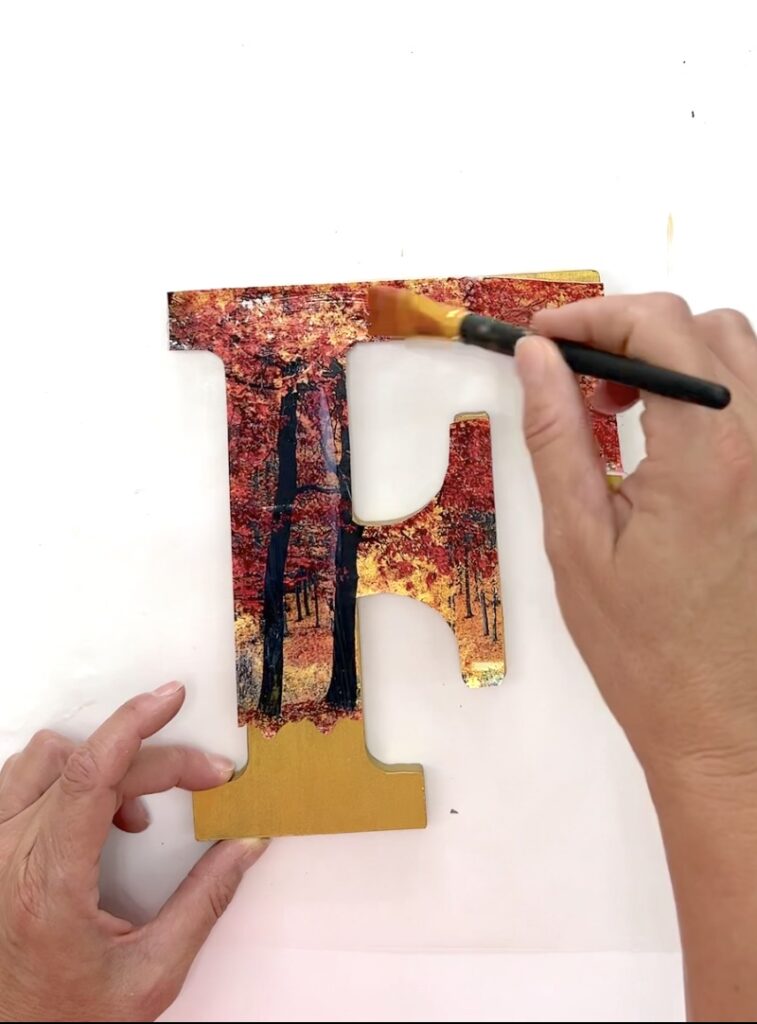
*TIP: To make sure your image is flat and doesn’t have any bubbles, apply Mod Podge to your finger and working from the center of the image to the edges, press and run your finger along the top of the image out. Excess Mod Podge will squish out but you can wipe it up. The Mod Podge on the finger ensures your finger will not stick to and ruin the image.

When your image is flat, brush another layer of Mod Podge over it, to make sure your surface is smooth.
My typical “go to” Mod Podge is the Super Gloss, but I have every Mod Podge under the sun in my craft room, for different purposes. In this case, I would recommend using the regular gloss, satin, or matte and I’ll explain why in the next step.
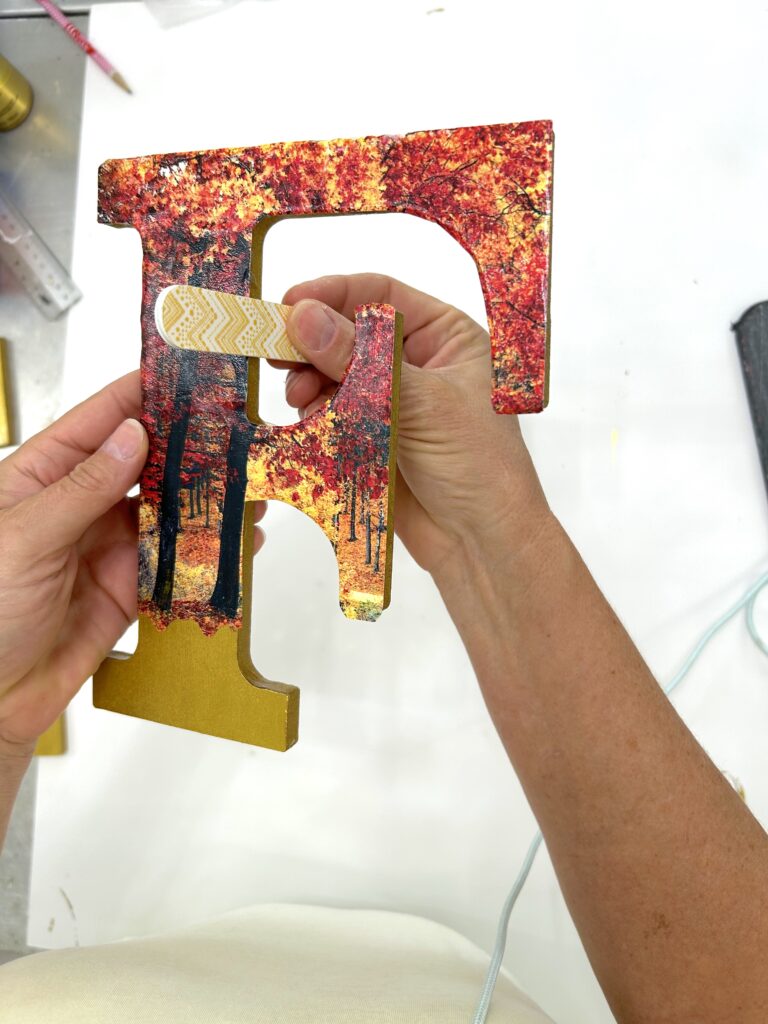
*TIP: Often when you decoupage, the image ends up being a little larger than your item. Sometimes you can wrap the image around or over an edge. However, for the letters, I wanted a clean edge, so I used an emery board to file off the overhang and give it a crisp edge.
Step 4: Time to Crackle
Using Mod Podge Crackle Medium, brush it over the letters.
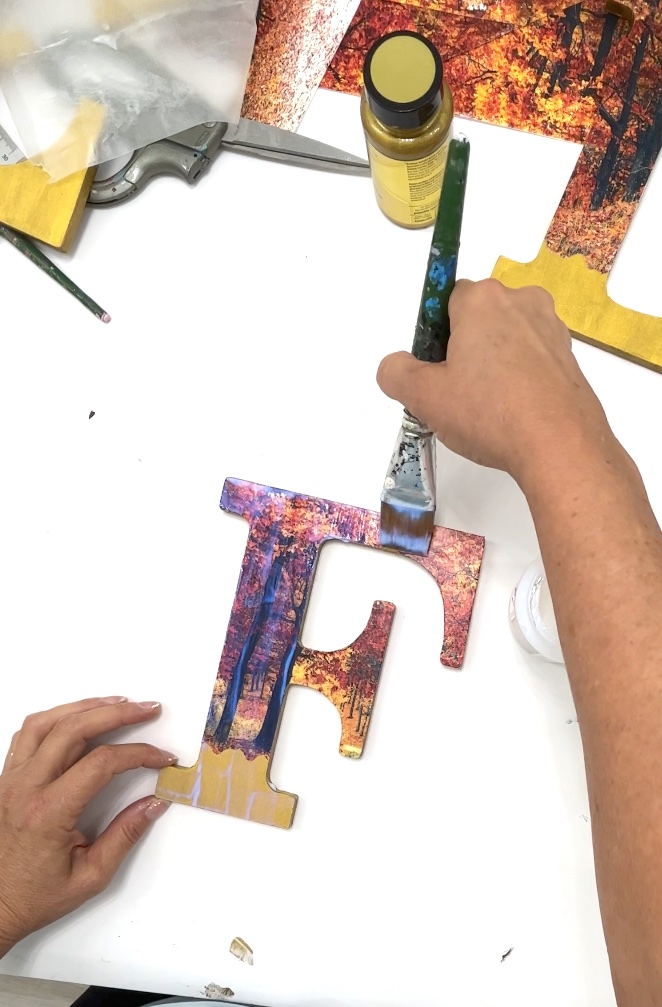
It is important to note that Mod Podge Crackle Medium will only work over Mod Podge. It is recommended to use over the matte, satin, or gloss.
As I mentioned in the last step, my “go to” Mod Podge is typically the Super Gloss but that formula is different than the regular Mod Podge and will not crackle.
*TIP: When you apply the crackle medium, do not brush over it or it will not crackle correctly.
*TIP: If you put on a thin coat of the crackle medium, the crackles will be very fine. A thicker coat will give you larger cracks.
Allow to fully dry.
Step 5: Bring Out the Crackle
To bring out the crackle, use acrylic paint. I used a combo of black metallic paint and bronze metallic paint mixed together.
I could have gone just black but like my mascara, jet black is too harsh for me.
This project has warm tones. The bronze was not enough and the black was too much, so a mix made it perfect.
Brush the black/bronze mixture over the now cracked decoupaged wood letters, making sure to get it into the cracks. Then, wipe it off with a damp cloth or paper towel. How much you wipe determines how much stays on the wood letters.
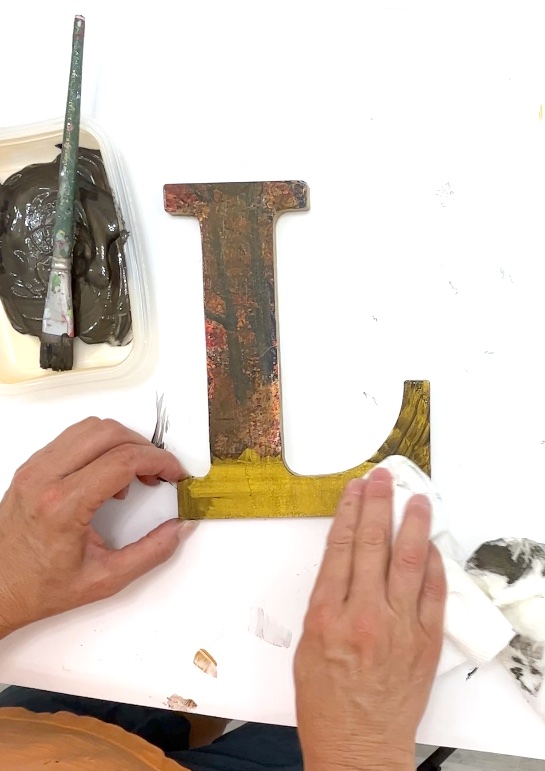
The real goal here is to keep the color in the cracks, so they show up.
What I really like about the Mod Podge Crackle Medium is I had a range of crackle sizes, depending on how much I applied. I feel the varied cracks look more natural.
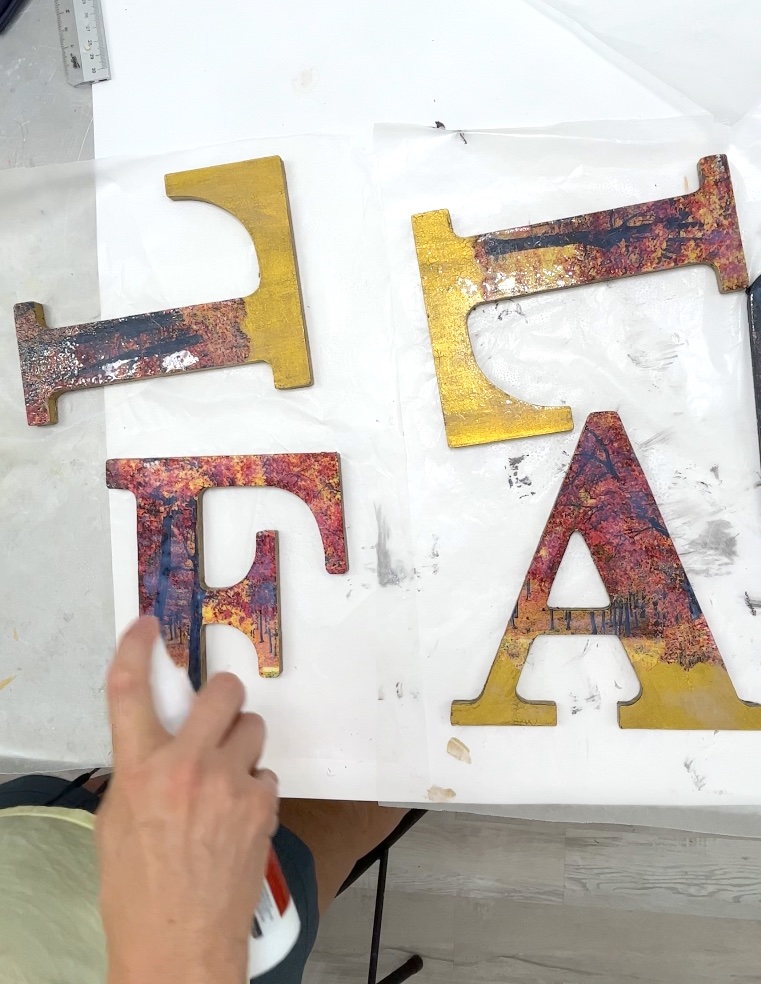
Step 6: Sealing and a Little Bit of Sparkle
Once everything dries, it’s time to seal the project. I used Mod Podge Gloss Spray.
How did I not know this spray existed?
Quick, easy and I don’t have to worry about brushstrokes…Win…Win…and Win!
It’s a pump spray and I felt comfortable spraying it in the craft shed, whereas an aerosol, I definitely would not have.
Then, I sprinkled just a bit of a copper fine glitter on some of the edges. You can do that when the spray is wet or if you want it more controlled, you can brush just a little Mod Podge and sprinkle the glitter where you want it.
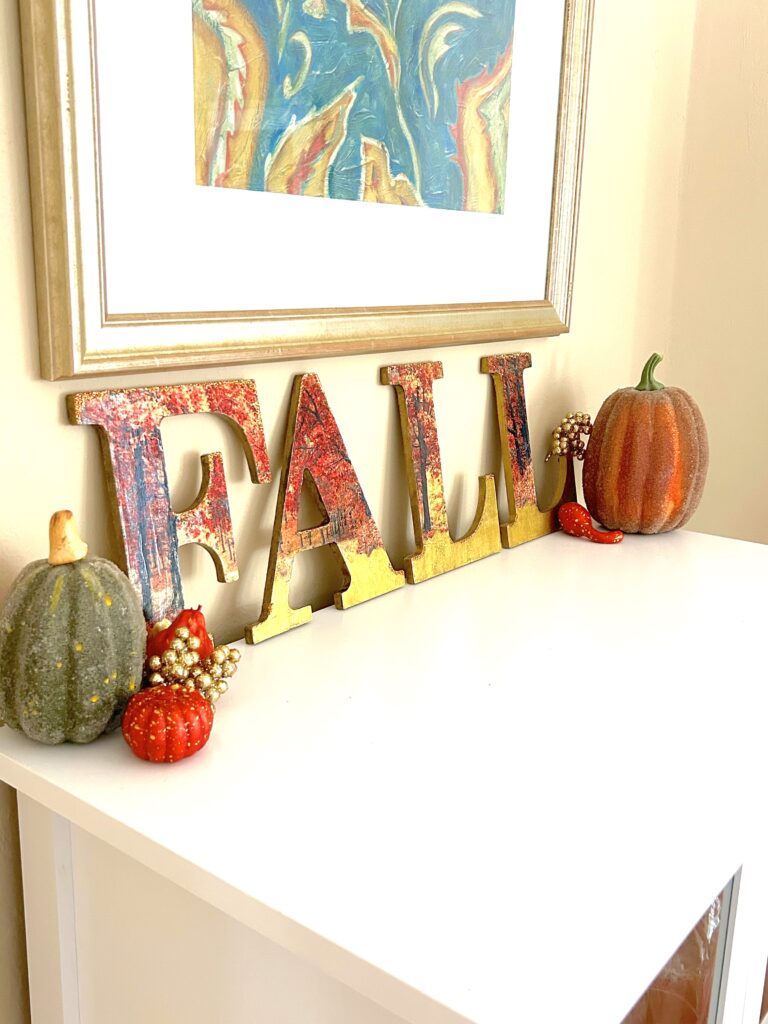
I just put it on the tops of the letters, as if it fell from the sky and landed there…like sparkly copper snow!
Speaking of snow…I have a holiday craft coming up soon with these letters that will be COMPLETELY different than this project, so be sure to subscribe and follow along so you don’t miss it!
I’m just going to say it…
I LOVE IT!
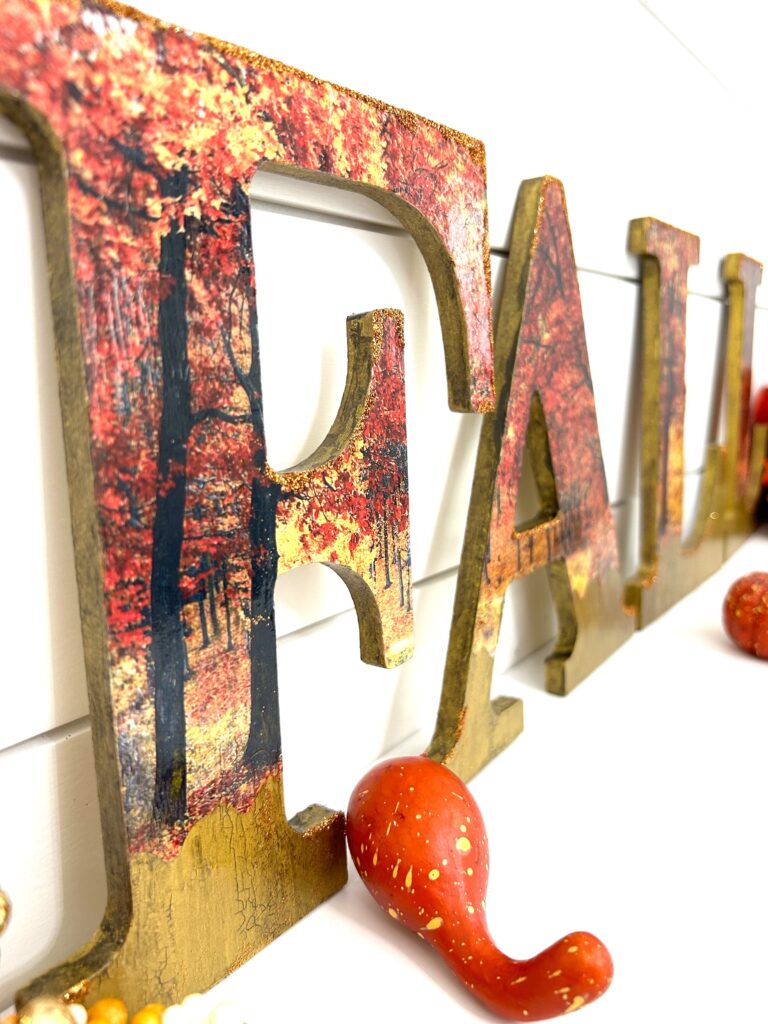
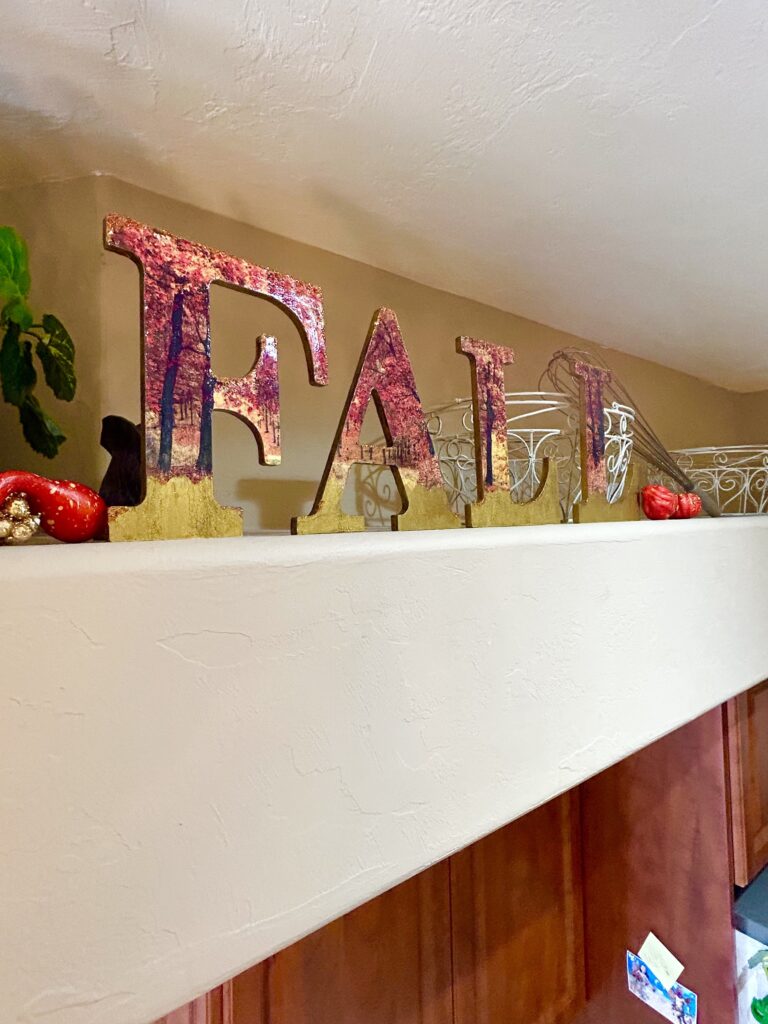
You can put it on a mantel, in a bookcase, on a cabinet, a plant shelf, or use removable sticky tabs to hang the letters right on the wall!

Be sure to let me know what you think of this project in the comments!
Are You Ready for Savings?
When you go to Plaid to purchase your supplies for this and other great projects, be sure to use the exclusive Coupon Code: MONA123 for a 15% savings!
Other Fall Crafts to Enjoy!
If you enjoyed this Fall craft, I think you’ll love these:
Thanks for stopping by! Remember: Life’s too short not to shimmer, so grab your glue gun and your glitter!™ Stay safe!
Mona
Hi Mona! 🙋🏾♀️
This is beautiful.
Looks like a great easy DIY.
I didn’t know about the ModPodge Sealer Spray either. Gotta get some.
Thanks for sharing.
Thank you, Brenda! I have the matte and the gloss Mod Podge Spray and I love them for the final coat. No worries about brushstrokes.