There’s a really fun product available, called Easy Mold.
You can buy it online and your craft store may or may not carry it. It’s a silicone putty. This is so simple to use to make molds, it’s not even funny! It opens up a world of possibilities!
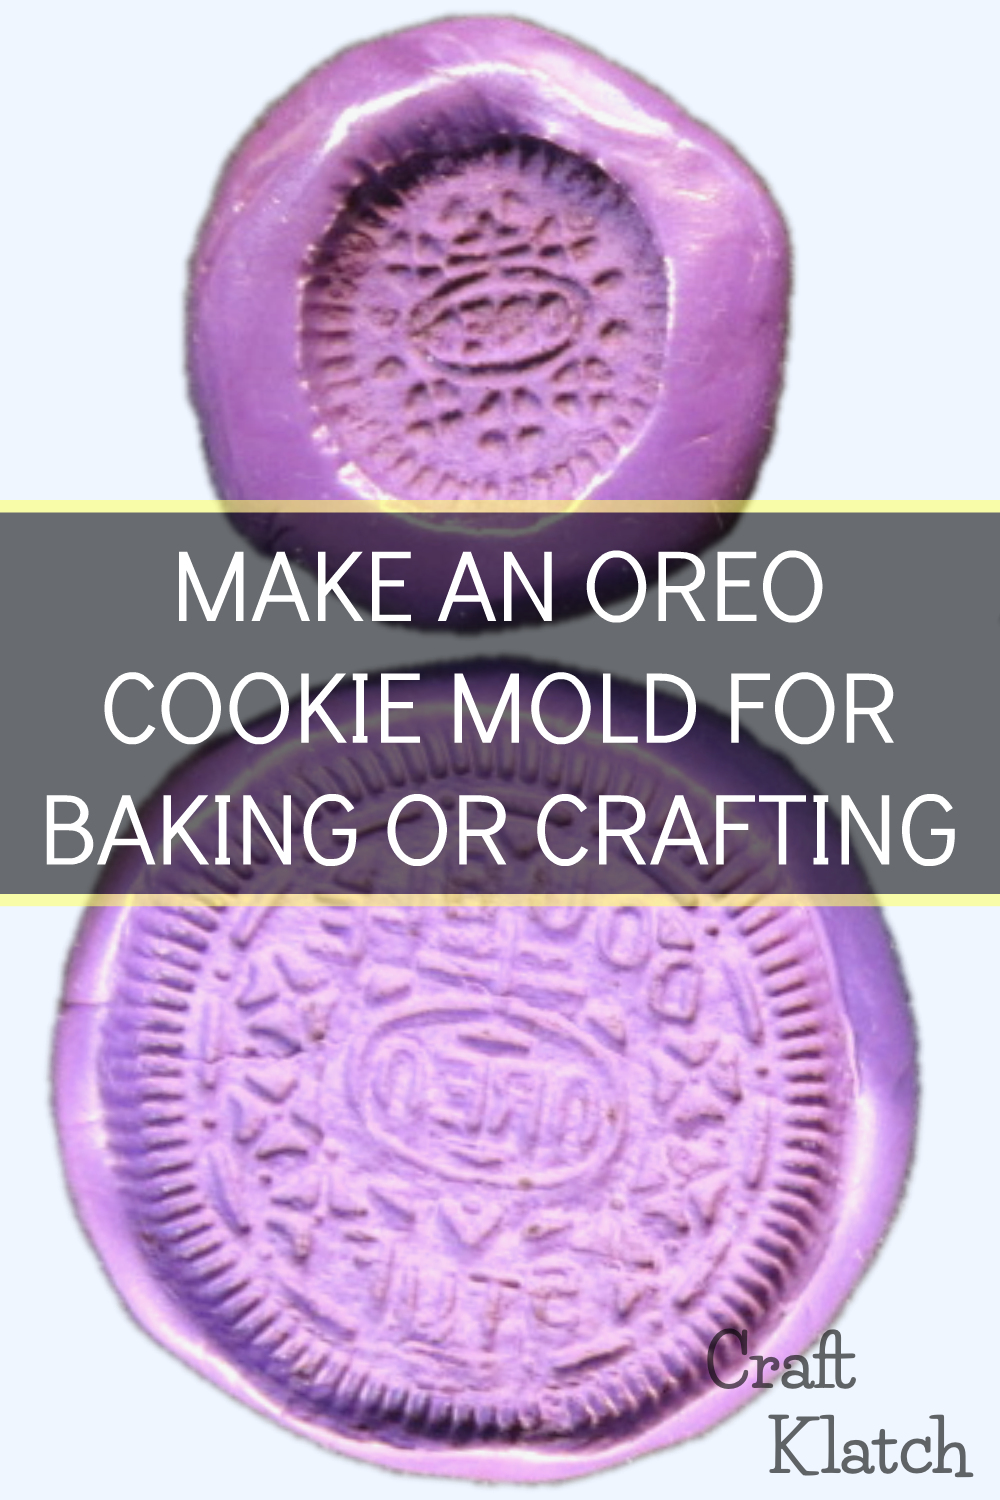
I made this silicone mold of an Oreo Cookie!!

You will need:
The links below help support this channel, as I may earn a small commission at no extra cost to you.
– An Oreo (you might need a package in the event you break one or eat them all!!): https://amzn.to/2Vu8n7z
– Easy Mold: https://amzn.to/2YvF7iY
– Wax paper or parchment paper: https://amzn.to/2HkvH4b
Directions:
1. Take an Oreo Cookie and separate the wafer from the filling (feel free to eat the filling!!). Stick the wafer/cookie part into the freezer for 10+ minutes.
2. Prepare the Easy Mold per package directions.
3. Roll Easy Mold into a ball – working on wax paper – and squish it down flat.
4. Firmly, but gently, press the cookie into the Easy Mold – making sure not to break the cookie.
5. Allow to sit in the mold for the amount stated on the package (30-35 minutes).
6. When fully cured, take the cookie out of the mold and brush out any crumbs left behind by the cookie.
You are now ready to make Oreo cookies out of all kinds of materials!!
It’s is that easy!
Thanks for stopping by and Happy Crafting!
Mona


