
MY SHE SHED IDEAS COME TO LIFE
My she shed ideas are coming to life…slowly.
Last year was a crazy year! With my dad’s unexpected open heart surgery (triple bypass), to my parent’s home sale and cross country move, to our own home sale and cross country move, I was more than ready for a fresh year and a fresh start.
It was such a crazy year that I didn’t even realize it was the 10th anniversary of Craft Klatch. I posted my first craft video on September 7, 2011.
Boy! Did those 10 years fly by!
Let me take this moment to thank everyone who has been with me since day one, or joined me at any time along the way.
I’m talking to you!
Thank you! ❤️
A Woman Without a Craft Room
I may not be a man without a country, but I am a woman without a craft room.
The problem with our move south is our home does not have a basement and that is where my craft room lived.
I discussed it a little in my 5 Unexpected Things About Moving to Florida post.
My craft room was where I created all my projects and filmed my videos. It also doubled as my laundry room and my office, which was not ideal, but it worked.
It was definitely an unglamorous multi-purpose space.
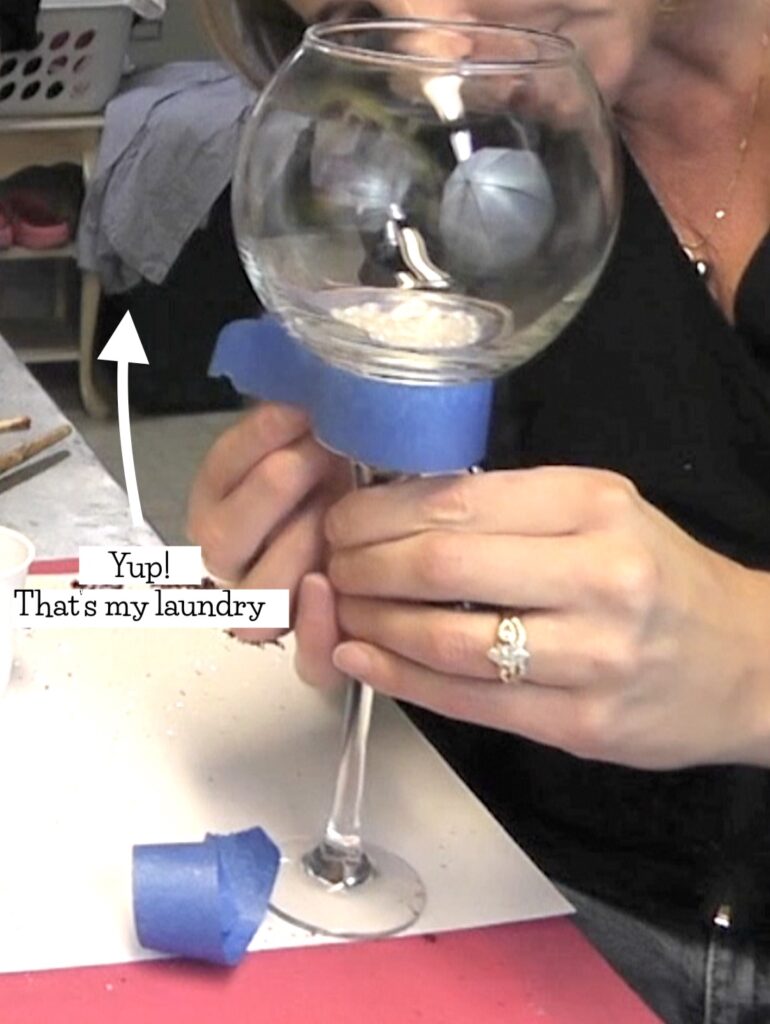
Yes, it had to function as all three, but truth be told, the craft room had taken over almost all of it.
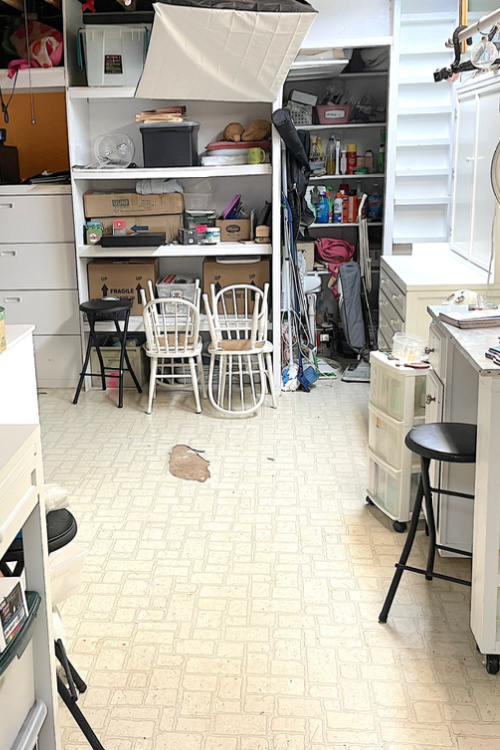
The Obstacle Course
The craft room had become a deadly obstacle course. I had to avoid pouring glue into my washing machine… because it was standing right next to the detergent.
That would have been bad.
I had to squeeze past lights standing in the middle of the room (for filming my videos)…so I wouldn’t take an eye out.
Ouch.
I had to sidestep the resin that dripped on the floor…so I wouldn’t get stuck.
Ick.
I had to dodge boxes of concrete and plaster…3just waiting to bust up a pinky toe.
#@*&%!
It had become a minefield and my husband, Greg, avoided it at all costs.
The Floor
The floor was an old linoleum that is original to the home. It was the only original floor left in the house after we rehabbed it and it was not pretty.
Greg wanted to put new flooring in, so I would have a nicer space. He quickly abandoned that idea when I had a big resin spill on the floor.
Okay…
It wasn’t so much a spill as it was a project on my craft table that leaked onto the floor…in my absence.
How was I supposed to know that was going to happen?
All talk of new flooring stopped right then and there. Understandably, I didn’t get a new floor (which was fine because I ended up damaging it in multiple other ways… post resin spill), However, I did learn that resin does not want to permanently adhere itself to linoleum.
I call that a win.
That’s what my craft room was. Let’s talk about what is…or will be.
The Craft Room To Be
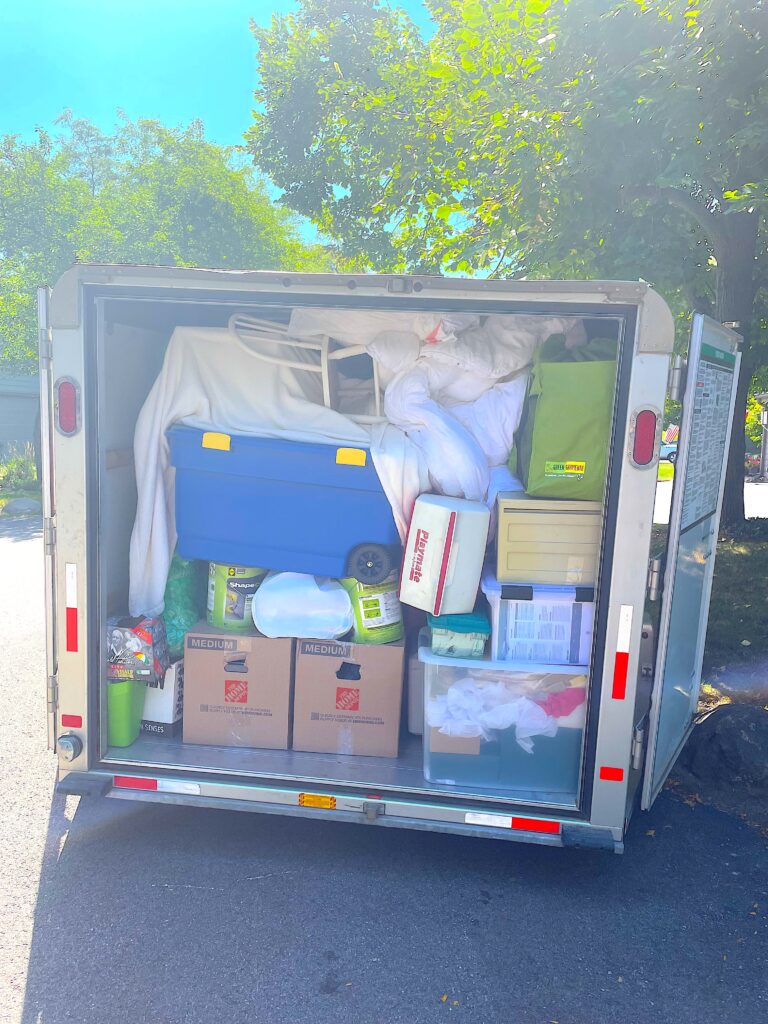
Once we realized my resin, glue, glitter and other various crafty paraphernalia were not welcome in our new house, we went through the long and drawn-out exercise of trying to figure out an alternative.
At one point, we were thinking a good temporary craft room would be a camper/trailer.
We drove 80 miles to check out a camper that ended up needing more work than we were willing to risk. That idea was eventually dashed as we realized the prices for trailers/campers absolutely skyrocketed.
On a side note: Did you know, if you drive 80 miles in a Jeep, with a soft top, in 98 degree heat with the sun is bearing down on the roof the whole 2 hours, the top of your head feels like it’s going to burst into flames?
I didn’t either. Now I do.
Finally, at the suggestion of one of our neighbors, we opted for a shed as the new Craft Klatch headquarters!
Visions of She Sheds Danced Through My Head!
I had visions of a little cottage with a front porch, window boxes, and shutters.
My dad and some of our friends offered to help build one from scratch instead of buying a prebuilt shed.
Greg and I did some research and went to visit three different shed companies and opted to go with a pre-built shed that would be delivered and be properly staked and strapped to sustain hurricane-force winds.
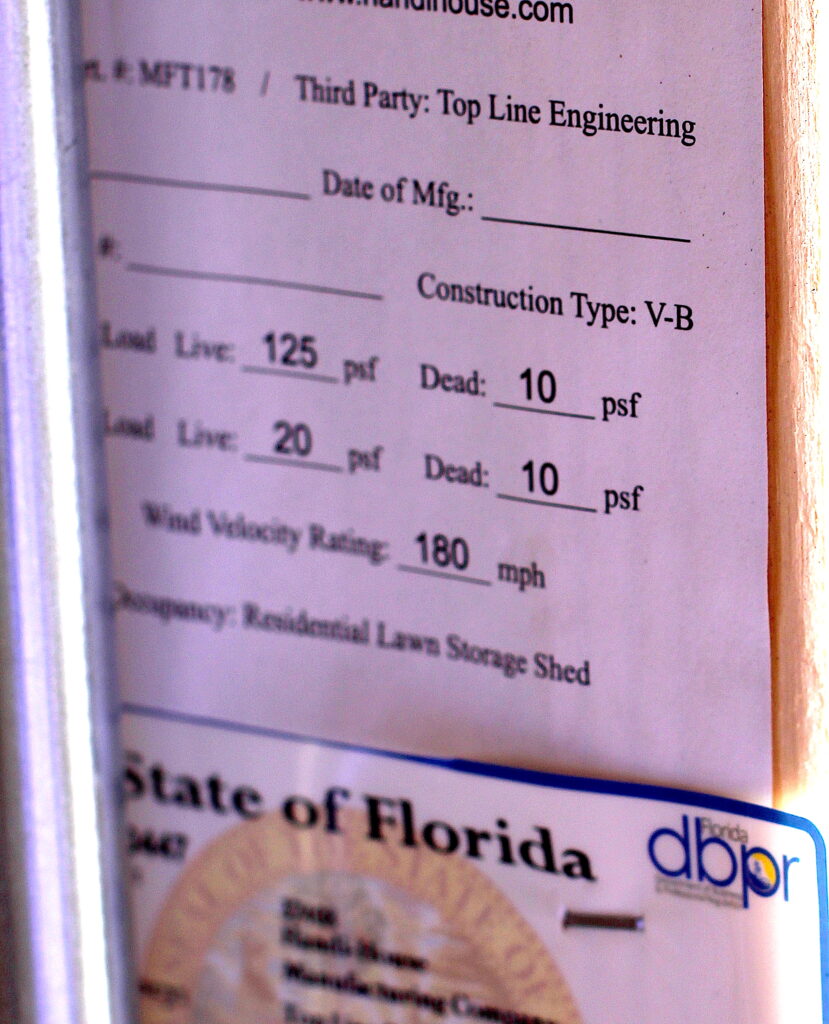
And they took care of the permitting, which was super appealing.
We found out the size restrictions for what we wanted to do and found out that if I opted for a front porch, it would shrink the size of the actual shed size.
Sadness
Let’s be honest, with the amount of craft stuff I have stored in our garage and attic, size DOES matter. Goodbye front porch.
She Shed Colors, Size & Configuration
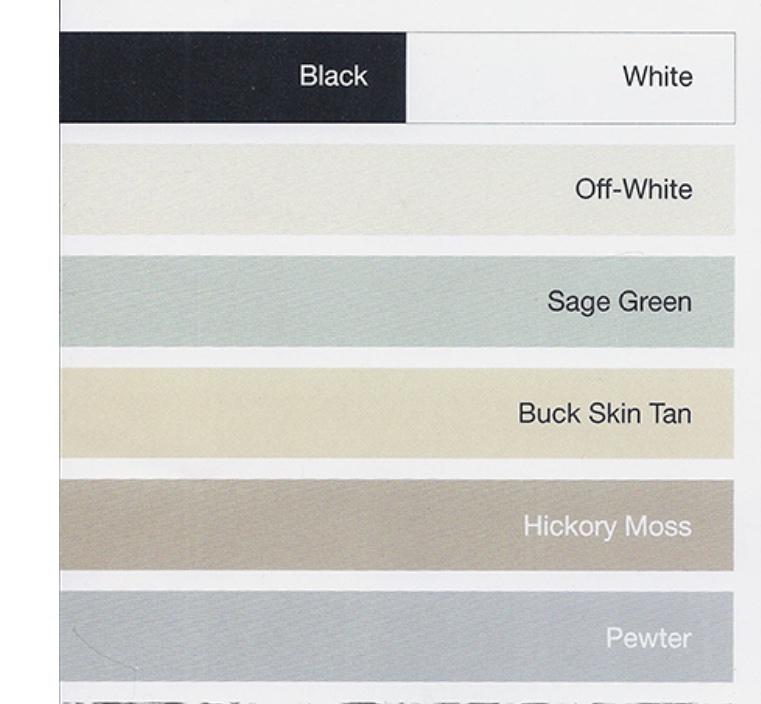
Next, I had to select a color. They had a lot of colors to choose from but I narrowed it down to the neutrals. I wanted to go neutral, so as not to clash with whatever color we decide to paint our house in a couple of years.
I was torn between white, pewter gray, and off-white. White was the winner, figuring I could do any accent colors.
Pewter and off-white were a little bold for my blood.
The size was a no-brainer. Make it as large as possible before having to have it match the construction and color of the house. That size happened to be 12′ x 20′.
Then, I had to figure out the options: single door, overhead door, double doors. Where will the windows go?
I went with double doors in the front, two windows on the front, and a window at each end.
After that, I ran home, searched for a program online to figure out the configurations, how the furniture would fit, and my color scheme.
The She Shed Ideas In My Head
Not knowing the exact sizes of windows and the style of the doors, this is what I came up with:
My vision
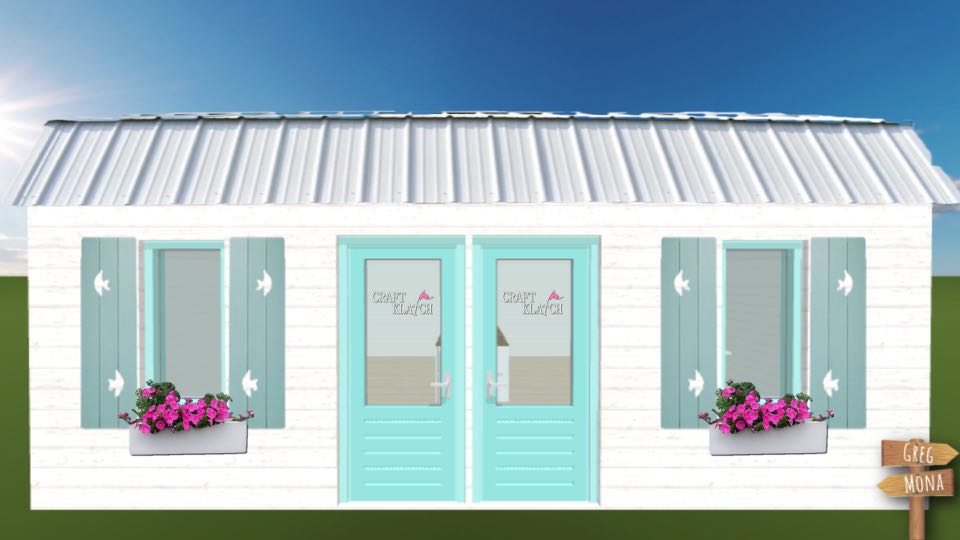
My little beach cottage…not on the beach…
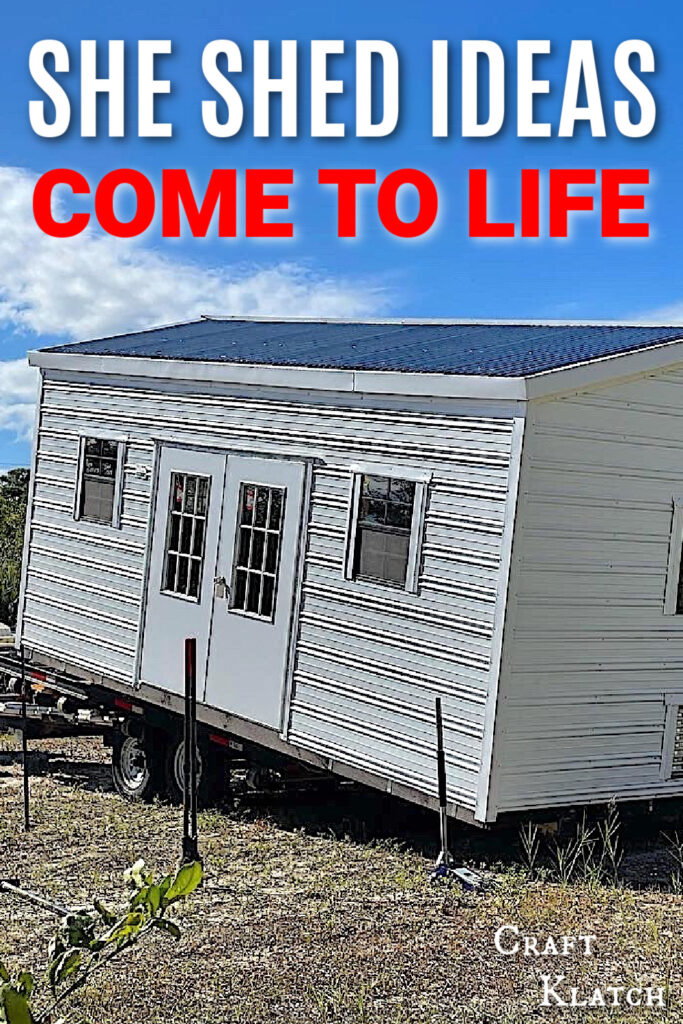
SPECIAL DELIVERY: The Actual She Shed
The actual she shed took four months to be built and delivered. That meant another four months of no craft room…
Ordered on September 2nd and delivered on December 1st. It FINALLY arrived!!!
One guy and the shed…
He delivered it.
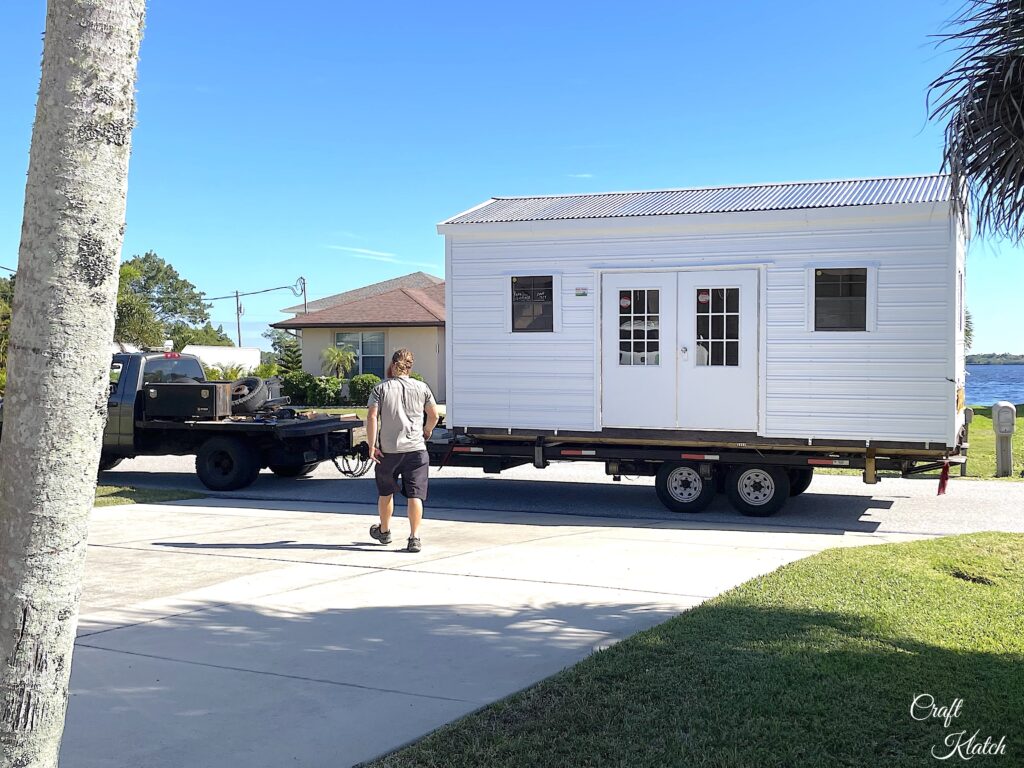
He unloaded it
And he placed it.
ALL by himself!
Hats off! It was pretty impressive!
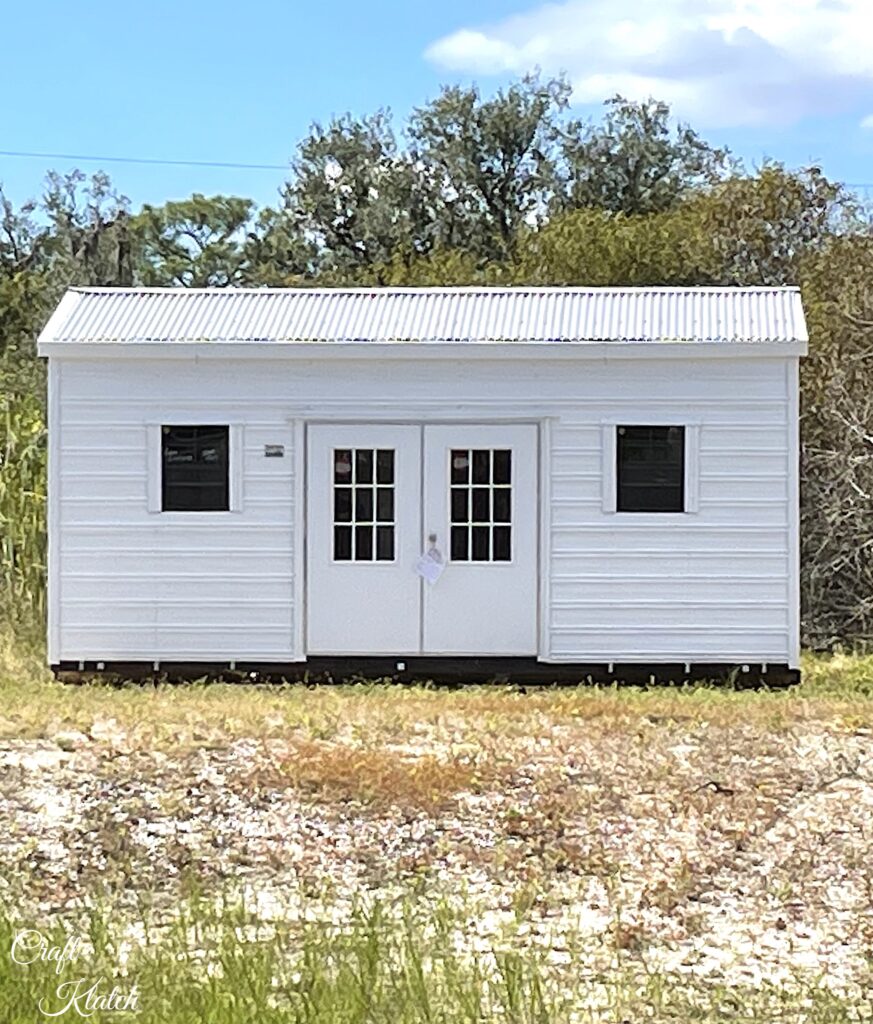
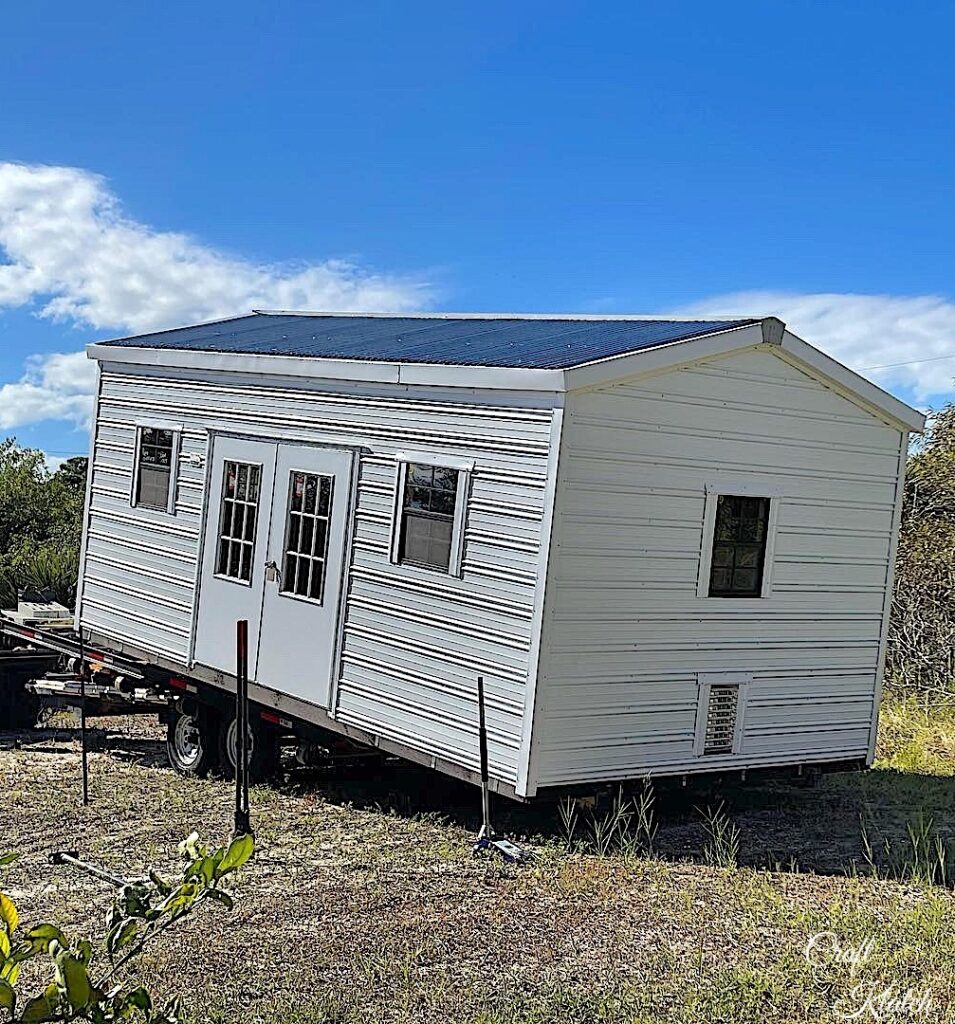
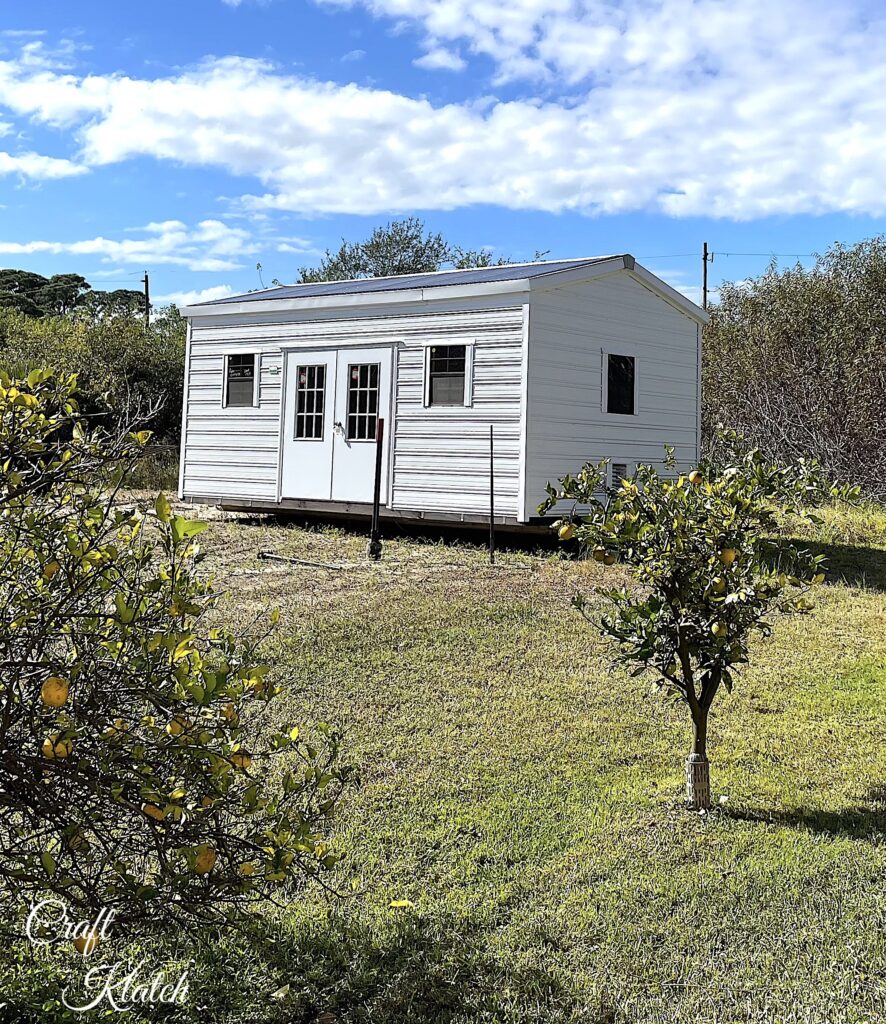
Now I have my little shed that is to become my crafty she shed!
The obvious differences between my vision and the actual shed are the mullions in the front door windows and the size of the other windows.
The mullions don’t bother me and the windows will look taller with the flower boxes. The windows are dark. I would have preferred white, but the dark works just as well.
As for my dreams of a front porch, they are not dead!
Since it’s not part of the actual shed structure, it might become an open front porch/deck instead. A couple of chairs, a margarita, and I’ll be all set!
She Shed Ideas for the Interior
Currently, the interior of the shed is unfinished and just looks like…well…a shed.
I have yet to put the she in the shed.
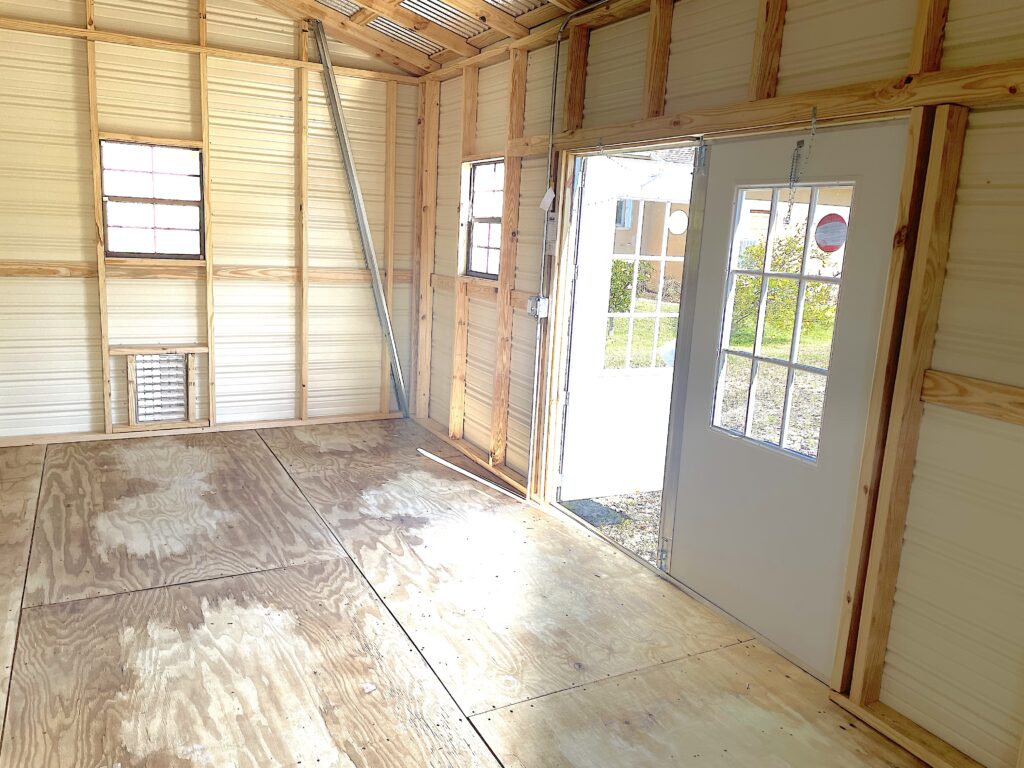
Before I can tackle any fun stuff, we still have to:
- Have the electrician come out to connect the electric
- Insulate the walls and ceiling
- Install the furnace/AC unit
*This blog uses affiliate links. As an Amazon Associate I earn from qualifying purchases, at no additional cost to you.
I found a Pioneer AC/Heatpump unit on Amazon. It is a wall-mounted system and had great reviews. That will allow me to regulate the temperature and keep out the humidity when my resin is trying to cure!
If you are having trouble with your resin curing, you might want to check out my post The Top 5 Reasons Your Resin Isn’t Curing!
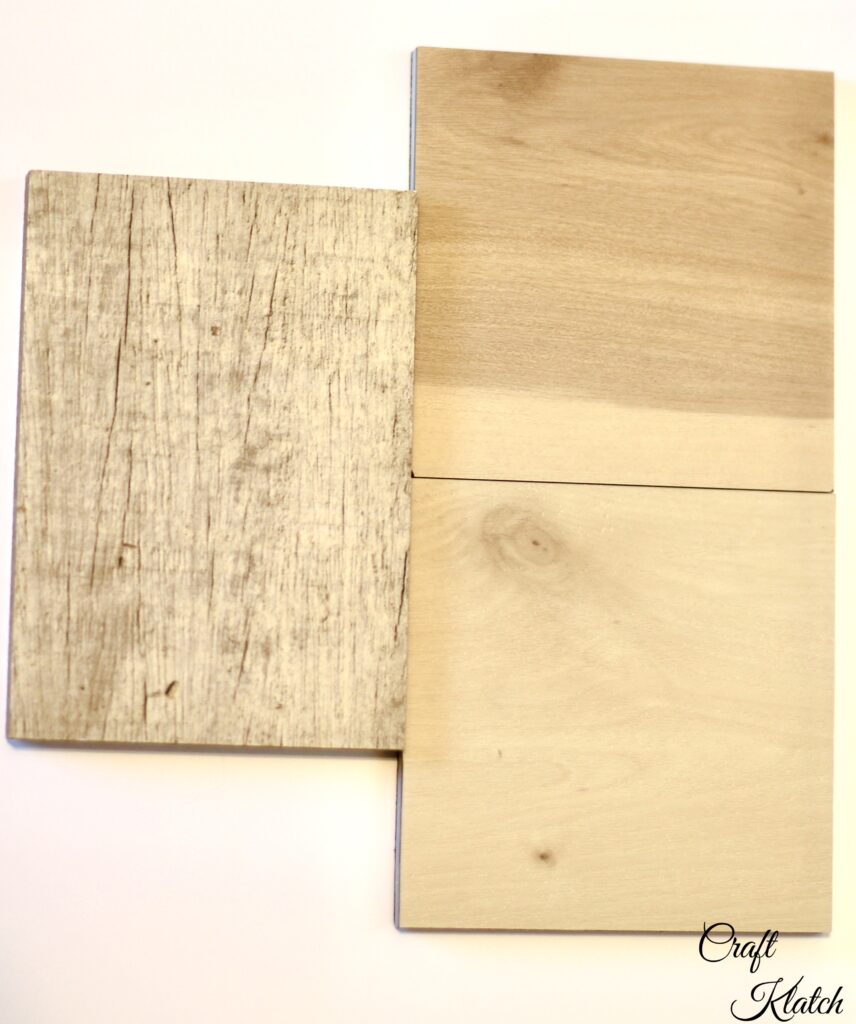
Walls & Flooring
The walls and probably the ceiling will be a white shiplap to keep the space nice, bright, and airy!
For a little bit of contrast and to warm the space up, these are the samples of flooring I am looking at. They are waterproof vinyl plank-style flooring.
As for potential resin spills on the floor…let’s home resin doesn’t want to stick to vinyl.
I’m leaning toward the one on the right.
Storage
Since I didn’t quite have it together before, I realized craft room storage is going to make or break my she shed crafting experience. I want everything to be able to be neat and tidy (I have lofty dreams).
I have been eyeing these storage cabinets, that go all the way to the floor. That way, there won’t be a bunch of stuff getting under there to clean all the time.
Currently, I haven’t made a final decision but I think I’ll end up with a few of these. I like how they all go down to the floor. Even the shoe storage might be good for storing my stencils or the vinyl for my Cricut.

**Be sure to share your best CRAFT ROOM STORAGE TIPS in the comments below!**
The She Shed Ideas for the Exterior
As they occur, I’m hoping to share the she shed ideas (interior and exterior) and projects with you all. As for the outside projects, this is what I’m thinking of DIYing:
- Decorative shutters with fish or something beachy cut in
- A deck/front porch
- Painting the doors and trim
- Making window boxes
- Maybe a cute sign for the front
Hopefully, things will continue to progress and I’ll be crafting again soon!
As for now, I have a few miscellaneous projects I am working on and I’m excited to share!
If you have any craft room storage or she shed ideas to share, do so in the comments below! I’d love to hear from you!
Thanks for stopping by! Remember: Life’s too short not to shimmer, so grab your glue gun and your glitter!™
Stay safe!
Mona
Be sure to PIN IT for later!
This is the cabinet I’ve always wanted its called DreamBox by The Original ScrapBox. I can’t wait to see it all finished!
https://m.youtube.com/watch?v=uFGSlPcVT38
Yes! I have seen those. They are pretty amazing.
This sounds great! I am so happy for you. I can’t wait to see it come along.
Thank you so much Traci! ❤️ I’m pretty excited!
How exciting to see your She Shed come to life. I’m so excited for you. Enjoy every moment of putting it together both inside and outside. That’s the most fun! I’m excited for you!
Thank you, Cynthia! I’m excited too! Electrician comes tomorrow so hopefully, we can start moving along!