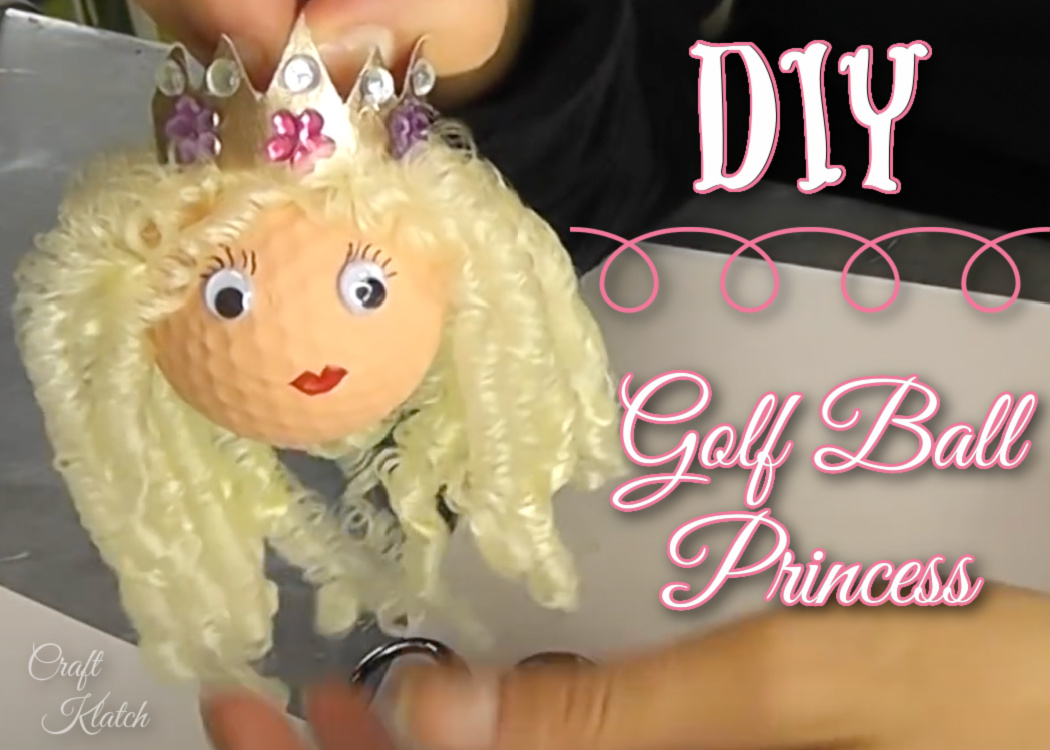
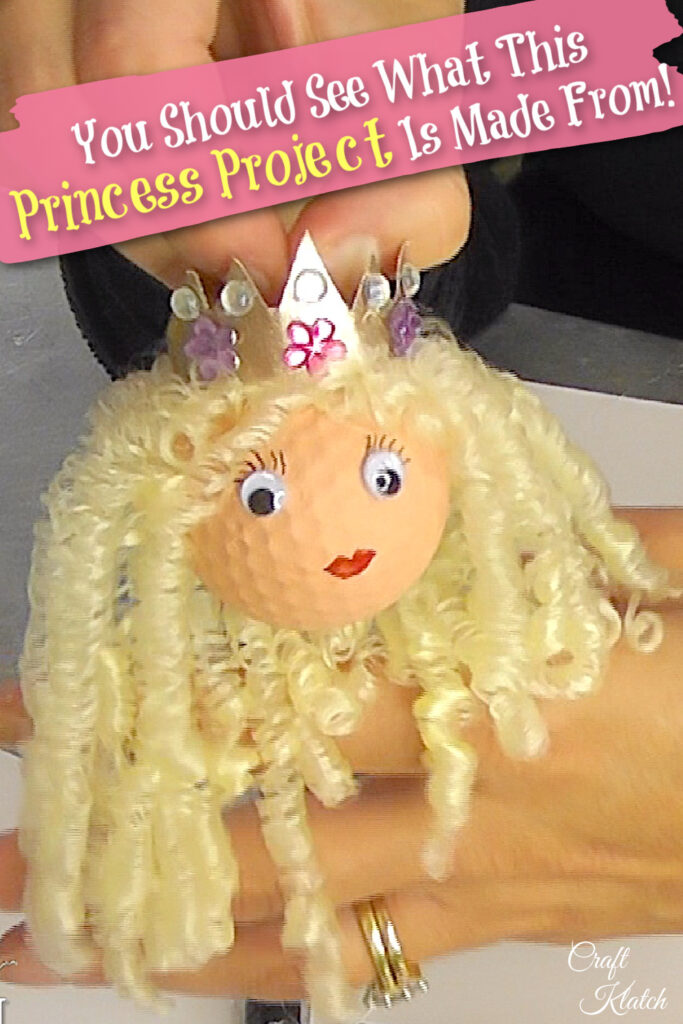
Get in the princess spirit! This easy princess project is great for decorations or party favors for a little girl’s birthday party!!
Materials You Will Need For the Princess Project
*This blog uses affiliate links. As an Amazon Associate I earn from qualifying purchases, at no additional cost to you.
- Drill or Dremel tool: https://amzn.to/1RNDPsH
- Golf ball: https://amzn.to/2QYe9QP
- Curly doll hair: https://amzn.to/2GjxK9Y or https://amzn.to/2EyDvyZ
- 2 Googly eyes: https://amzn.to/2Bmy5mL
- Black marker: https://amzn.to/2CjLGwI
- Red marker: https://amzn.to/2BmNWBE
- Flesh-colored paint: https://amzn.to/2BrLhXu
- Glue: https://amzn.to/2LnoVL7
- Card stock: https://amzn.to/2QZ5opx
- Gold nail polish: https://amzn.to/2EzvHNl
- Gems: https://amzn.to/2GlLRM0
- 1 Small eye screw: https://amzn.to/2QUVBkj
Here is the Princess Project Video Tutorial
Princess Project Directions
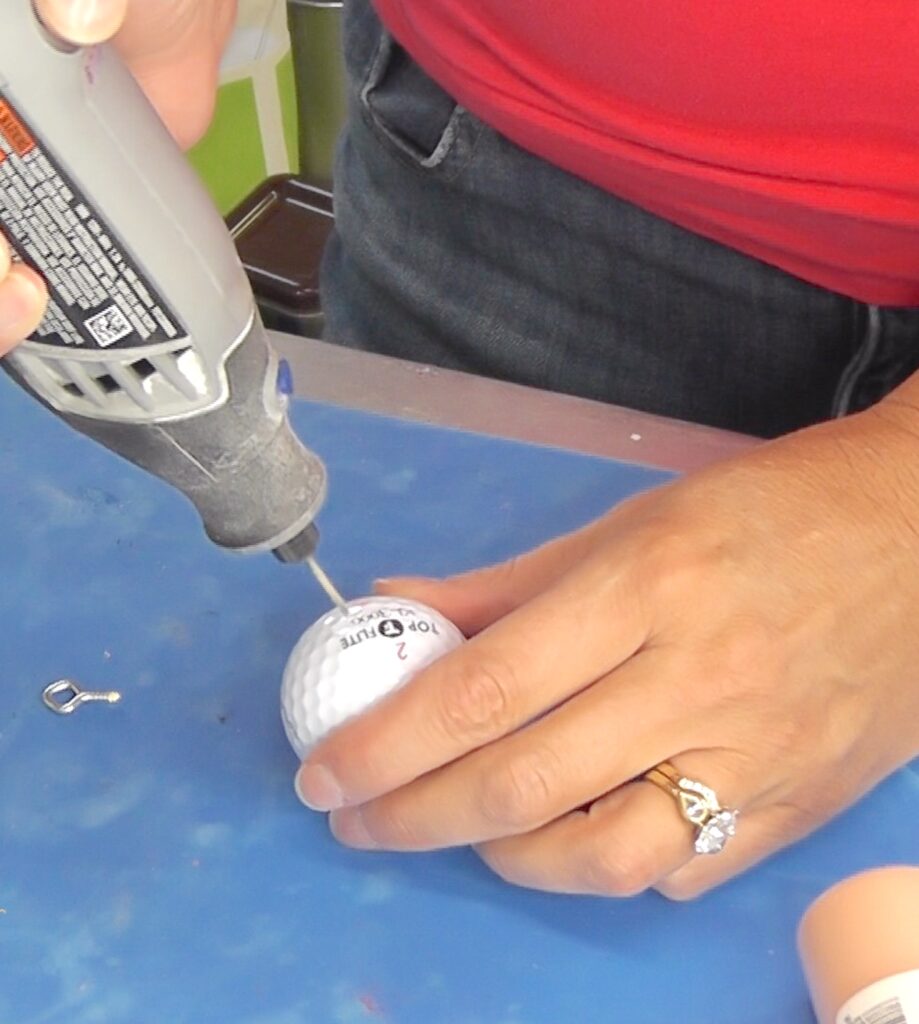
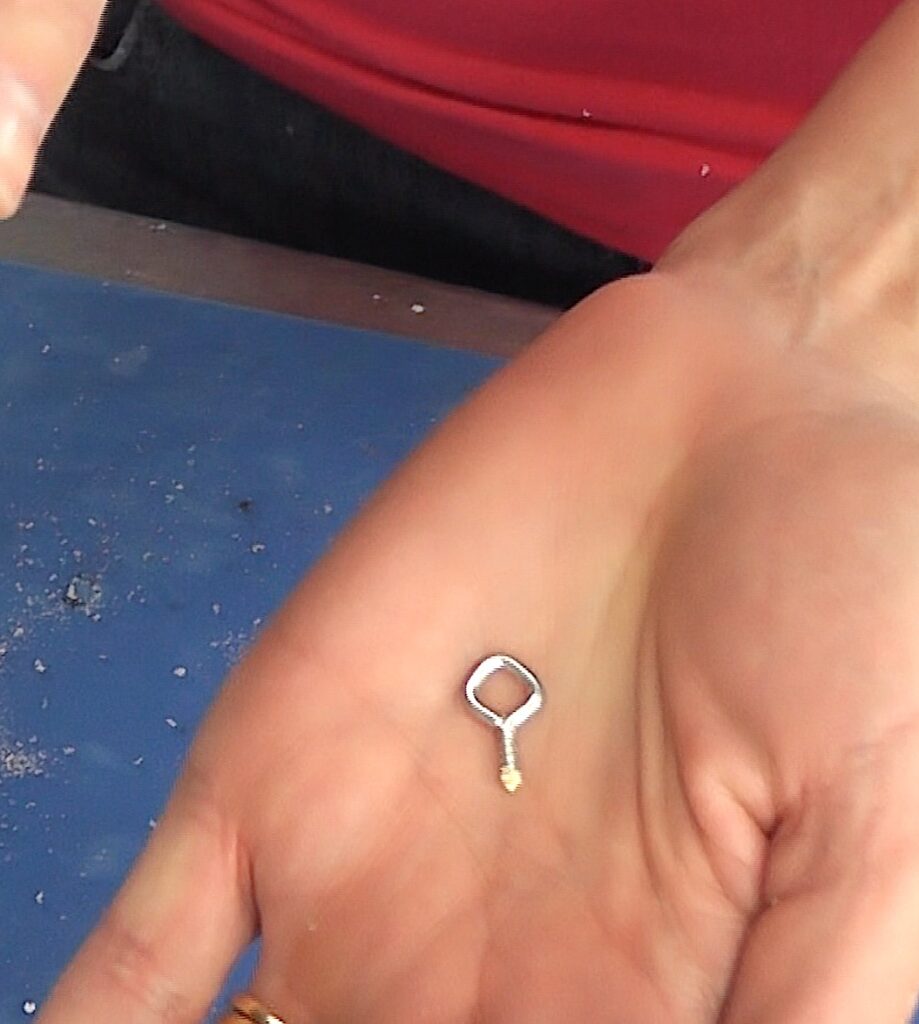
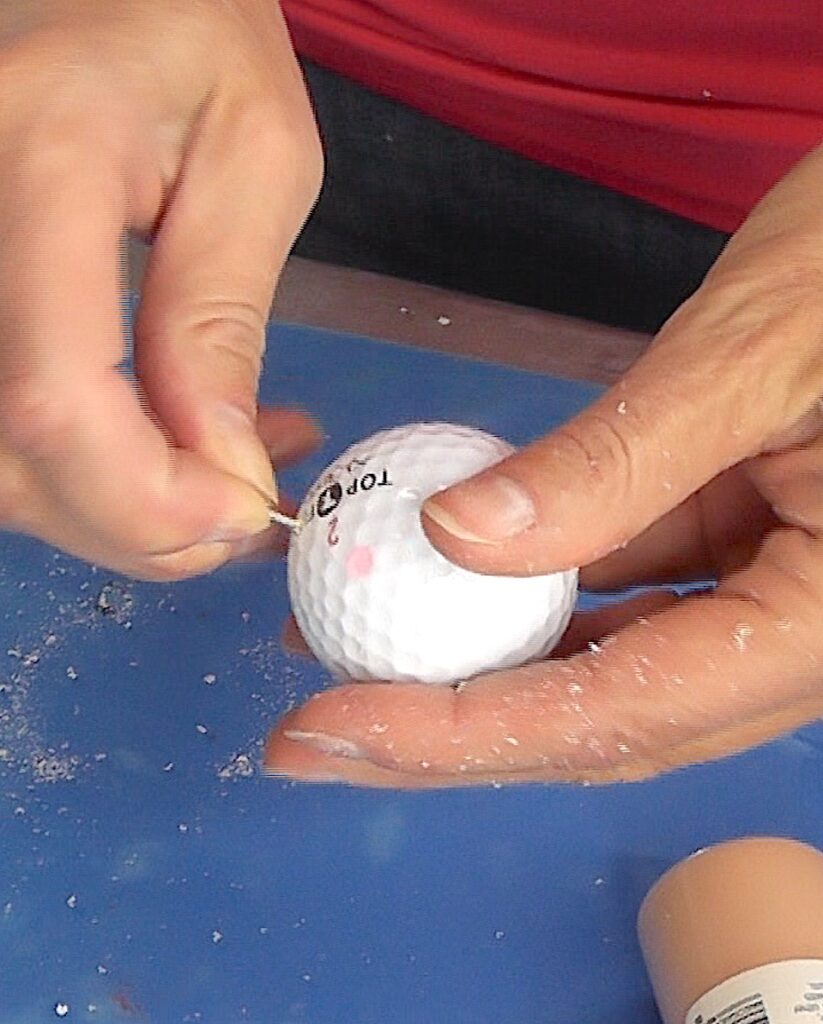
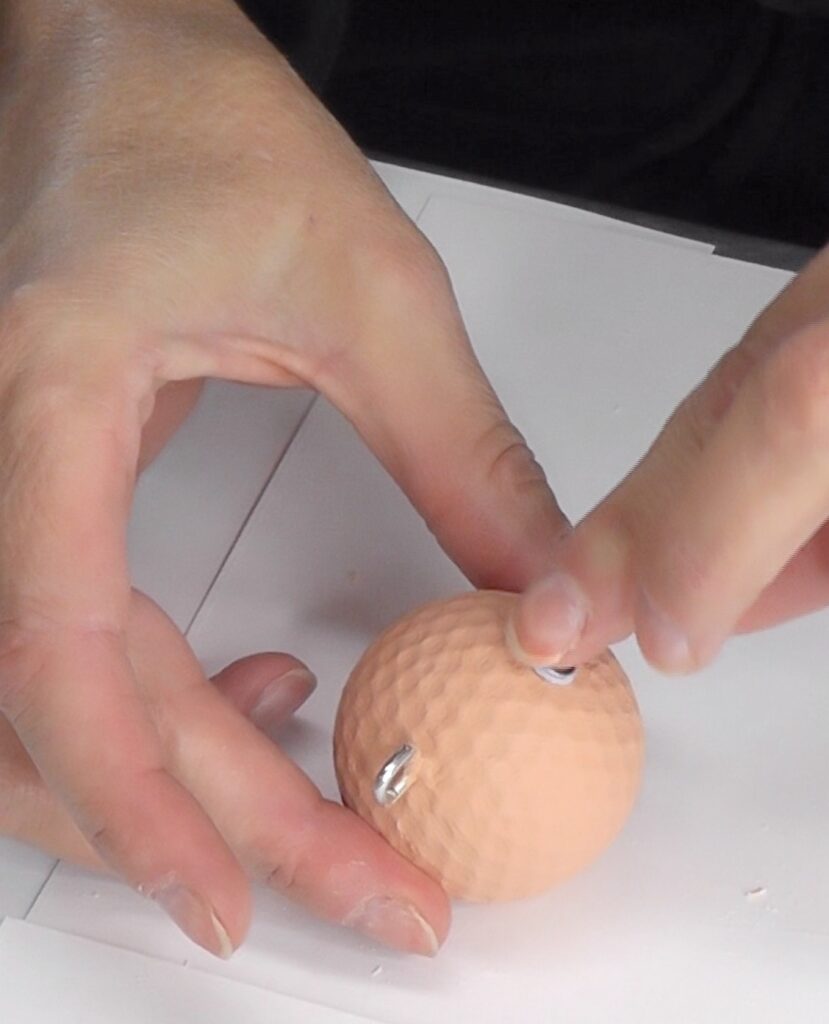
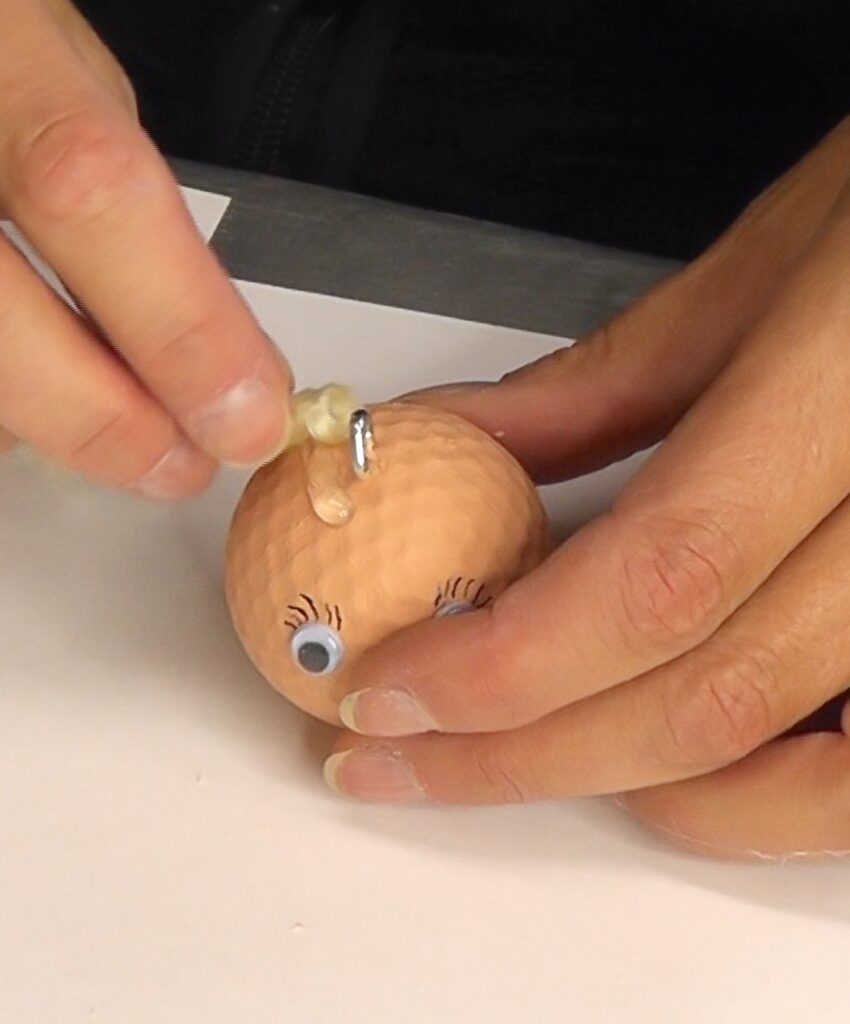
1. Drill a hole into the golf ball and add an eye screw.
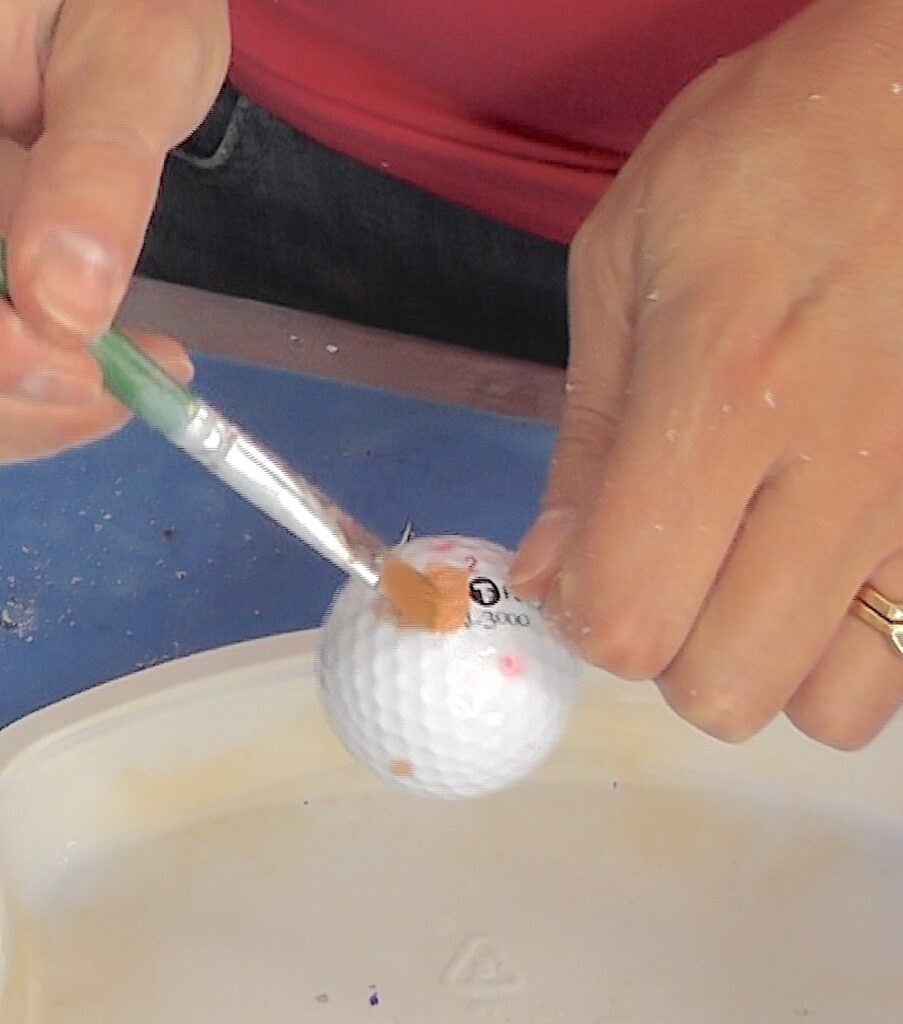
2. Paint it with flesh colored paint – it will take two coats – allow to dry.
3. Glue on the googly eyes.
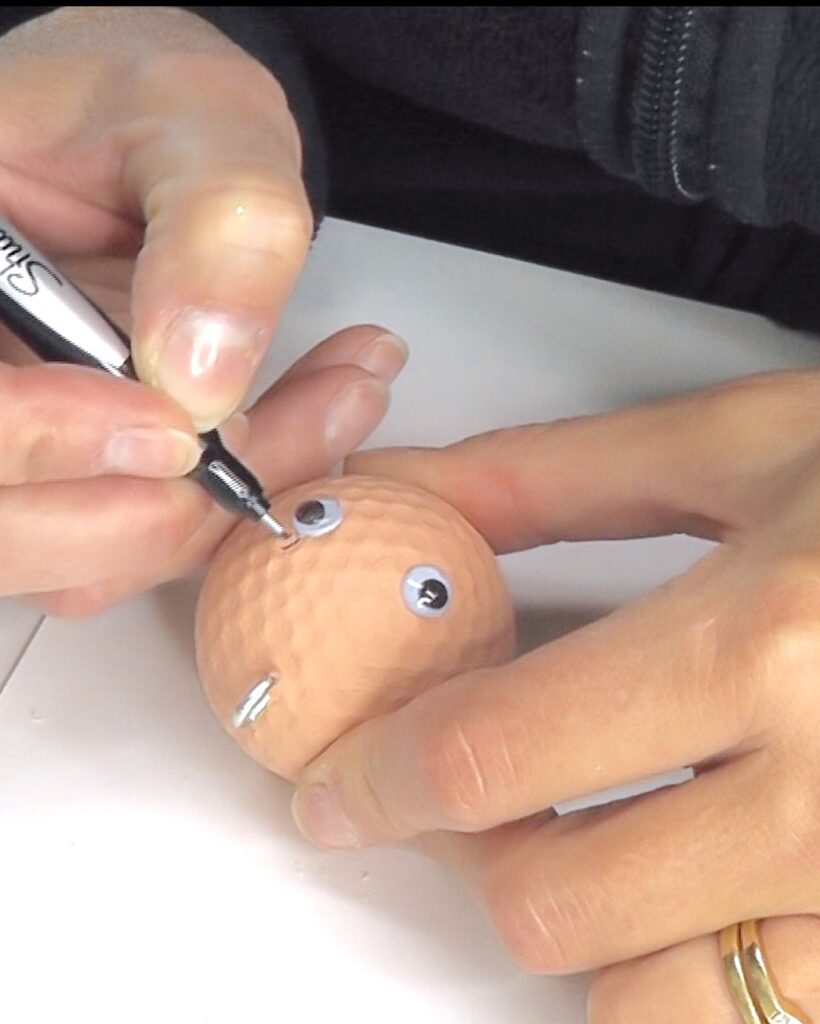
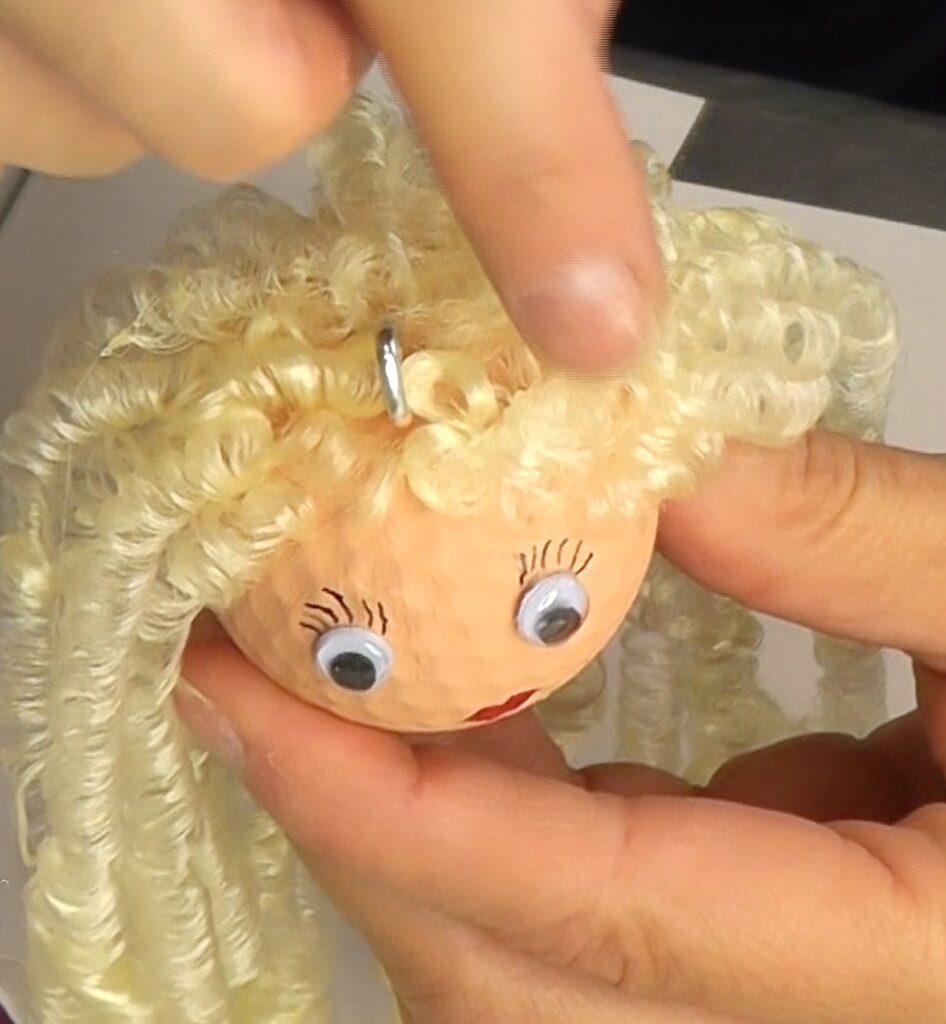
4. With a permanent black marker, give her eyelashes.
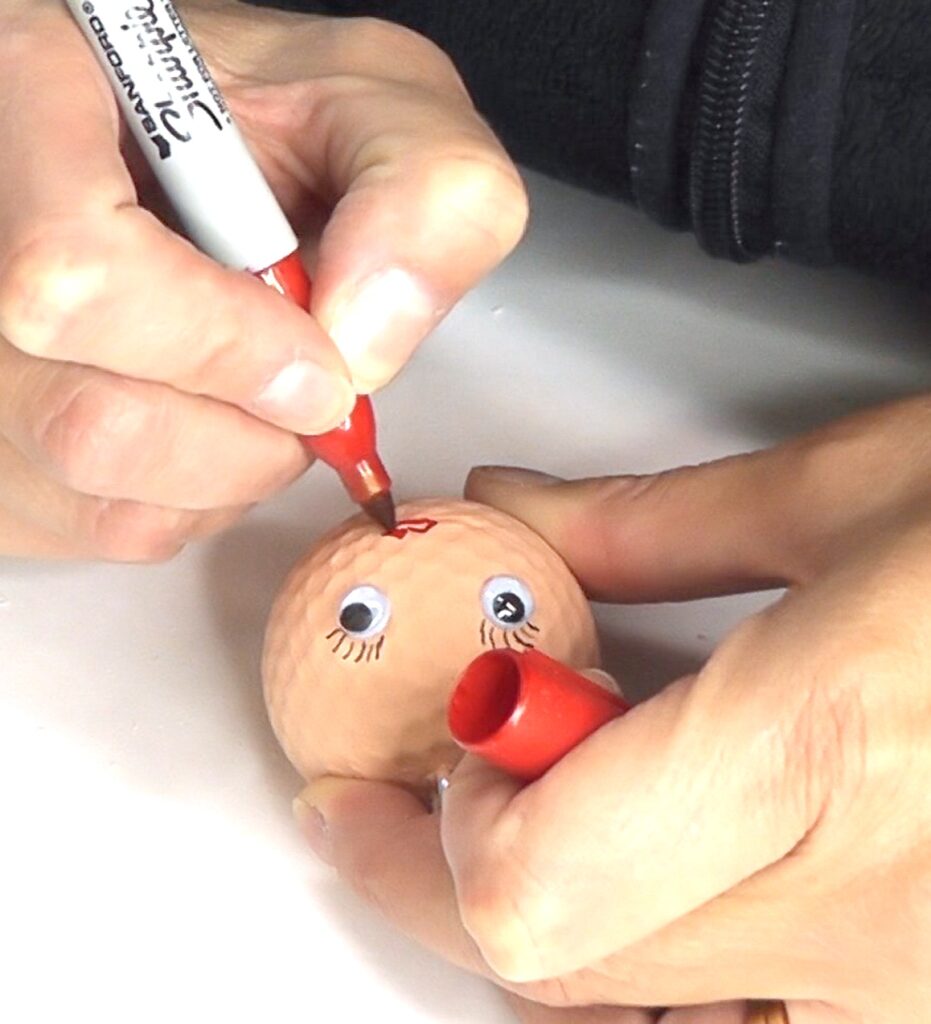
5. With a permanent red marker, give her lips.
6. Glue on the hair. Start at the top, which would be the part, and add a line of glue then add the pieces of hair.
7. Then repeat under the first line. It will take a minimum of three rows, but you can add random pieces after to finish filling it out. Now, this princess project is starting to take shape!
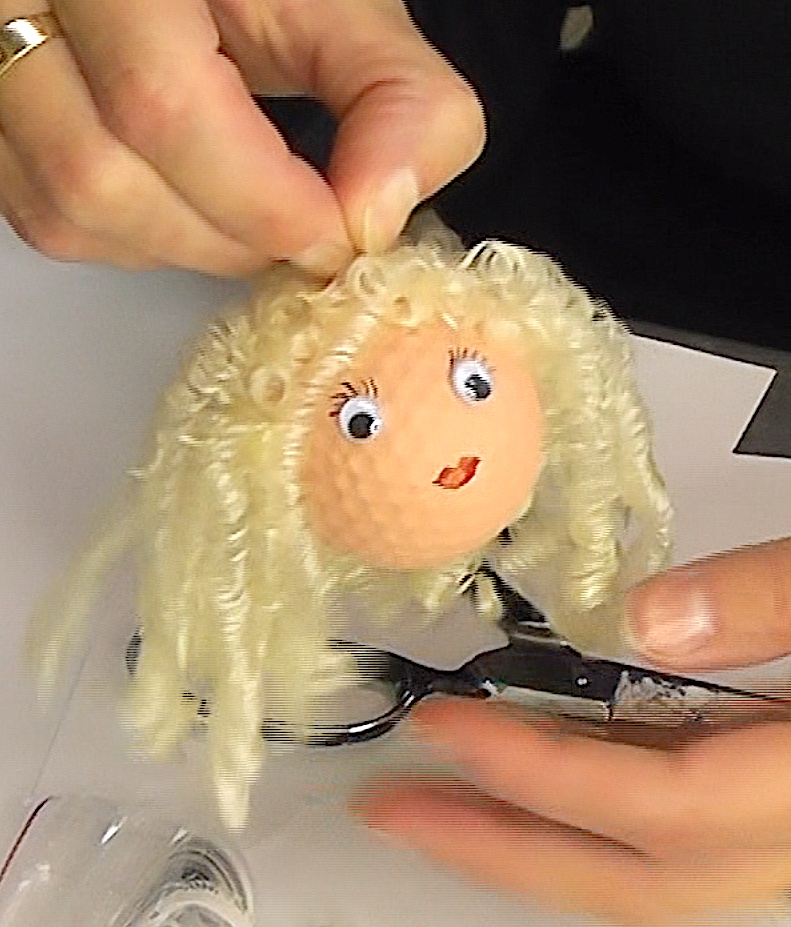
I gave her a little trim…
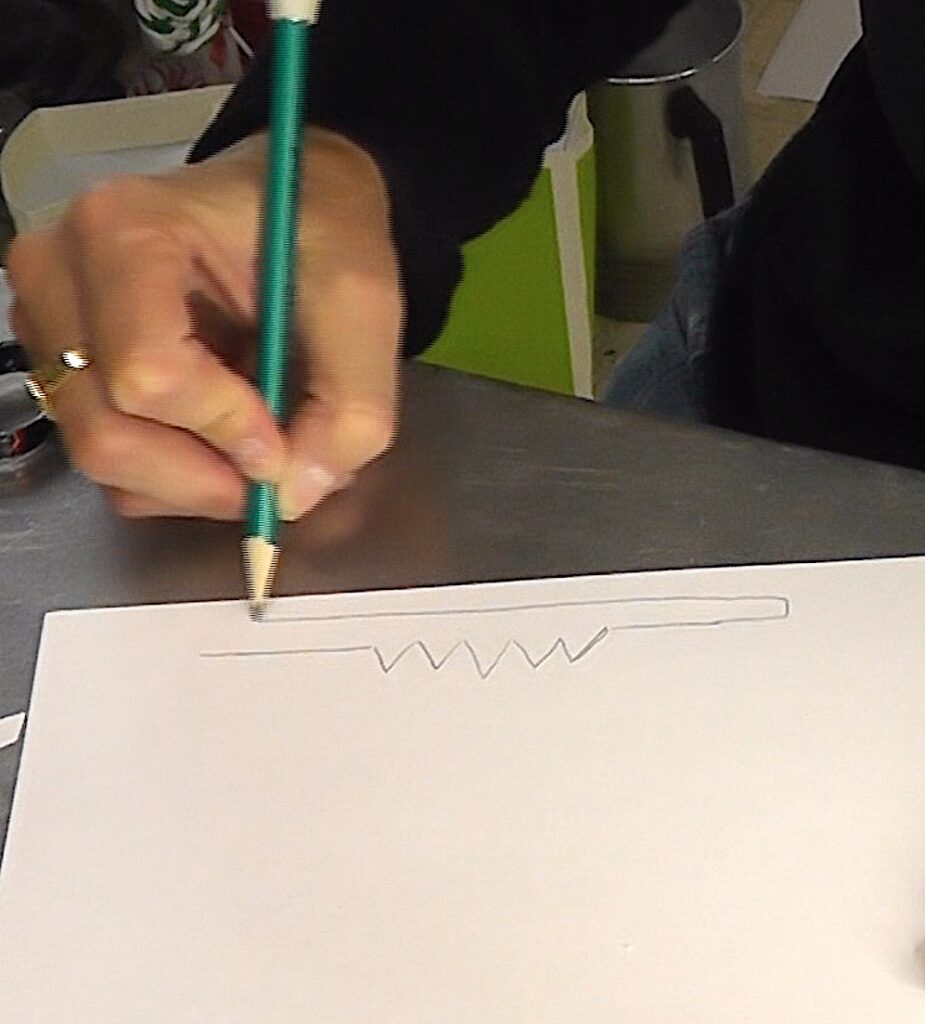
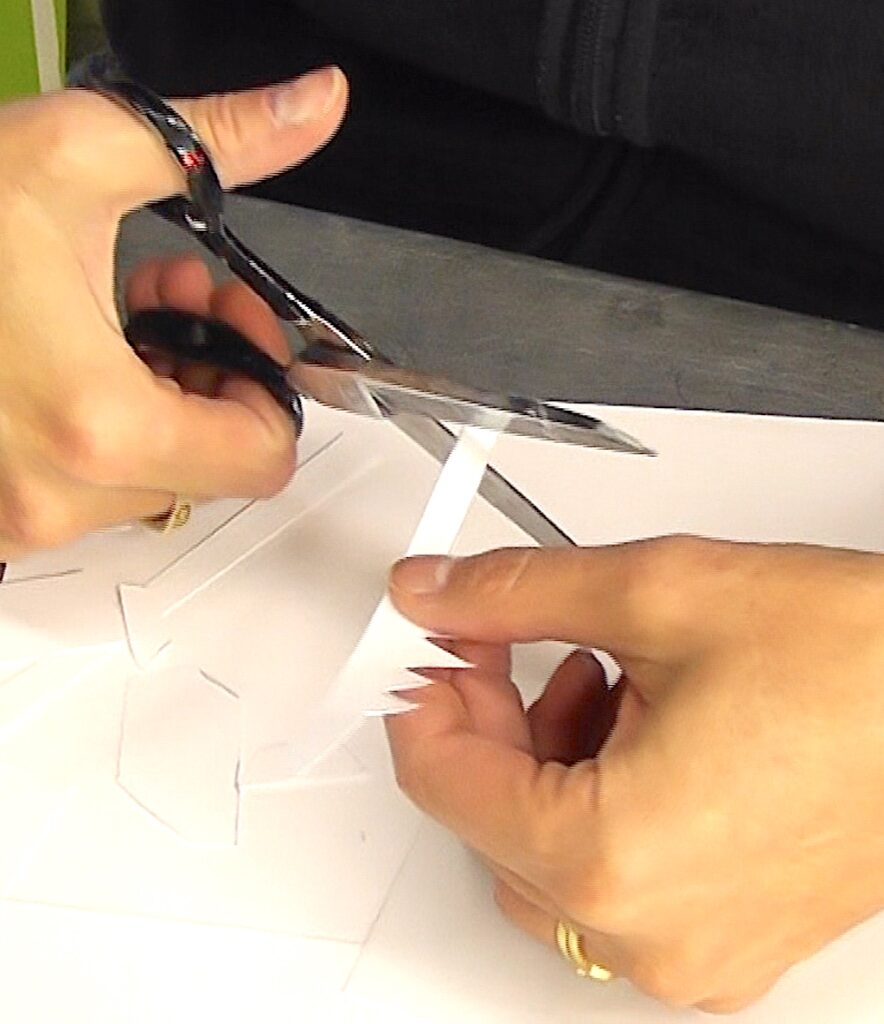
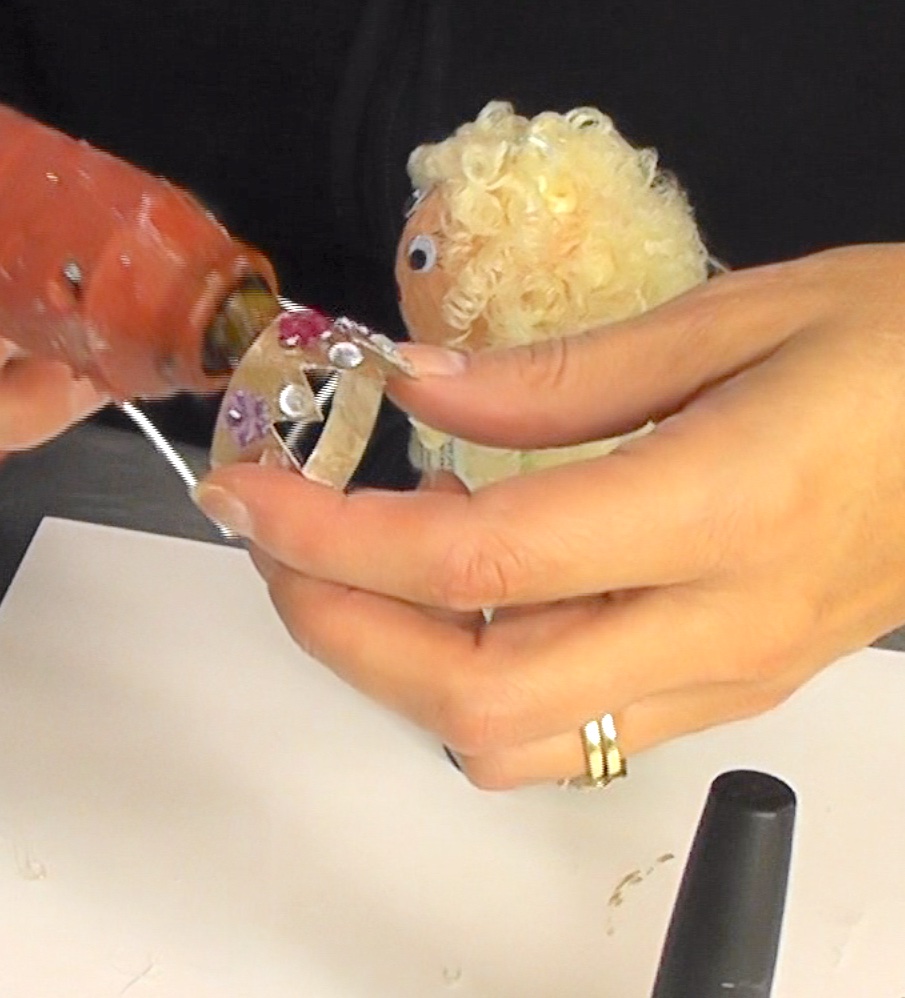
8. Time for the crown. Draw a crown onto a piece of card stock (see video above).
9. Cut it out and cut slits into the tabs. Slide the slits into each other and use a dab of glue to keep it together.
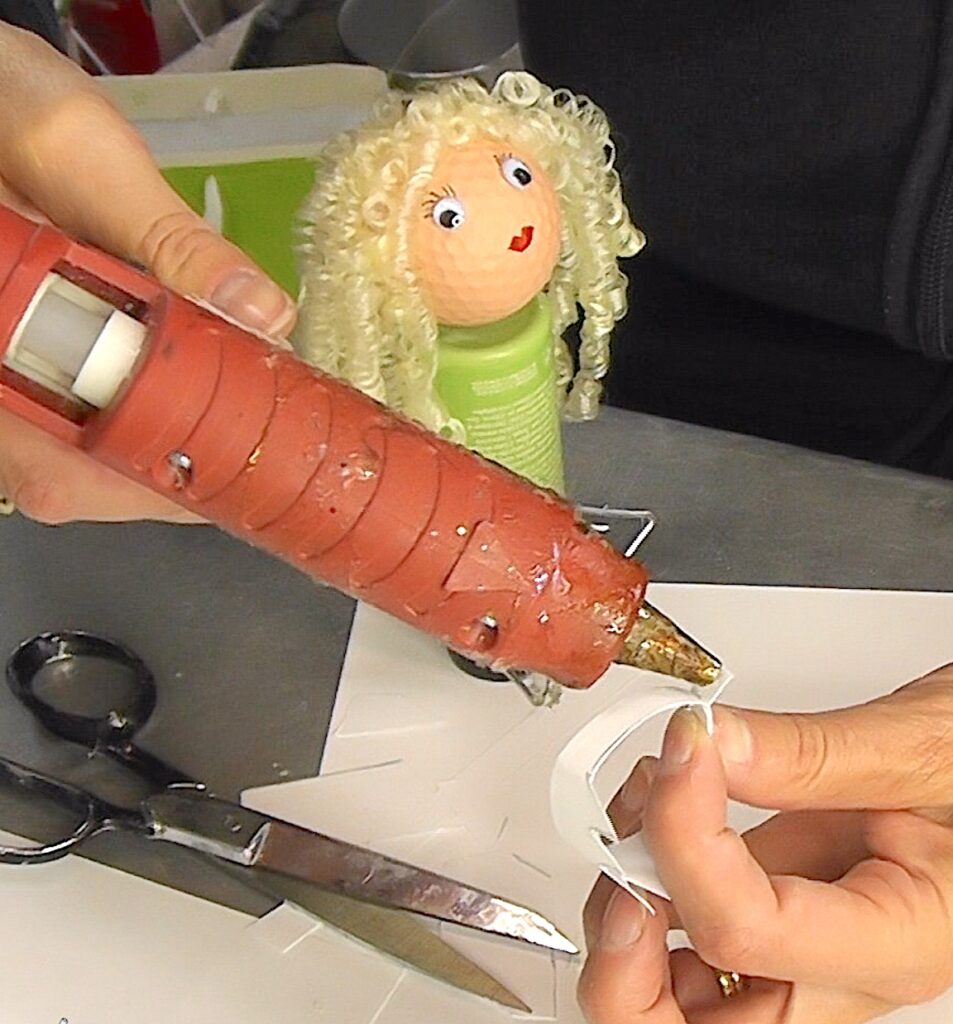
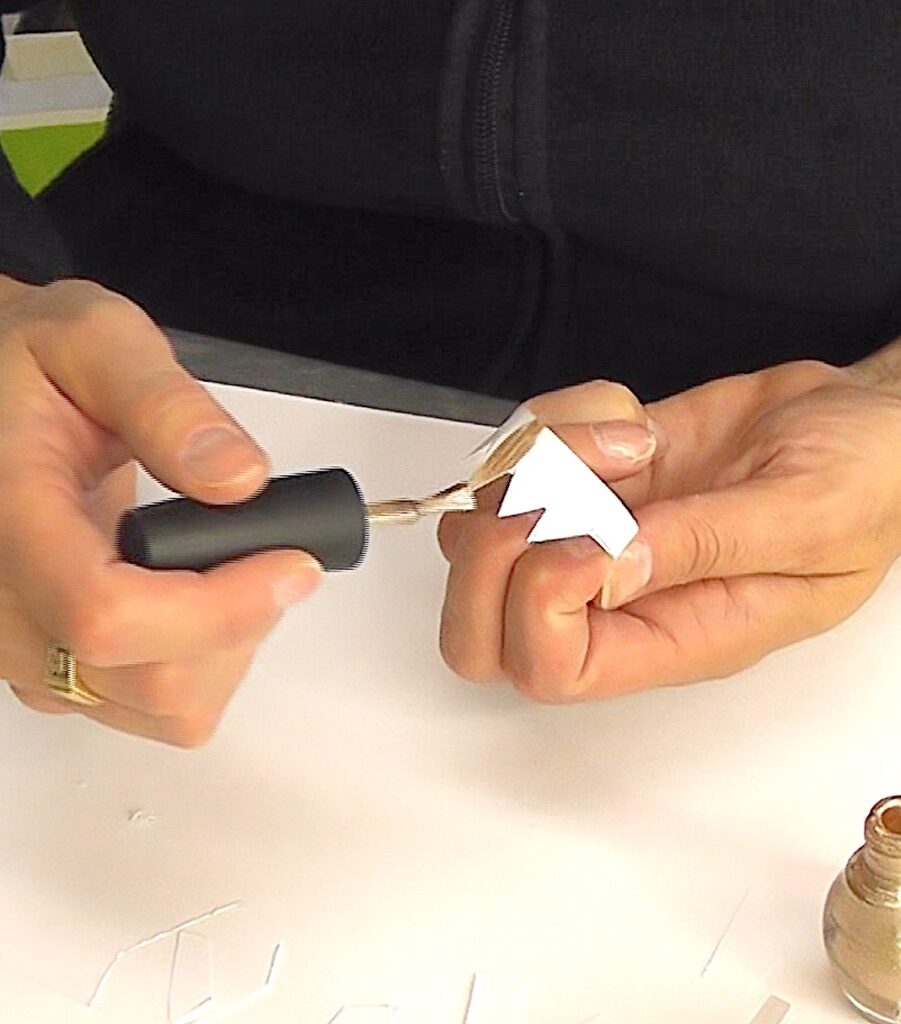
10. Using gold glittery or shimmery nail polish, paint the crown. This will take at least two coats.
11. Glue gems onto the crown.
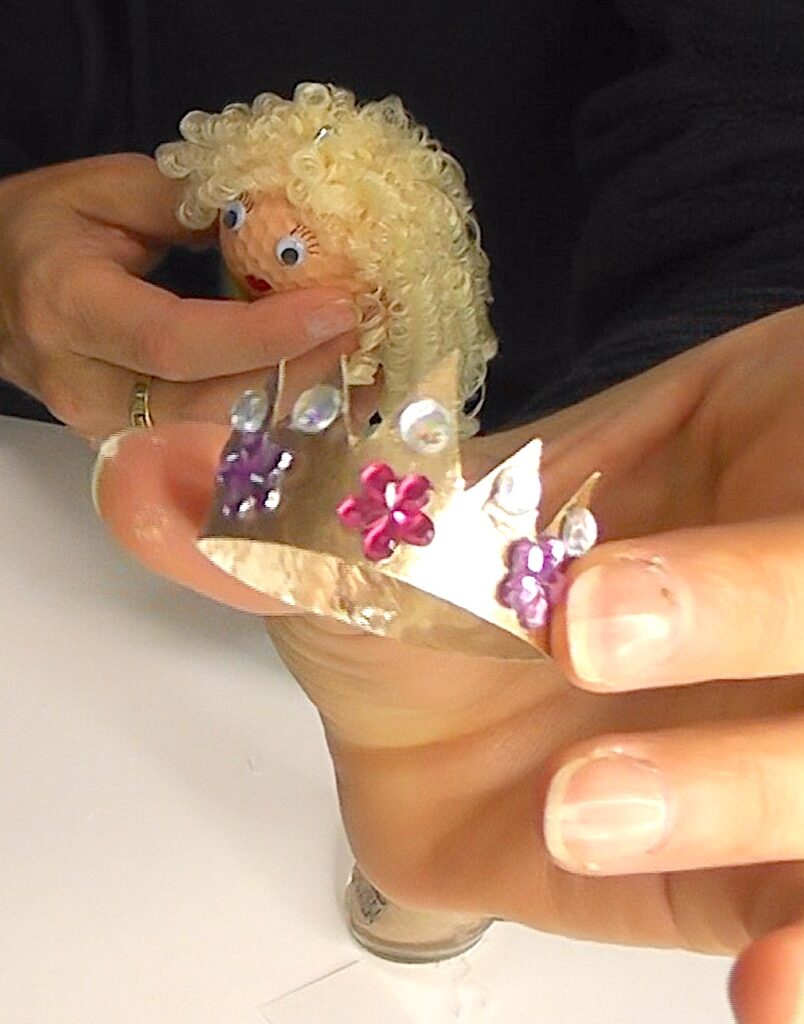
12. Glue the crown to the top of the princess’ head!
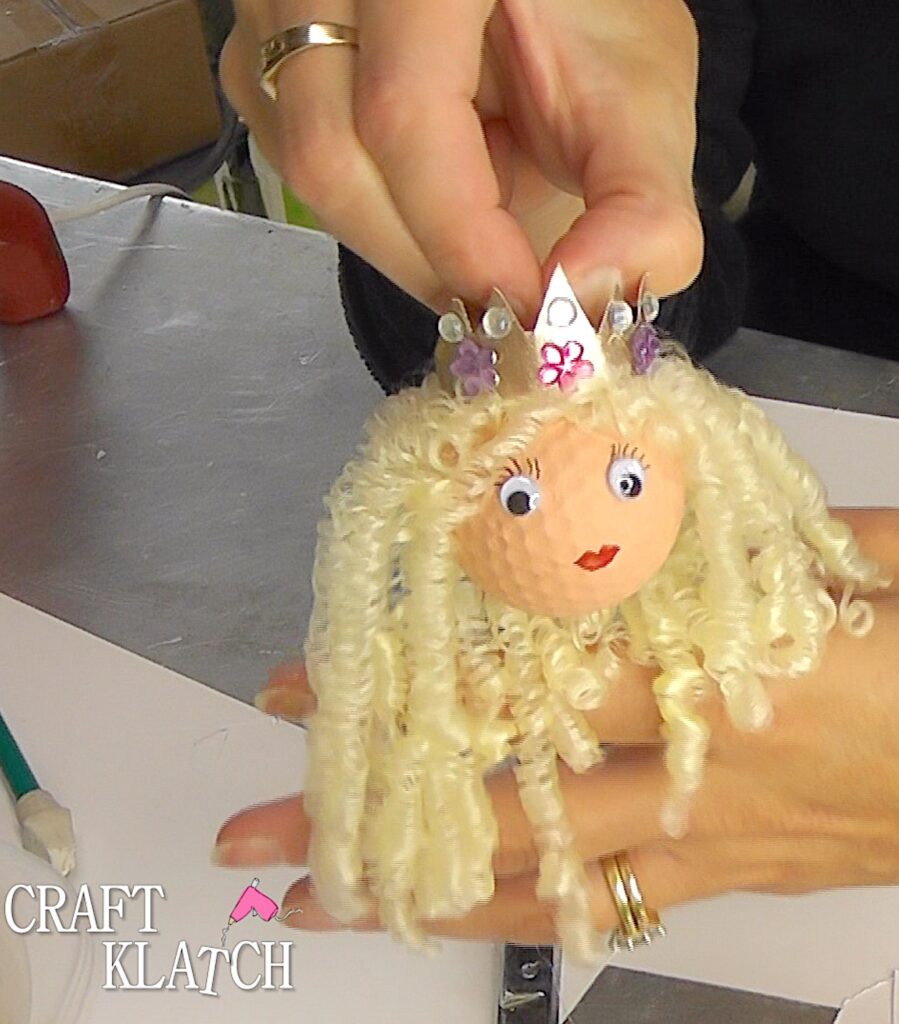
And she is DONE! Now use this easy princess project to decorate!
If you enjoyed this golf ball craft, be sure to check out my 30 Golf Ball Crafts!
5 Other Princess & Golf Ball Crafts I Think You Will LOVE!
Fun Princess Gifts

Be Sure To PIN IT For Later!
Thanks for stopping by! Remember: Life’s too short not to shimmer, so grab your glue gun and your glitter!™ Stay safe!
Mona