Create stunning wreath ornaments using twigs, paint, and ribbon! Follow this easy tutorial to craft unique holiday decorations in traditional and modern styles.
The holidays always inspire me to get creative, and this year I decided to make some adorable wreath ornaments. With just a few simple materials and a little time, you can create charming wreath ornaments that add a personal touch to your holiday decor.
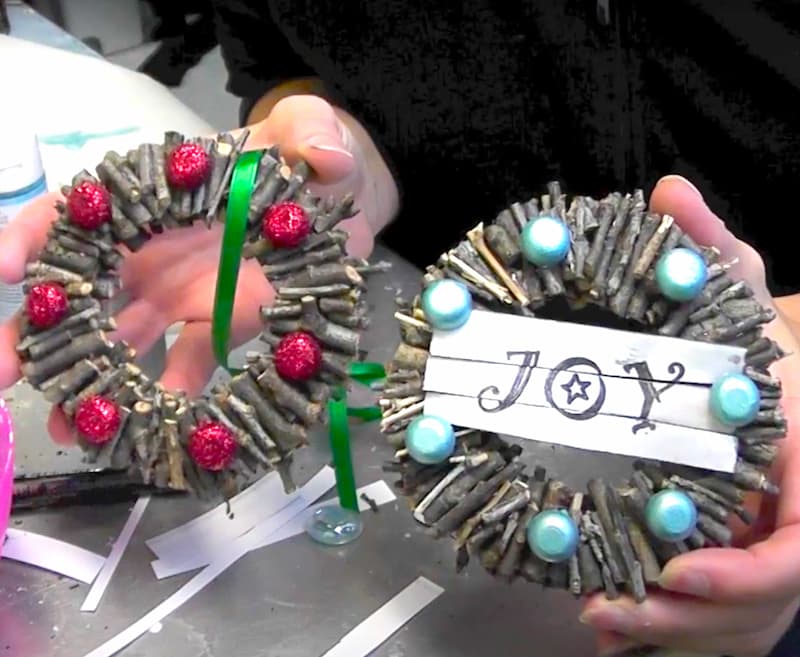
I wandered out to my yard to gather some twigs and got to work. It was such a relaxing way to spend the afternoon, and the result was two unique wreath ornaments – one in traditional holiday colors and another in more modern hues.
Let me show you how I made them so you can create your own!
Watch the Video Tutorial to Make These Wreath Ornaments
I’ve put together a video tutorial to guide you through the process. It’s always easier to see the steps in action.
Materials You’ll Need
*Disclosure: This blog uses affiliate links from Amazon and other retailers. I earn a small amount from qualifying purchases at no additional cost to you.
- Cardstock
- Twigs (or thin sticks from your yard)
- Brown acrylic paint
- Dowel rod caps
- Hot glue gun and glue sticks
- Ribbon
- Additional acrylic paint colors
- White glue
- Glitter
Directions
Step 1: Create the Wreath Base
I started by making a sturdy base for the wreath ornaments:
Using cardstock, I traced a large circle (a Solo cup is perfect for this) and a smaller circle inside (a pop can work great). I cut out the wreath shape.
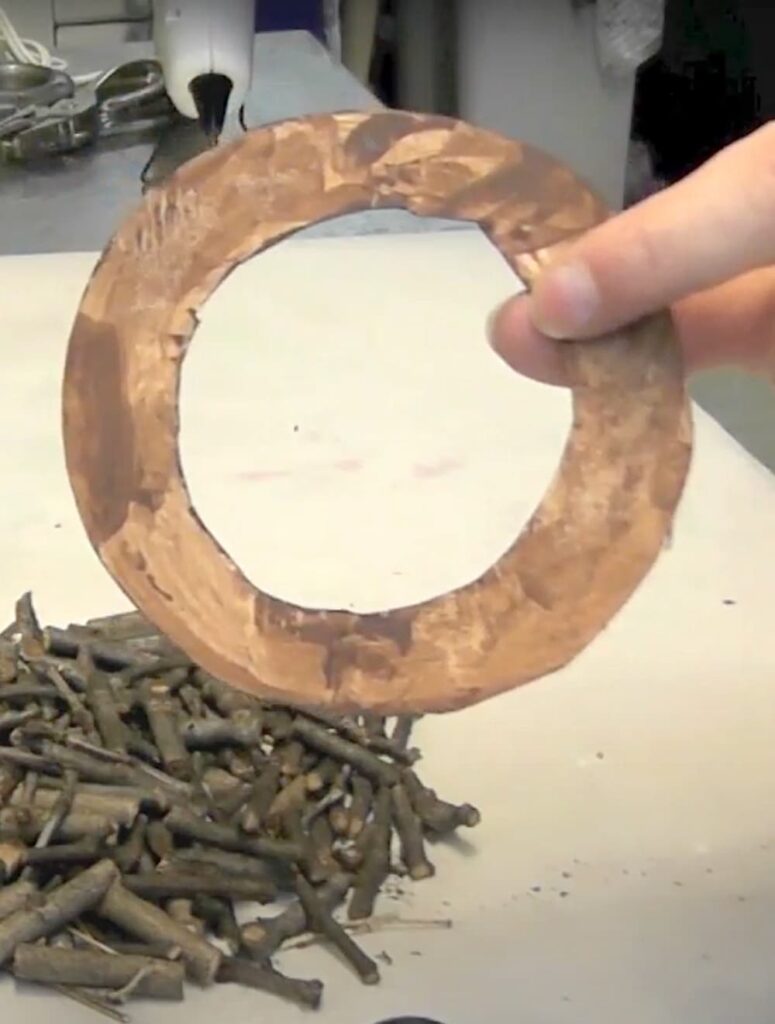
To keep the base looking neat, I painted it brown so any gaps between the twigs wouldn’t stand out.
Step 2: Attach the Twigs
Next, I headed outside to find twigs for the wreath ornament.
After cutting the twigs into small, random pieces, I began hot-gluing them onto the cardstock base.
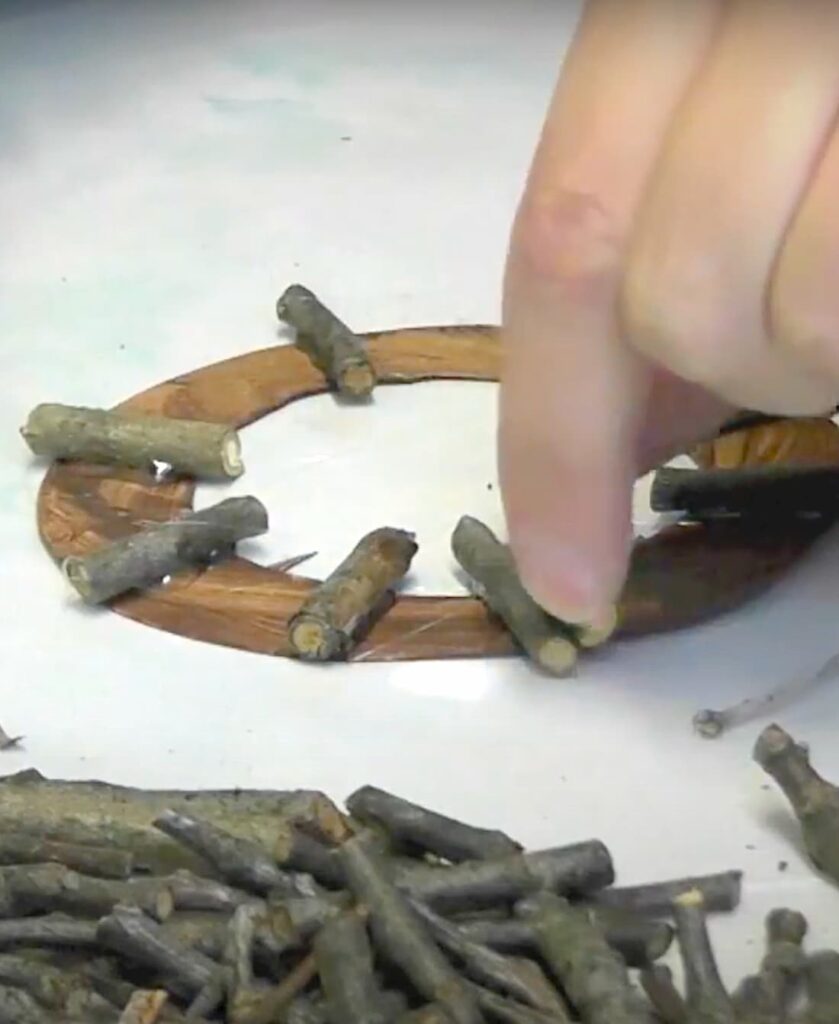
To keep the design balanced, I started by gluing four twigs evenly spaced around the circle, then filled in the gaps. Before I knew it, both sides were completely covered!
Step 3: Add Decorative Berries
The berries are my favorite part…they add such a festive touch!
I painted small dowel rod caps red, then added glitter for sparkle by coating them with white glue first.
Once dry, I hot glued the glittery berries onto the wreath ornaments.
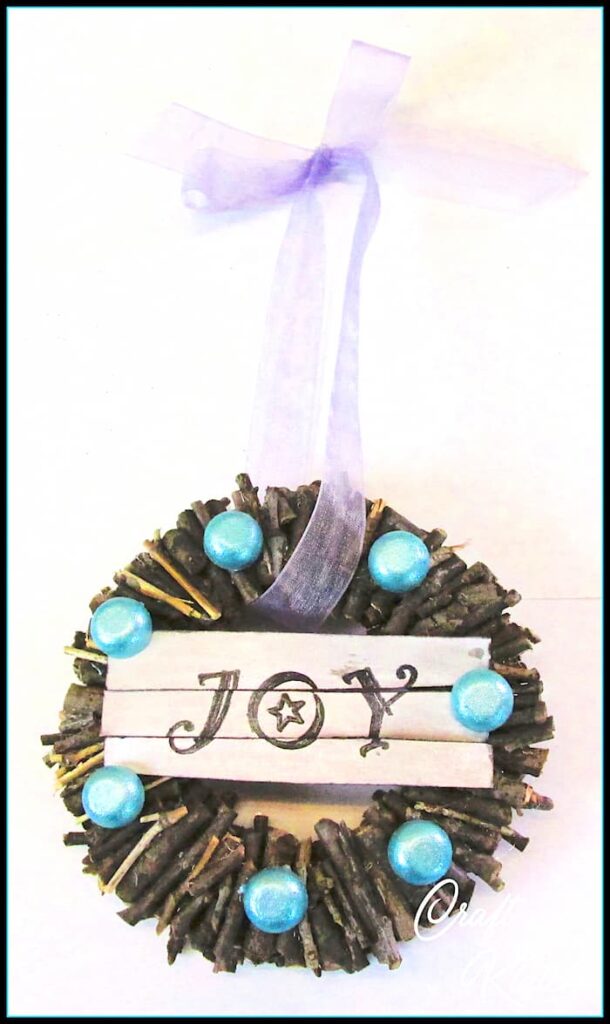
Step 4: Create a “JOY” Design (Optional)
For one of my wreath ornaments, I wanted to add a little extra detail:
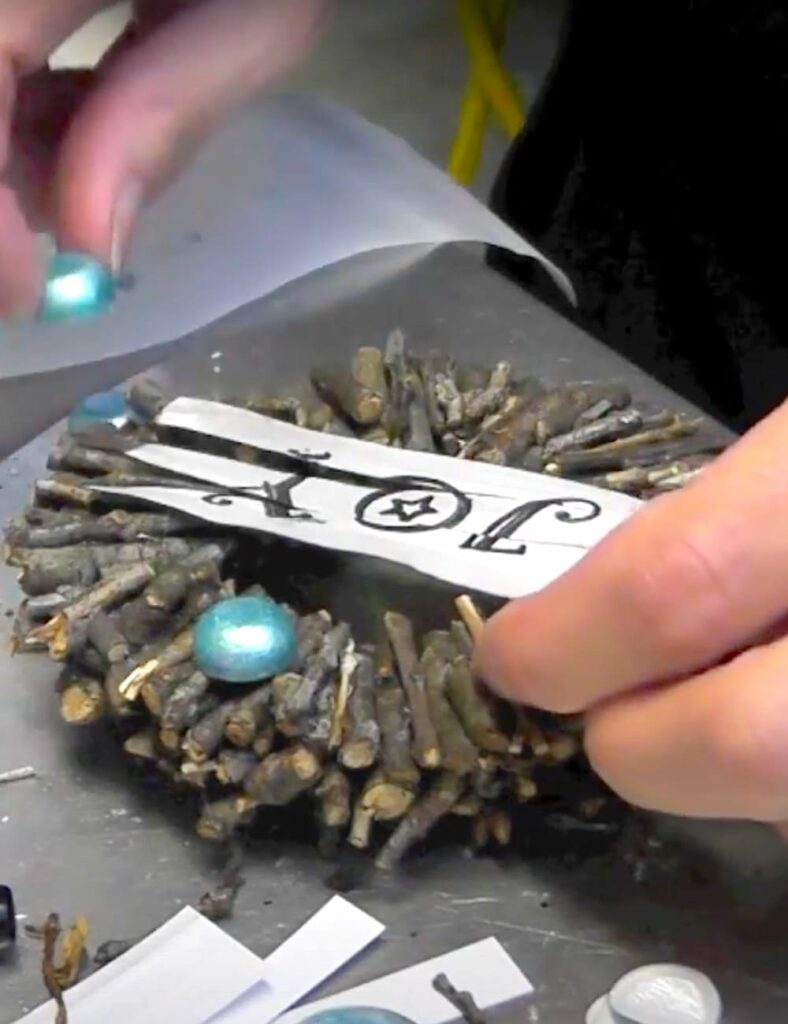
- I printed the word “JOY” on card stock and painted over it with watered-down metallic silver acrylic paint. After it dried, I cut the word into strips for a slatted look and outlined the edges with a black permanent marker.
- Finally, I glued the strips onto the wreath and added a few more berries for balance.
Add the Finishing Touch
To finish, I tied a pretty ribbon at the top of each wreath ornament. The ribbon not only adds a pop of color but makes it easy to hang on the tree.
The Wreath Ornaments
Crafting these wreath ornaments reminded me why I love making my own holiday decorations. It’s so satisfying to see a simple idea come to life—and even better when it becomes a cherished part of your holiday traditions.
I hope you try making these wreath ornaments for yourself! They’re perfect for your tree, a festive garland, or even as unique gift toppers.
Other DIY Christmas Ornaments
If you enjoyed the twig wreath ornament, you are going to love these ornament ideas:
- Polymer Clay Santa Ornament DIY
- Christmas Gnome Ornament Dollar Tree Craft
- Nail Polish Ornaments Craft Tutorial
- DIY Easy Glitter Ornaments How To
Follow Craft Klatch on Instagram!
Thanks for stopping by! Remember: Life’s too short not to shimmer, so grab your glue gun and your glitter!™
Mona
I love how natural and rustic looking these are! Pinning to my handmade ornaments board and I think I may give these a try this year!
Thank you for stopping by! I'm so glad you liked them and I hope you do give them a try! Thanks for pinning!
Mona
Love this idea! My daughter is always collecting twigs and things so this is a great way to save them!
nicely done,well put together and clear instructions!great idea for a a larger project!