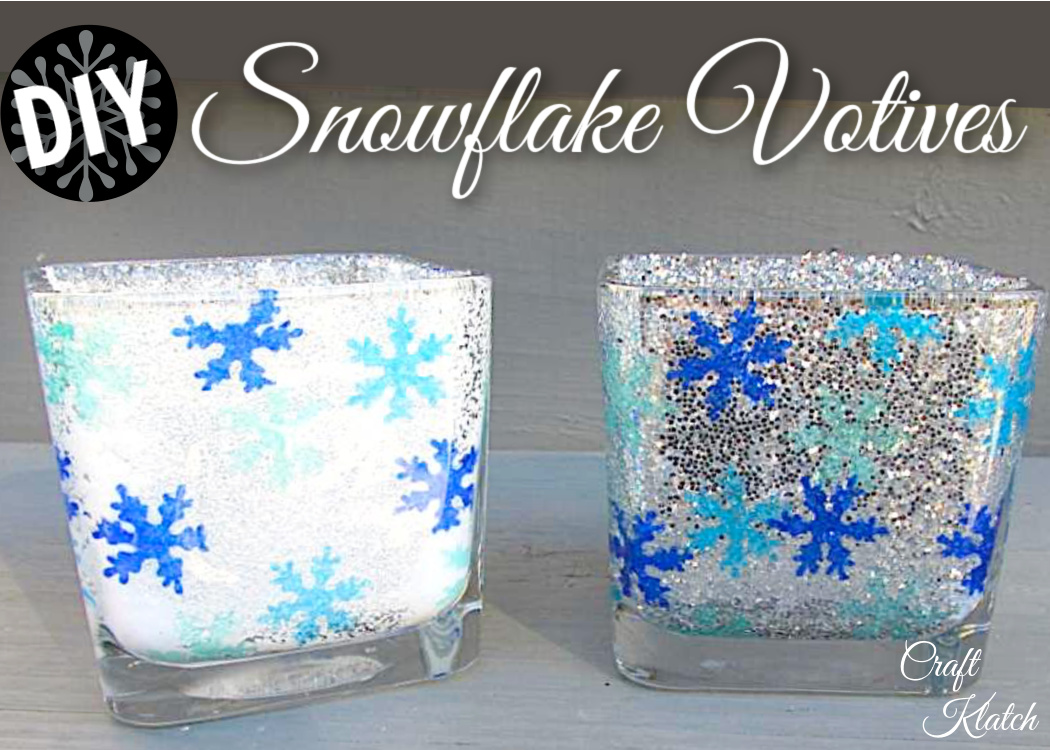
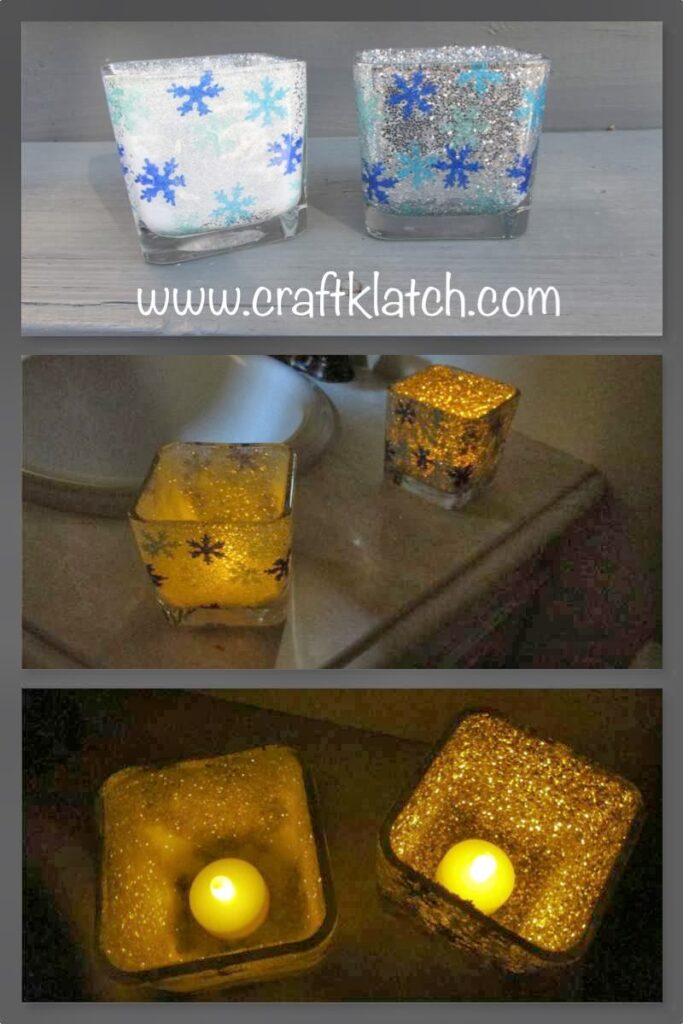
This a perfect, inexpensive and festive craft for the holidays or the whole winter season! I’ll show you how to make snowflake votives with Dollar Tree items!
They are perfect to brighten those cold winter nights!
Supplies to Make Snowflake Votives
*This blog uses affiliate links. As an Amazon Associate I earn from qualifying purchases, at no additional cost to you.
- Clear glass votives
- Mod Podge
- Tissue paper (I used different blues)
- Snowflake punch
- Chunky white glitter
- Chunky silver glitter
- Battery operated tea lights
How to Make Snowflake Votives Video Tutorial
Be sure to follow me on Instagram!
Directions
Step 1
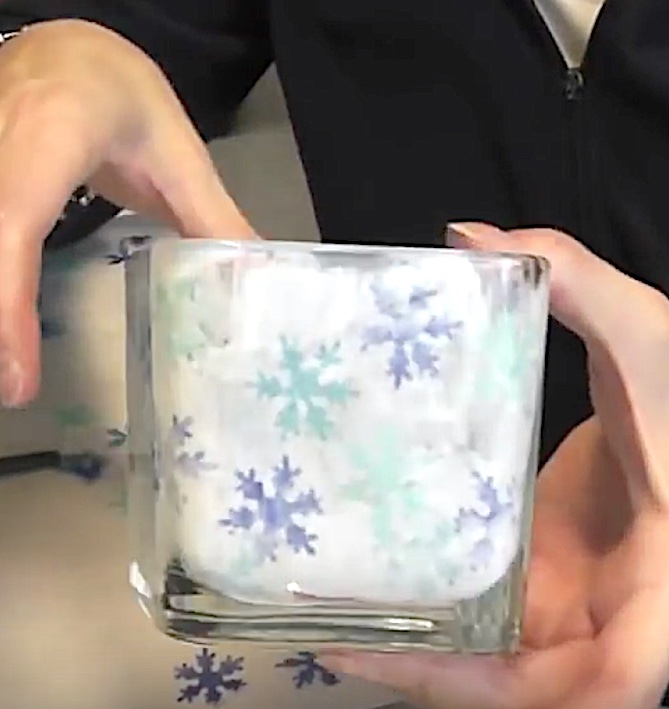
I started with square votives I picked up at Dollar Tree.
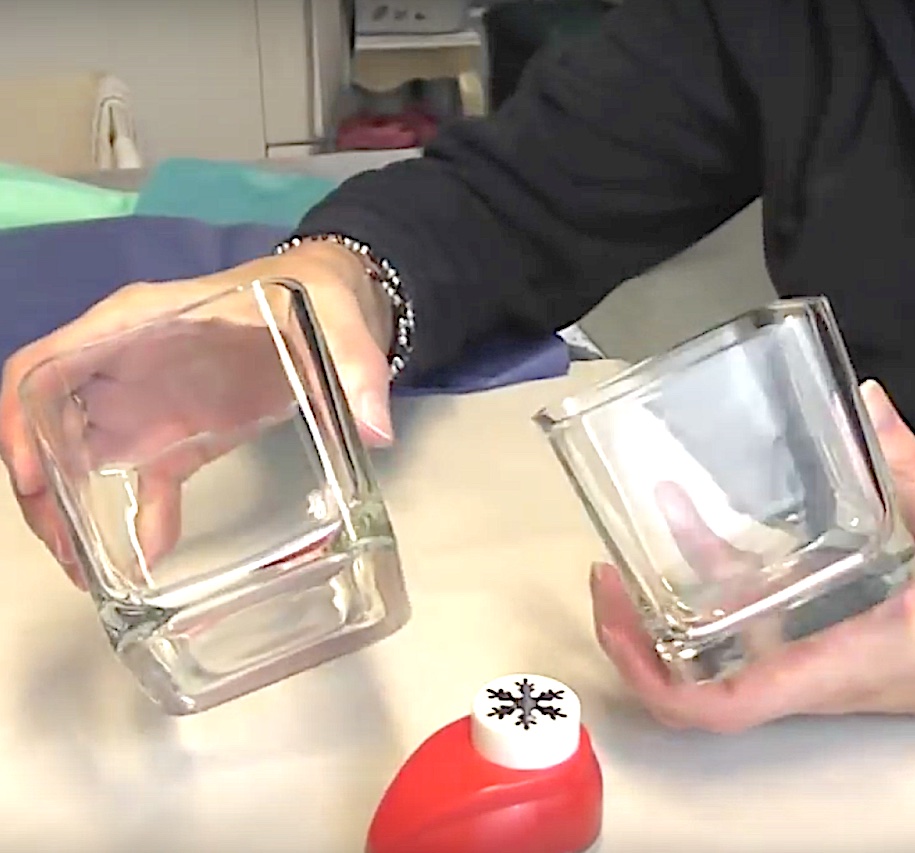
Step 2
Take your tissue paper and punch out a bunch of snowflakes.
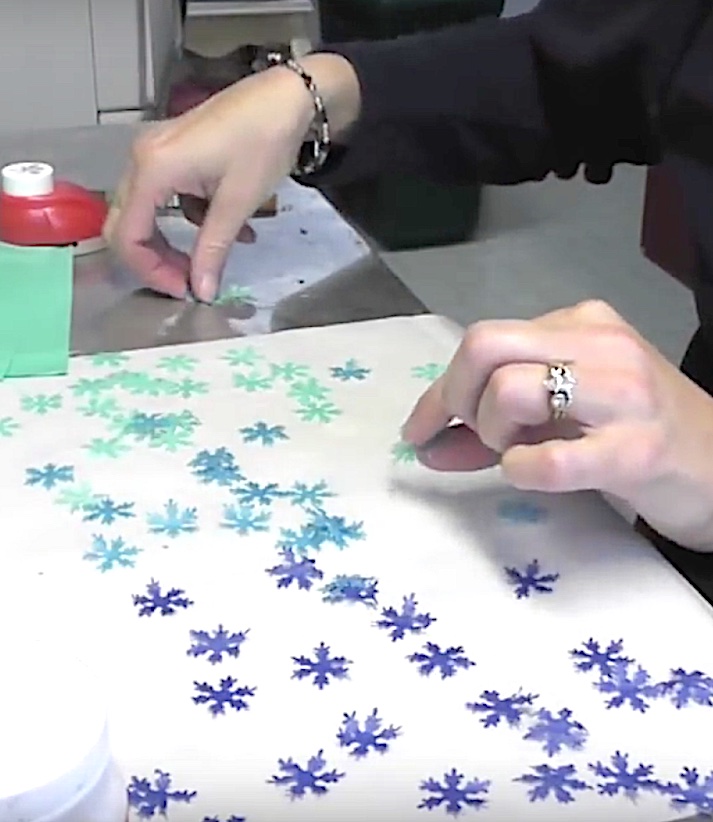
*TIP: Fold the tissue paper a couple of times. This allows you to get a cleaner punch and you get multiple snowflakes at once.
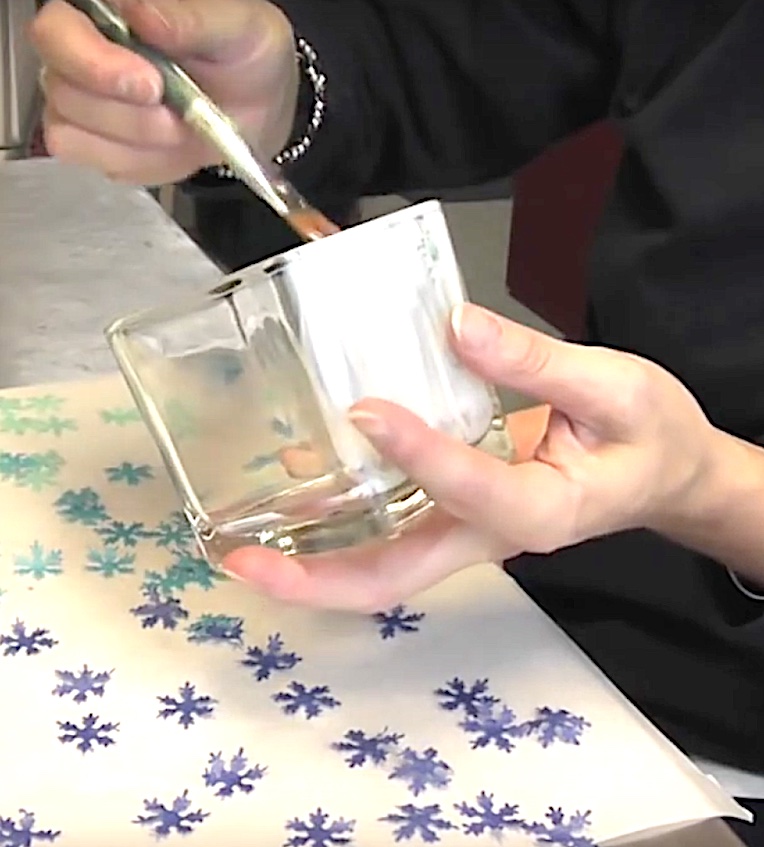
Step 3
Using your Mod Podge, paint inside the votives and gently place your snowflakes onto the Mod Podge. Use your brush to gently tap it down. Repeat with the different colors. I worked one side at a time.
Step 4
Allow everything to dry.
Step 5
Take your Mod Podge and pour some into a disposable cup and add your glitter.

Step 6
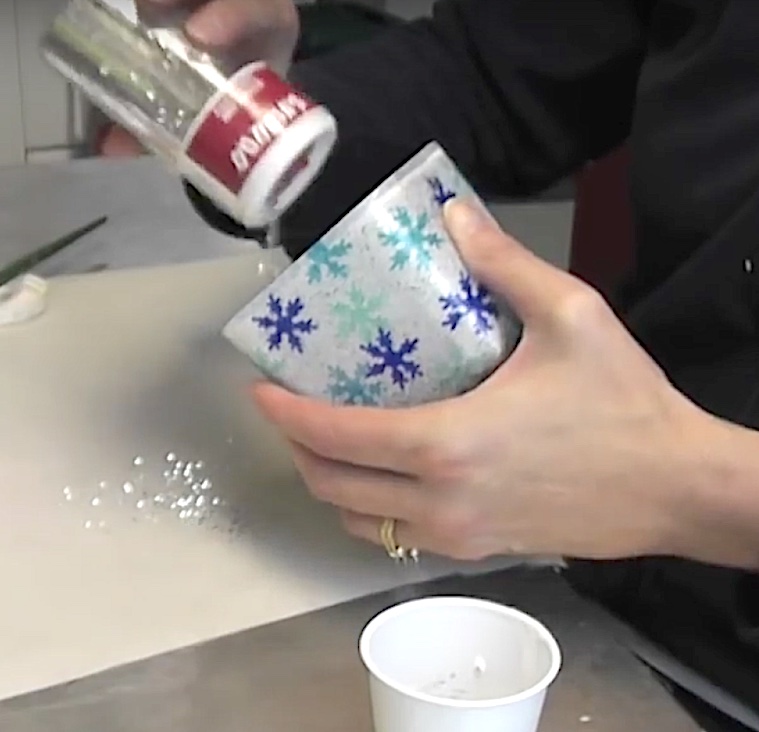
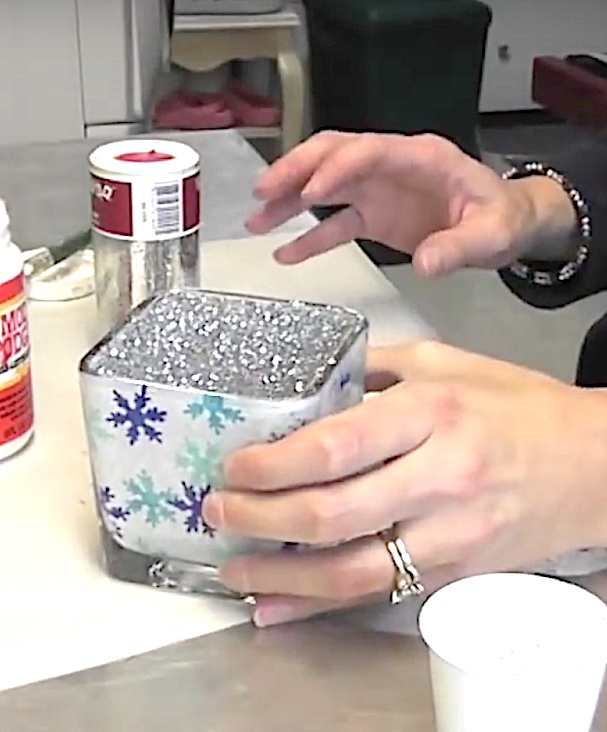
Brush the glitter/Mod Podge mixture inside the votive and then immediately sprinkle with dry/loose glitter. Shake out any excess.
Step 7
Allow everything to dry. This will take time. You will know it is dry when it is all clear.
Step 8
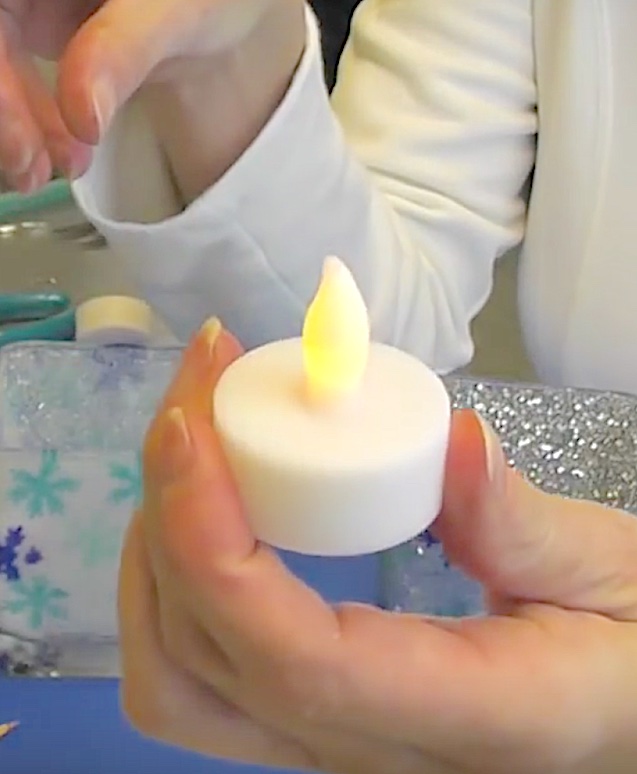
I used a battery operated votive, that flickers, inside the votive holder. I do not recommend using a regular candle because it might melt or burn your glitter.
Now you have these beautiful wintery votives!
Be sure to PIN IT for later!
Have fun with it! I’d LOVE to see what you make! Be sure to share it over on my Craft Klatch Facebook Group! It’s Free! ❤️
Other Great Snowflake and Dollar Tree Projects!
- DIY Glitter Spider Votives
- Button Snowflake Decoration
- Frosty Snowflake Ornament Makeover
- Snowflake Confetti Coaster
- Snowflake Coasters
Frosty Decor Idea!
If you like frosty decor, here are some you are sure to love!

Remember: Life’s too short not to shimmer, so grab your glue gun and your glitter!™ Stay safe!
Mona
These are great Mona! Simple but so elegant. Thank you for sharing your awesome craft projects with us. I really appreciate the video as well as the written instruction. You're a great instructor.
Thanks Debbie! You are very kind!
Mona
I love the blue and white! My tree is blue and white and silver. My name is Katie and I host Fall Into the Holidays. All entries get pinned. I would love to have you link up! This week’s round is still open!
Hi Katie- I'm so glad you like it, I'll go link up right now.
Mona
Katie- If you put a up a direct link, I'll link up. I didn't see it.
Your votives caught my eye at Monday Funday. Love them! Thanks so much for sharing! Pinned 😉
Thanks Brenda!!
These are gorgeous!
Thank you Mila!
Your votives turned out so cute. What an easy and inexpensive project. Would you be willing to share this post and any of your other great ones at our Making Monday link party? We would love it and think our readers will, too. Thanks. Have a fantastic day. abrightandbeautifullife.com/making-monday-14/
You bet. I'll head over there right now.
Mona
They're beautiful! I love the way they glow. I'd love if you'd link up to The DIY'ers. homecomingmn.blogspot.com/2013/11/the-diyers-38.html
Thanks Kayla. I just linked.
Mona
These are very pretty! I wonder if there would me a melting/heating conflict if you did everything on the outside of the votive holder, then used a real tealight/votive inside? Do you know? I hopped over from Clever Chicks blog hop.