Learn how to clean rust off metal and transform a curbside table into a stunning coastal masterpiece in this Garbage to Gorgeous furniture flip.
Have you ever driven past a piece of furniture sitting on the curb and wondered if it deserved a second chance? That’s exactly what happened when I spotted a rusty outdoor table waiting for trash pick up.
Most people would have seen garbage.
I saw potential.
This project turned into one of my favorite Garbage to Gorgeous transformations. What started as a rusty, grimy outdoor table became a custom coastal accent piece featuring a laser engraved sea turtle design.
I had to deal with how to clean rust off metal, repair damage, and give old furniture a new life.
If you’re looking for furniture flipping ideas or inspiration for your next trash to treasure makeover, this project is proof that sometimes the best finds are free and that sometimes garbage isn’t actually garbage!
The Curbside Find
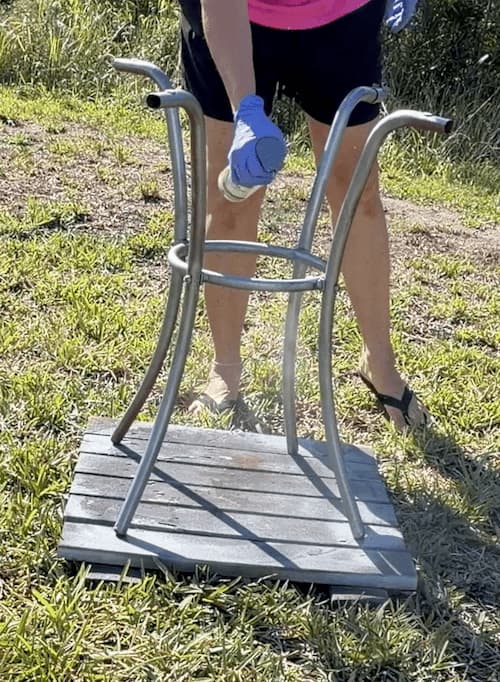
When I first found this table, it looked rough.
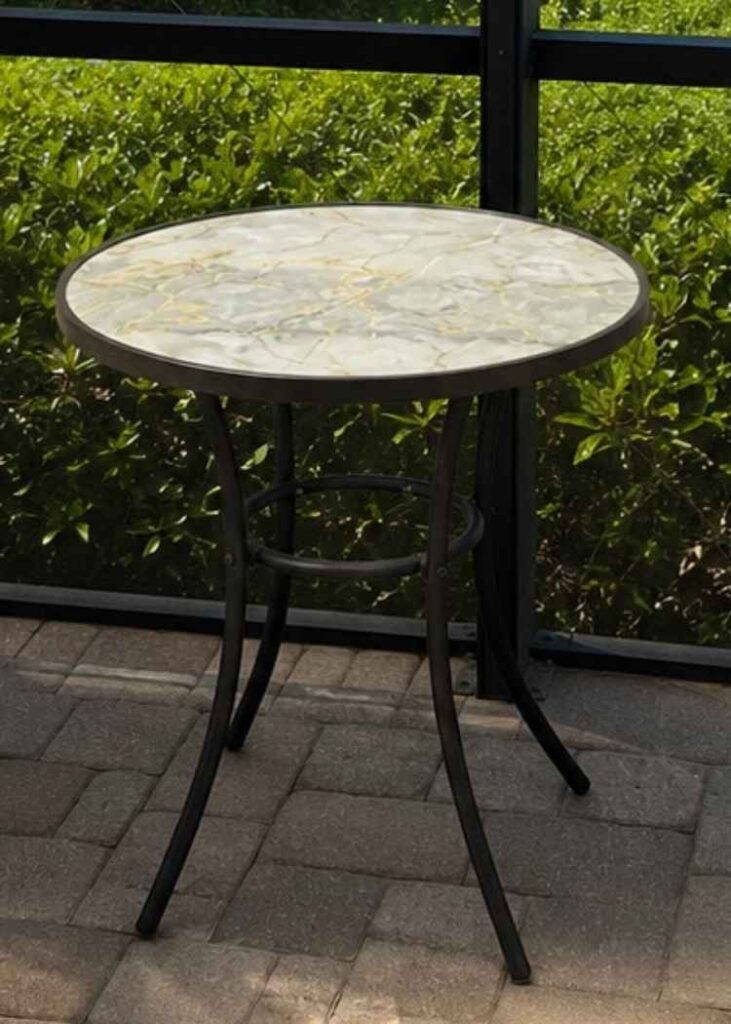
The metal frame was covered in rust. The glass top was stained with years of grime, old paint, and rust marks.
All in all, the table looked like a simple makeover but turned out to be anything but simple.
Still, I could see beyond the rust and dirt. With a little creativity and some elbow grease, this table had the potential to be something special.
How to Clean Rust Off Metal for a Coastal Table Makeover Video Tutorial
I’m giving this crappy table a total makeover that includes how I gave it a cool coastal design. To get there, I’ll show you how to clean rust off metal.
See video tutorial HERE and don’t forget to follow me on YouTube!
Materials Needed
You probably have a bunch of what you need on hand already, I didn’t add scrapers, scrub brushes, or screwdrivers.
*Disclosure: This blog uses affiliate links from Amazon and other retailers. I earn a small amount from qualifying purchases at no additional cost to you.
- Rust-Oleum 2X seaside
- Rust-Oleum Rusty Metal Primer
- Rust-Oleum Hammered Spray Paint
- J-B Weld SteelStik
- Here is my affiliate link to the machine if you want to check it out:
- Laser engraver (I used the Lumos from Wecreat)
 Get $80 OFF with my exclusive code: craftklatch80
- Laser engraver (I used the Lumos from Wecreat)
Step 1: Remove the Glass and Clean Everything.
The challenge was getting the table apart. The screws were stubborn (thank you rust), and the glass didn’t wanna come out of the frame after removing the plastic spacers. We thought it would be easy to take it apart.
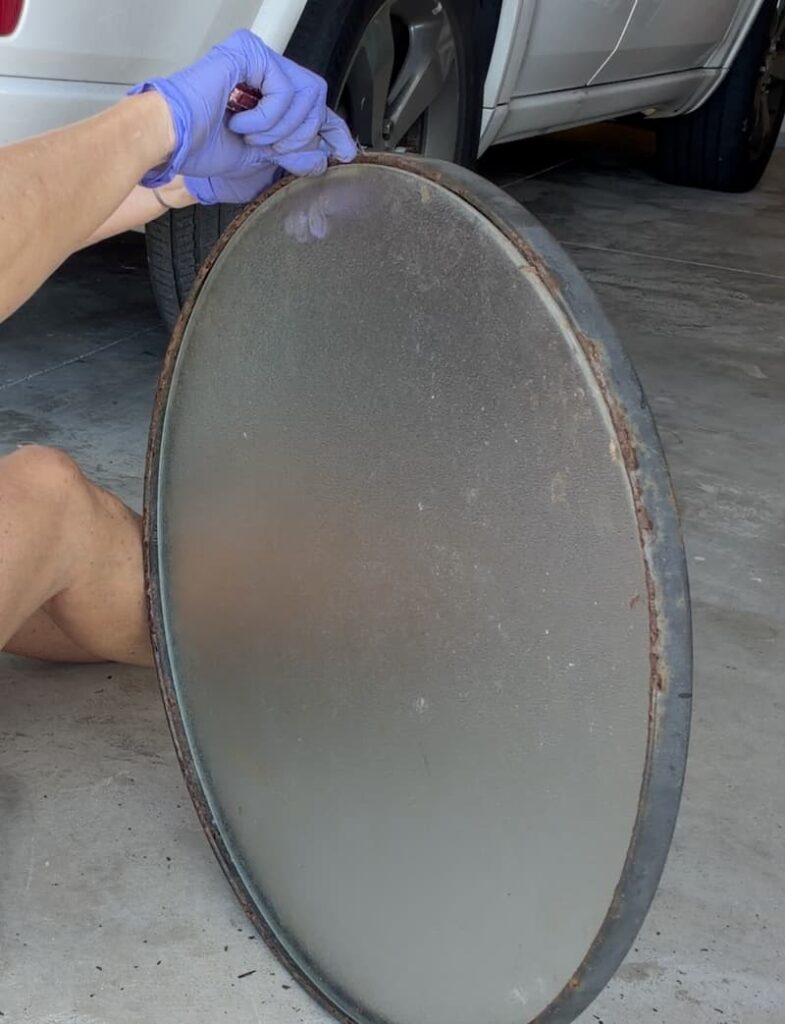
It wasn’t.
We carefully worked the glass free without breaking it.
I was sweating it for a while.
It took time and we ended up having to bend a lip of the frame at the inside of the bottom – luckily you’ll never see it!
Once removed, I thoroughly clean the glass with dish soap, rubbing alcohol, and a scrub brush. Years of rust stains, paint splatters, and grime had built up on the surface.
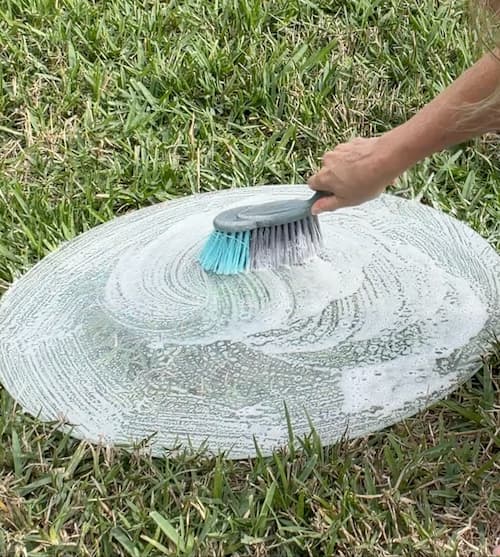
For the really stubborn stuff, I broke out a razor blade scraper to get the glass perfectly smooth.
I didn’t want any leftover lumpy stuff on the surface that was going to mess up the final finish.
Step 2: How to Clean Rust Off Metal.
If you’ve been searching for how to clean rust off metal, this is where the real transformation begins.
I started by using a wire brush to remove loose rust and peeling paint from the metal frame.
For the heavily rusted areas, I used a Dremel tool with a metal brush attachment to brush away the stubborn corrosion.
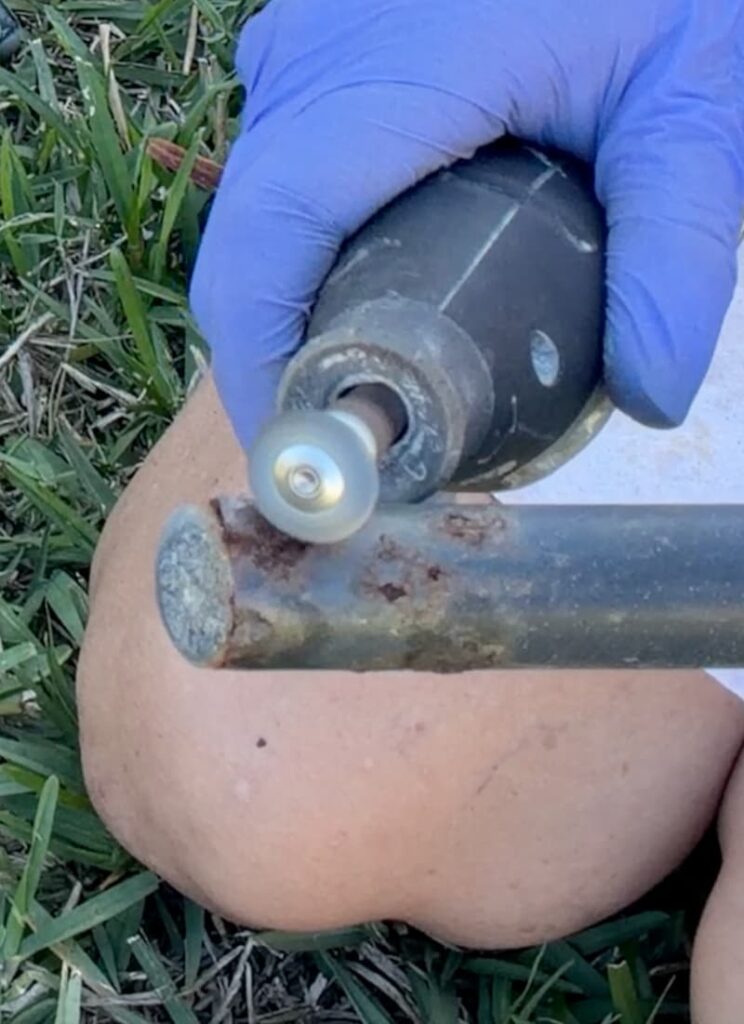
One of the most important tips for getting rust off metal and getting a good finish is removing as much loose paint and rust as possible before painting. The better your preparation, the longer you’re finished will last.
After brushing and grinding, I wiped the frame down with rubbing alcohol to remove the dust and debris.
Learning how to clean rust off metal properly can make the difference between a quick cosmetic fix and a lasting restoration.
You don’t want to go through all this trouble just to have the rust bubble to the surface again.
Step 3: Repair Rust Damage and Prime
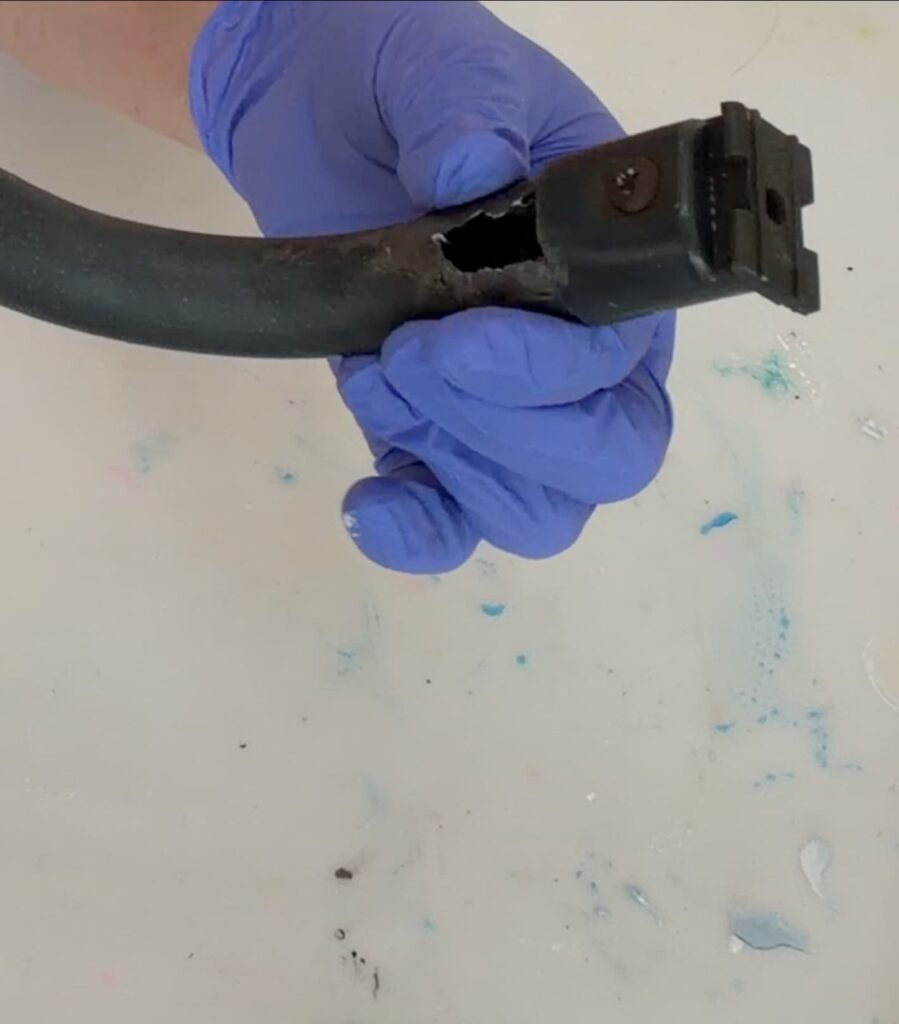
Once the frame was clean, I could see where rust had actually eaten through portions of the metal.
We are talking actual holes.
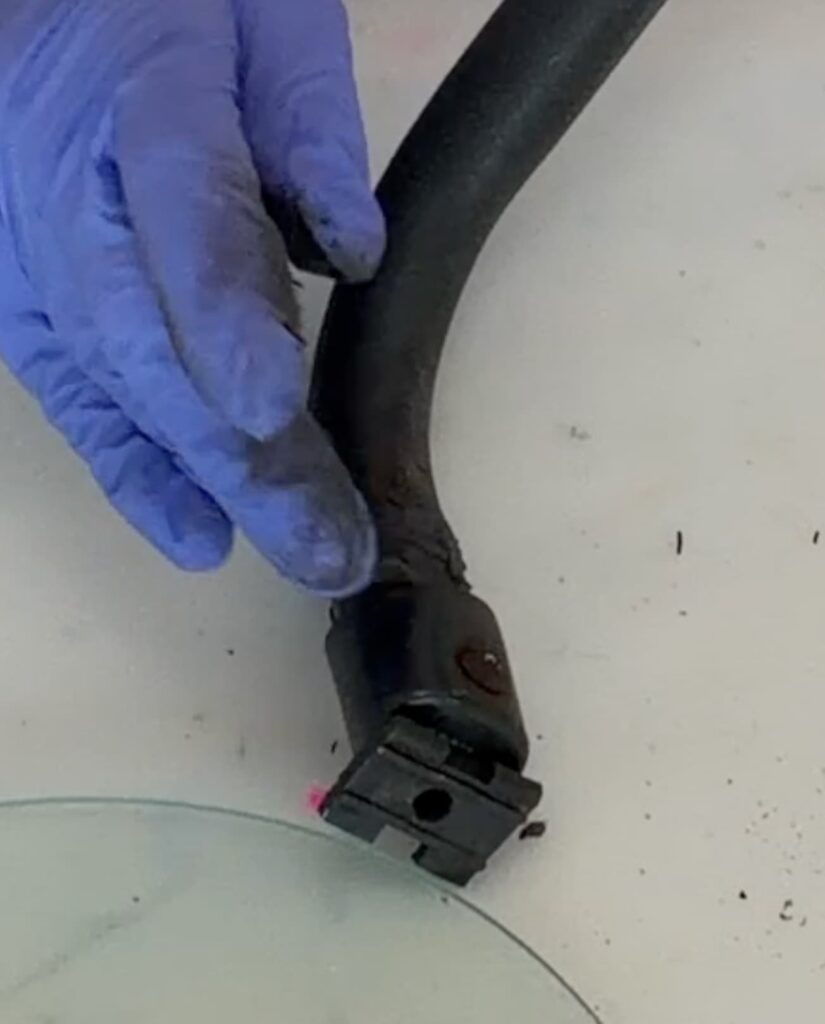
To repair these damaged areas, I used JB Weld SteelStik epoxy putty to fill the holes and rebuild the surface. I smoothed the repairs as much as possible before they cured to minimize sanding later.
Just a warning, the SteelStik has a short working window so don’t mix too much if you don’t think you can get it in place in time.
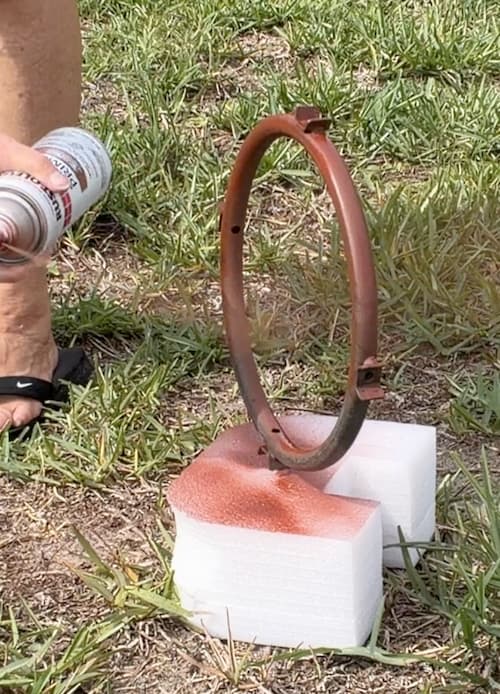
Once the Steel Stik had cured, I applied Rust-Oleum rusty metal primer.
This step is critical when learning how to clean rust off metal. This primer penetrates the remaining corrosion and creates a protective barrier that helps prevent rust from returning.
Check the label for timing because sometimes the primer doesn’t have to be fully dried before you add the paint.
Step 4: Paint the Frame and Glass
I gave the metal frame two coats of Rust-Oleum hammered spray paint which provided a durable finish and hid minor imperfections.
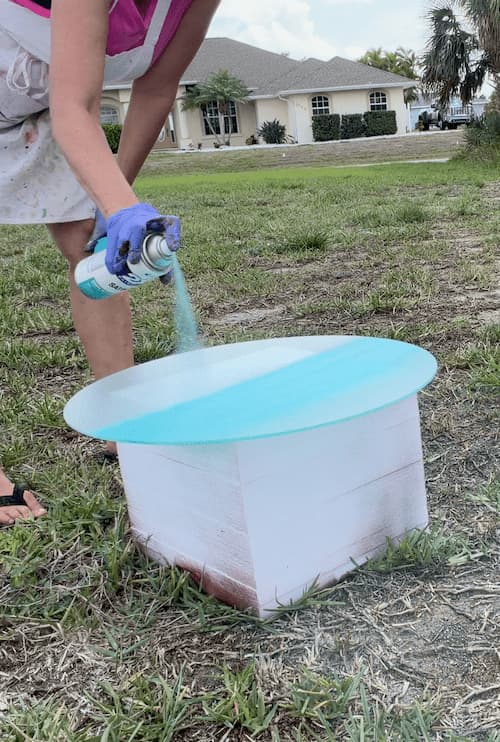
For the glass top, I use a different approach. Instead of painting the top surface, I painted the underside using Rust-Oleum 2X spray paint.
This method protects the paint because it’s sealed beneath the glass. The allows the table to remain smooth and durable while the design stays protected from scratches and every day wear and tear.
Step 5: Add a Custom Design and Reassemble
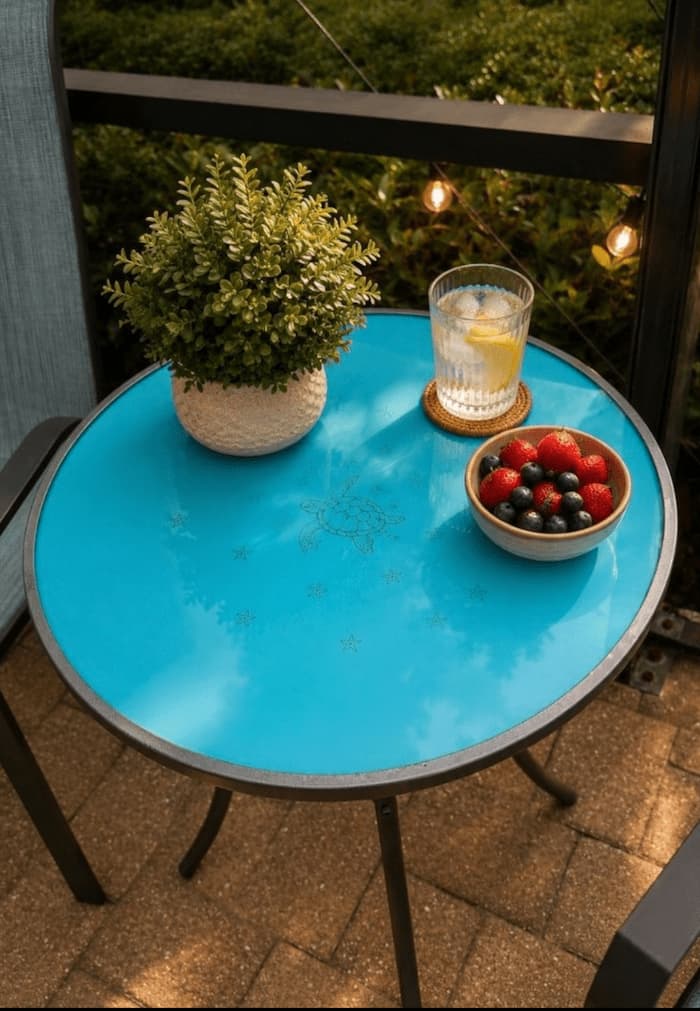
To a unique coastal look, I use my laser engraver to create a sea turtle design in the paint. So, I engraved the underside of the table top.
The laser removed the paint and etched the glass, creating a permanent design. I then added starfish throughout the surface to expand the theme and image.
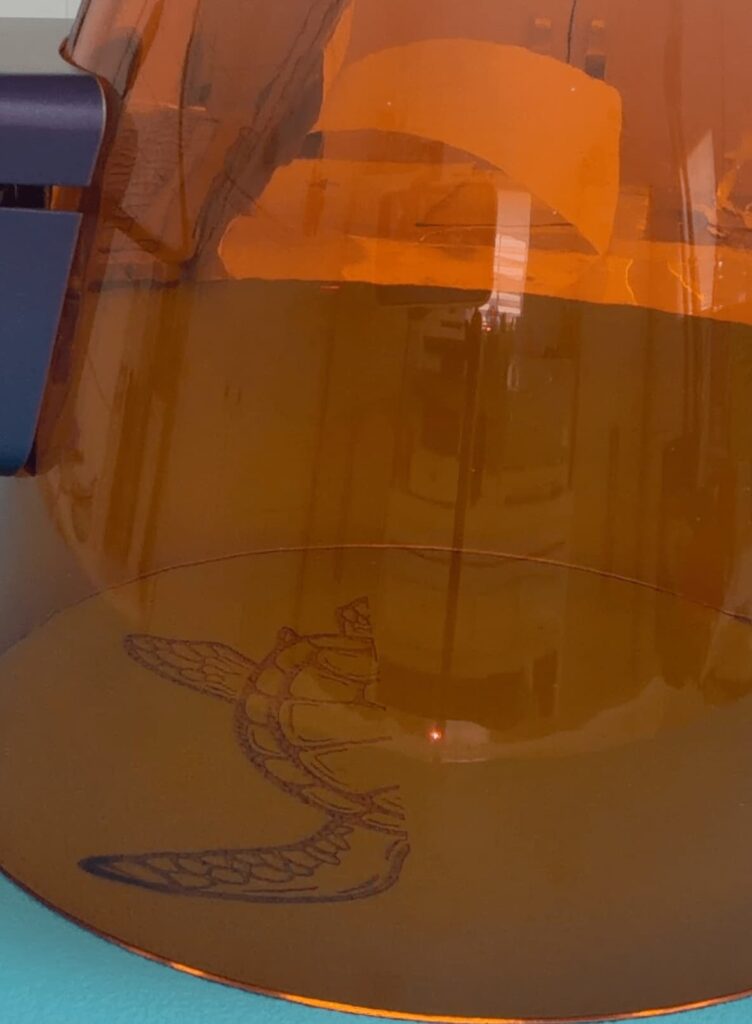
The Wecreat Lumos laser that I used has a maximum area to engrave being 4.5″ x 4.5″. Therefore, I maxed out the turtle design to that 4.5″, but I wanted the design to be larger, so I added starfish randomly beyond that area.
So even though there is a limited area the laser can engrave, you can expand your design beyond that by actually moving the laser to different spots and it gives you so much flexibility.
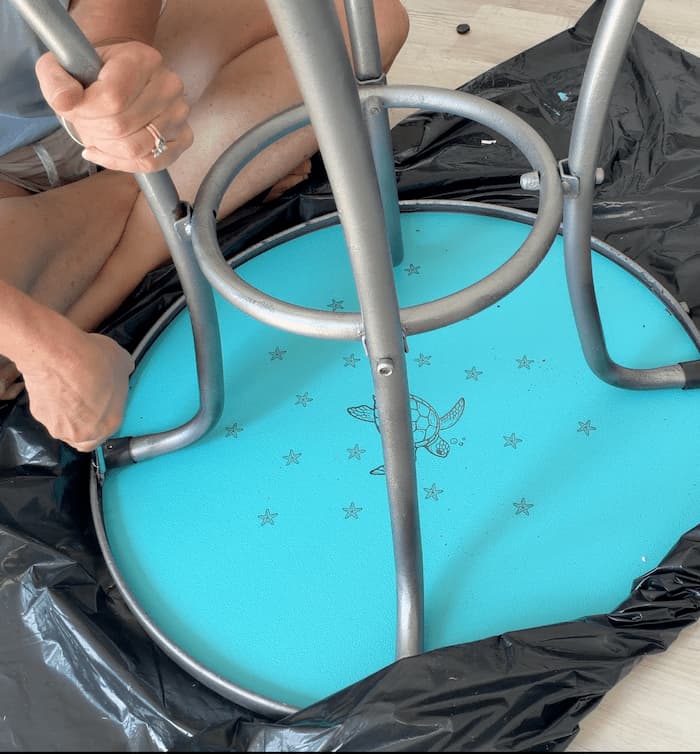
Once the engraving was completed, I cleaned away the soot, slipped the glass back into the frame, and reattached the table base.
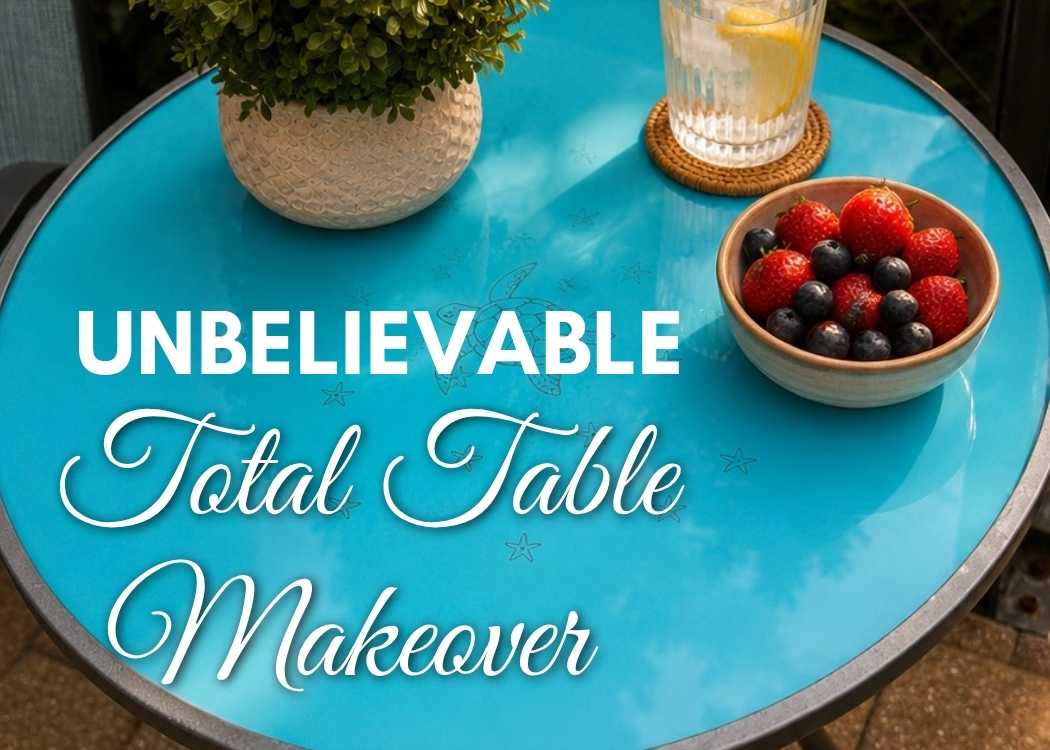
The transformation is incredible!
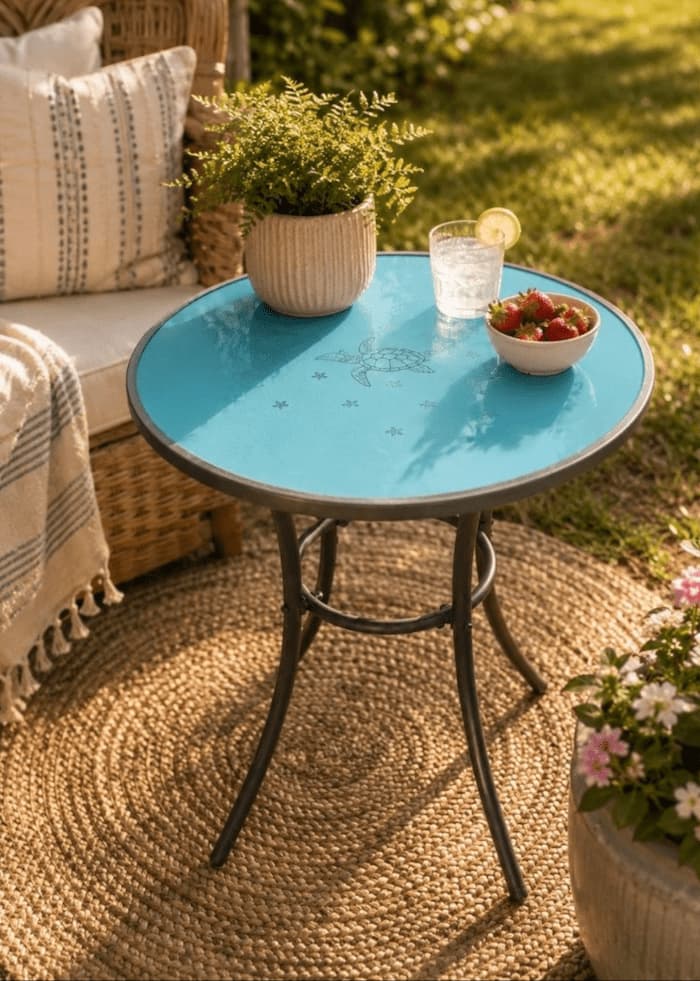
What started out as rusty curbside garbage became a beautiful custom accent table perfect for outdoor entertaining.
Final Reveal: Garbage to Gorgeous
This makeover is proof that you don’t need expensive materials to create something beautiful. Sometimes all it takes is a little imagination and knowing how to clean rust off metal properly.
Project like this is why I love furniture flipping. There are so many opportunities to turn forgotten items into something special. If you’re looking for furniture, flipping ideas, don’t overlook curbside finds.
You never know what hidden potential is waiting beneath the rust and dirt.
This a great example of how understanding how to clean rust off metal and properly preparing surfaces can completely transform an old piece of furniture. It’s not garbage anymore!
And I love how it looks on my lanai!
This table went from curbside trash to coastal treasure and became one of my favorite garbage to gorgeous projects yet.
Would you have saved this table or left it for the trash truck? Let me know in the comments!
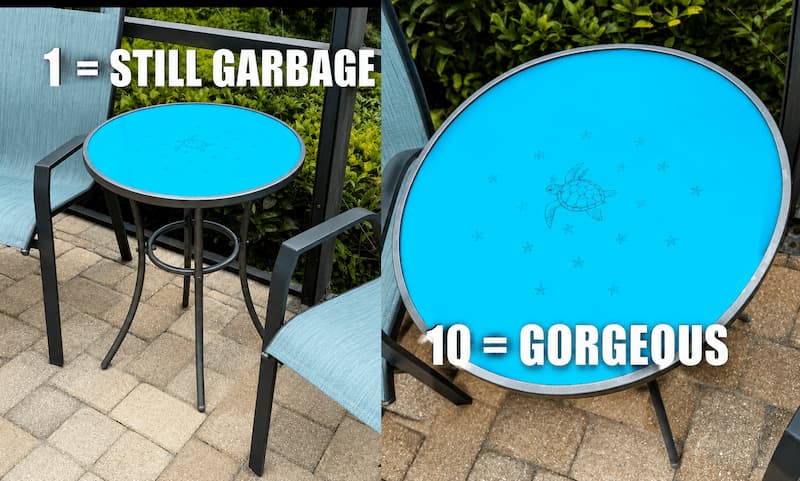
Also, I need you to give me your honest rating on the Shimmer Scale!
- 1 = Still Garbage
- 10 = Gorgeous

Don’t Miss These Projects
Be sure to check out these other great projects you will love and most don’t require you to clean rust off metal!
- How to Reupholster a Bench (Garbage to Gorgeous Makeover)
- The Best Glass Paint: What Stays Put and What Peels?
- Dollar Tree Cutting Board Craft: Engraved Turtle DIY
- Easy Resin Ocean Art
Remember life’s too short not to shimmer so grab your glue and your glitter!
Mona