Learn how to make clay jewelry with this easy clay transfer tutorial. Transfer an image to clay to create unique clay charms, pendants & gifts.
Creating your own clay jewelry is easier than you think!
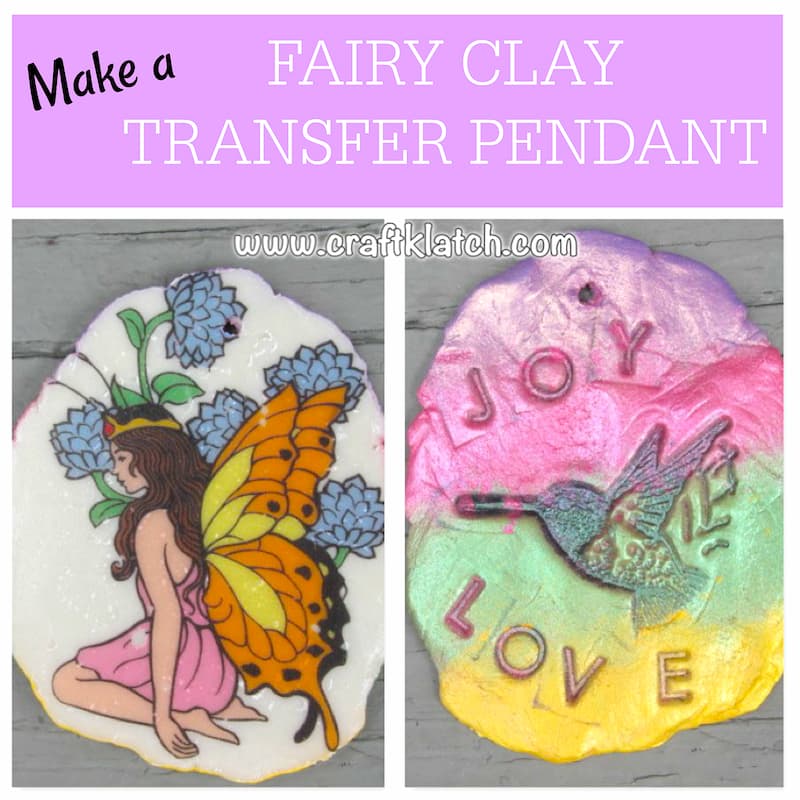
With a simple clay transfer technique, you can add personal photos, clip art, or designs to create custom clay charms and clay pendants.
Today, I’ll show you how to transfer an image to clay for a unique piece that you can wear, gift, or use as a keepsake.
And don’t forget—you’re not limited to clip art!
I’ve done this before with a pet photo clay transfer project, and even tried a whimsical fairy design for coasters.
Just so you know, you don’t have to limit yourself to clip art! I also did this Pet Photo Transfer Project version!
I also did a fun Fairy Coaster that did not quite turn out as I expected!
Supplies You Will Need
*This blog uses affiliate links. As an Amazon Associate I earn from qualifying purchases, at no additional cost to you.
- Jewelry Clay: https://amzn.to/2EVFHio
- Inkjet printer: https://amzn.to/2WTBRAE
- Pigment powder: https://amzn.to/2ETPWnl
- Letter stamps: https://amzn.to/2W81D3D
- Ink pad: https://amzn.to/2YCFSGZ
- Hummingbird stamp: https://amzn.to/2F0alrc
- Inkjet transfer paper (t-shirt transfer paper): https://amzn.to/2EZlhVM
Here is the Video Tutorial
I’ll show you step by step how to transfer an image onto clay.
Step-by-Step: How to Transfer an Image to Clay
Step 1: Prepare your clay and image

Start by printing the picture or clip art you want to use on transfer paper. While that’s printing, get your jewelry clay ready according to the directions on the package. Roll the clay into a ball and flatten it a bit.
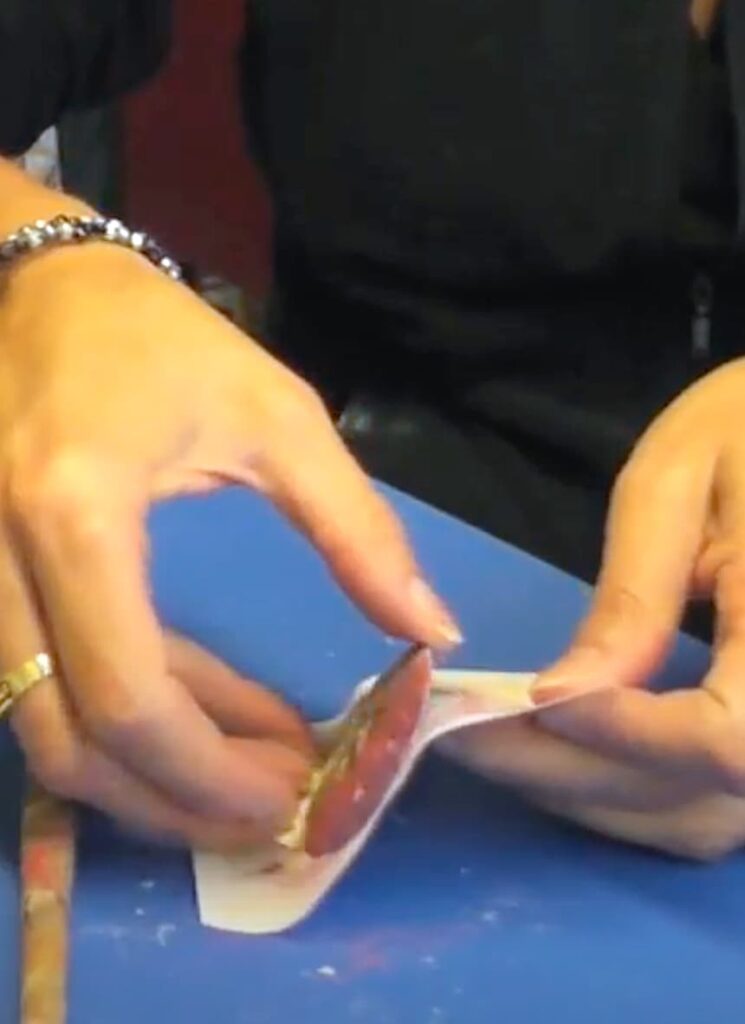
Step 2: Press and shape
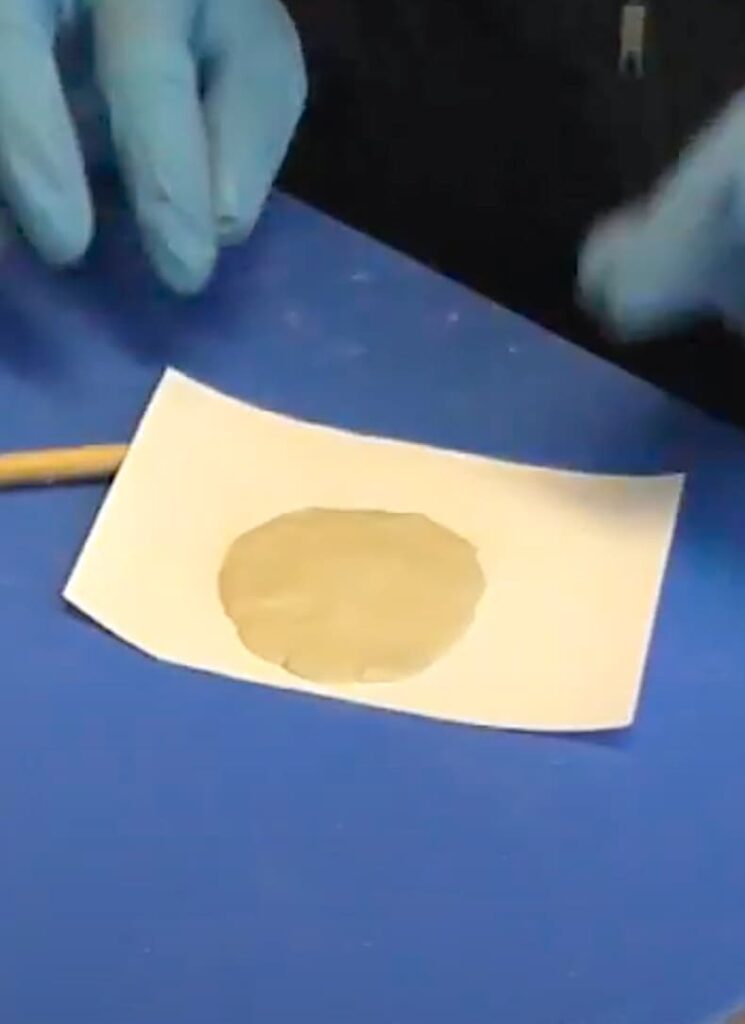
Place the clay onto the printed image and press it down firmly so the design transfers. Shape the clay into the size and thickness you like. If you’re planning to make a clay pendant or clay charm, use a toothpick or pen to poke a hole at the top now.
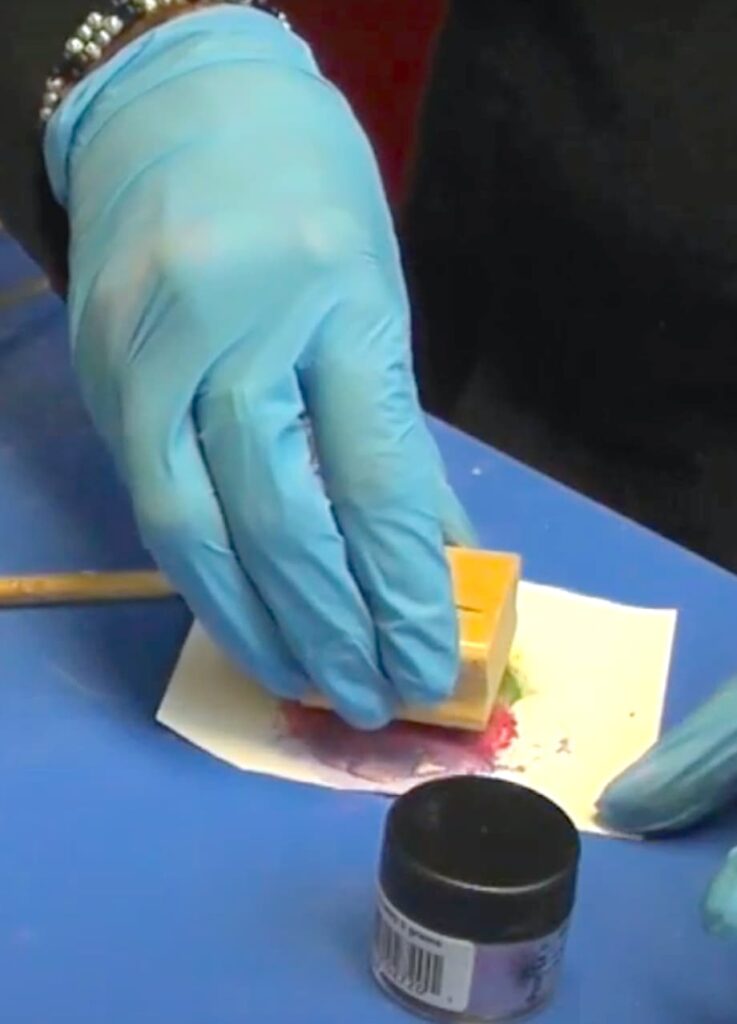
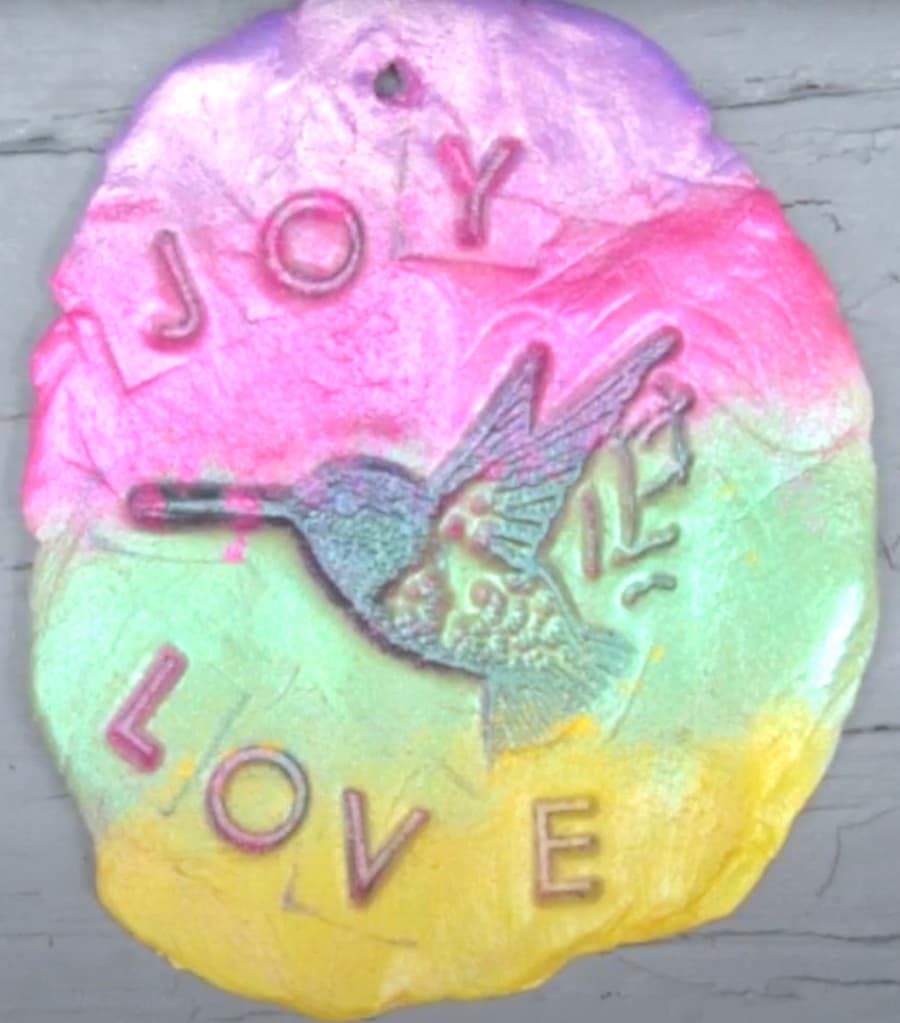
Step 3: Add color and details
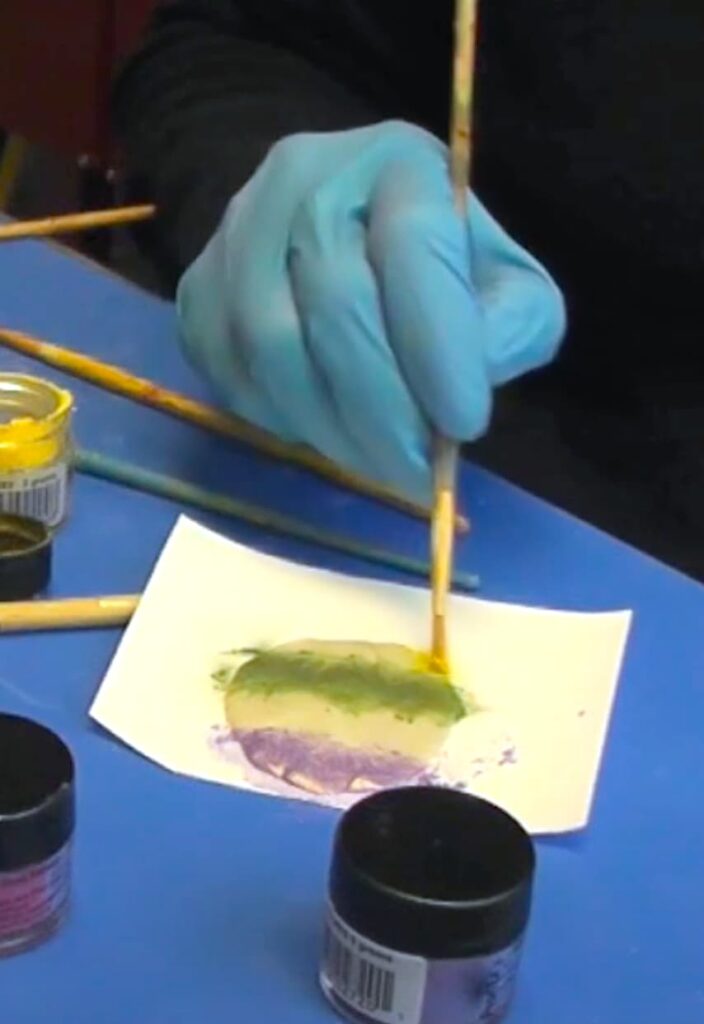
Brush pigment powder onto the sides and back of your clay piece — it becomes part of the clay as it cures, adding a pretty finish. This is also a fun time to press in a rubber stamp or add lettering with ink for a more personalized touch.
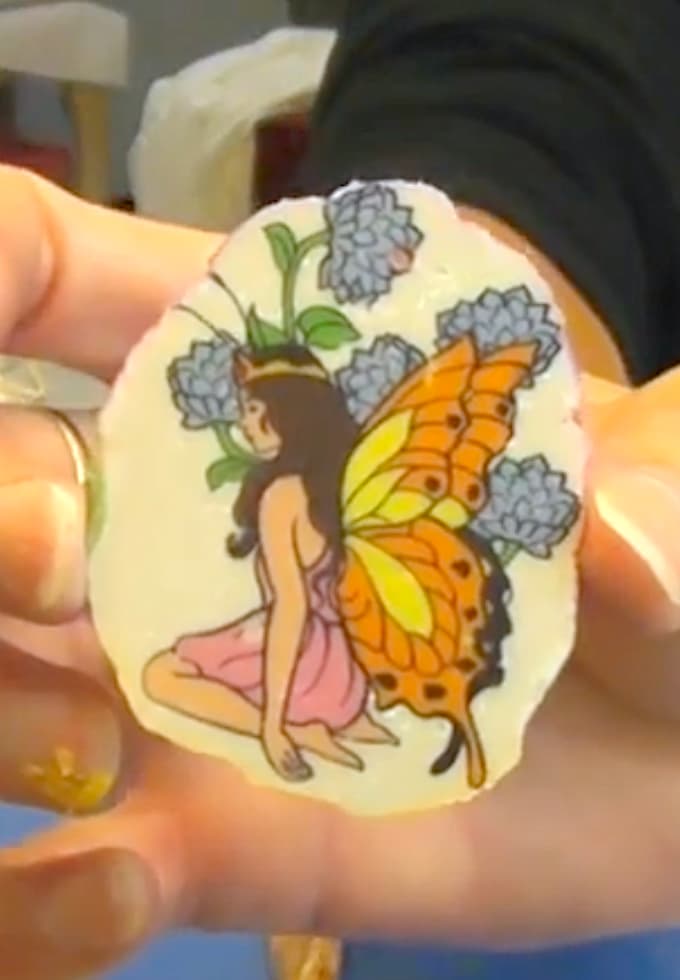
Step 4: Cure and reveal
Let the clay cure for at least 12 hours. Once it’s fully hardened, peel it away from the transfer paper to reveal your design. It’s always exciting to see how the clay transfer turns out!
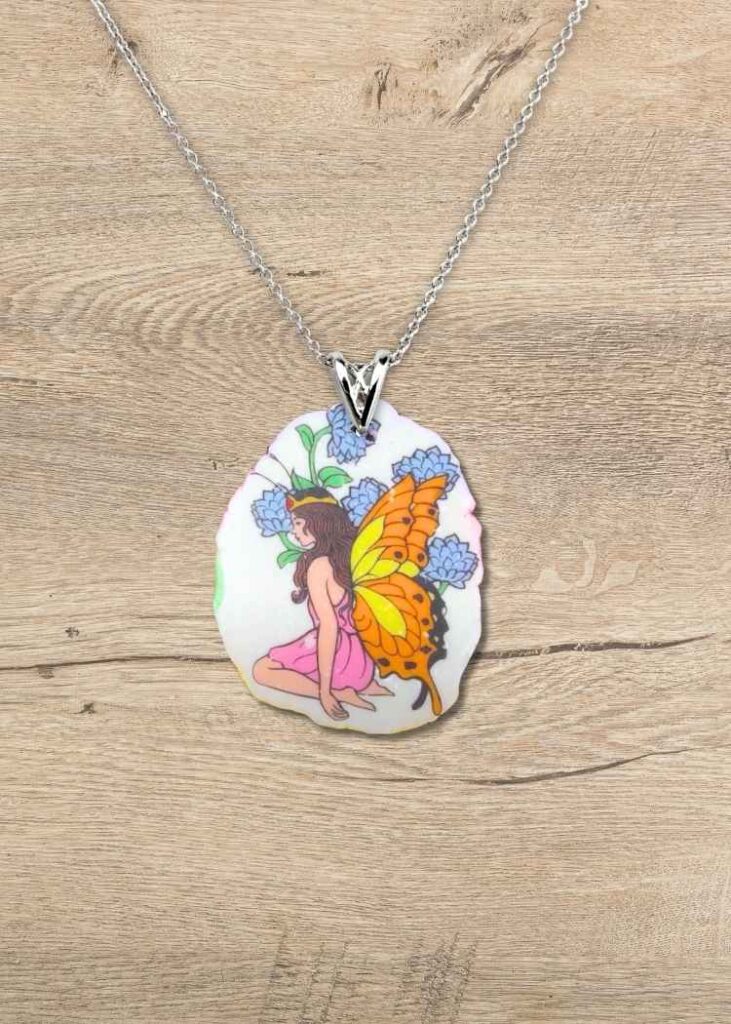
Step 5: Finish and protect
If you’d like, add a thin layer of resin over the image for shine and durability. Once cured, your piece is ready to wear or gift.
Ideas for Your Clay Transfer Creations

Once finished, you can turn your clay transfer into so many things:
- A clay pendant for a necklace
- A clay charm for a bracelet or keychain
- A one-of-a-kind ornament
- A bookmark or bag tag
- A personalized gift for someone special
Every piece of clay jewelry you make will be completely unique, and that’s what makes this craft so fun.
Thanks for stopping by! I hope you give this clay transfer a try — it’s an easy and creative way to transfer an image to clay and make jewelry you’ll actually love to wear.
It will be rock solid, and you can use it as a keychain, hang it from your rearview mirror, or Christmas ornaments, bookmarks, etc.
Be sure to Pin this project for later!
Enchanting Fairy and Mermaid Projects
- Magical Tooth Fairy Idea DIY [Video & Free Printables]
- Mermaid Coaster – Another Coaster Friday
- DIY Resin Mermaid Light Craft Tutorial
Magical Fairy Gifts
If you are looking for a magical fairy gift, be sure to check out these beautiful ideas!

That’s it! Thanks for stopping! Remember: Life’s too short not to shimmer, so grab your glue gun and your glitter!™ Stay safe!
Mona
You can always find me on YouTube!