

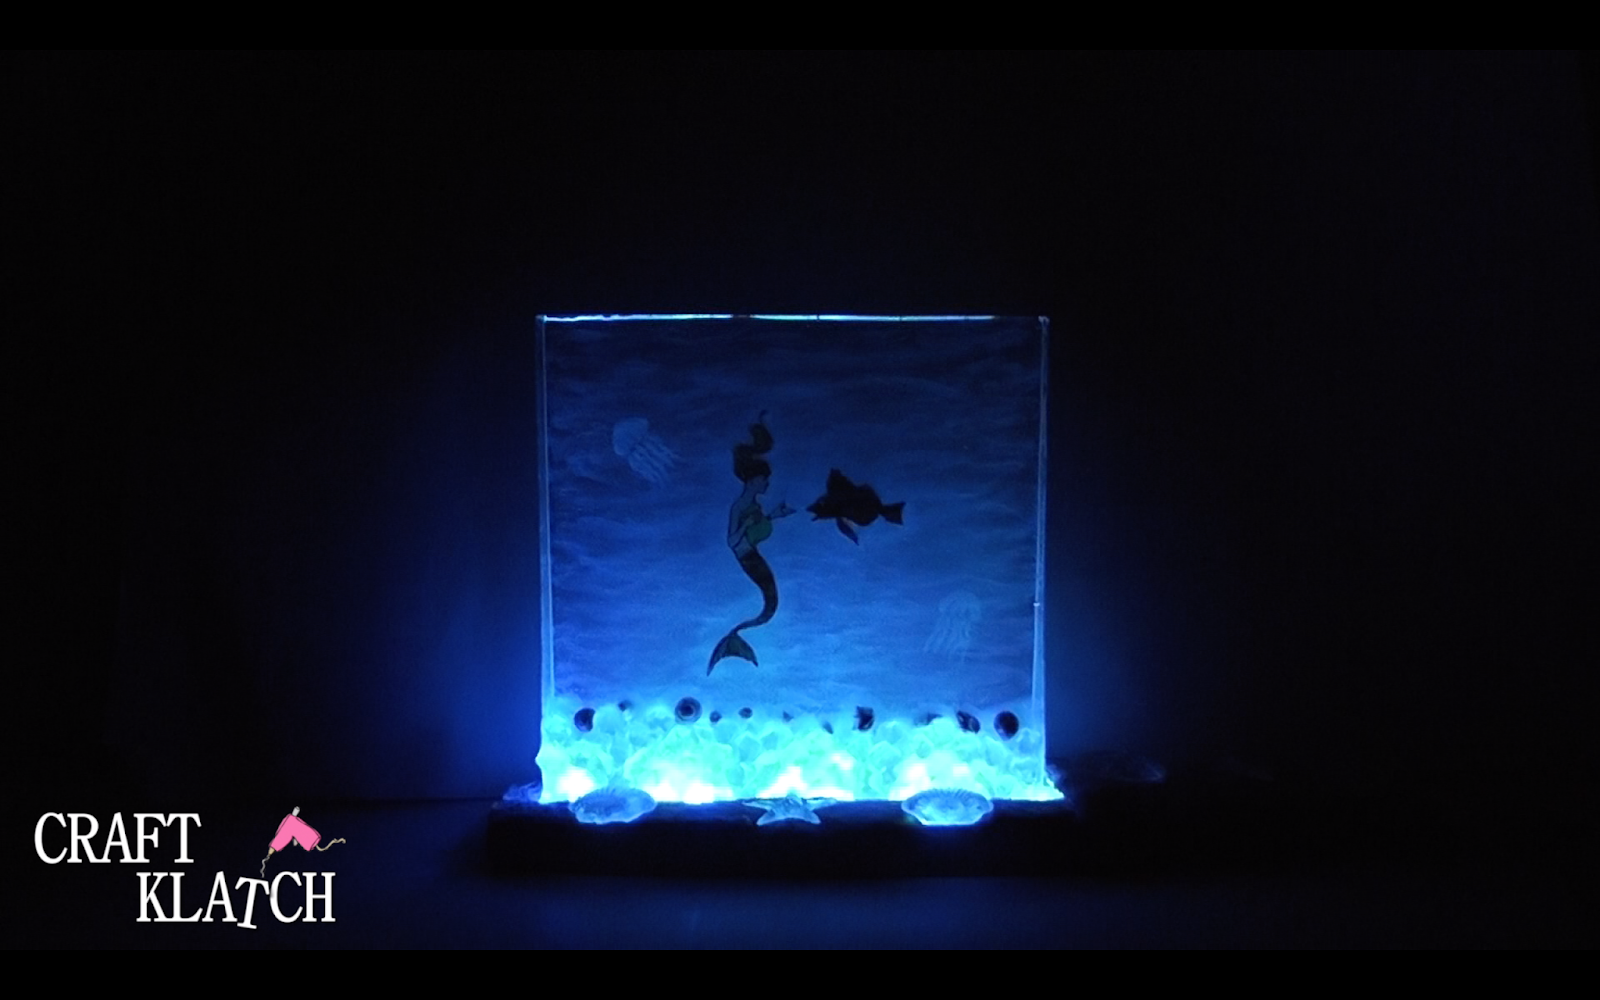
5. Take glow in the dark paint and paint jellyfish.
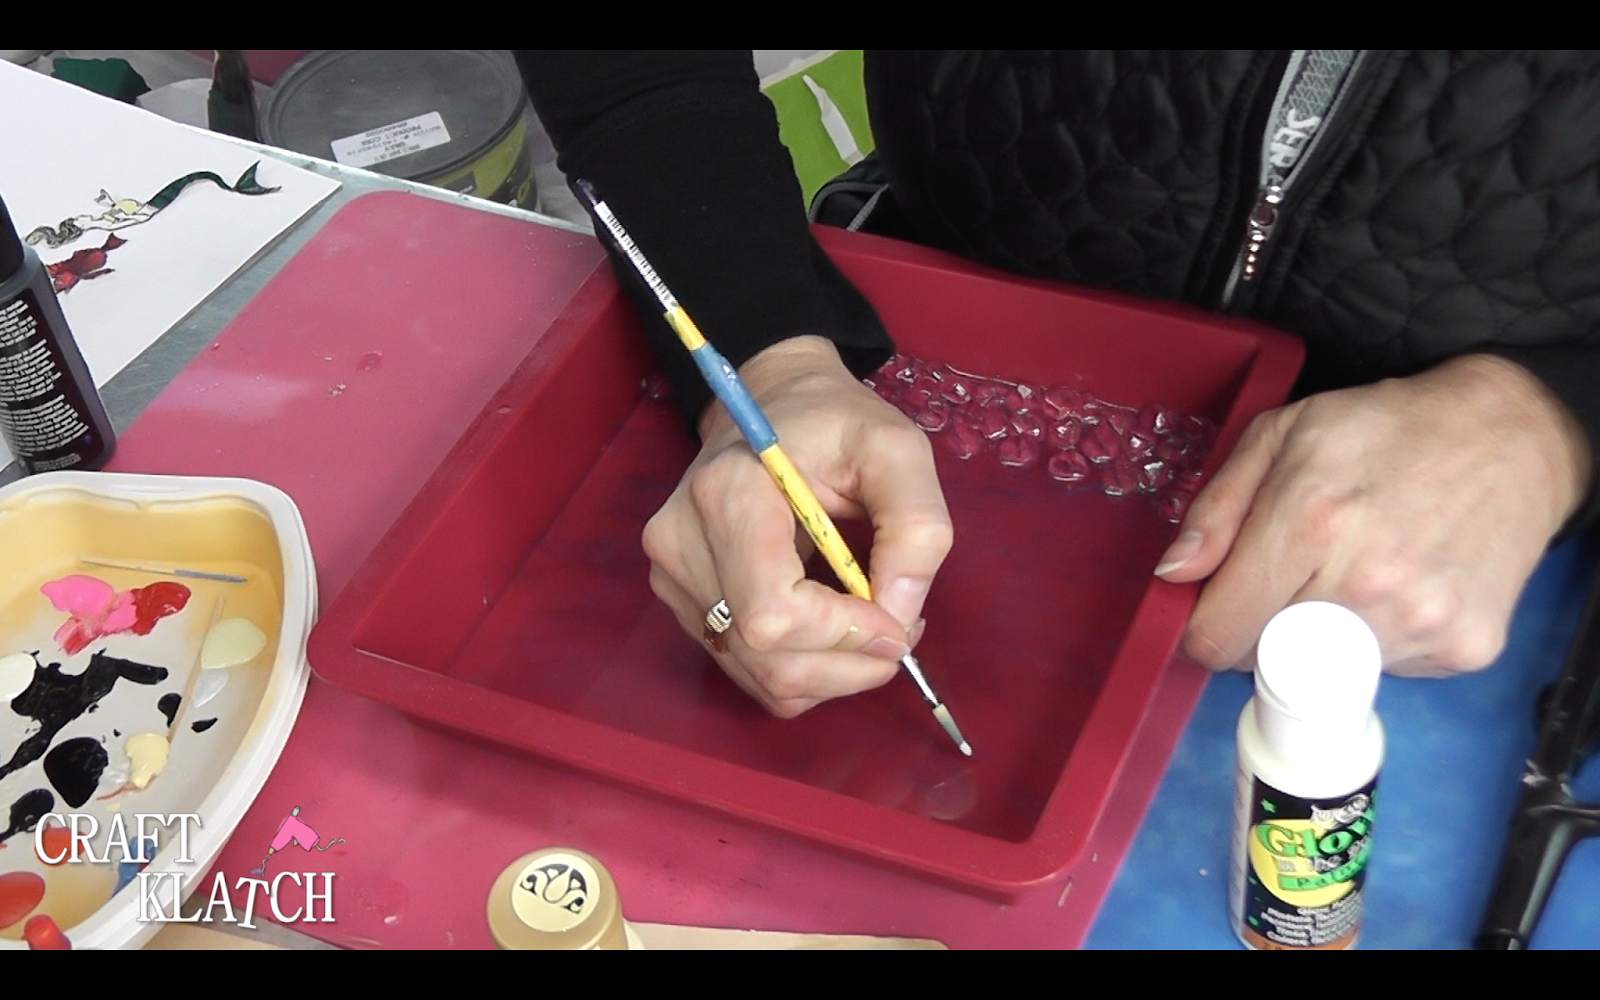
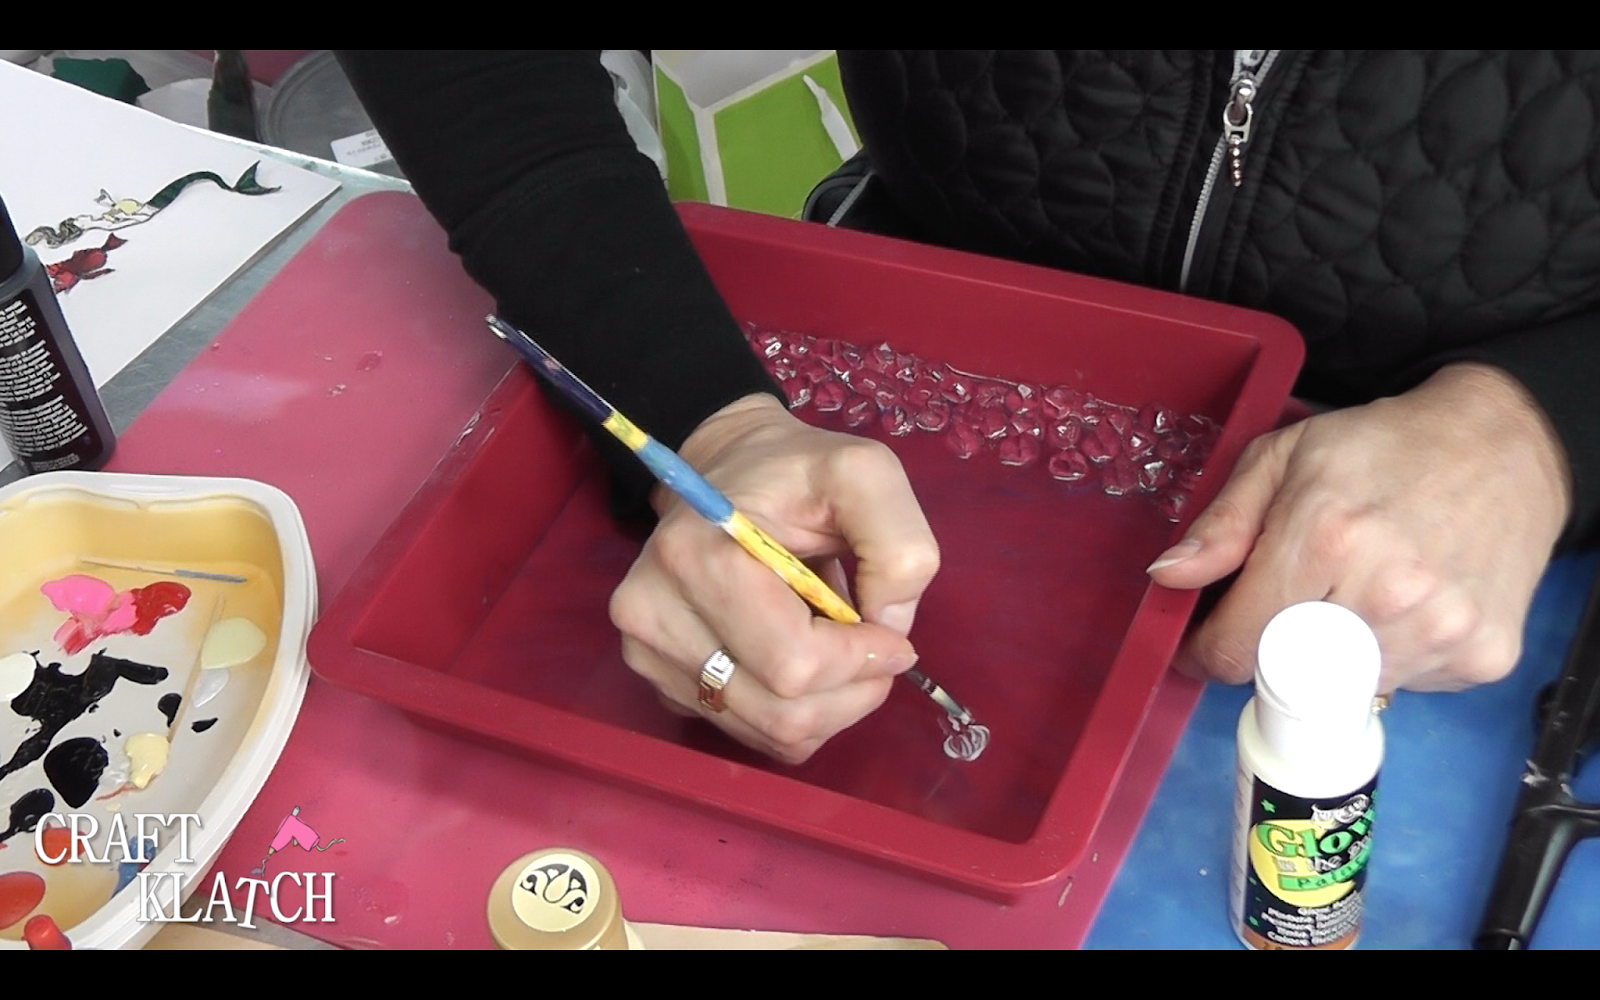
6. Add glow in the dark paint to the higher parts of the rocks. Let everything dry.
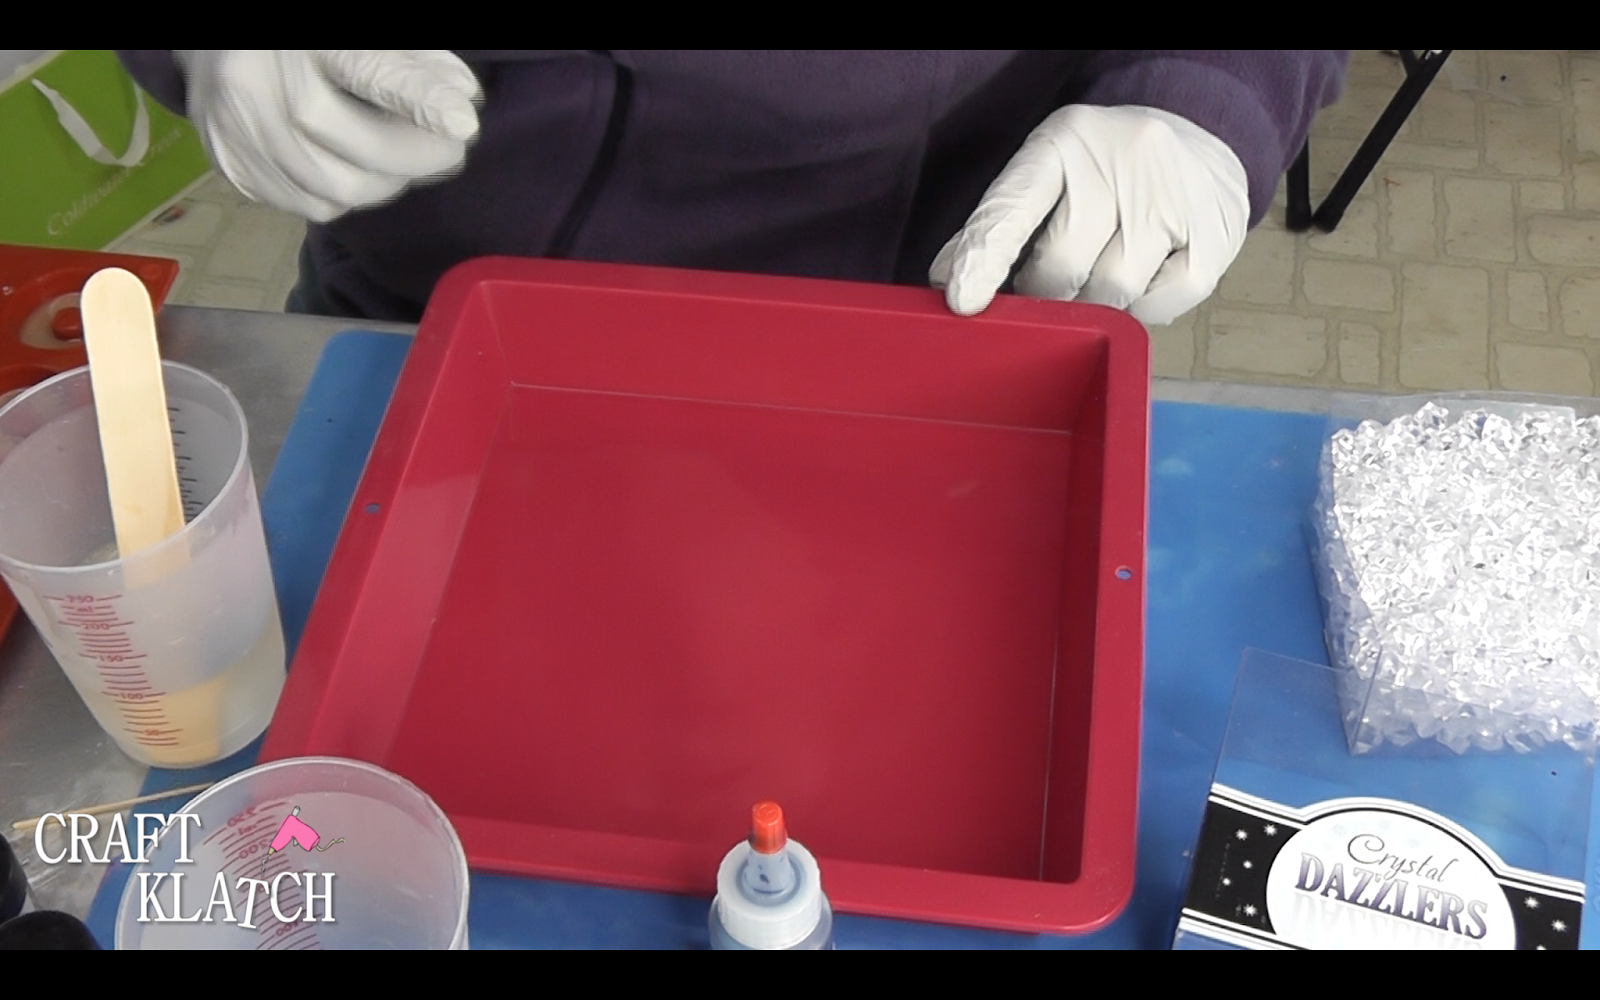
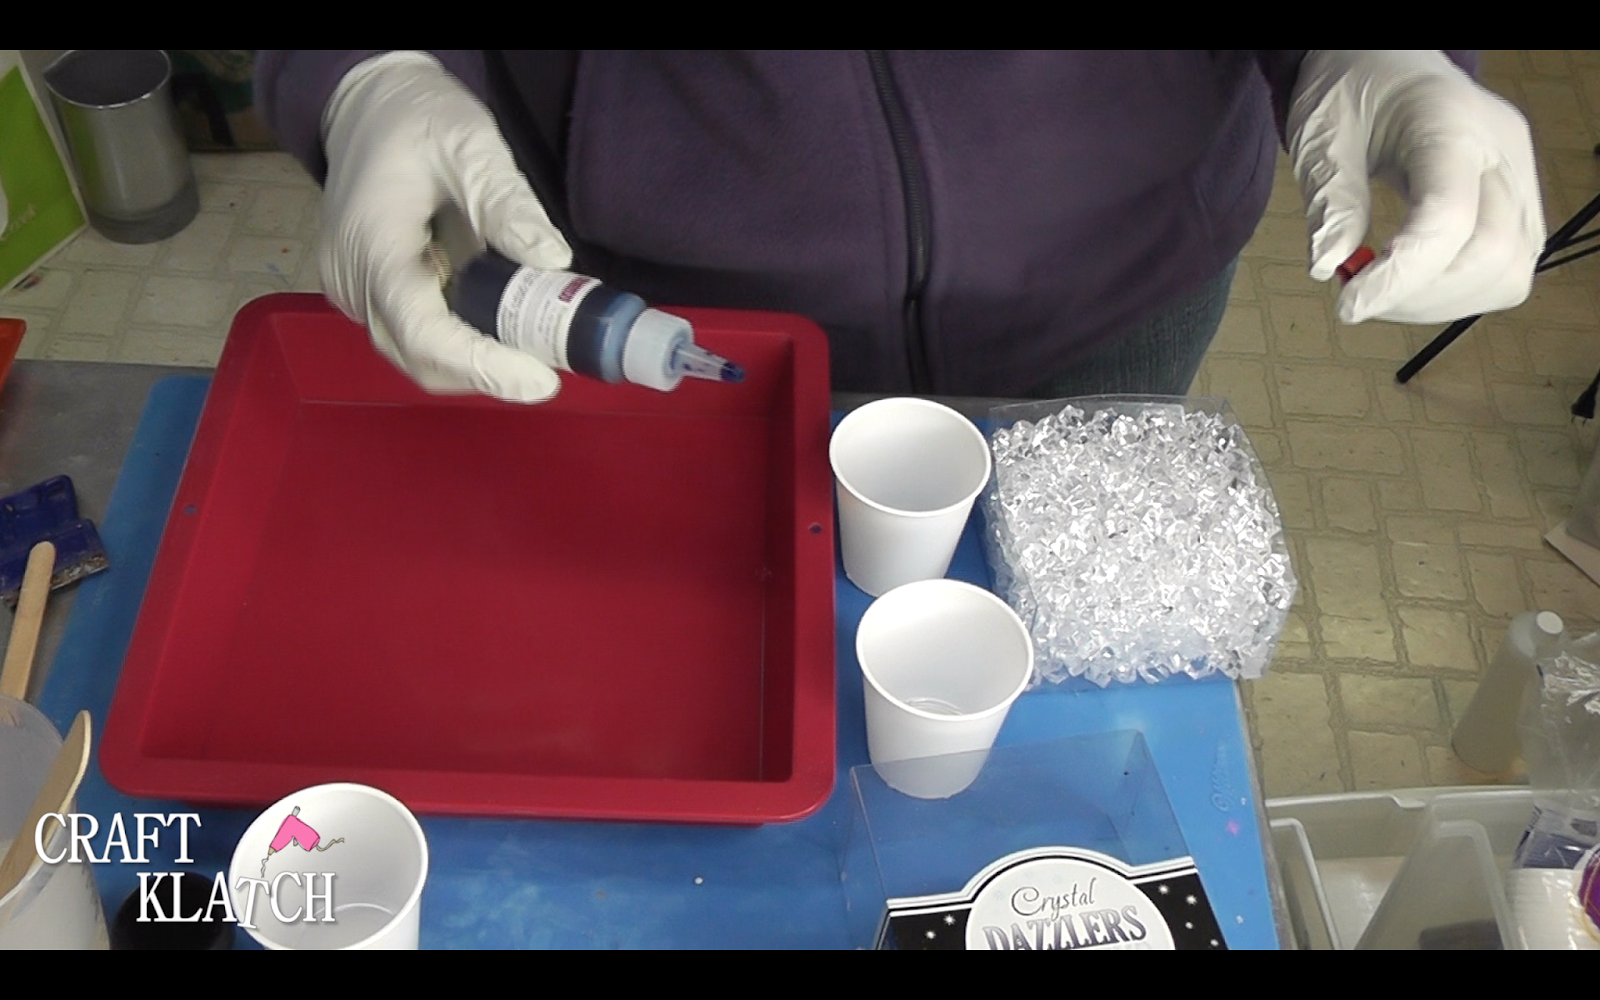
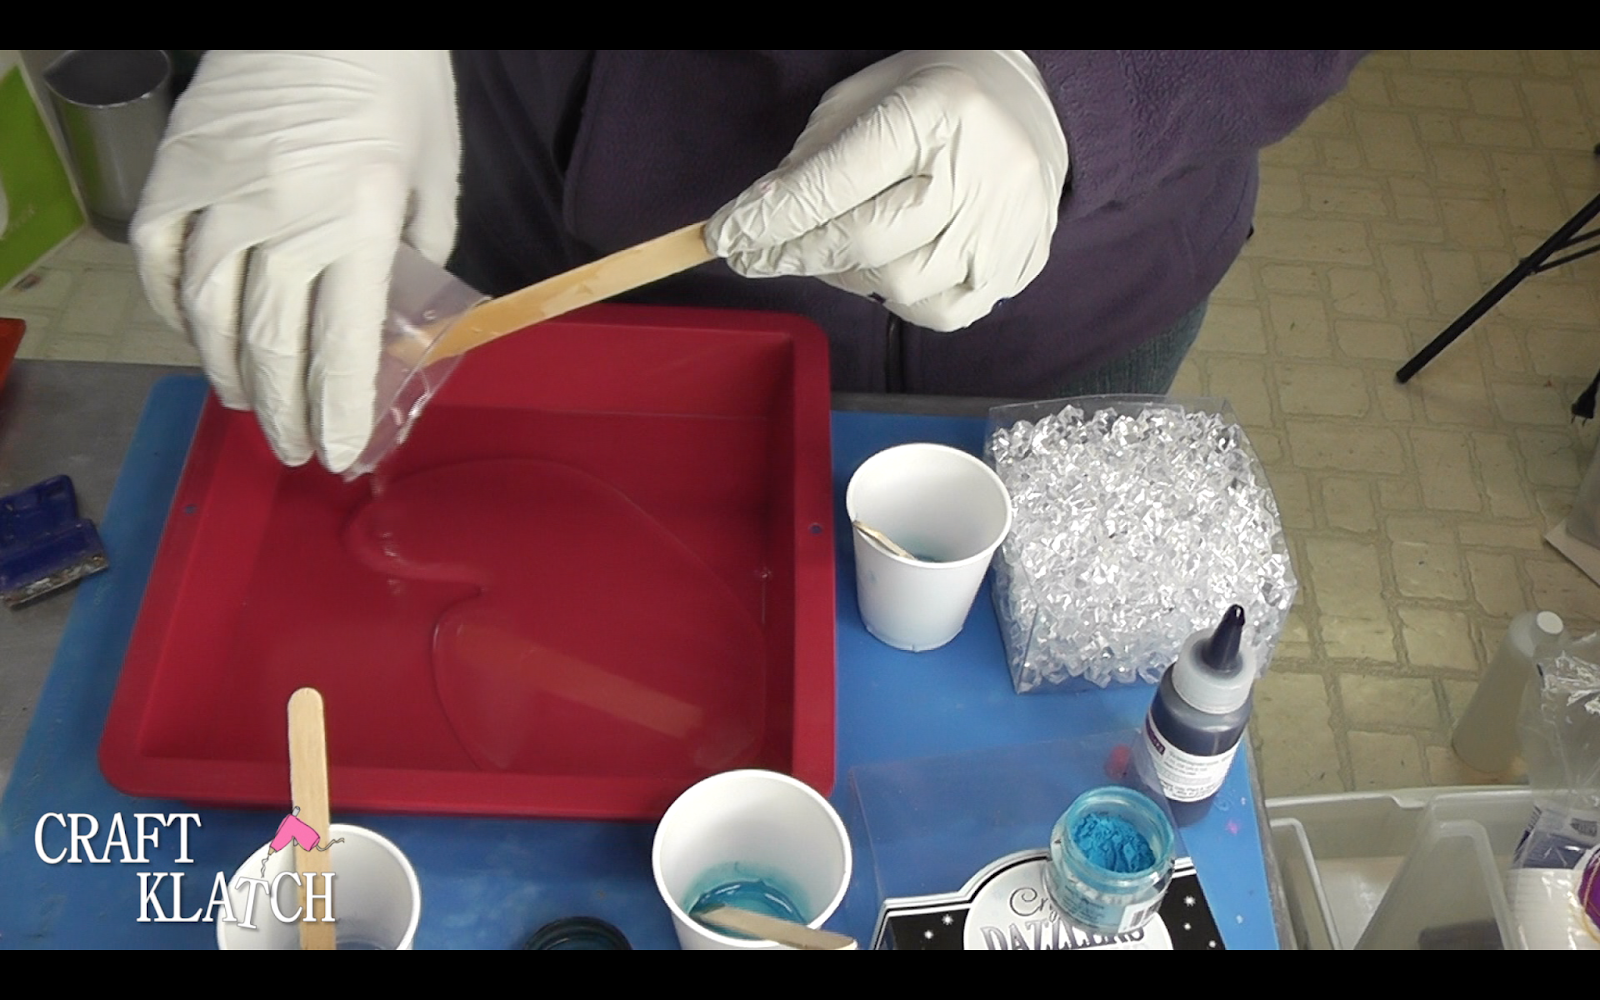
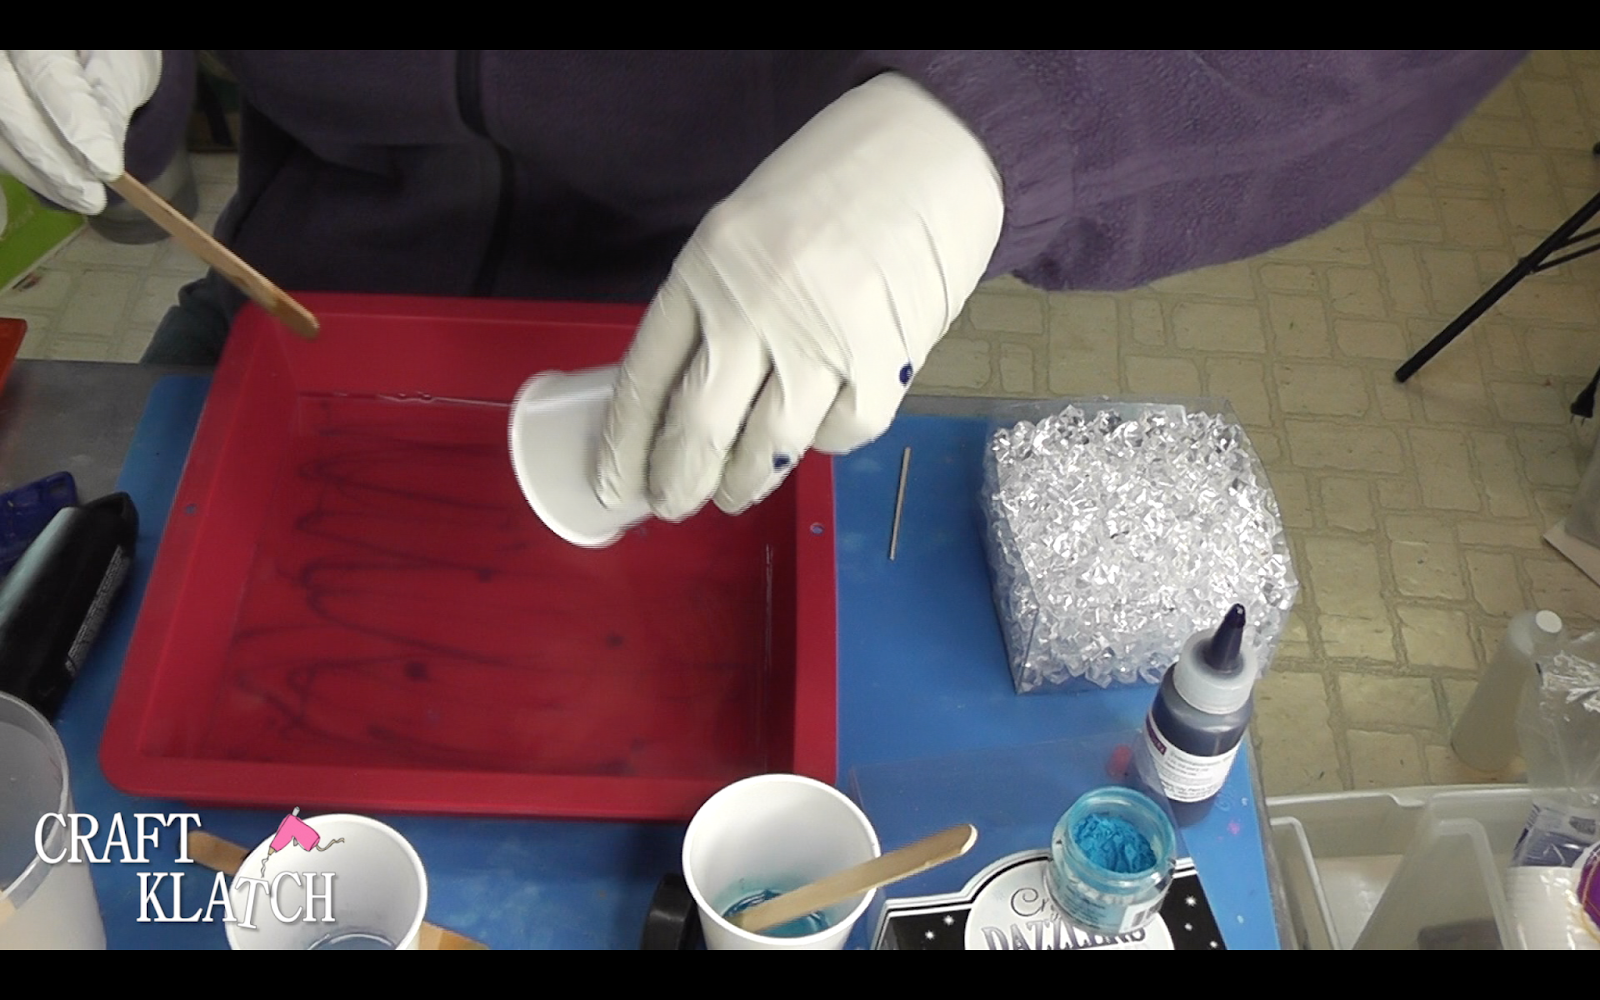
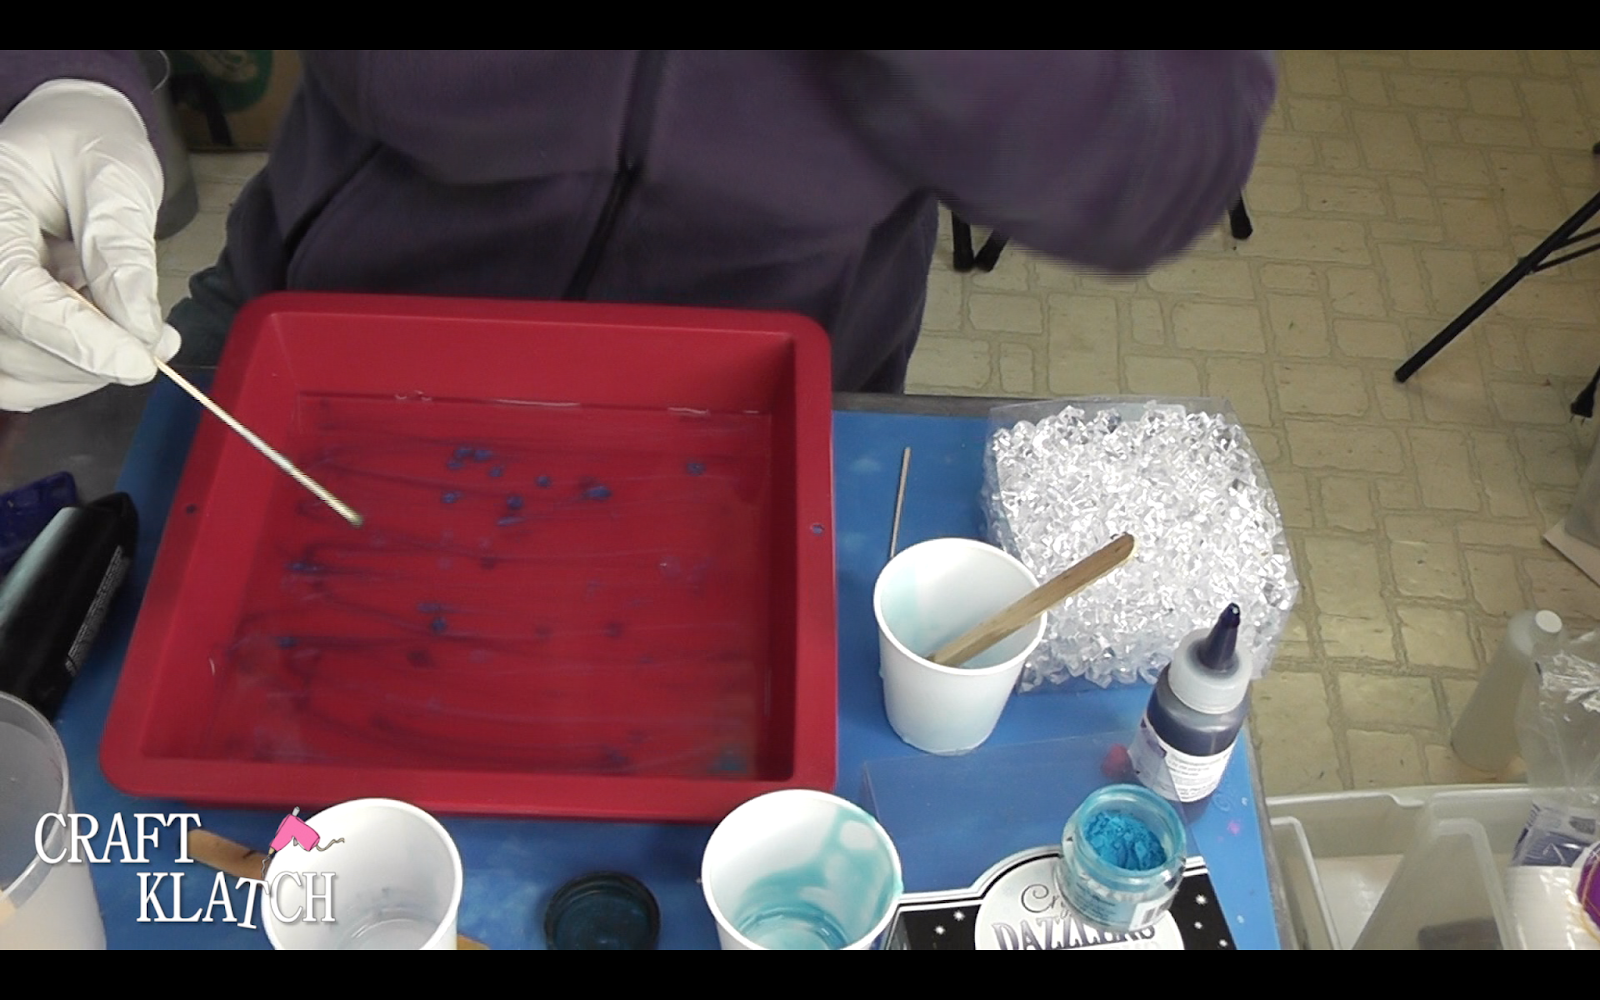
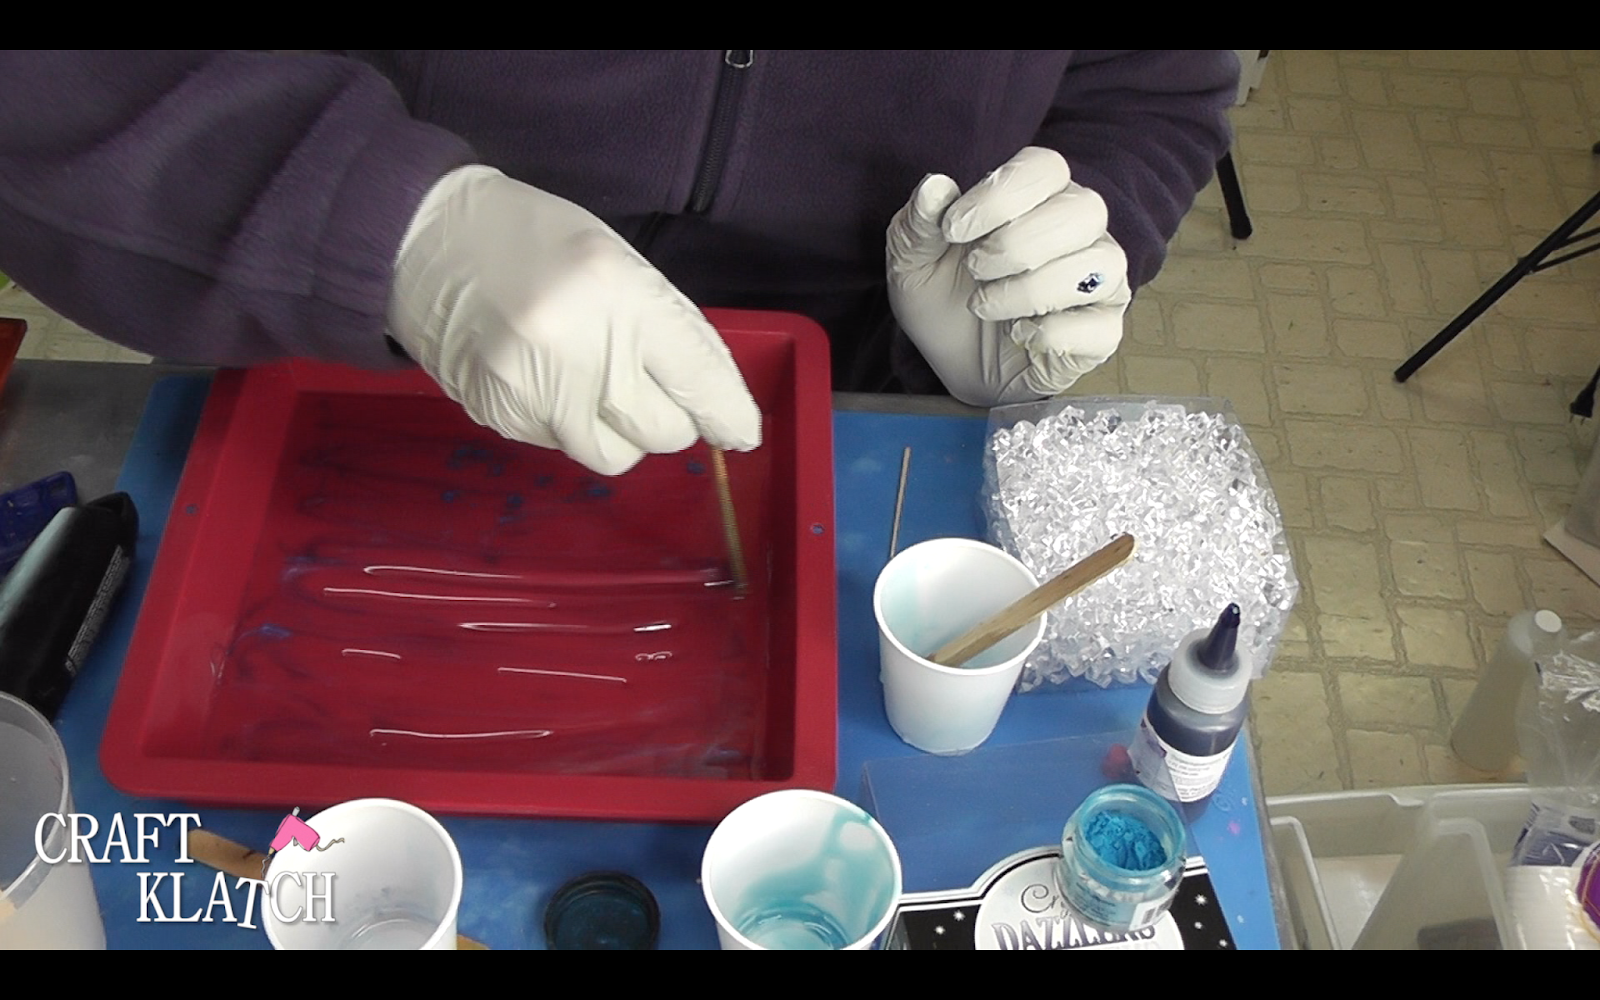
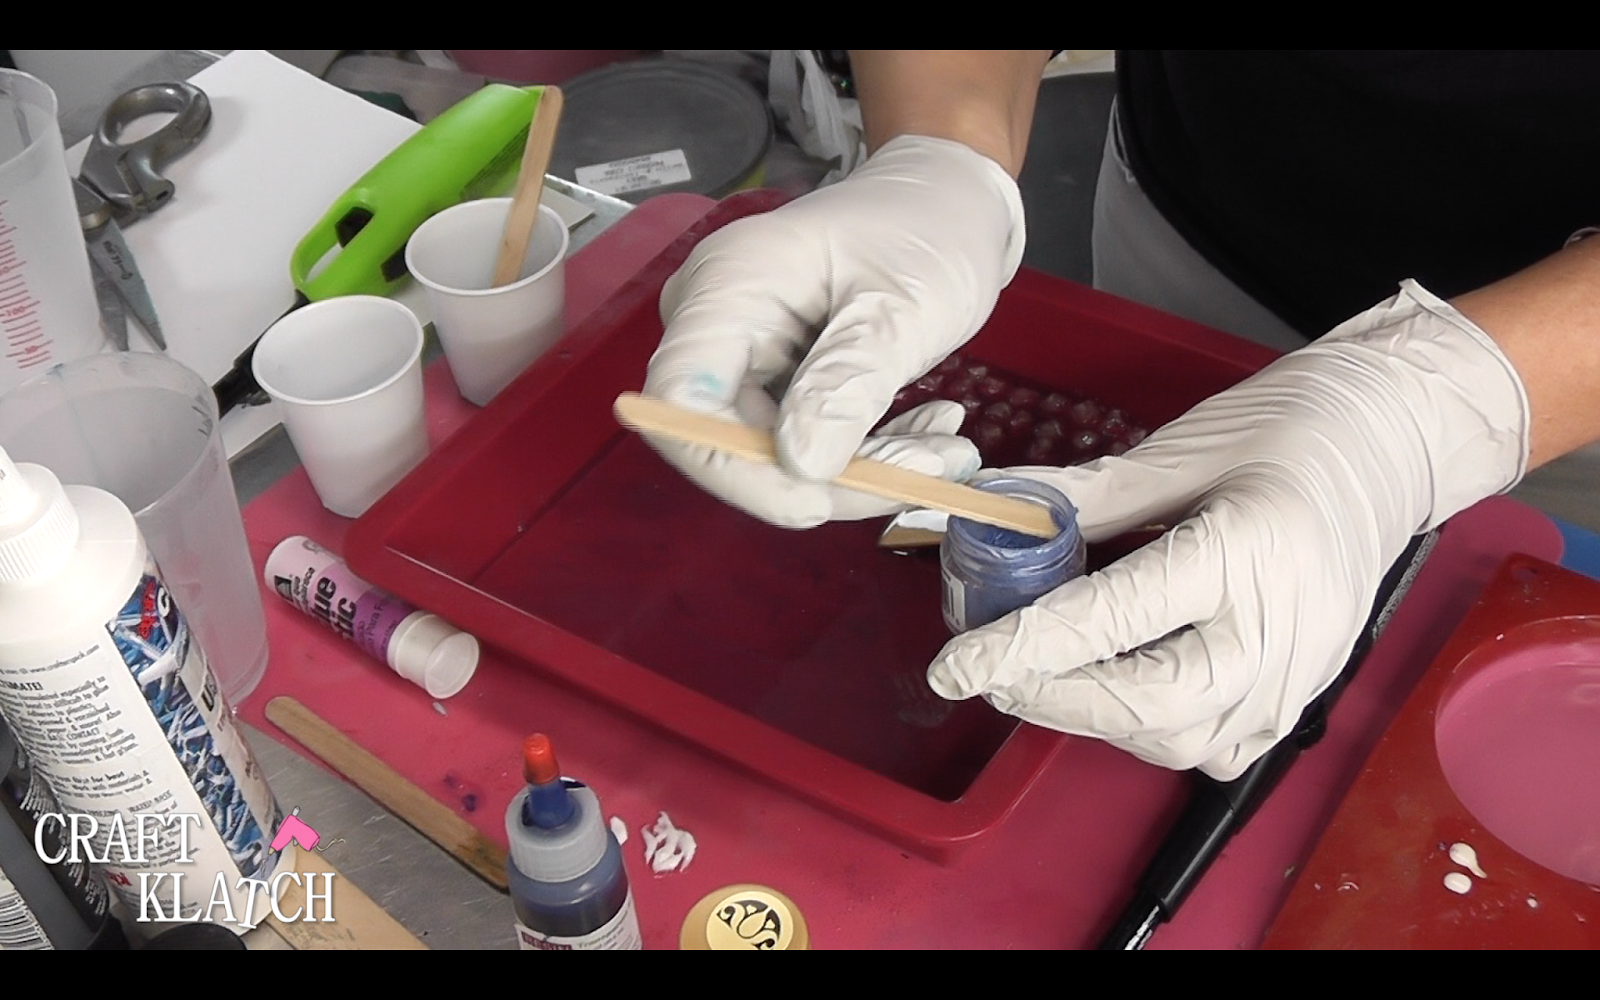
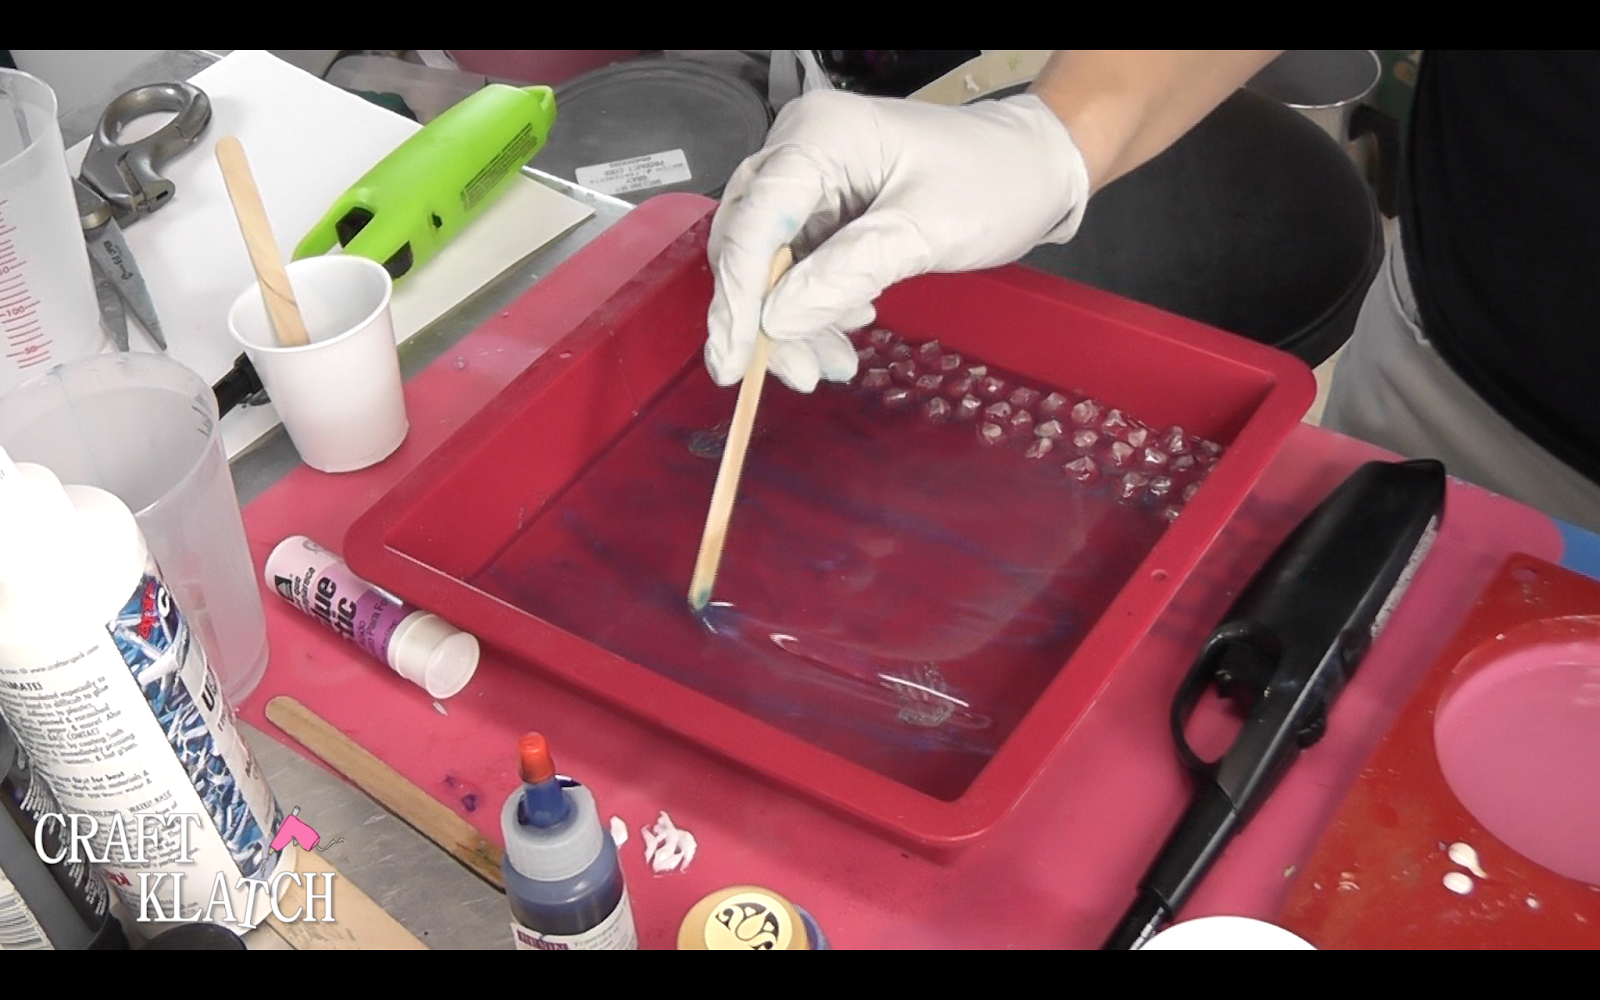
7. Mix three more ounces of the resin. Add a small amount of the transparent blue pigment – just enough to tint it. Then, pour a little bit into two cups and pour the remainder into the mold.
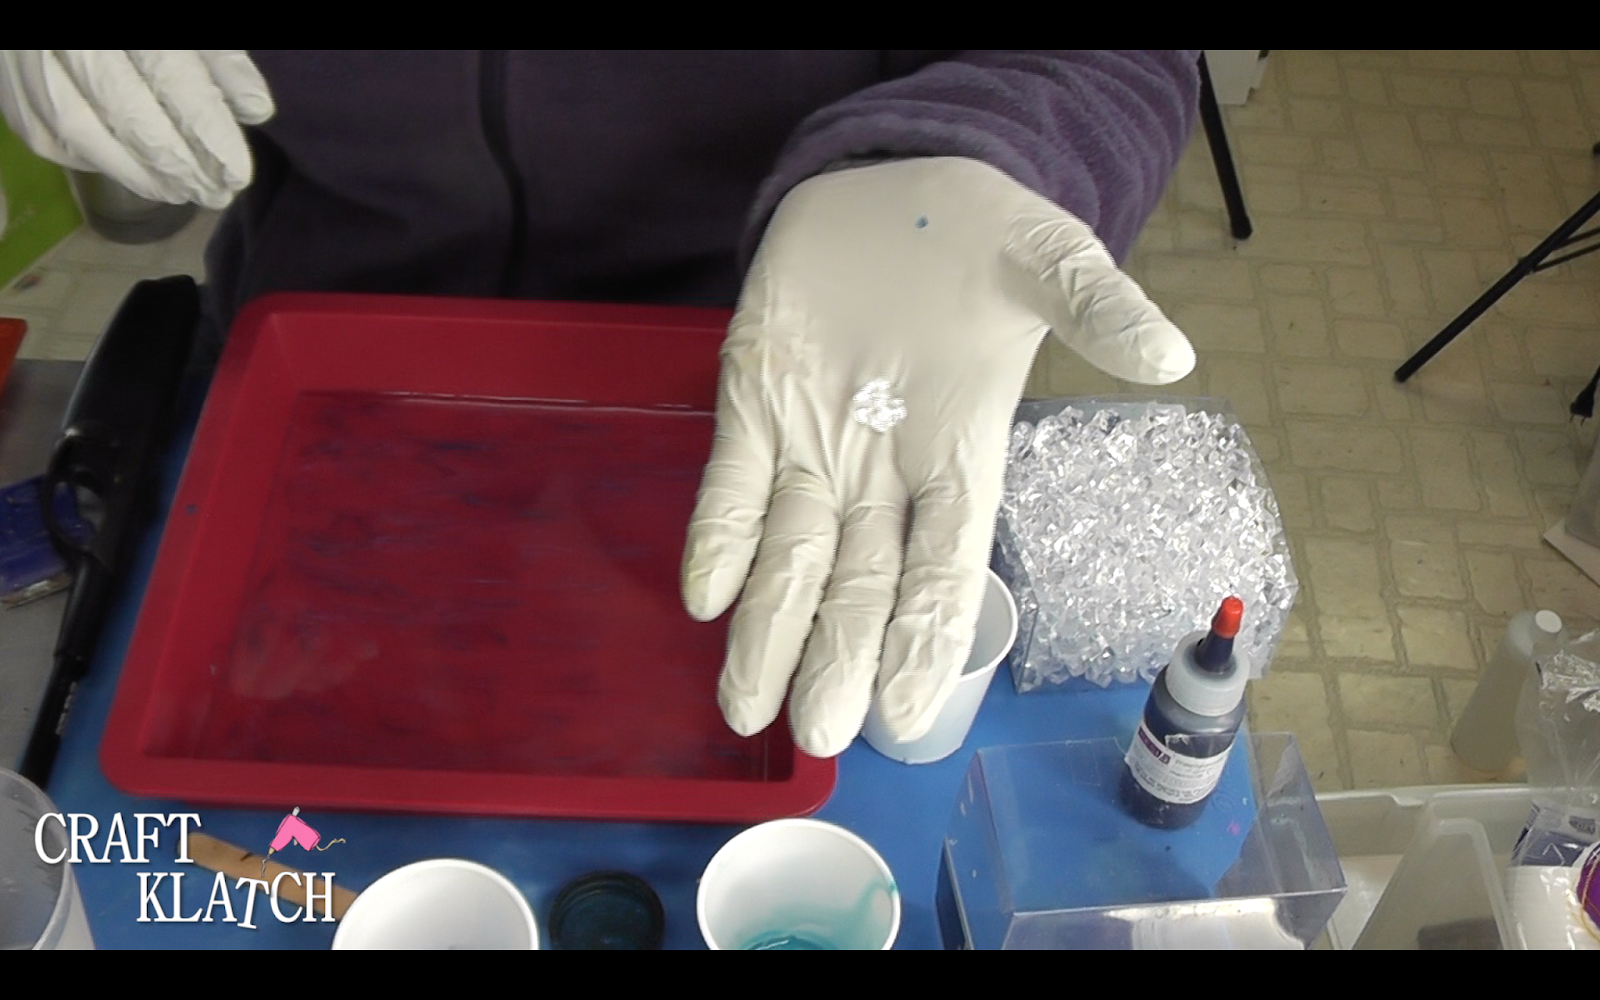
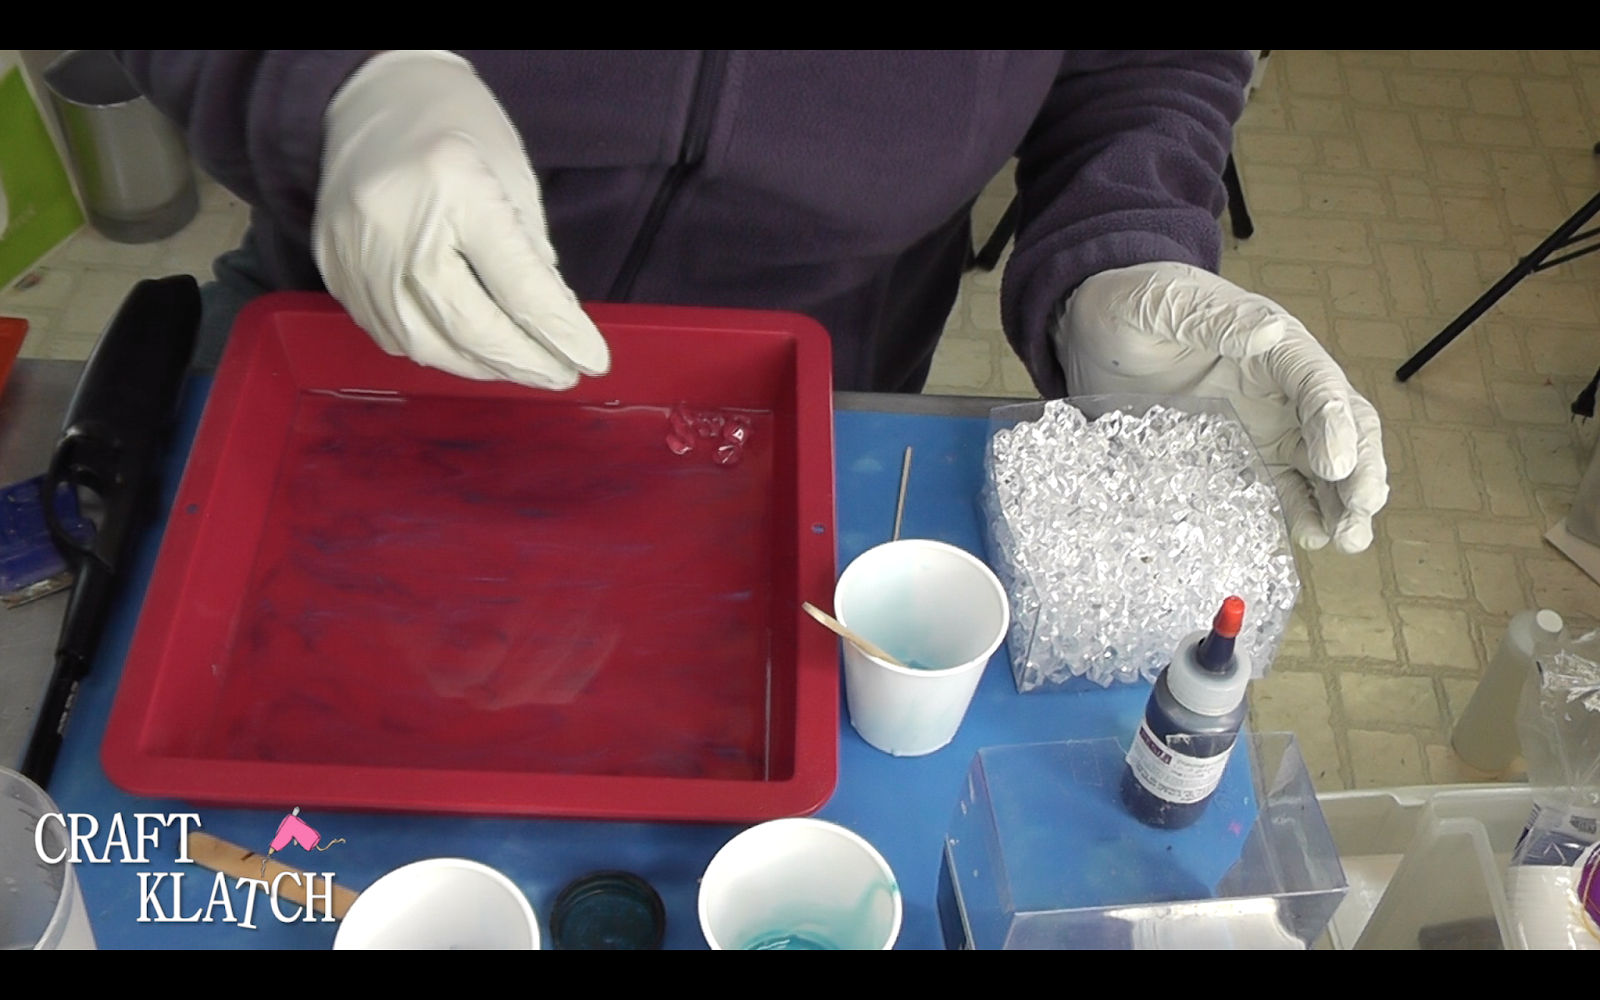
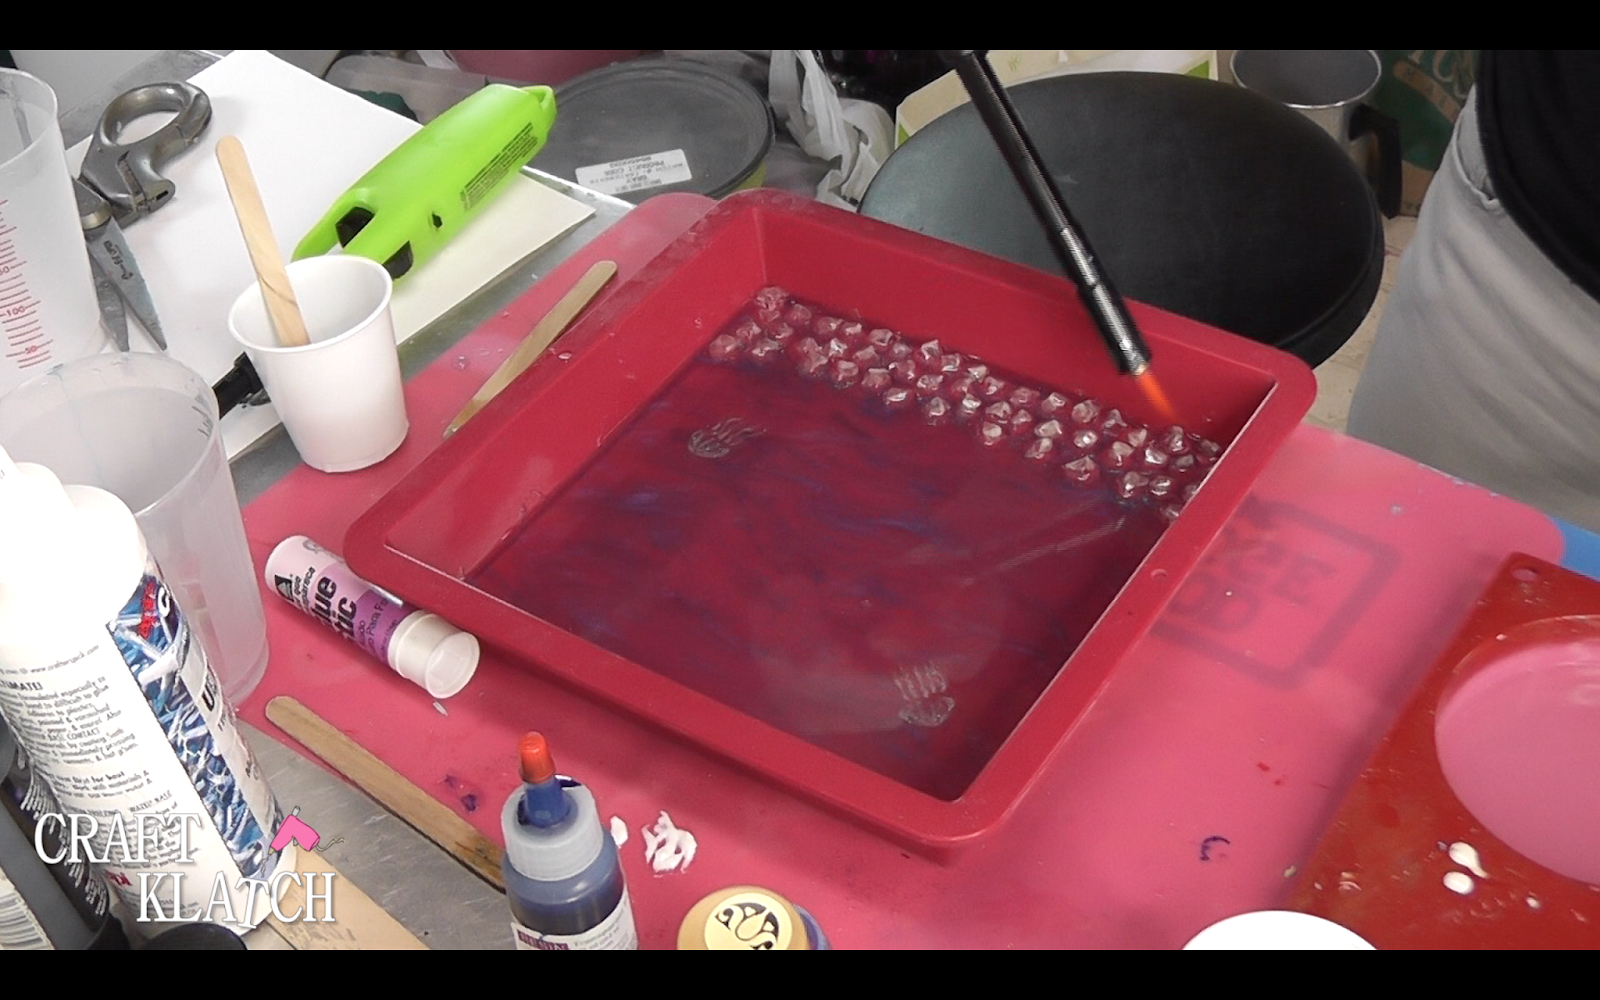
8. In the two cups, add the two different blue pigment powders, mix and add swirls to the resin you just added to the mold. Pop bubbles with lighter and allow to cure at least 12 hours.
9. Print out your mermaid and fish images. I used a laser printer and card stock. I printed the mermaid and fish facing one way and then I printed the same size and printed the flipped or reflection of the same images.
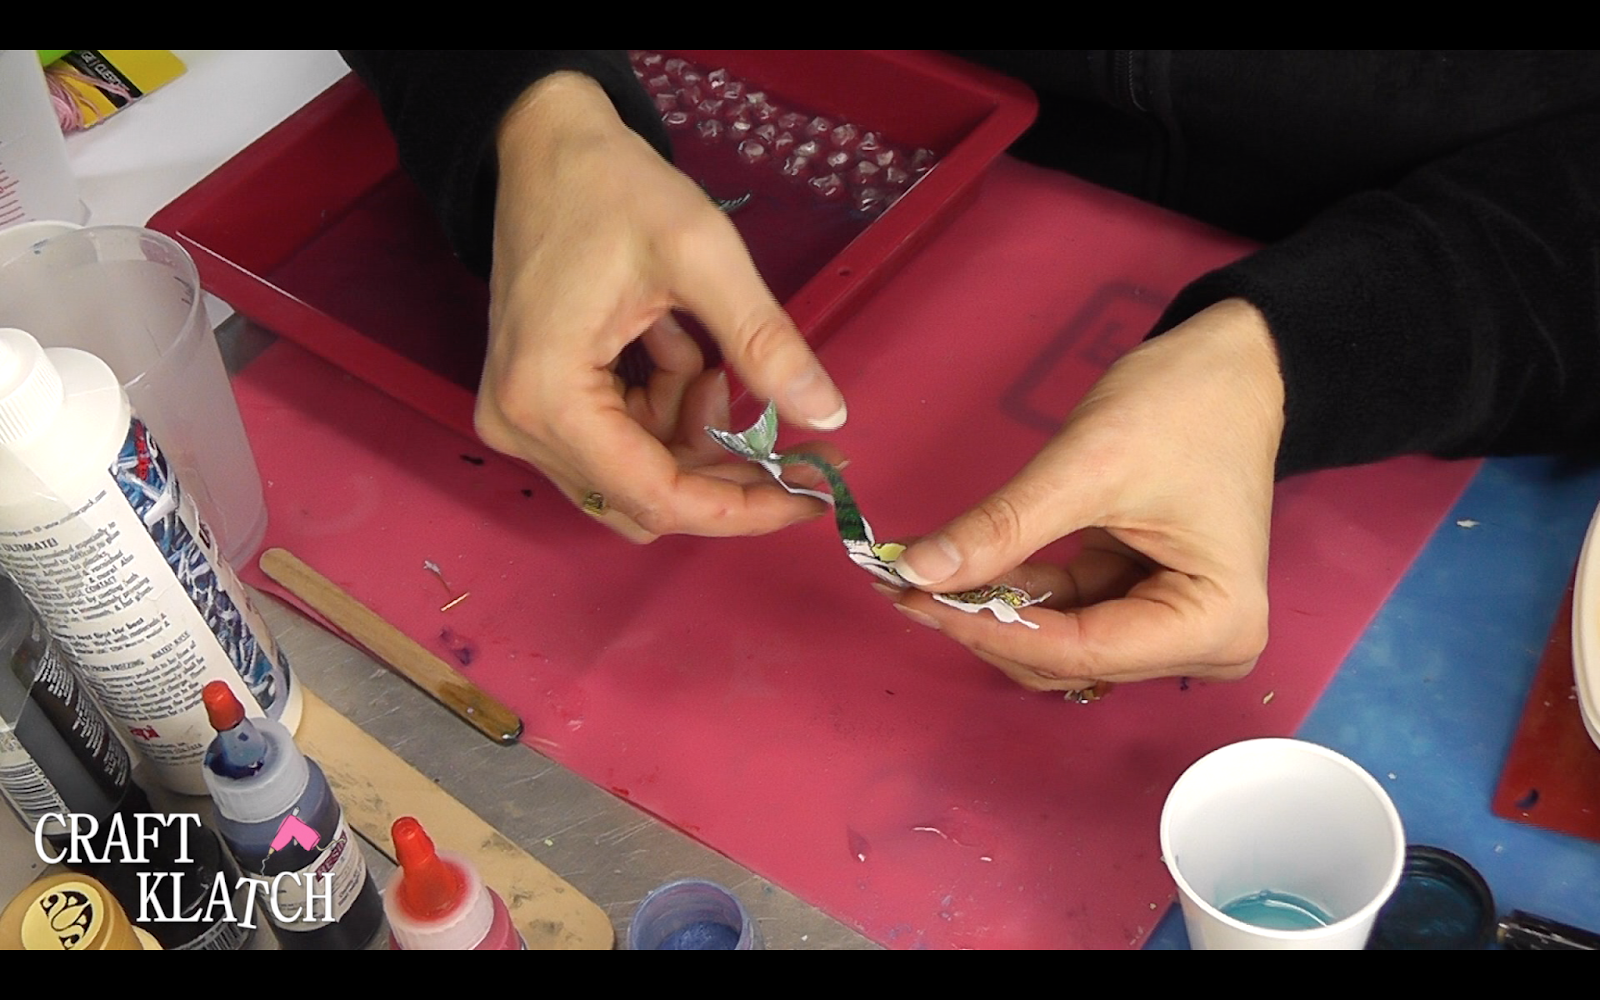
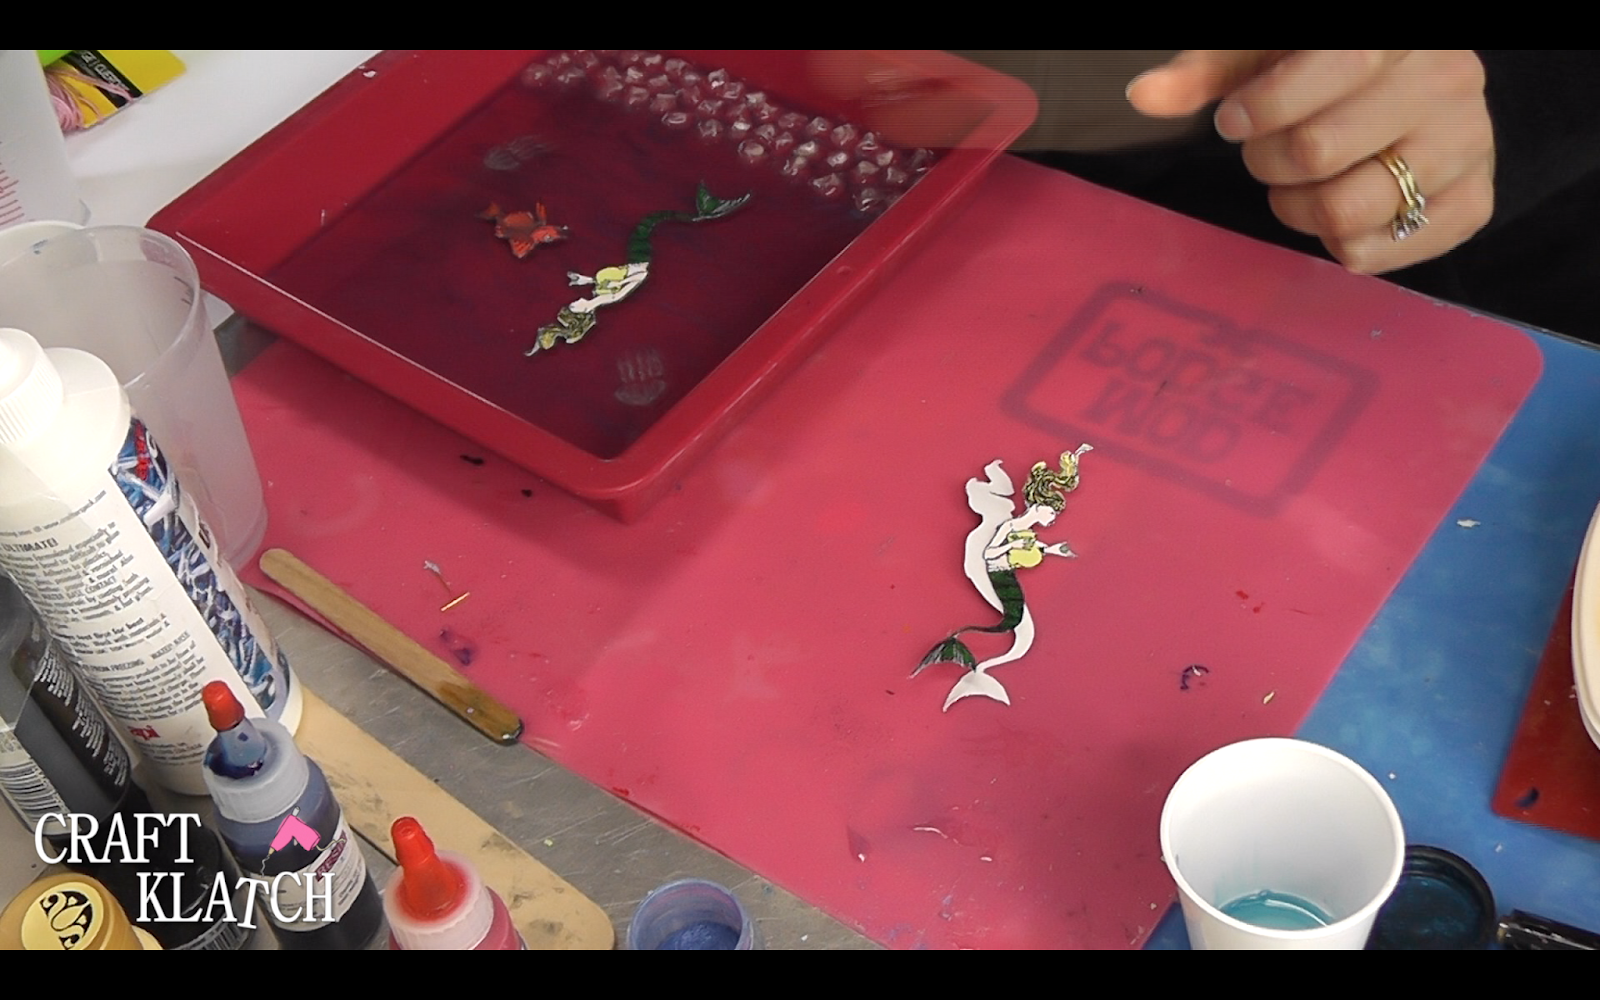
10. I cut them out and them matched them up back to back and glued them together with a glue stick. Tip: You will not get them cut perfectly the same. Do it as best as you can and then trim them some more and if you have areas of white, use a black permanent marker to fill in the white areas. Also use the marker to color the edge. Allow marker to dry.
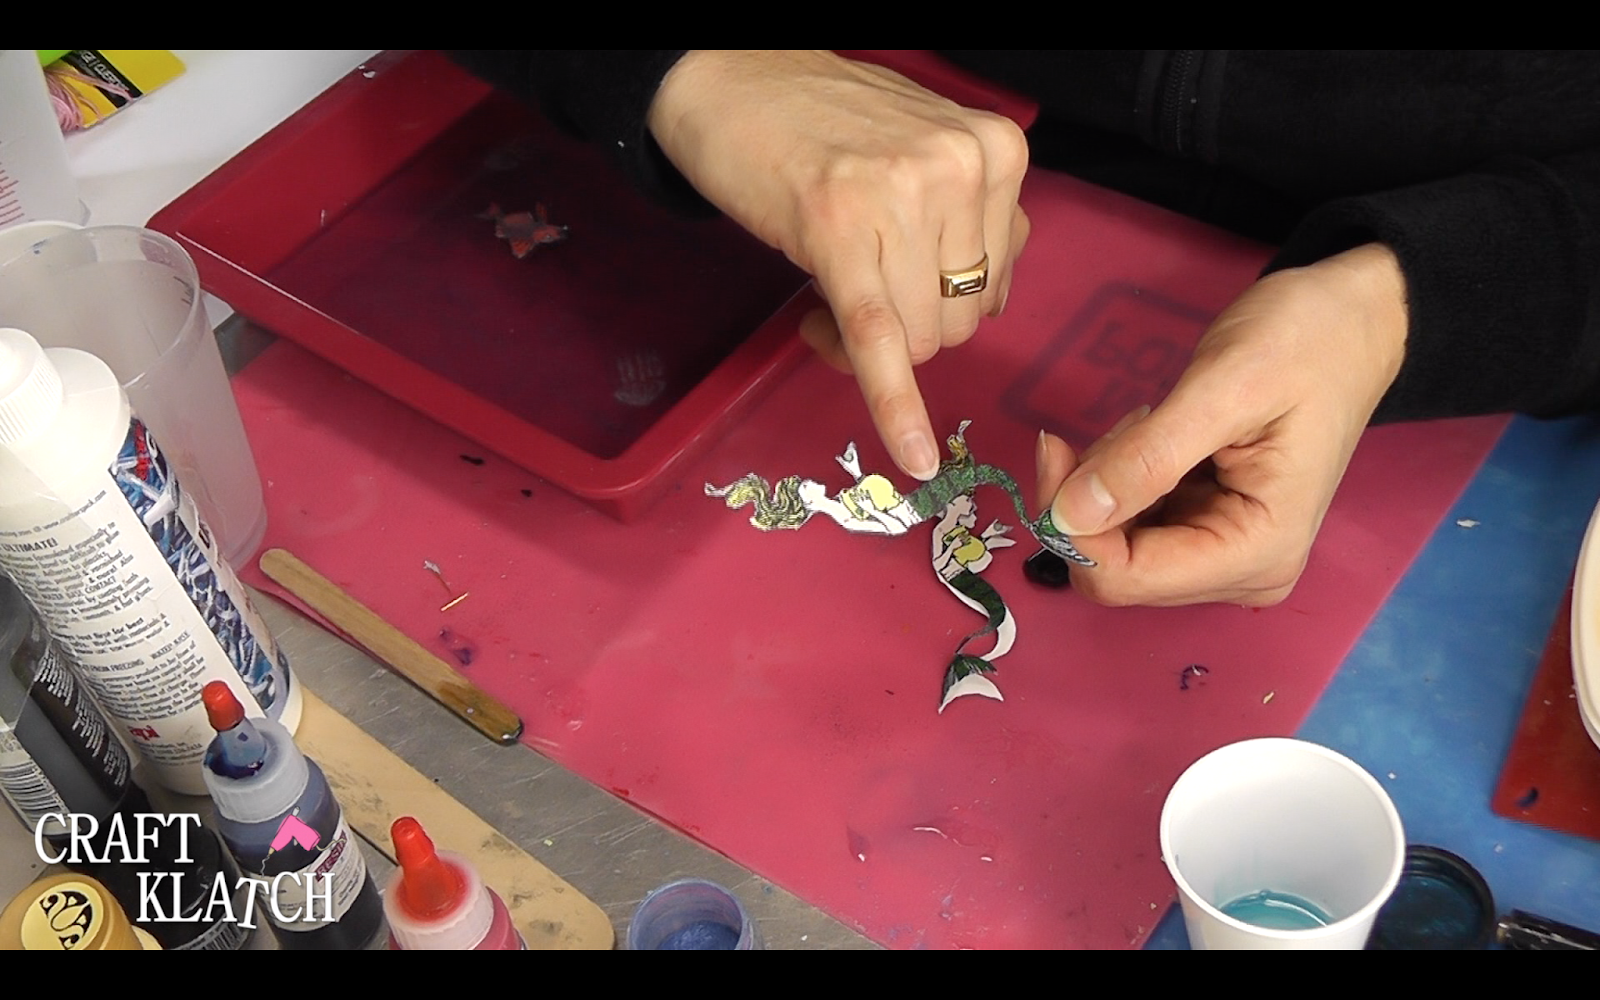
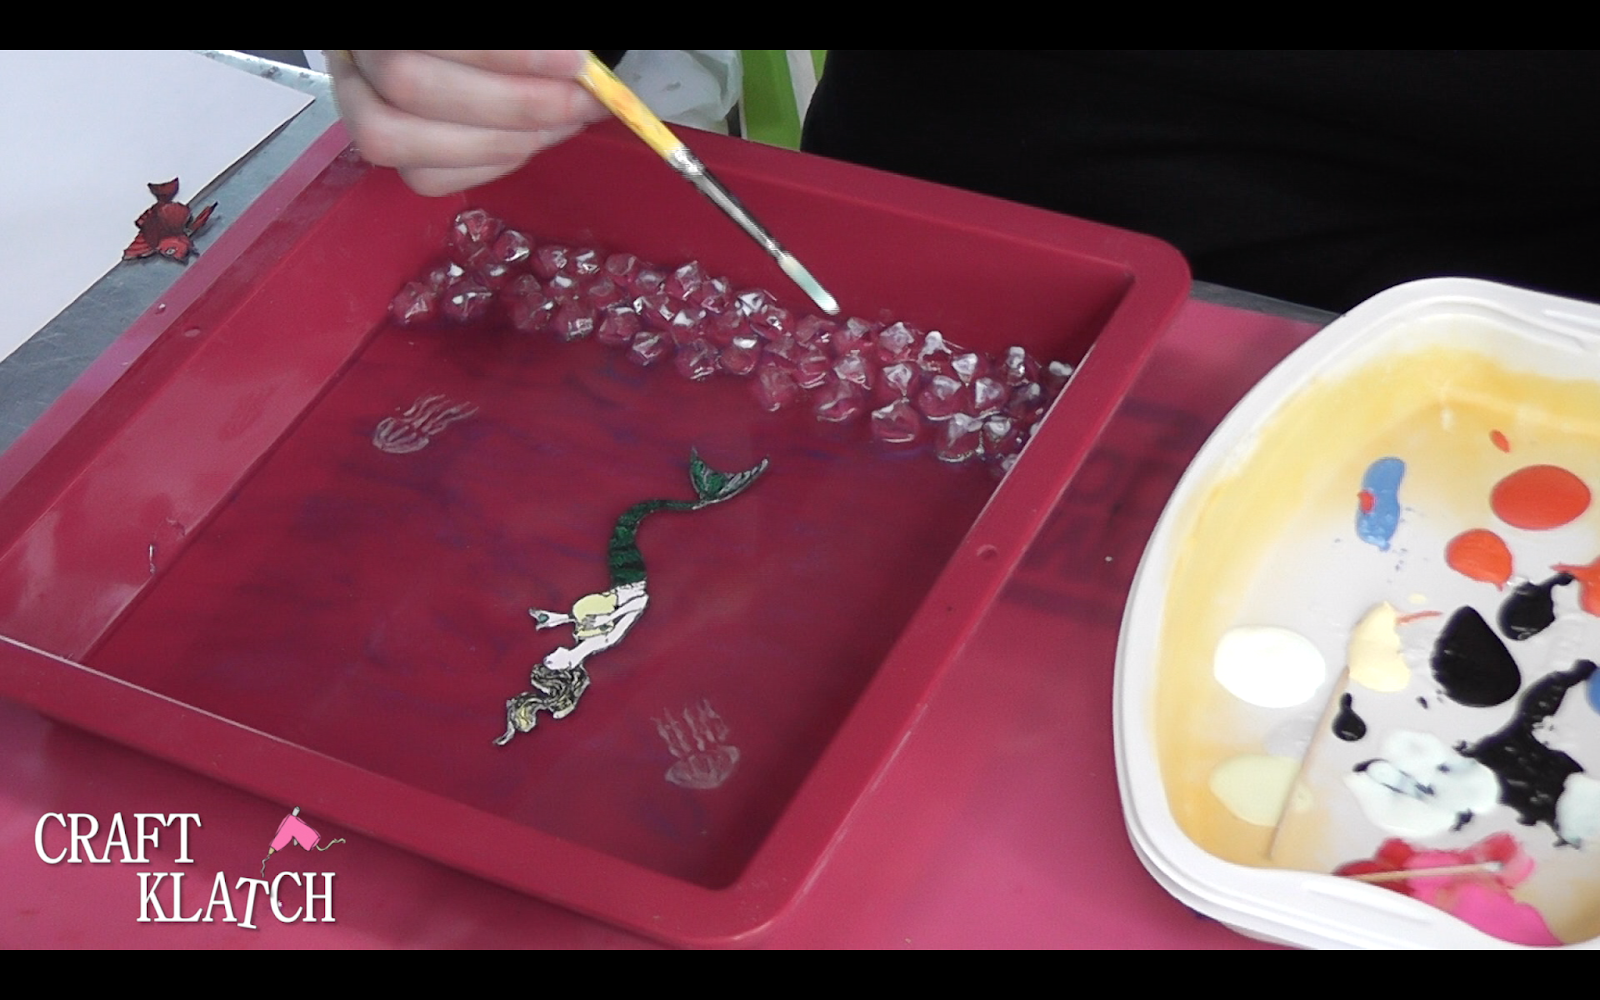
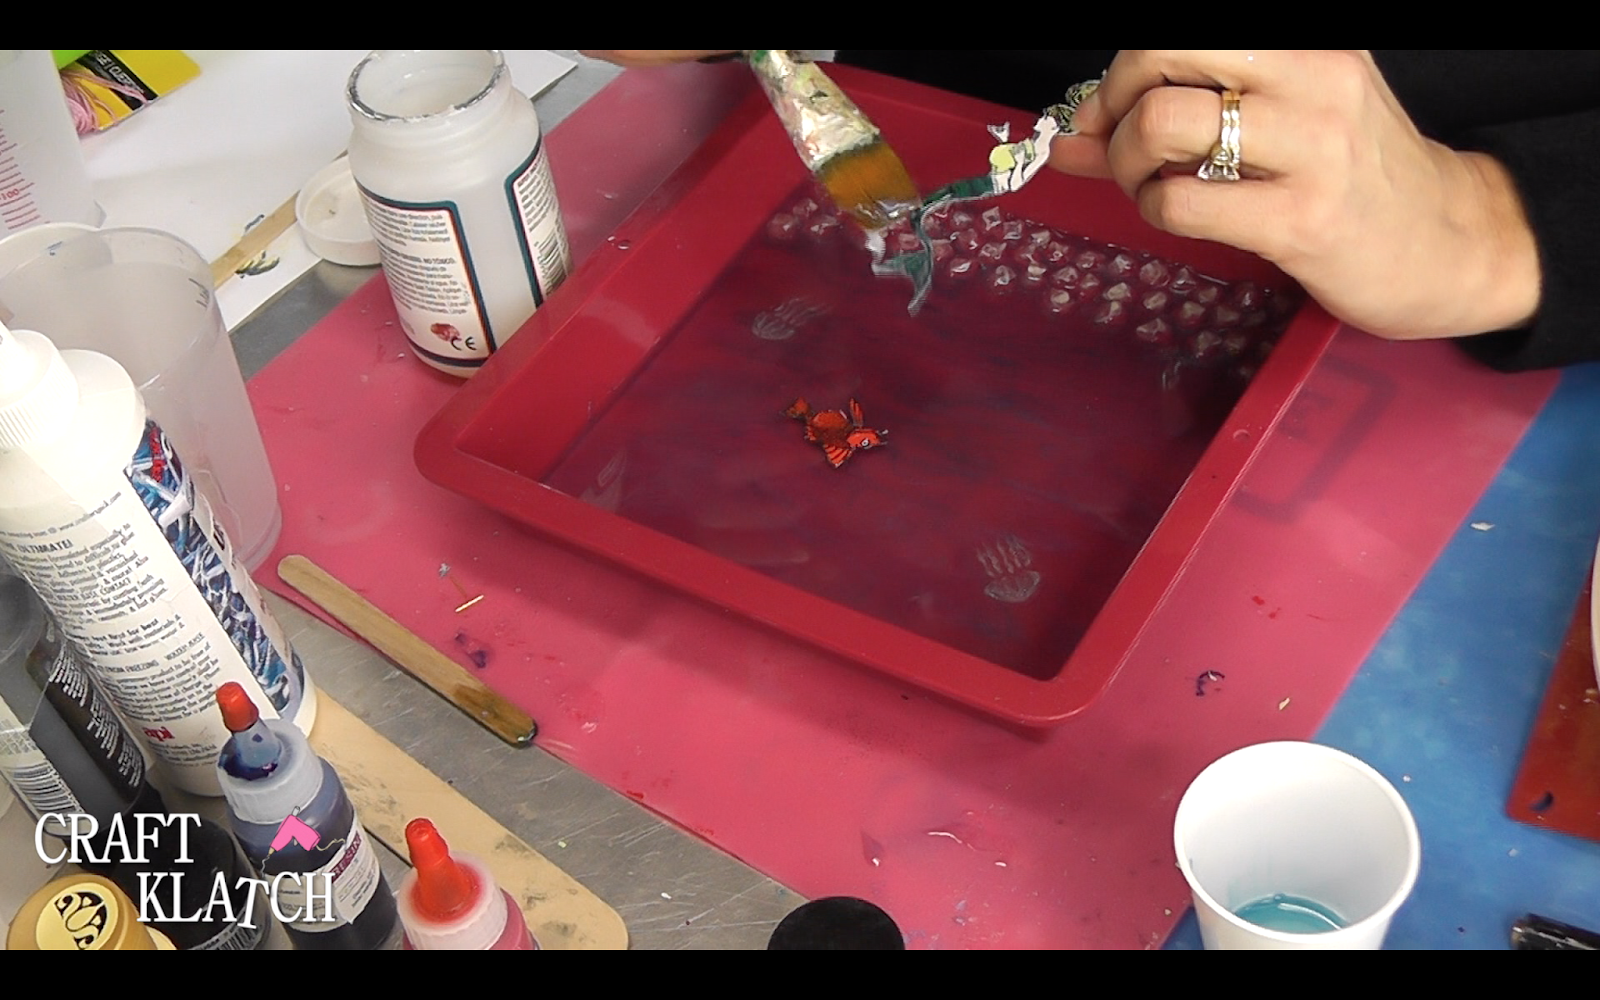
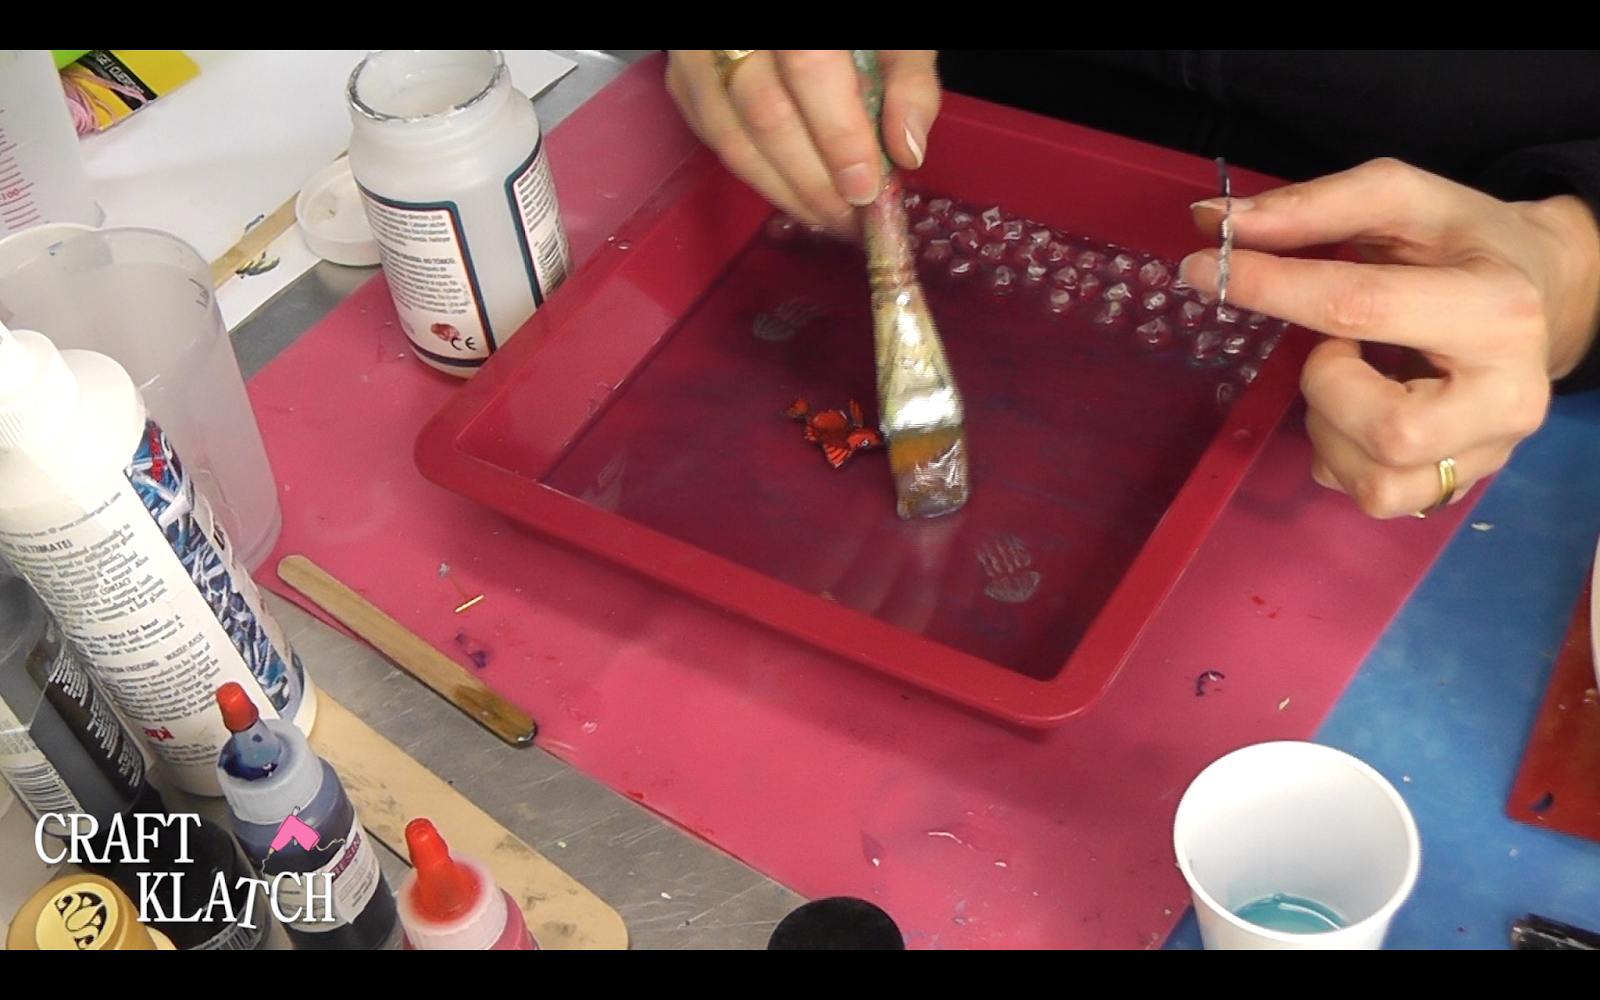
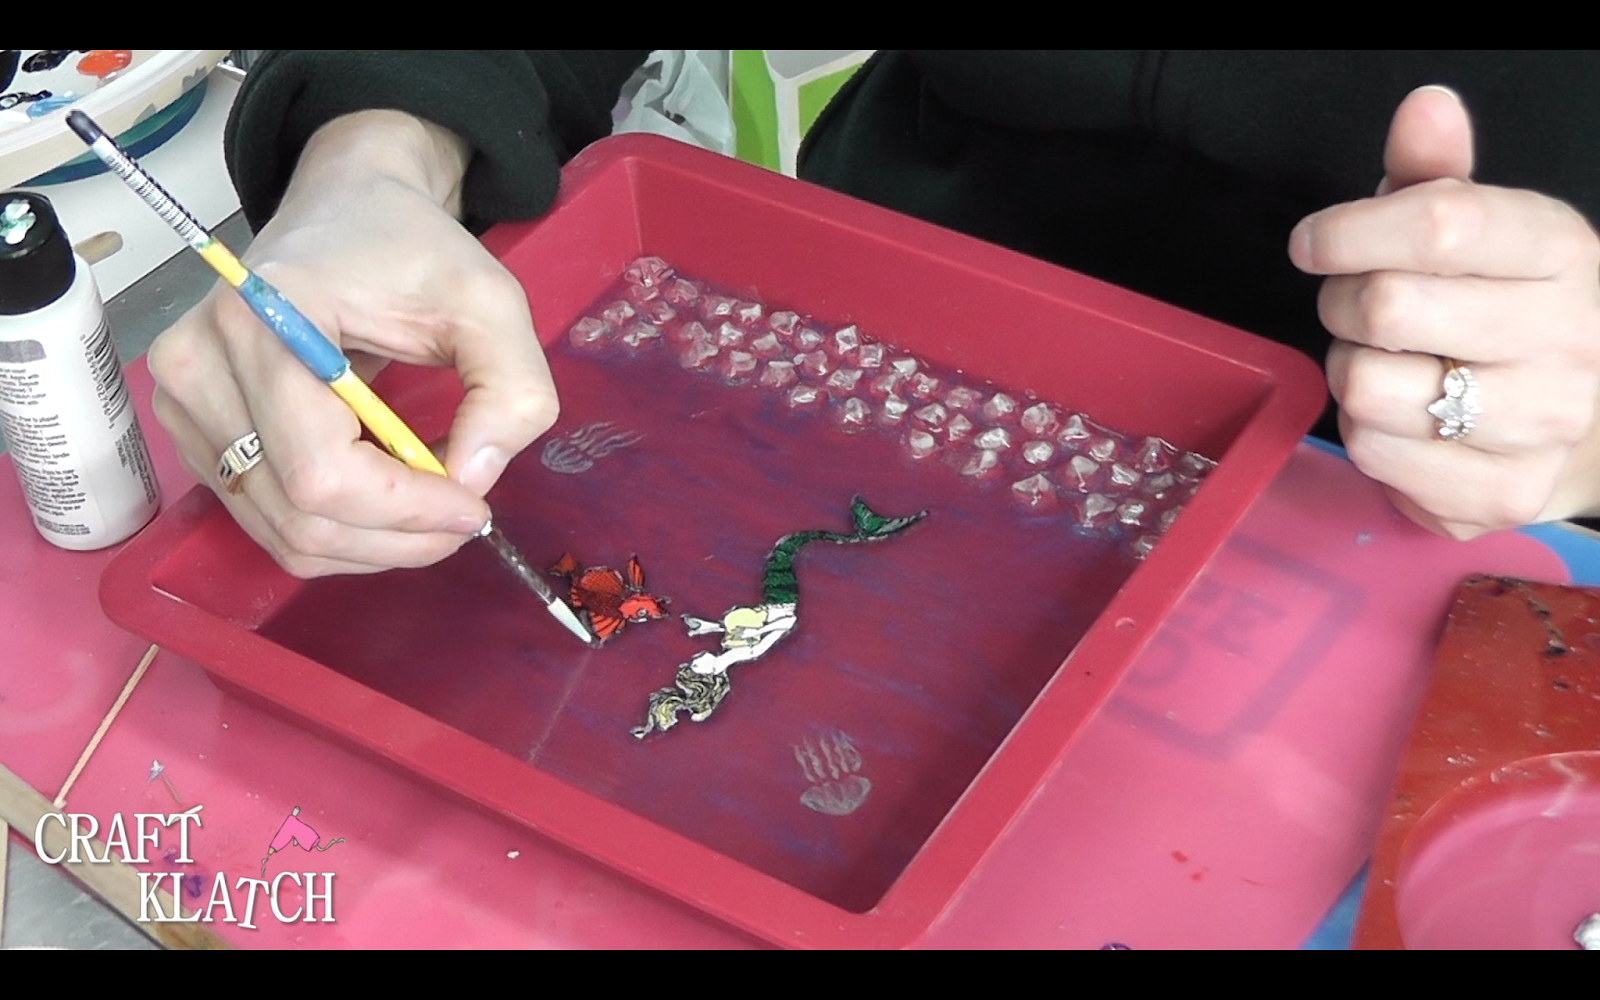
11. Take your Mod Podge and attach the mermaid and fish to the resin. This will take at least two coats, but I recommend three. Make sure the images are COMPLETELY sealed. I also paint the Mod Podge all over the resin, so in the event it leaves a different look, it won’t be noticeable. Allow the Mod Podge to COMPLETELY dry! Don’t be impatient and skimp on the drying time. If you do, when you pour the resin, the Mod Podge will become cloudy. Be patient!
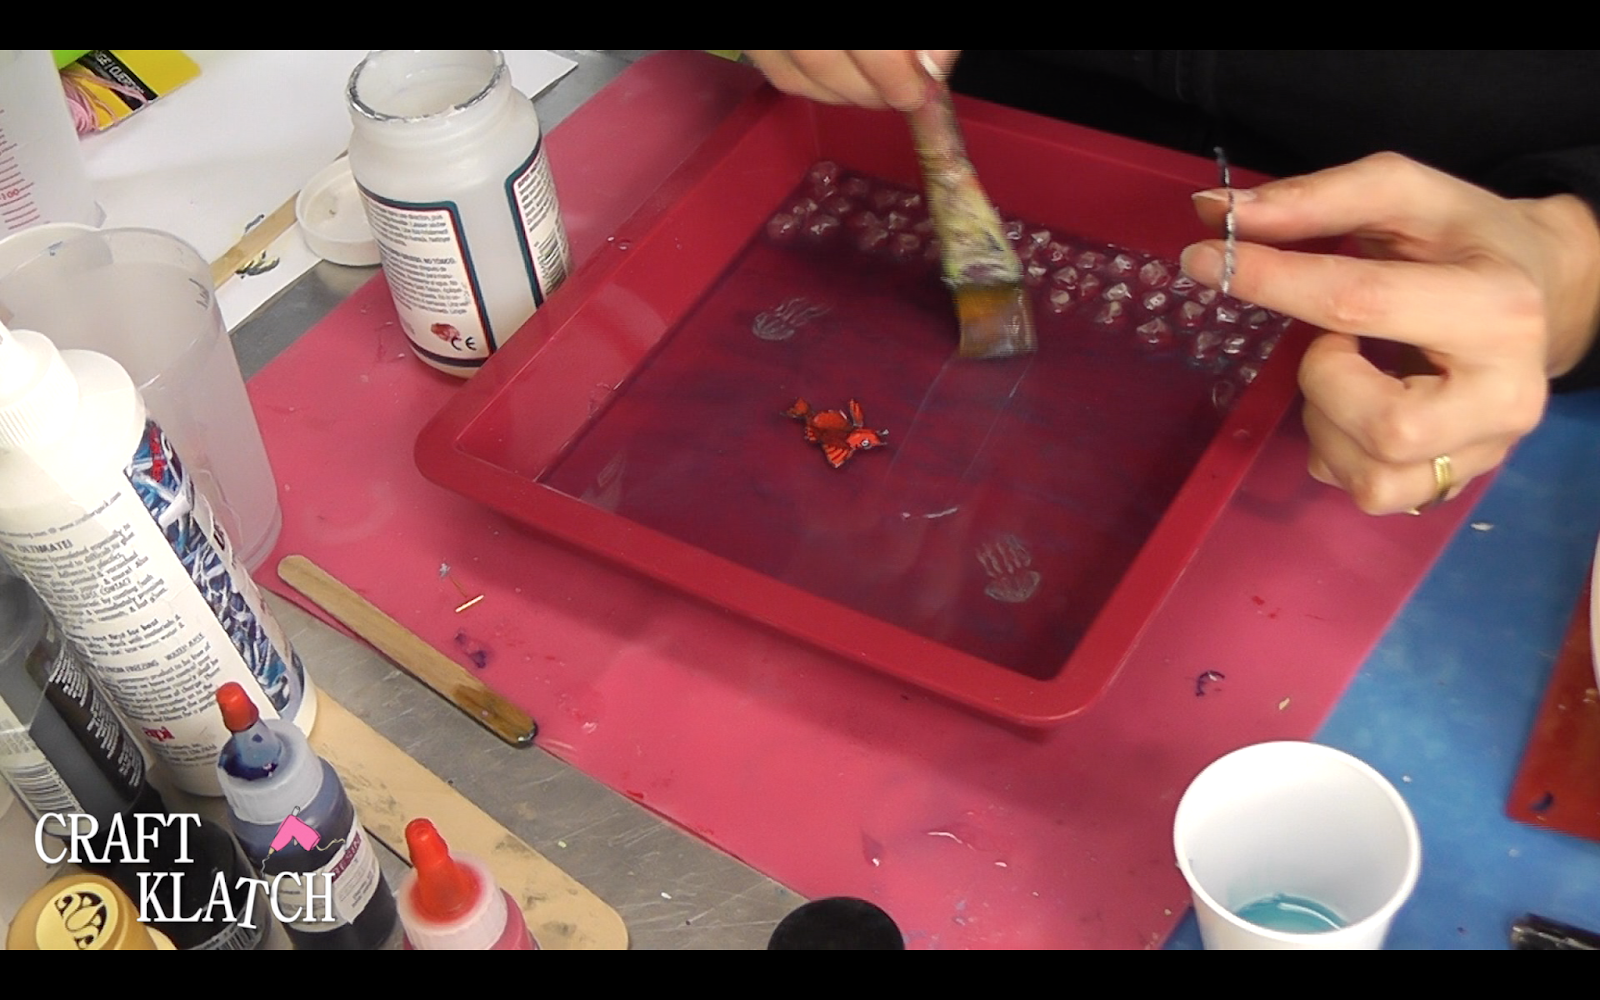

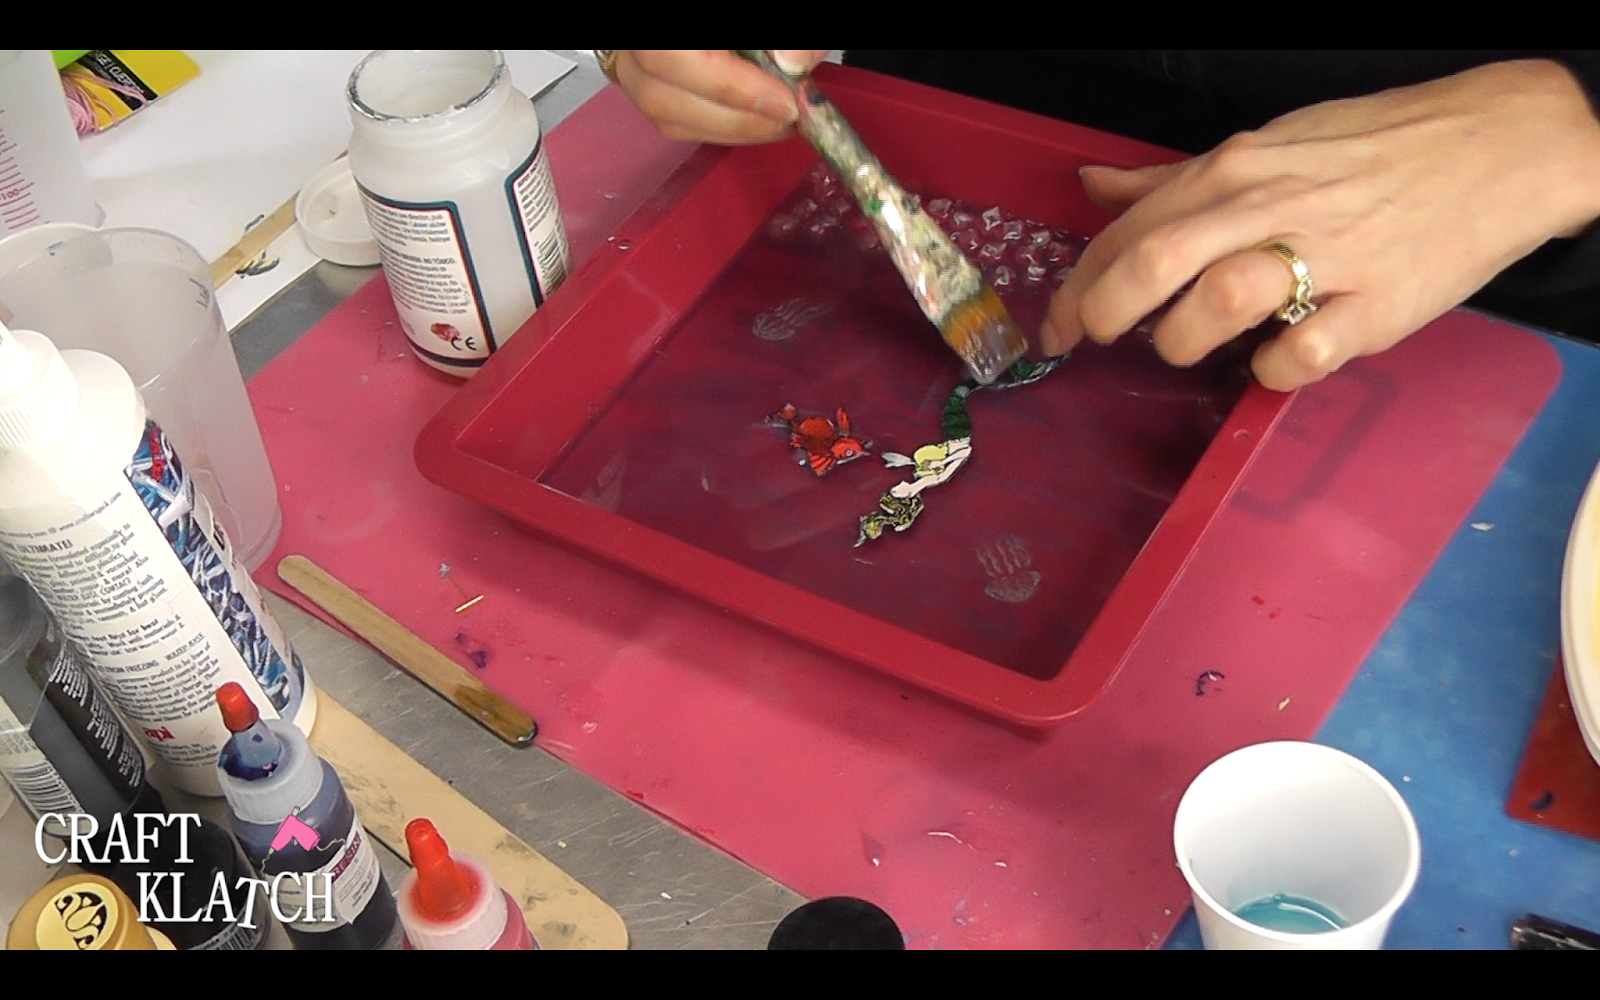
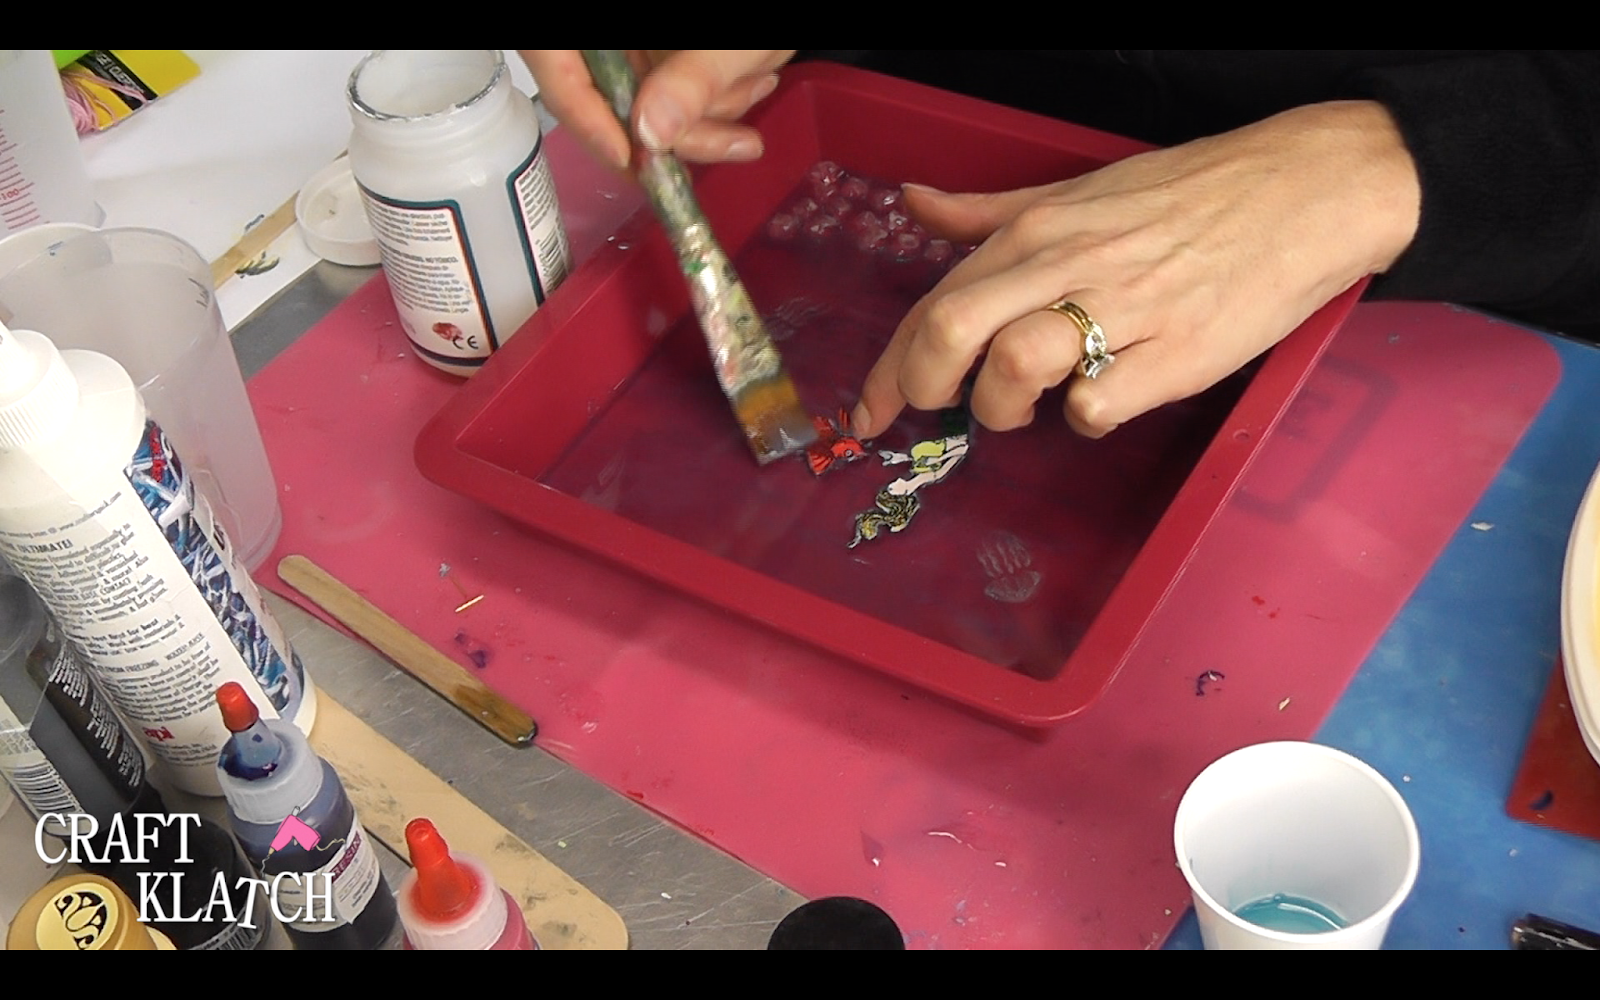
12. Once dry, add a little bit of the glitter paint around the fish and the mermaid and swirls in the water. Allow to dry.
13. Mix three more ounces of resin. Pour a little bit into a separate cup. Pour the remaining in the mold.
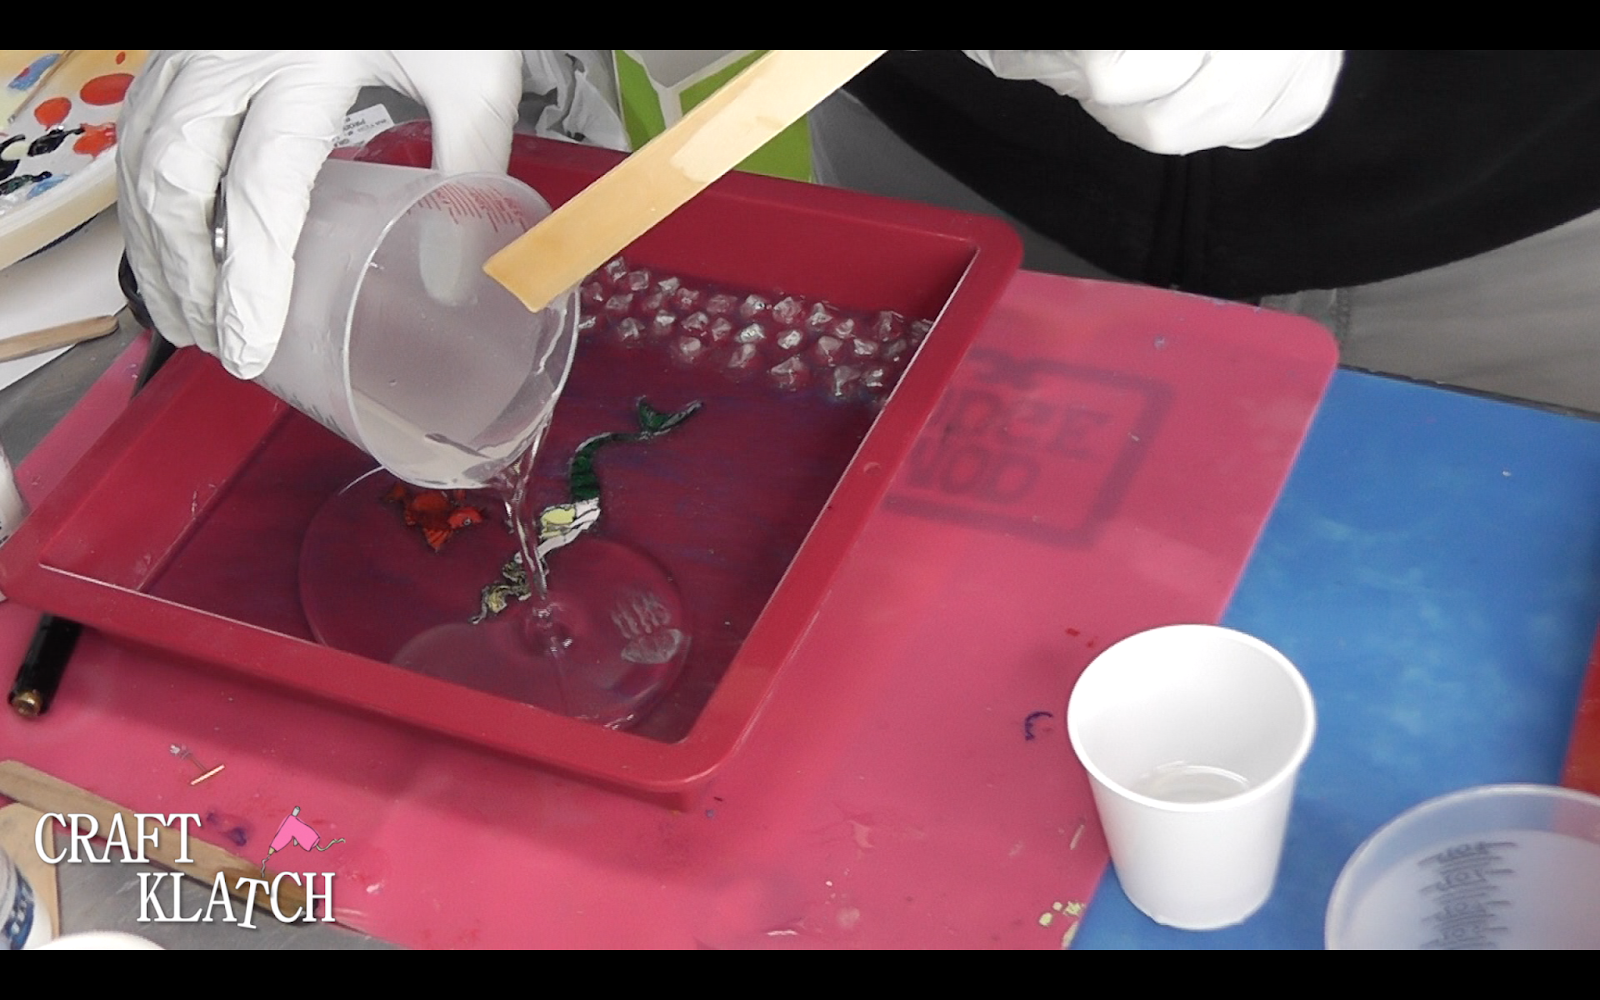
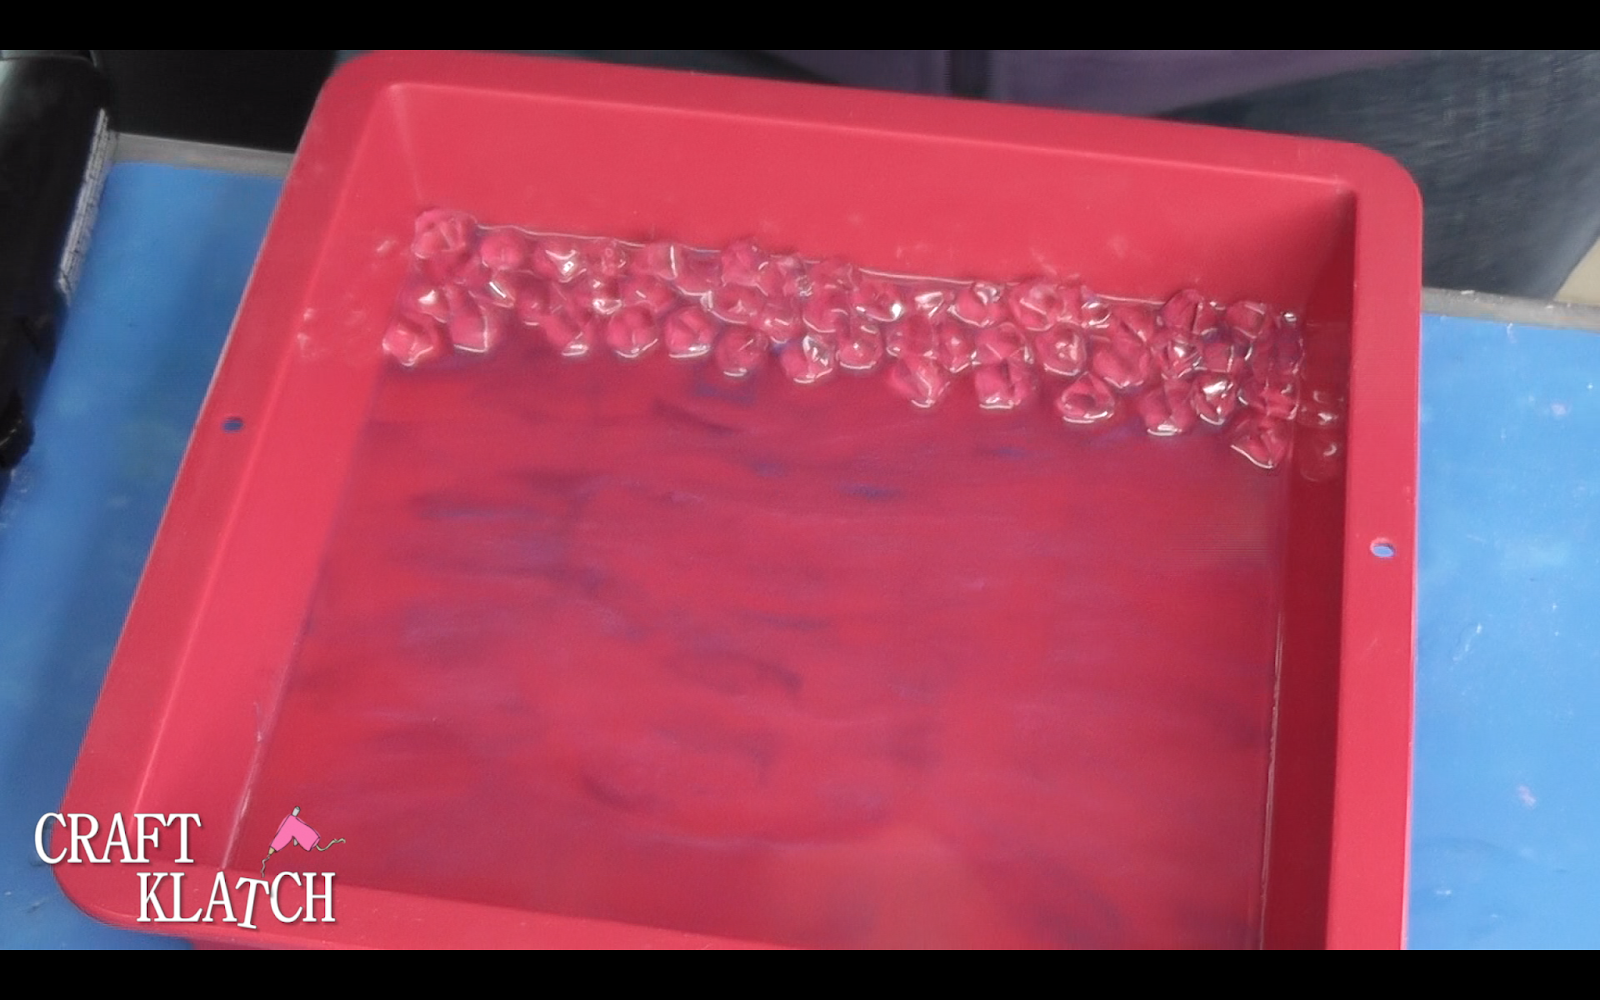
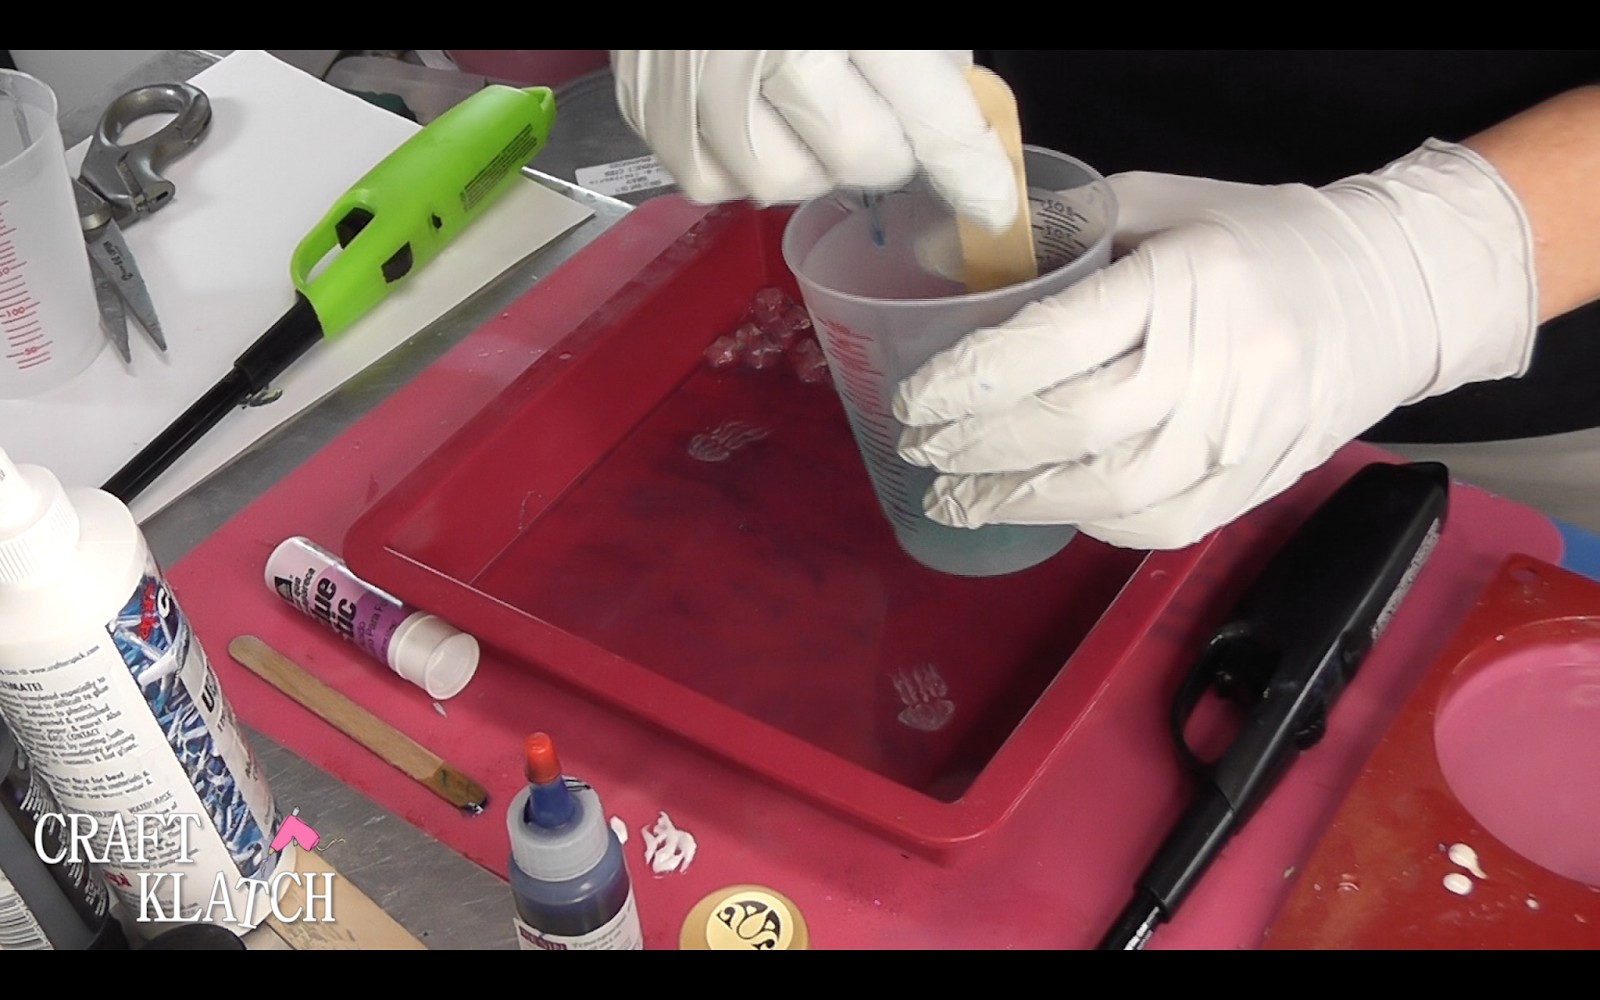
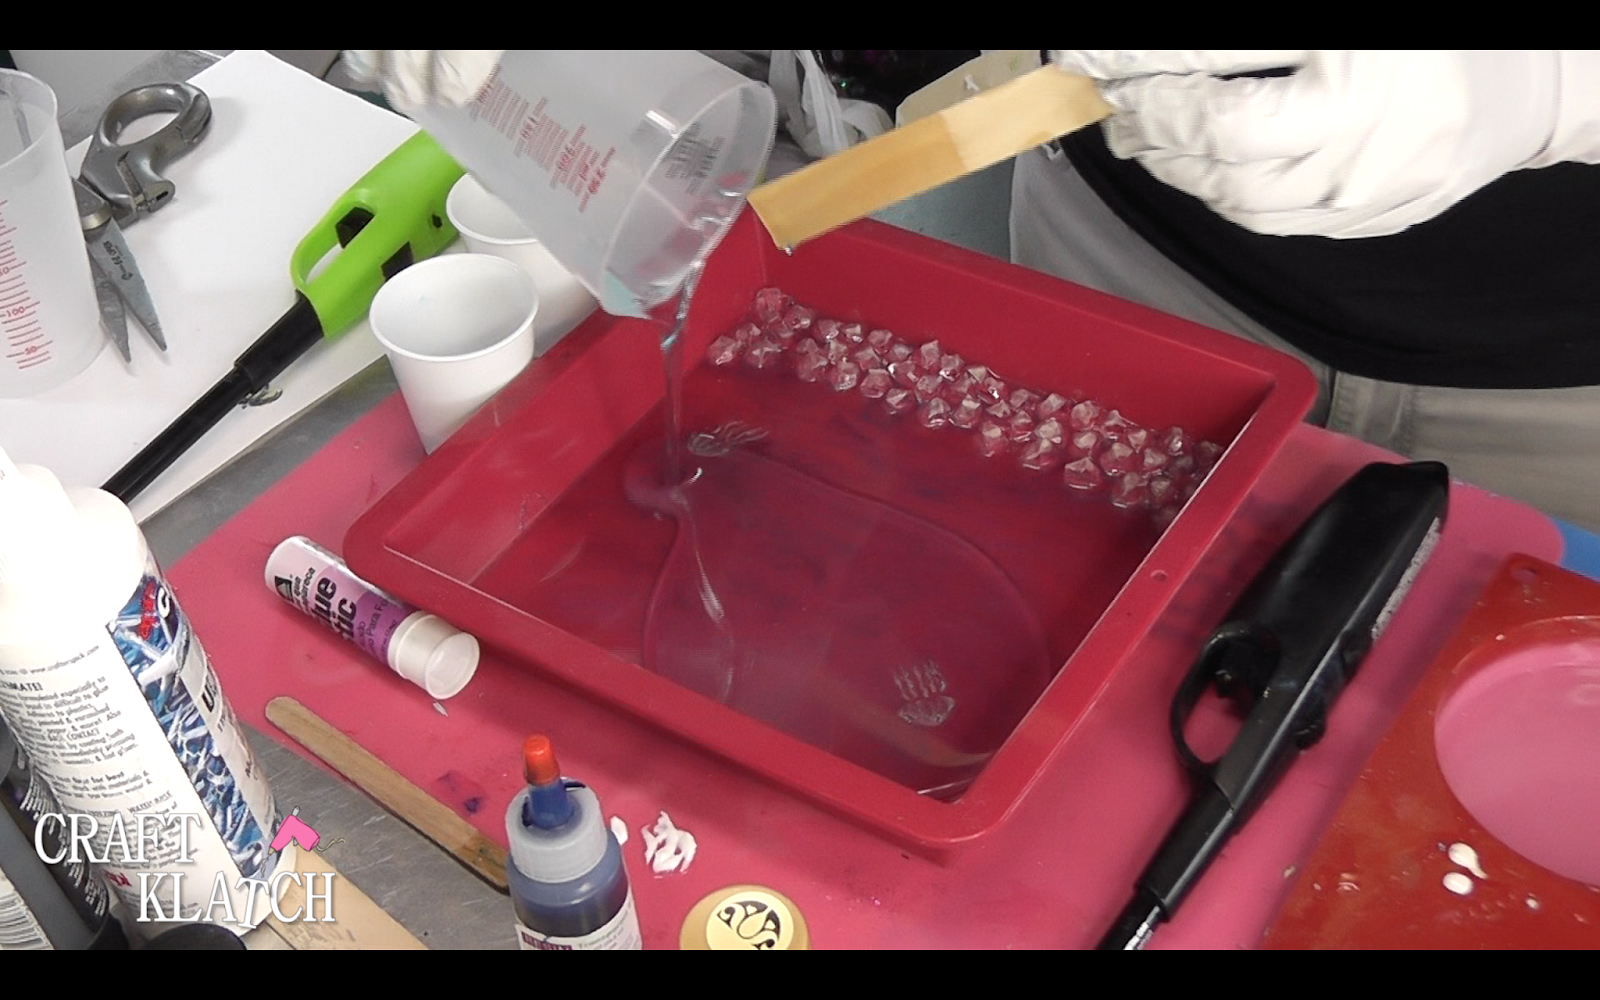
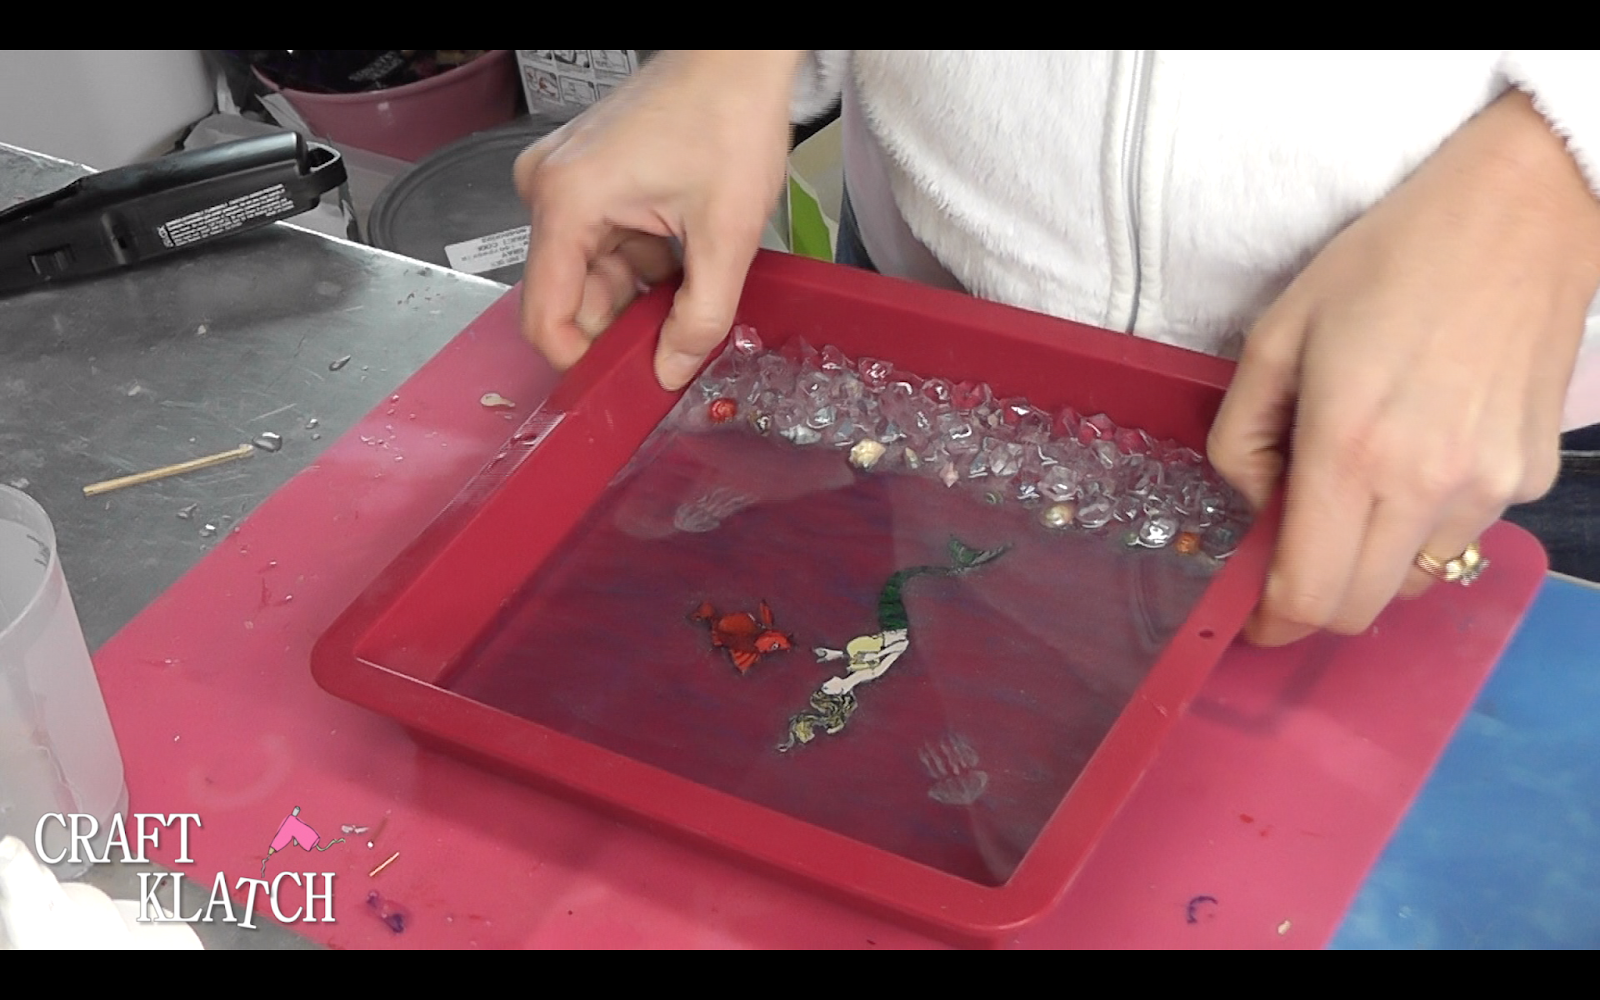
14. In the smaller cup, add some very small seashells and mix them around. You want them to be completely covered with the resin. The better soaked they are in resin, the fewer bubbles you will have later. Place the shells along the top edge of the crystal dazzlers. Pour the resin they were soaking in on top of the crystal dazzlers. Pop bubbles. Be sure to check back several times for bubbles, especially around the shells.
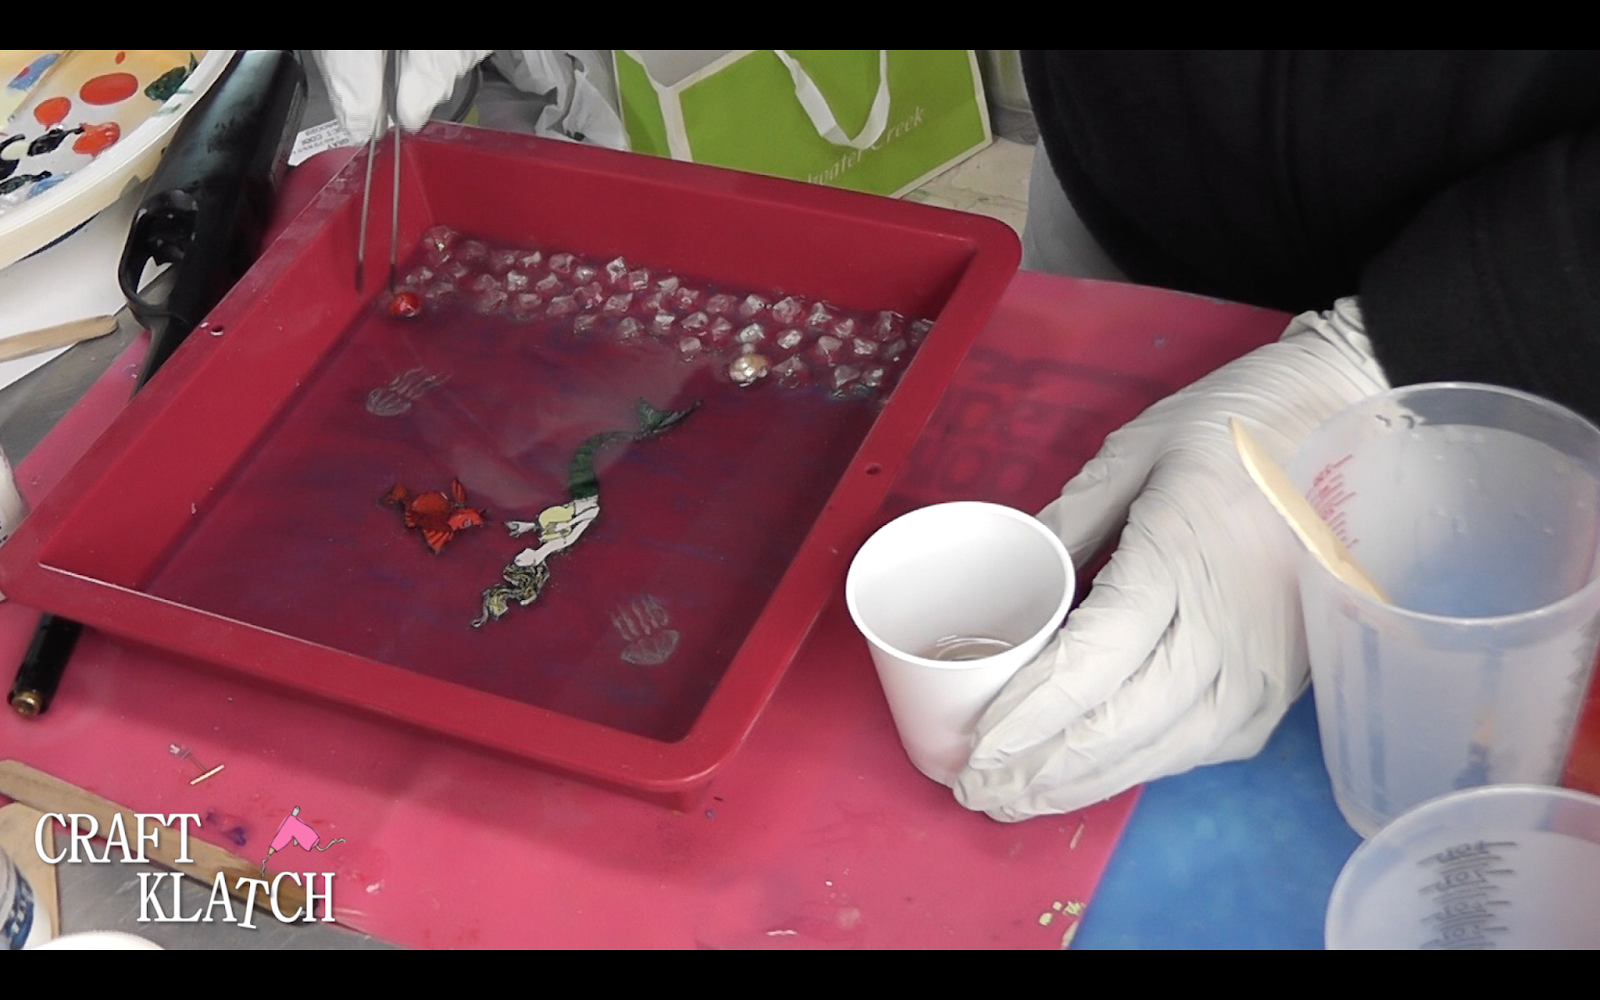
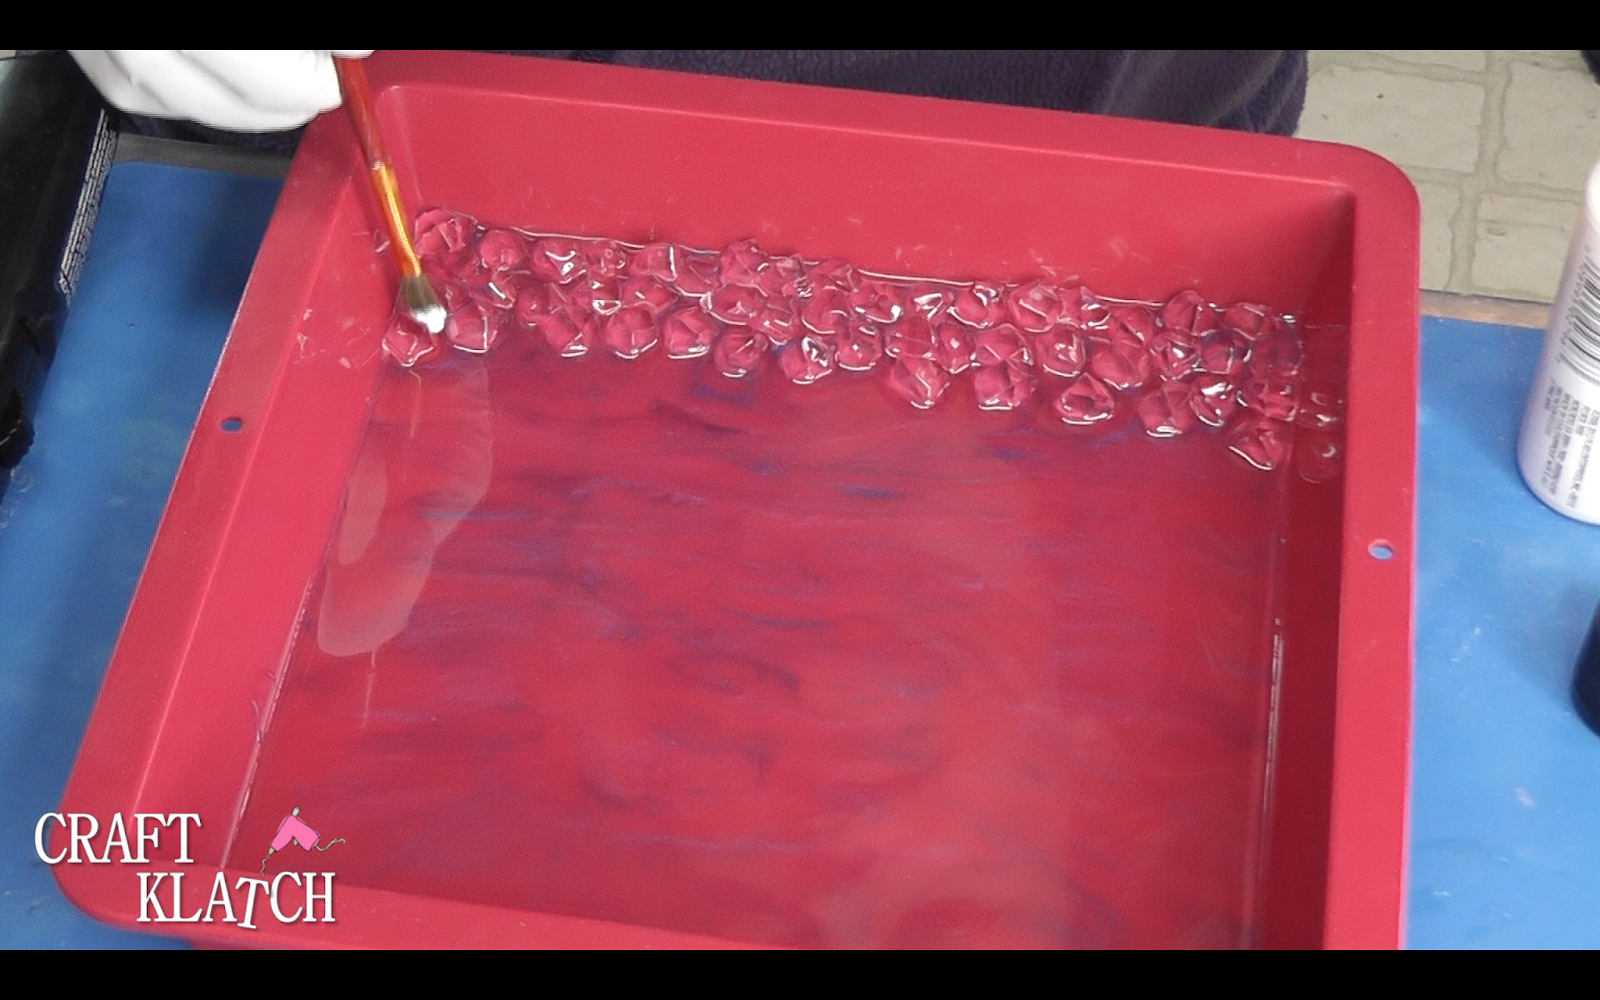
15. While the resin is still wet, add another layer of the crystal dazzlers. Allow to cure at least 12 hours.
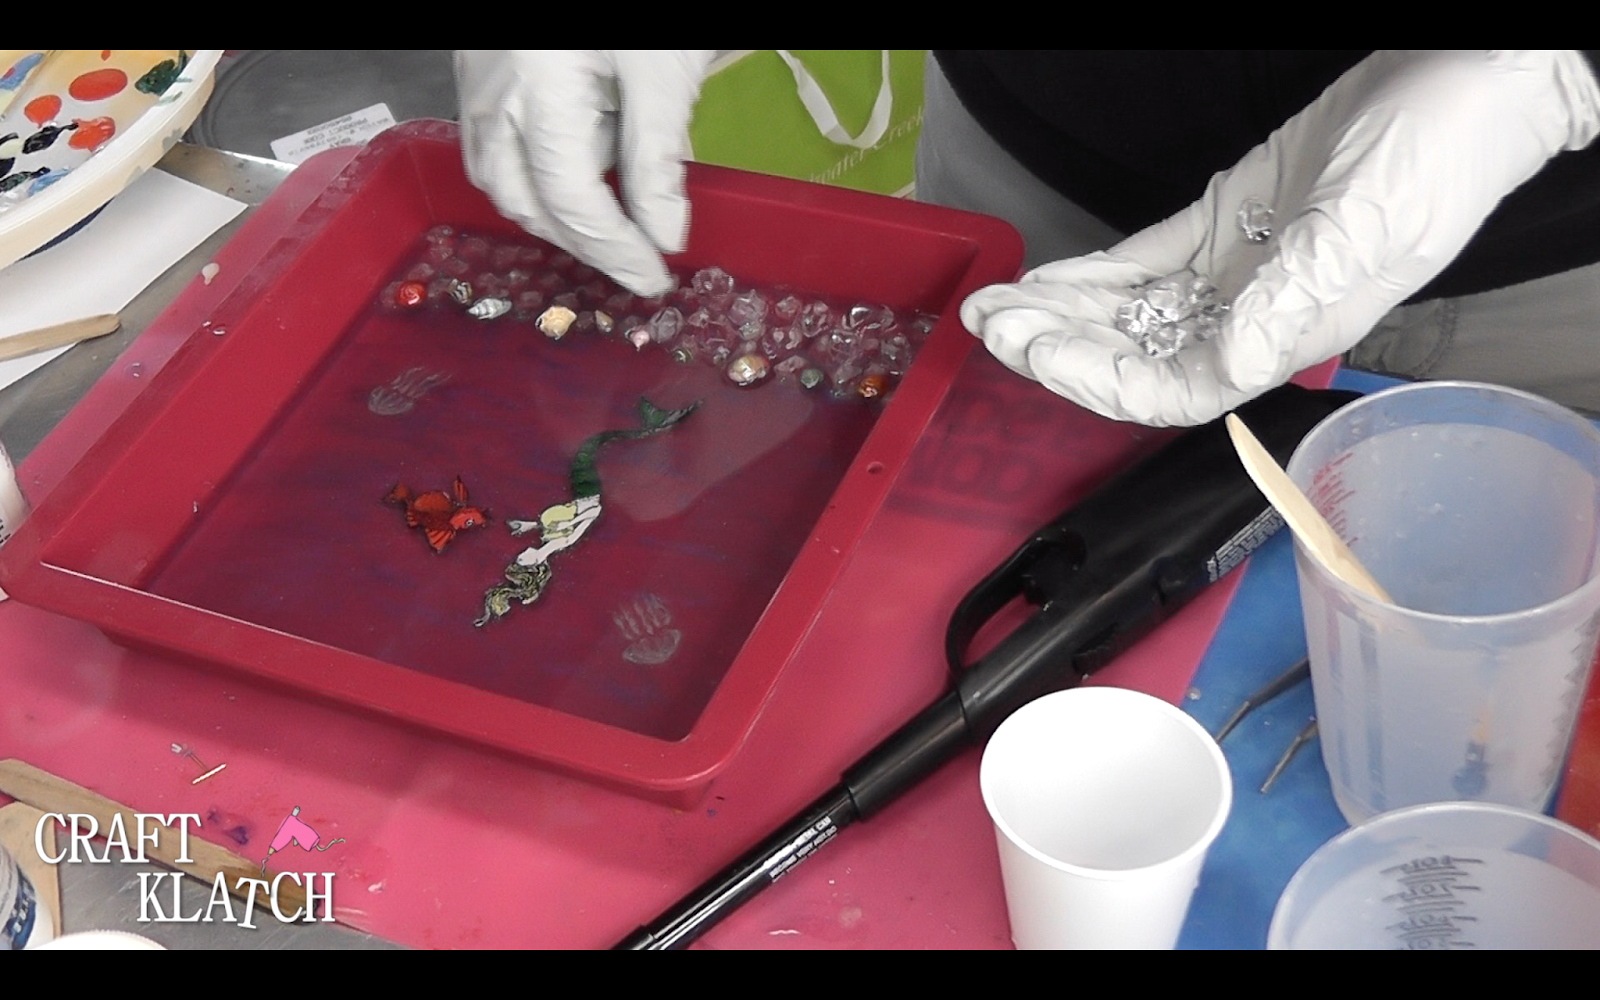
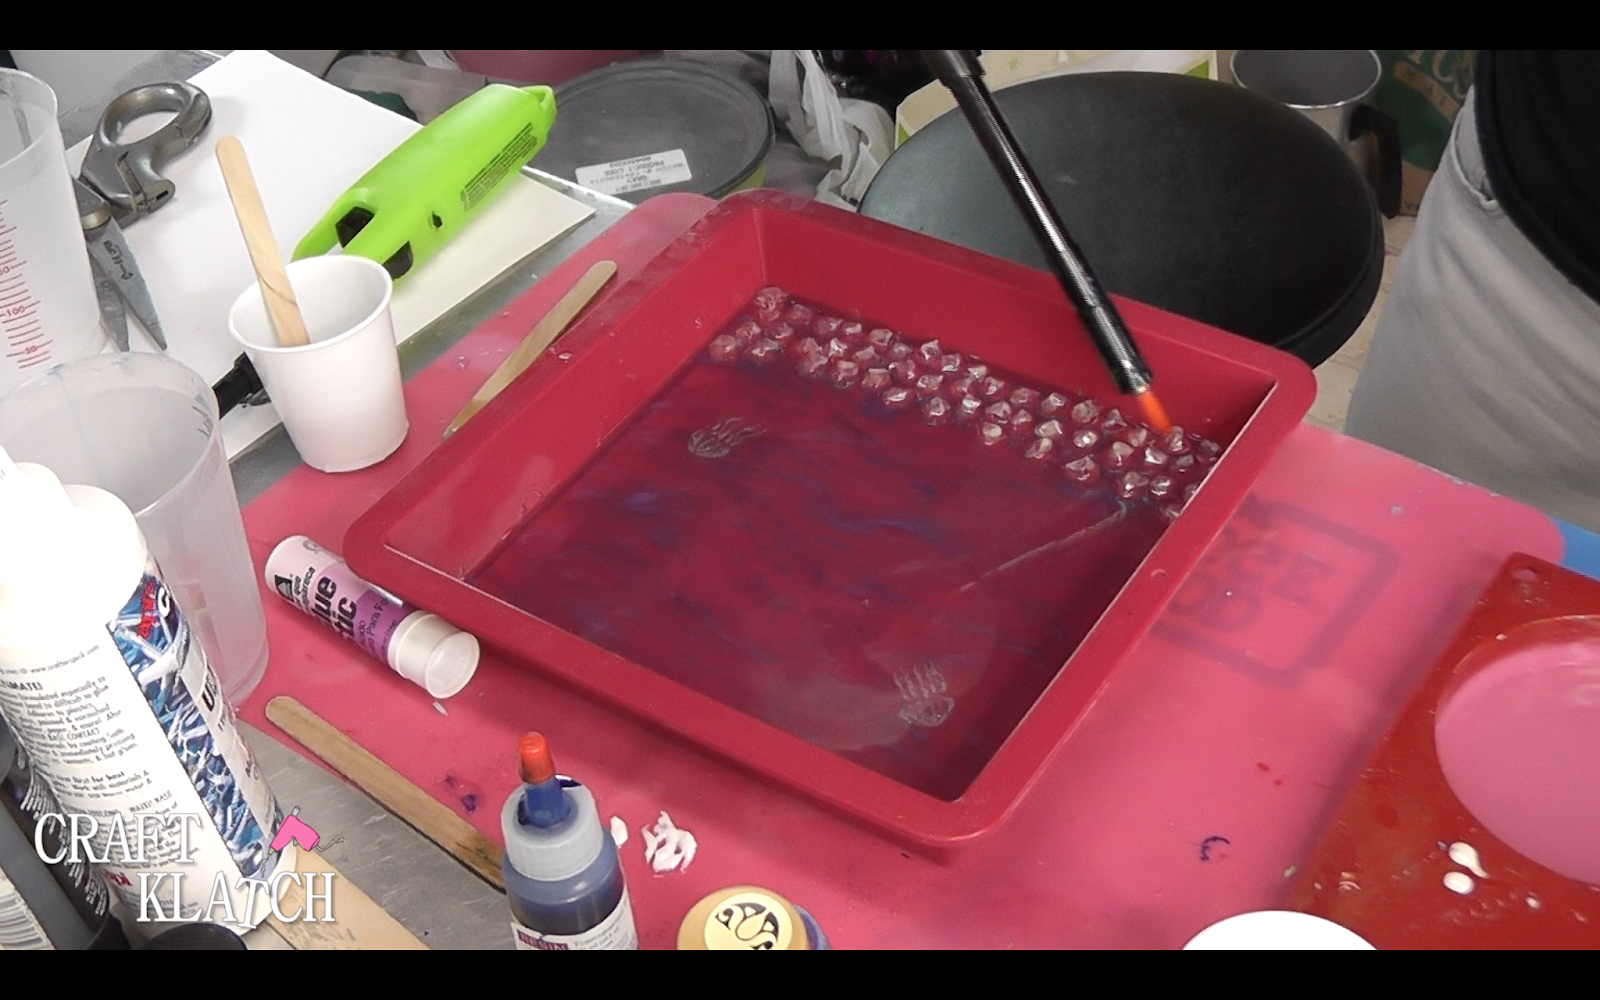
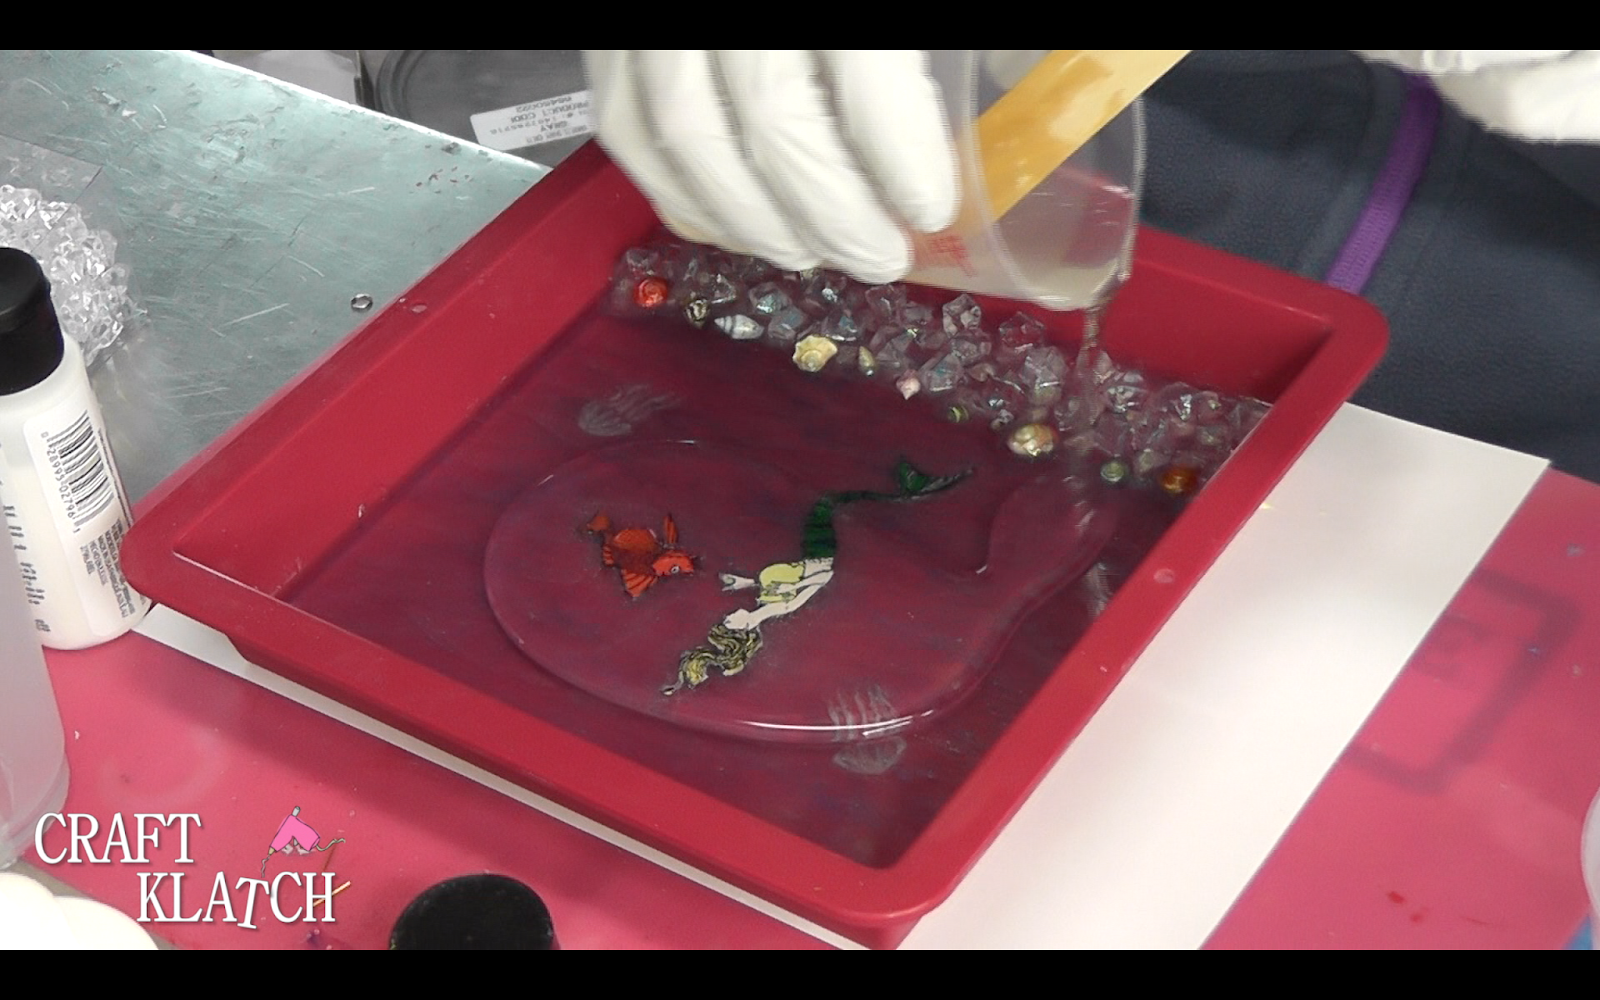
16. Mix three more ounces of the resin. Pour over everything and add some more crystal dazzlers, as needed. Pop bubbles and allow to cure at least 12 hours.
17. Remove the piece from the mold.

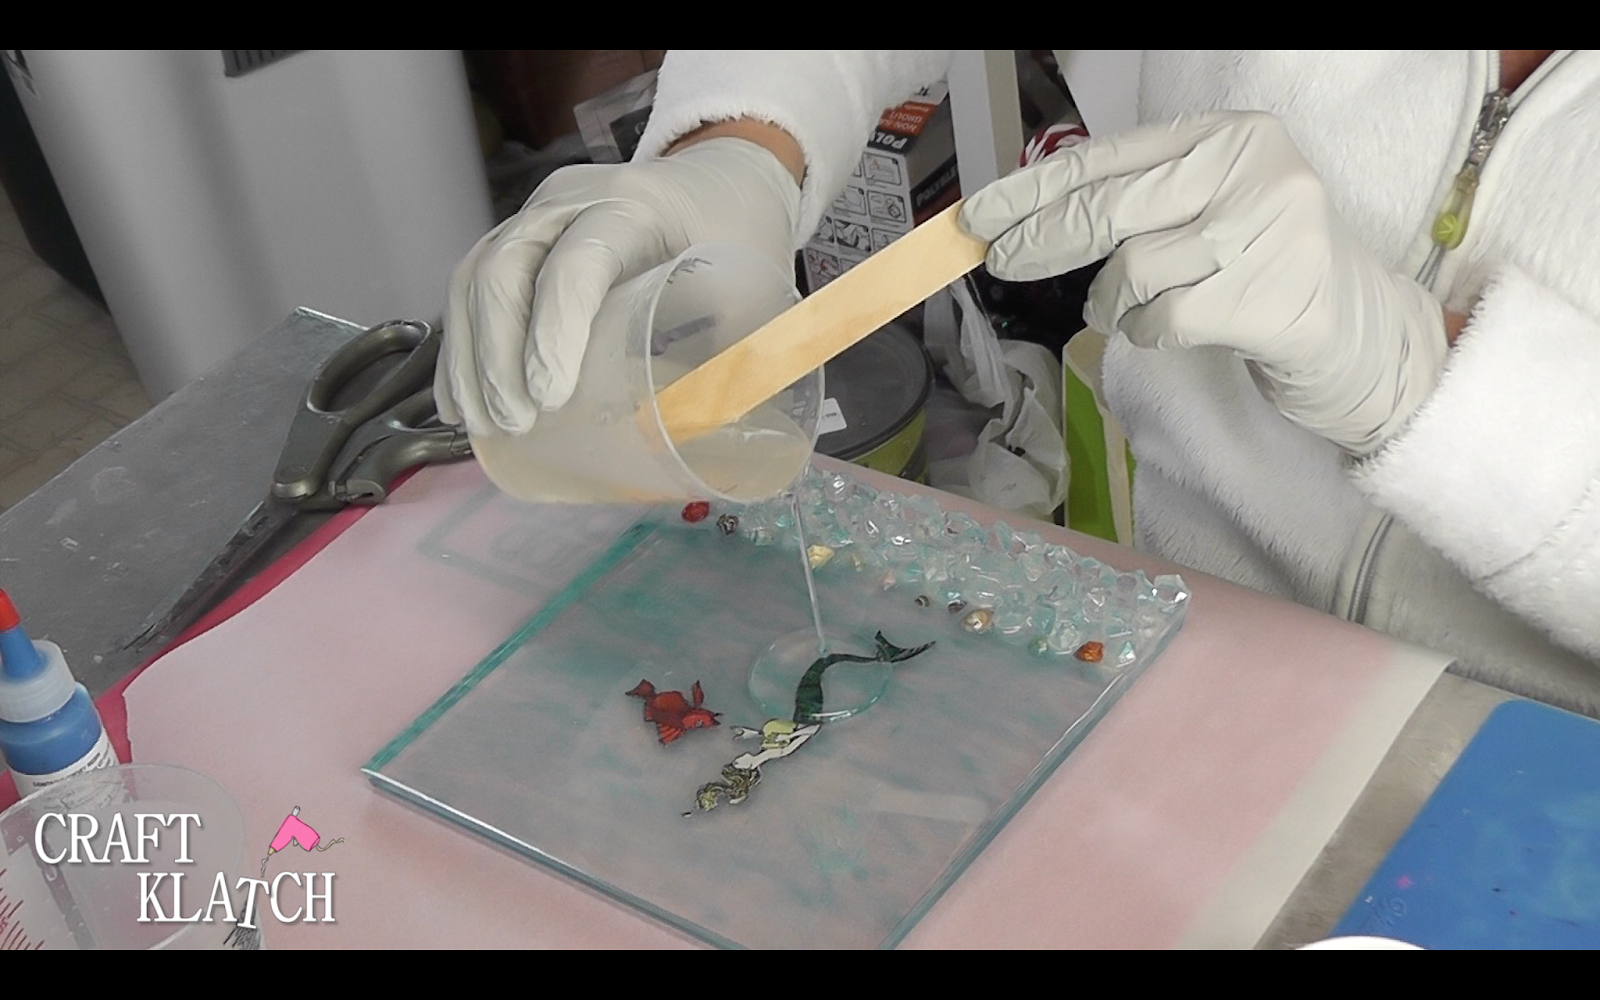
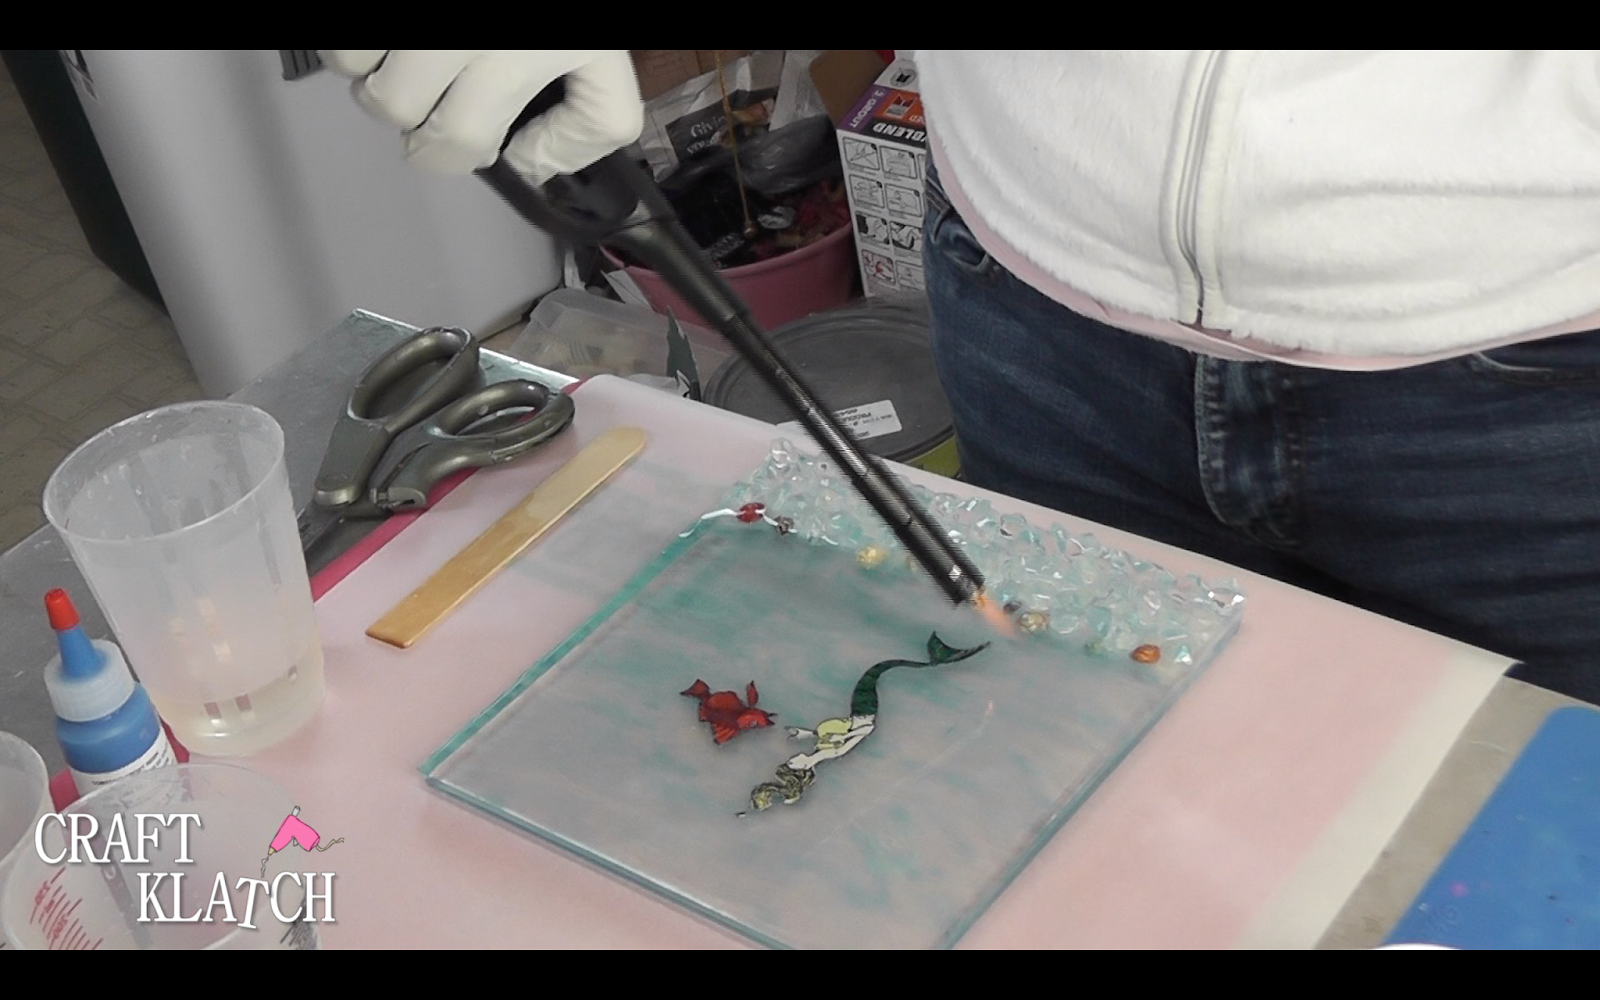
18. Clean up edges as needed. I use old scissors for that. Mix two more ounces of resin (I think you get away with one, but you can use any extra to make the sand dollars and seashells that get adhered to the base later). Place your piece on a level surface, with parchment paper underneath. Pour resin onto the piece. Do this slowly, so the resin doesn’t overflow the edge. Pop the bubbles and allow to cure at least 12 hours.
19. Trim your light kit to the length of the base of your resin piece. Read the directions on the light kit and if you have to cut it a little longer, that is okay. I had to do that and ended up covering it with some of the base.
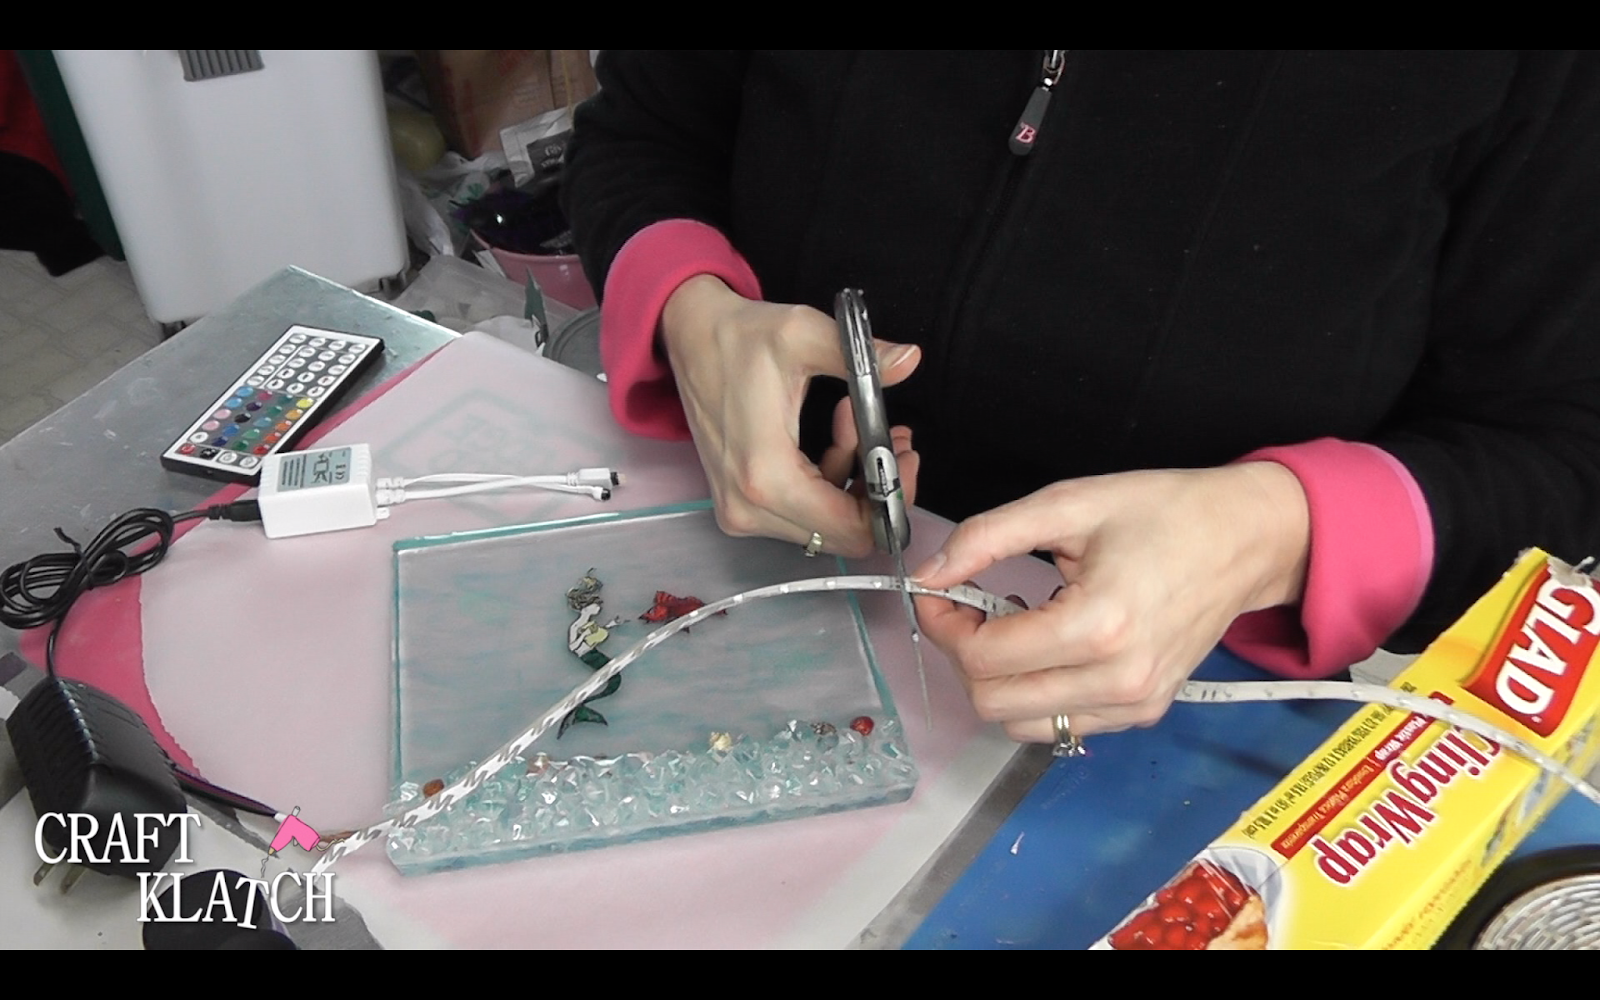
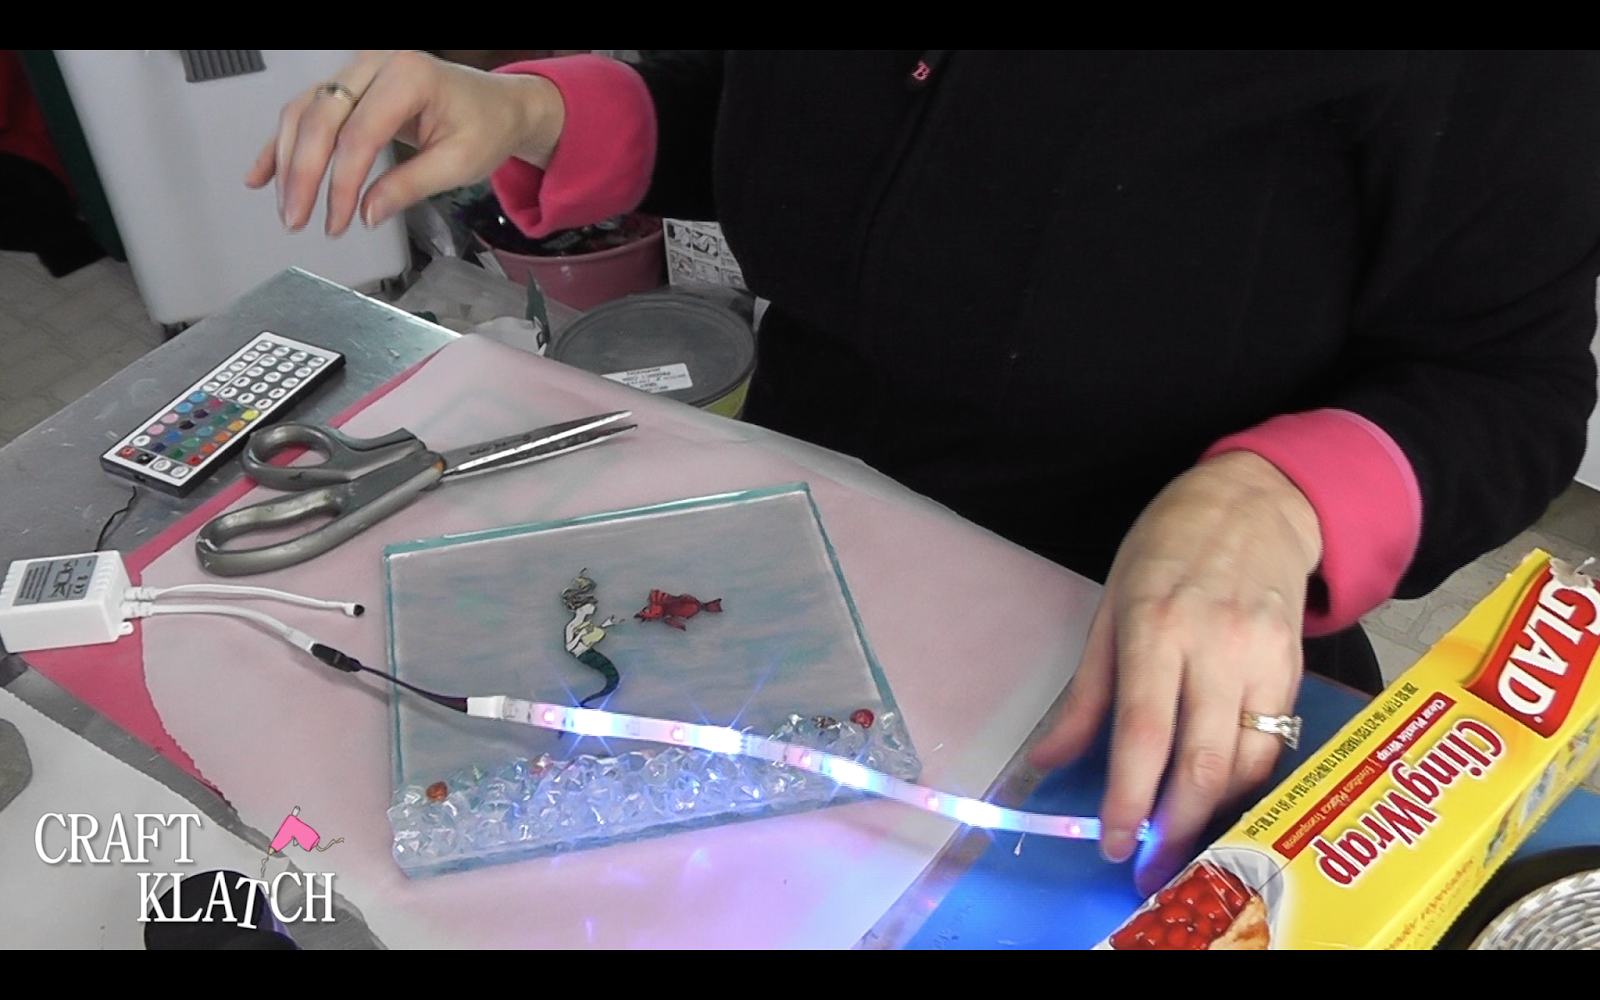
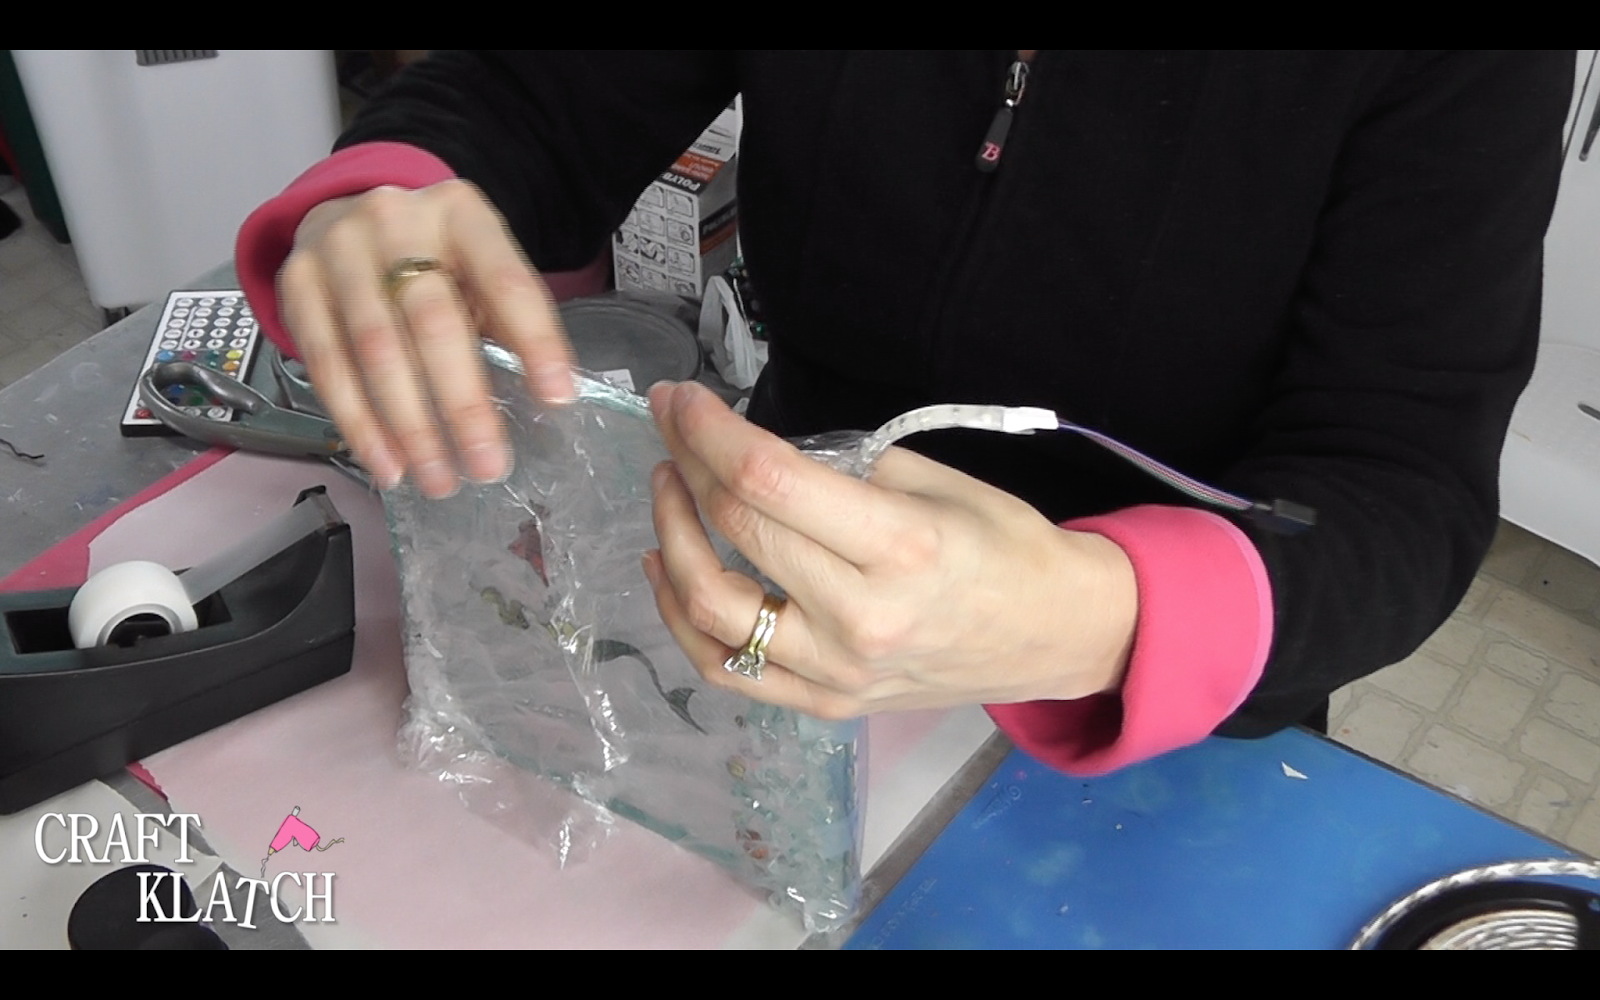
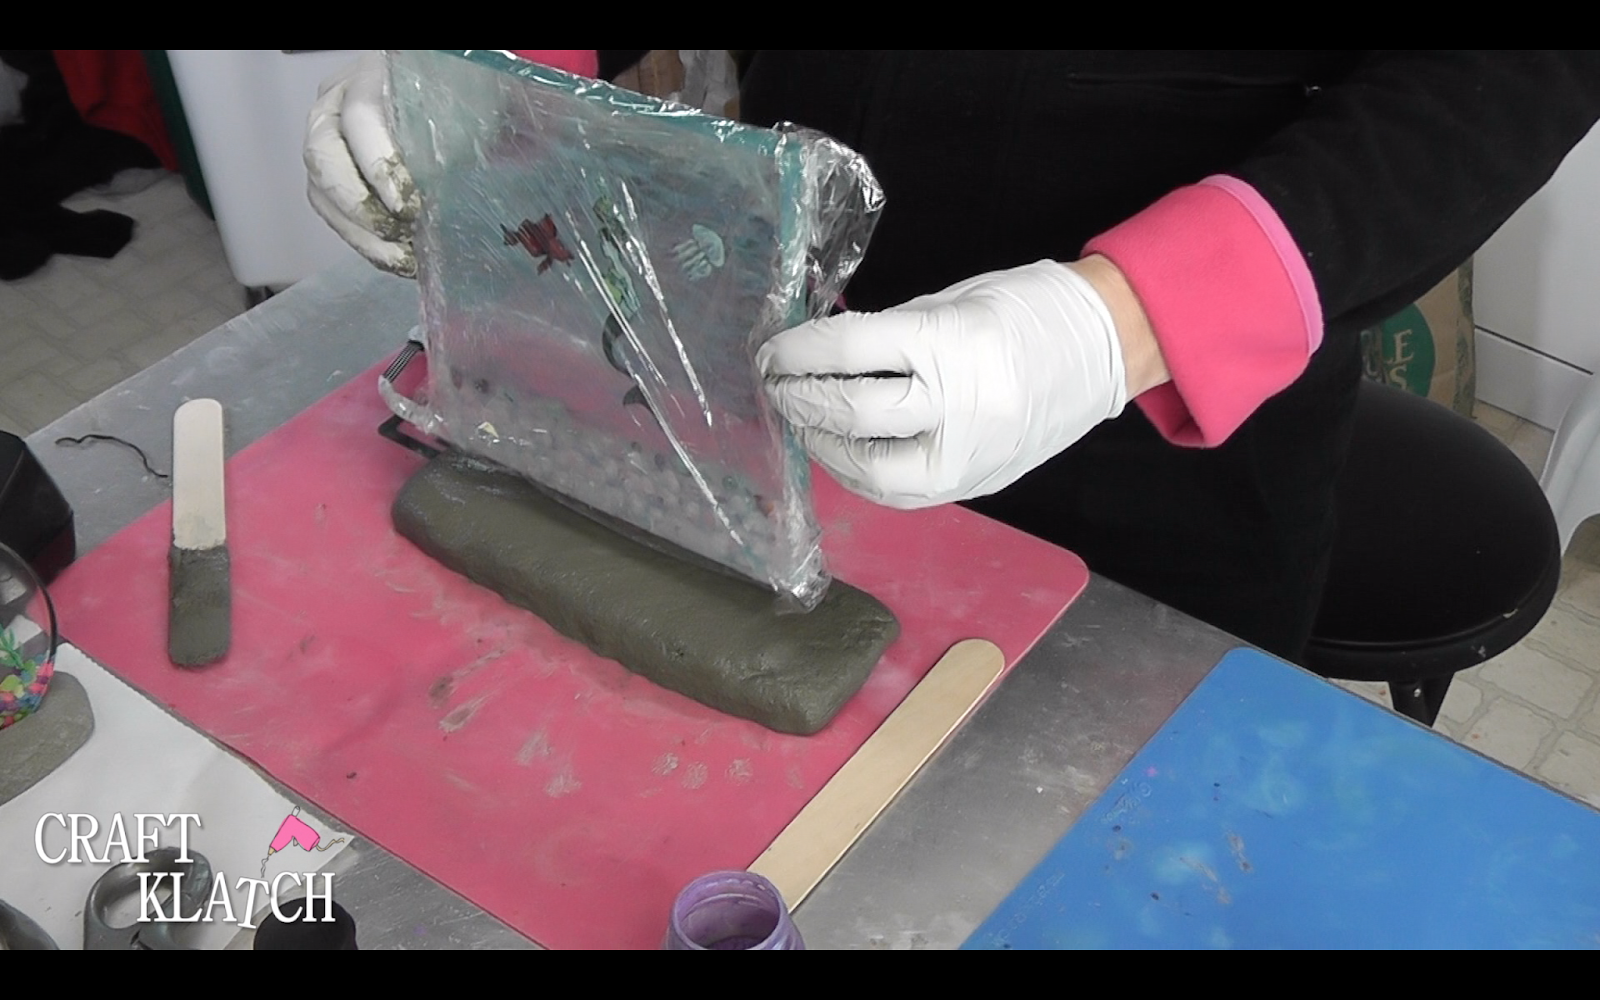
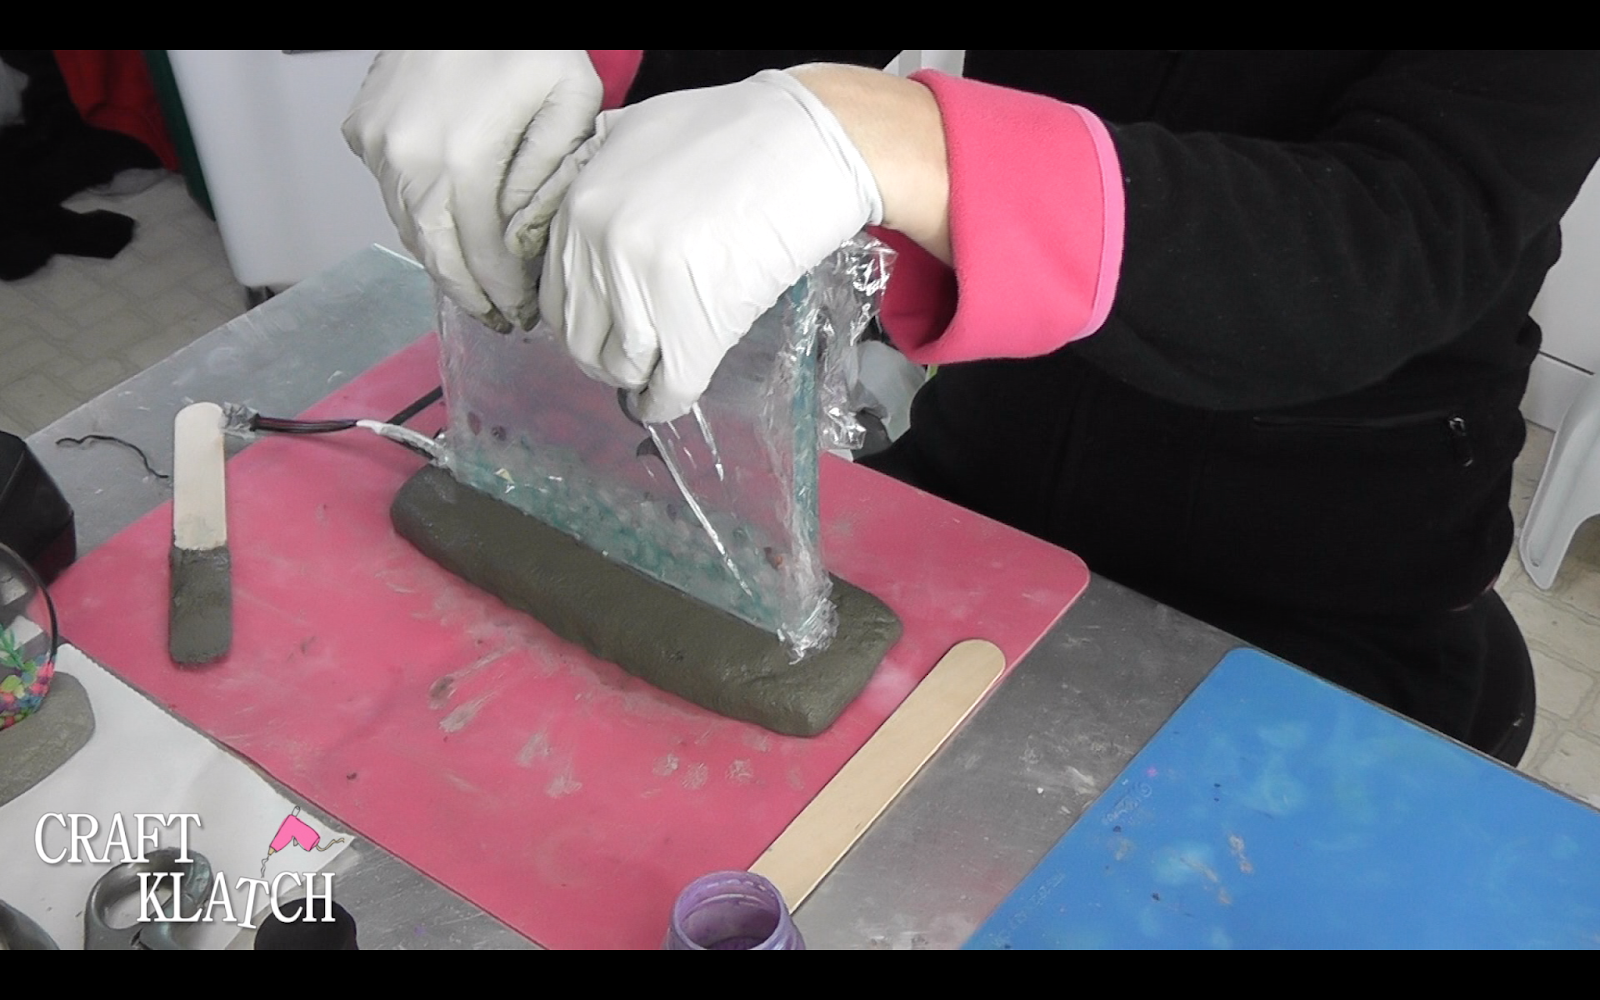
20. Tape the light kit to the bottom of the resin piece. Make sure it is where you want it to be when your piece is finished. Wrap your whole piece in plastic wrap and tape the end of the light kit (also the plug part so dust and concrete don’t get into it).
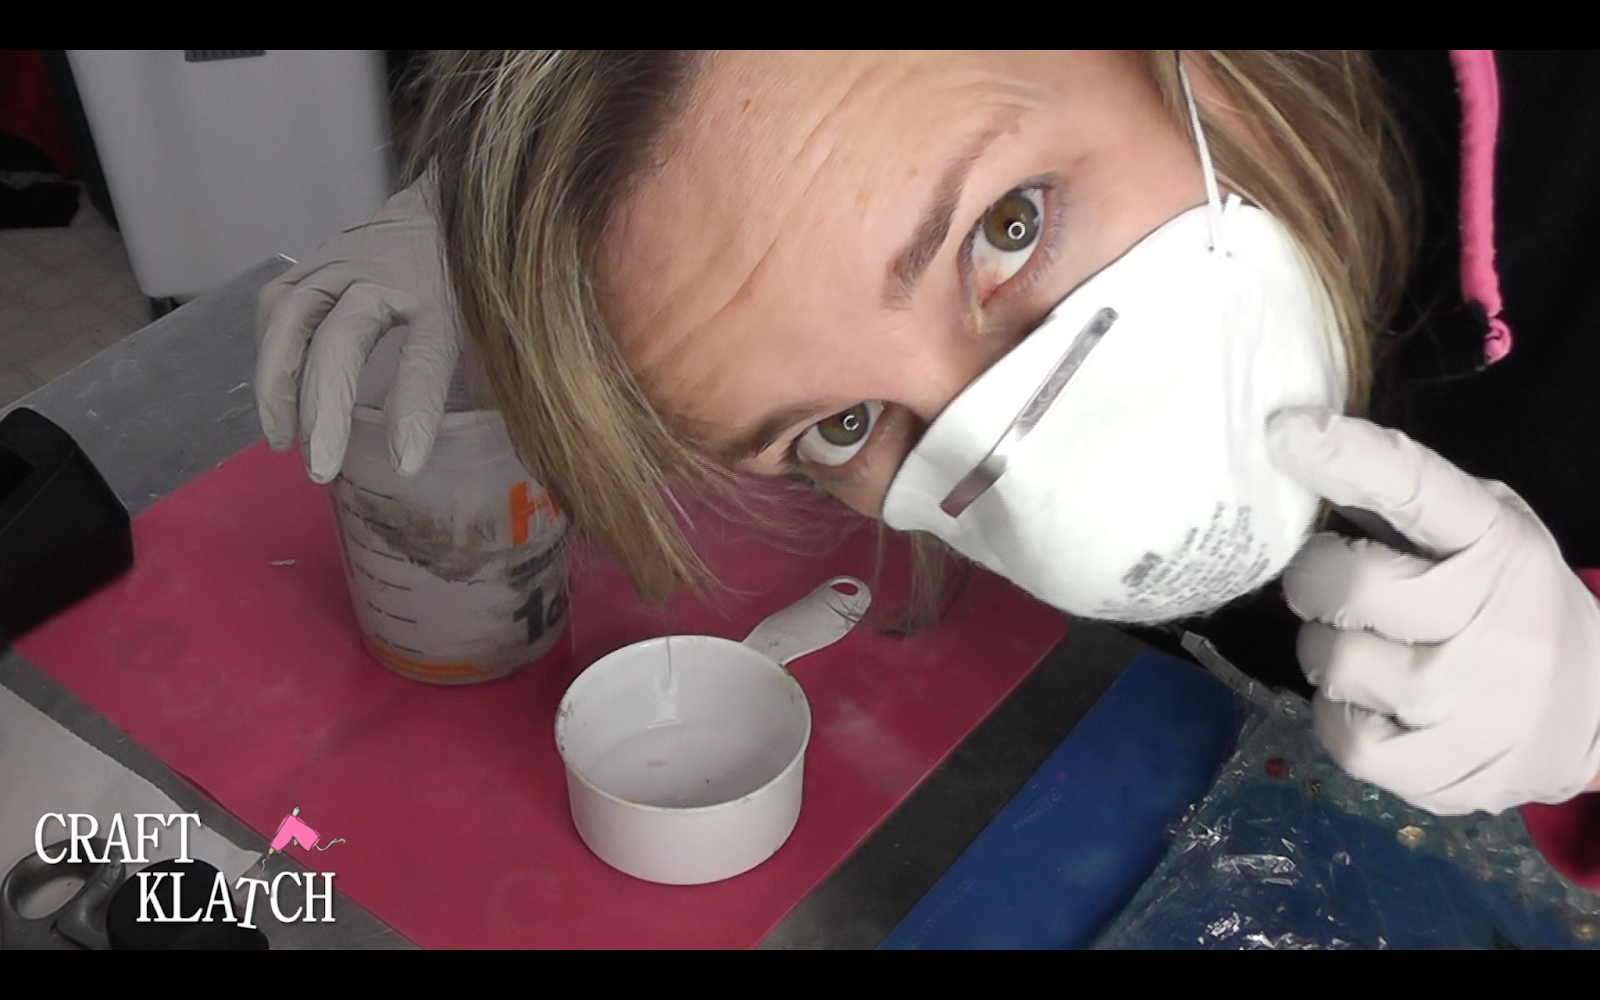
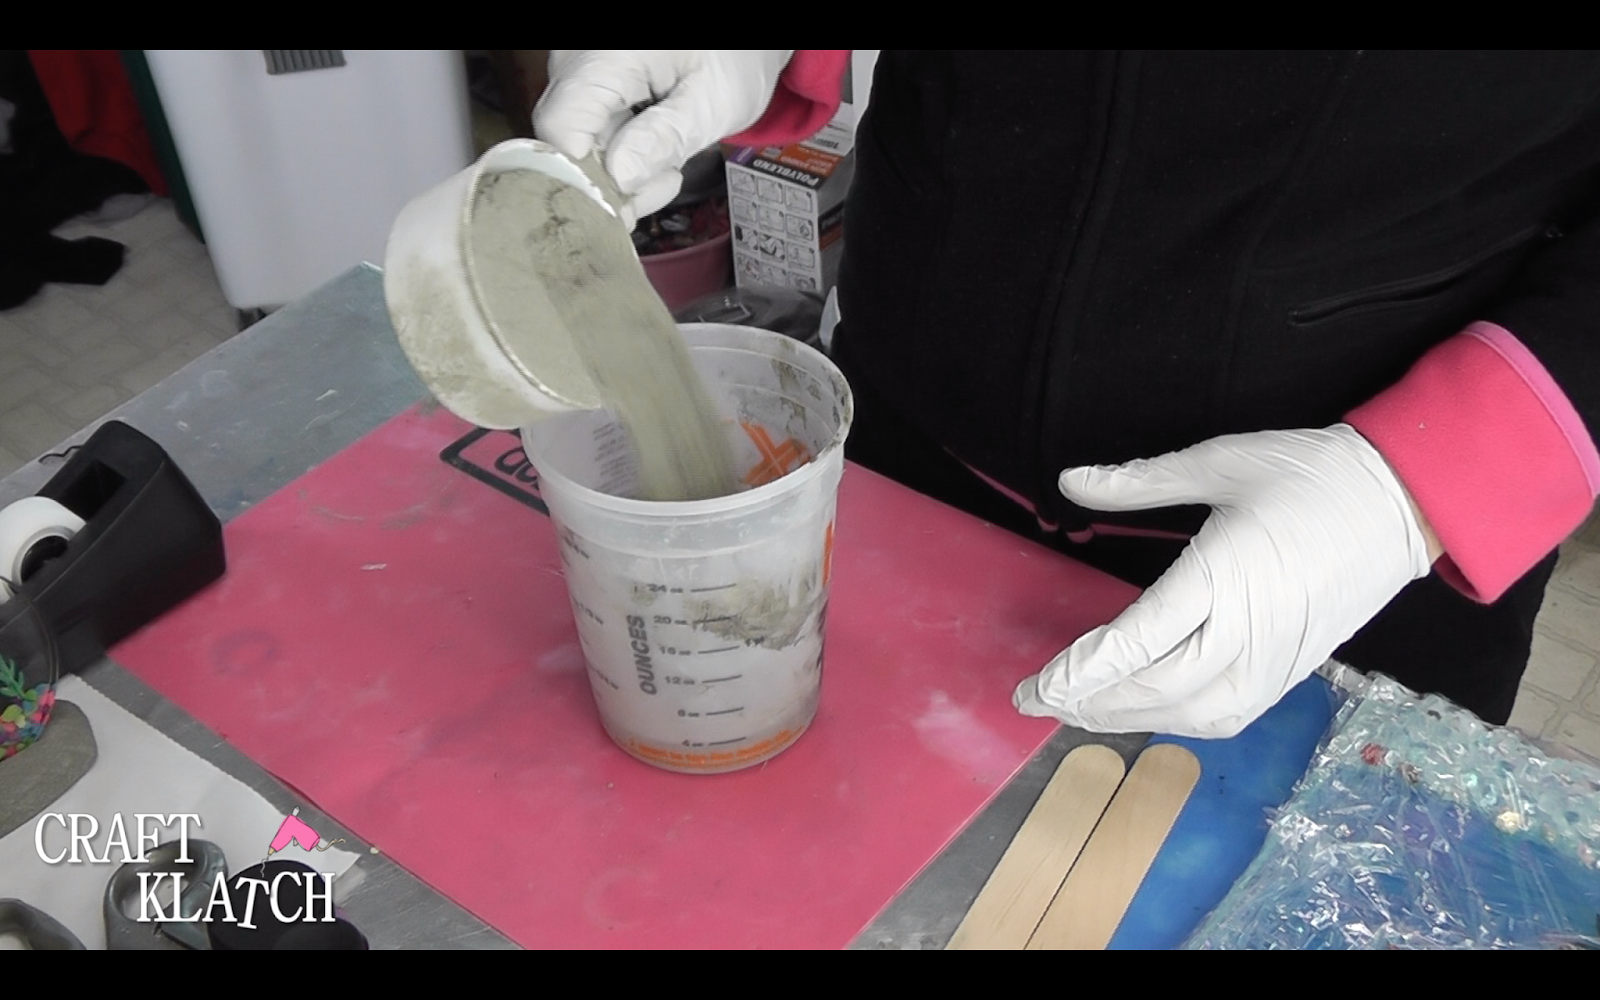
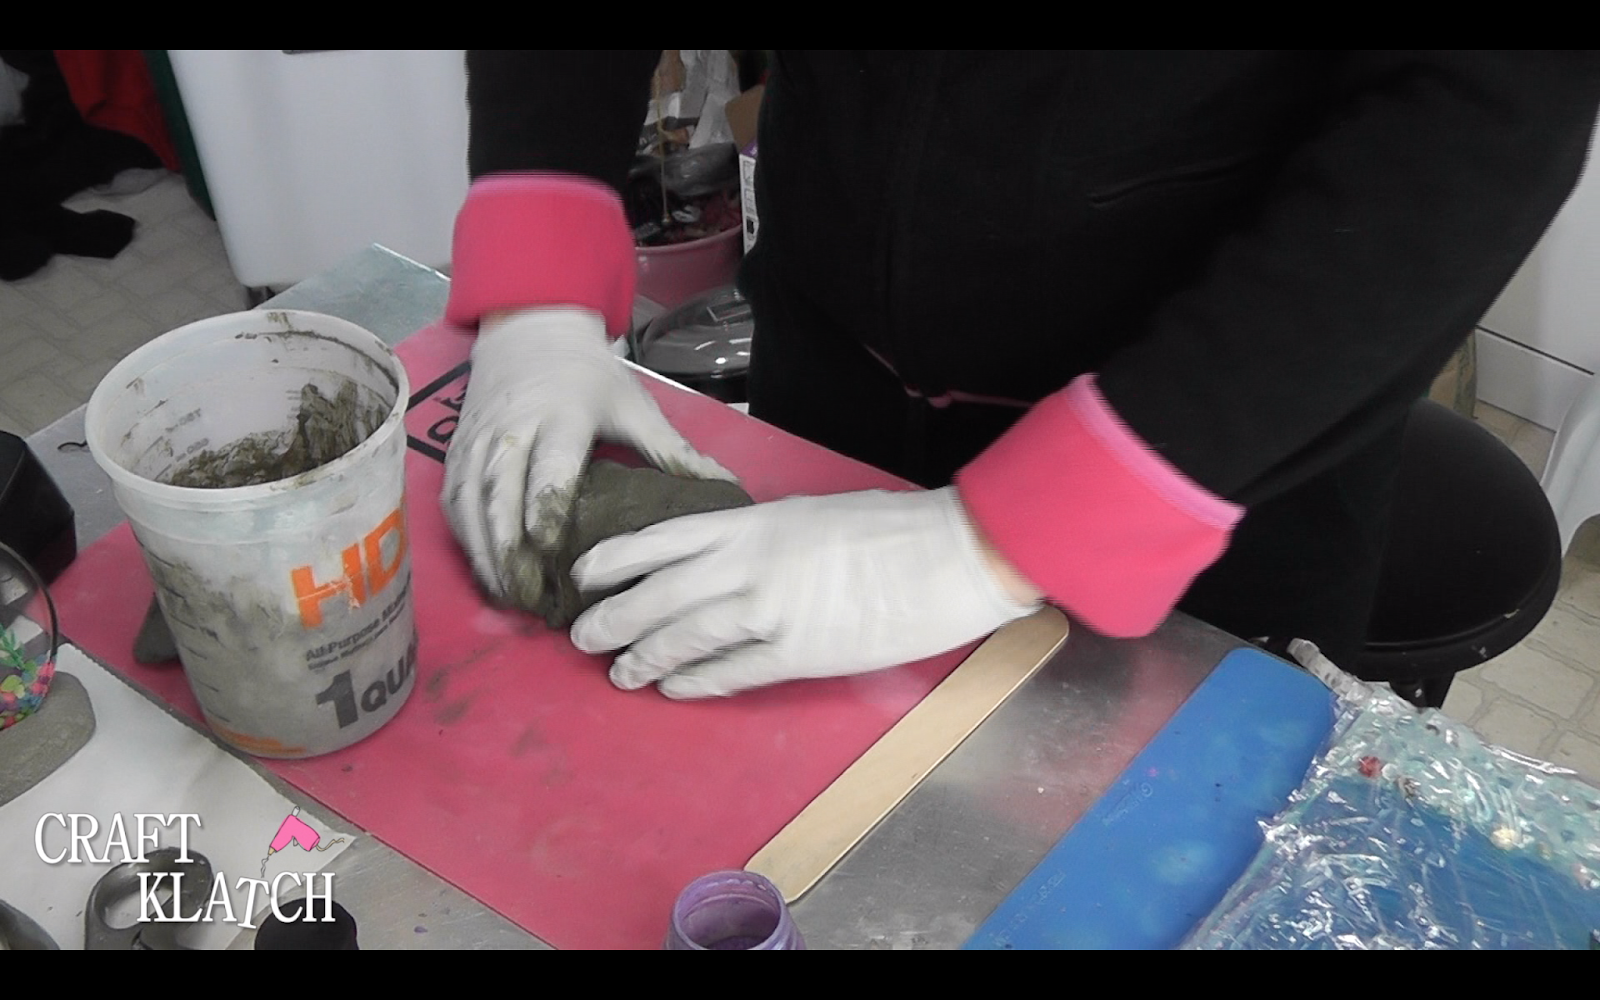
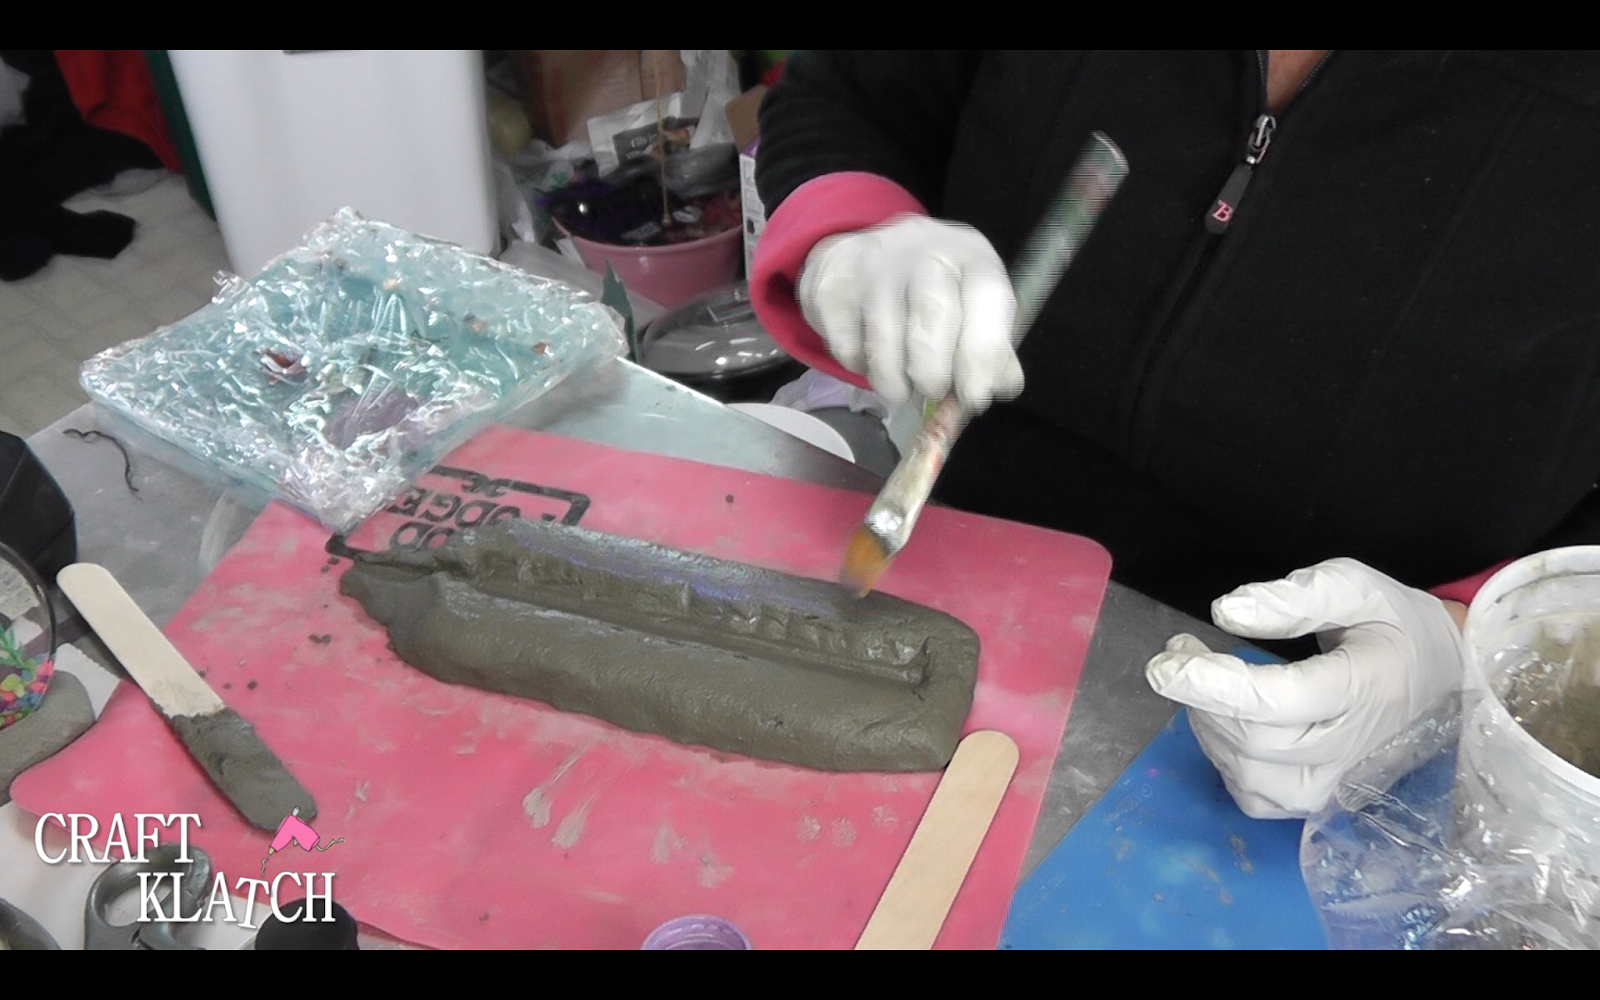
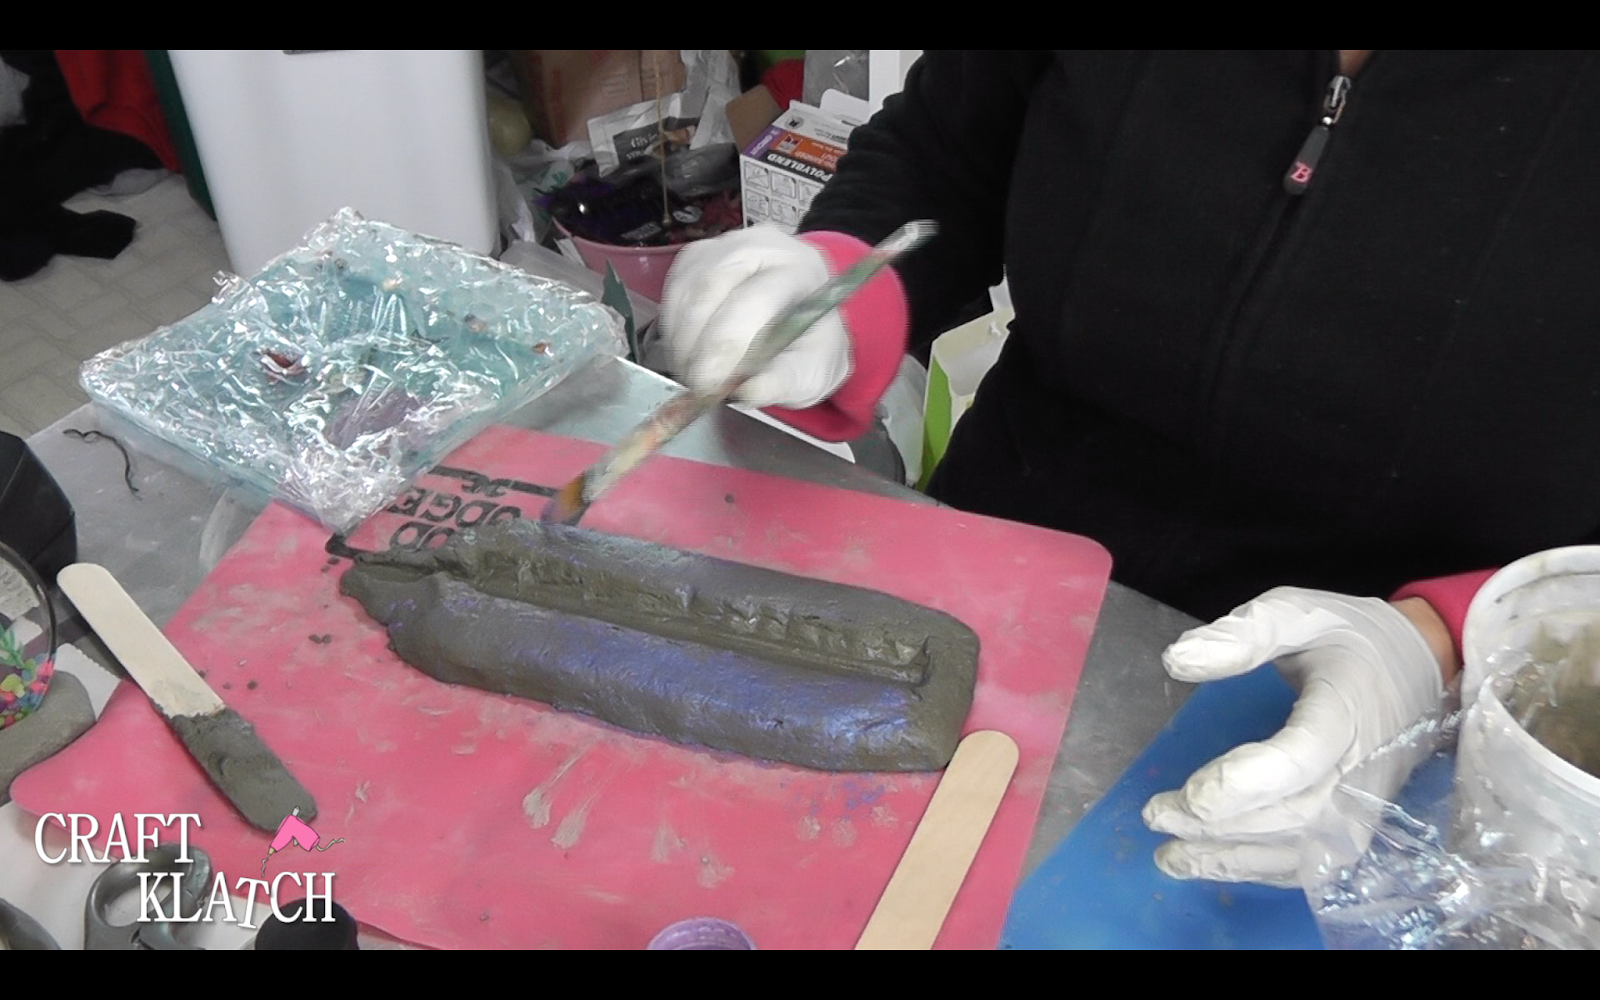
21. Mix your Shapecrete, according to the package directions. I used four cups of the product to one cup water.
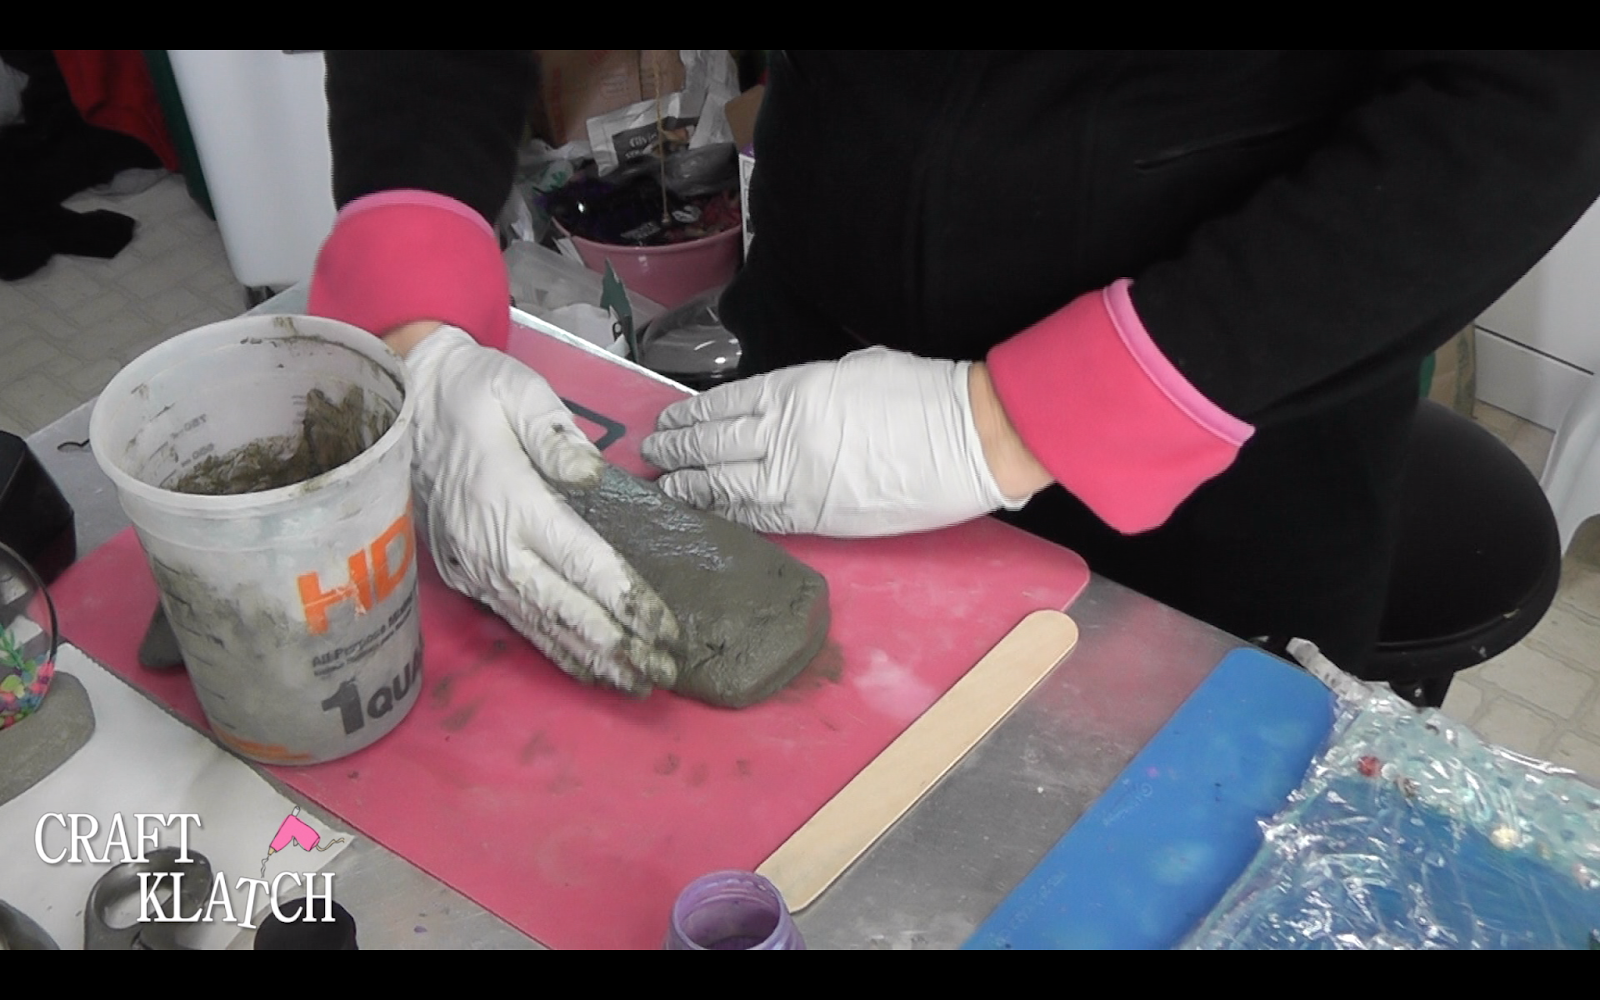
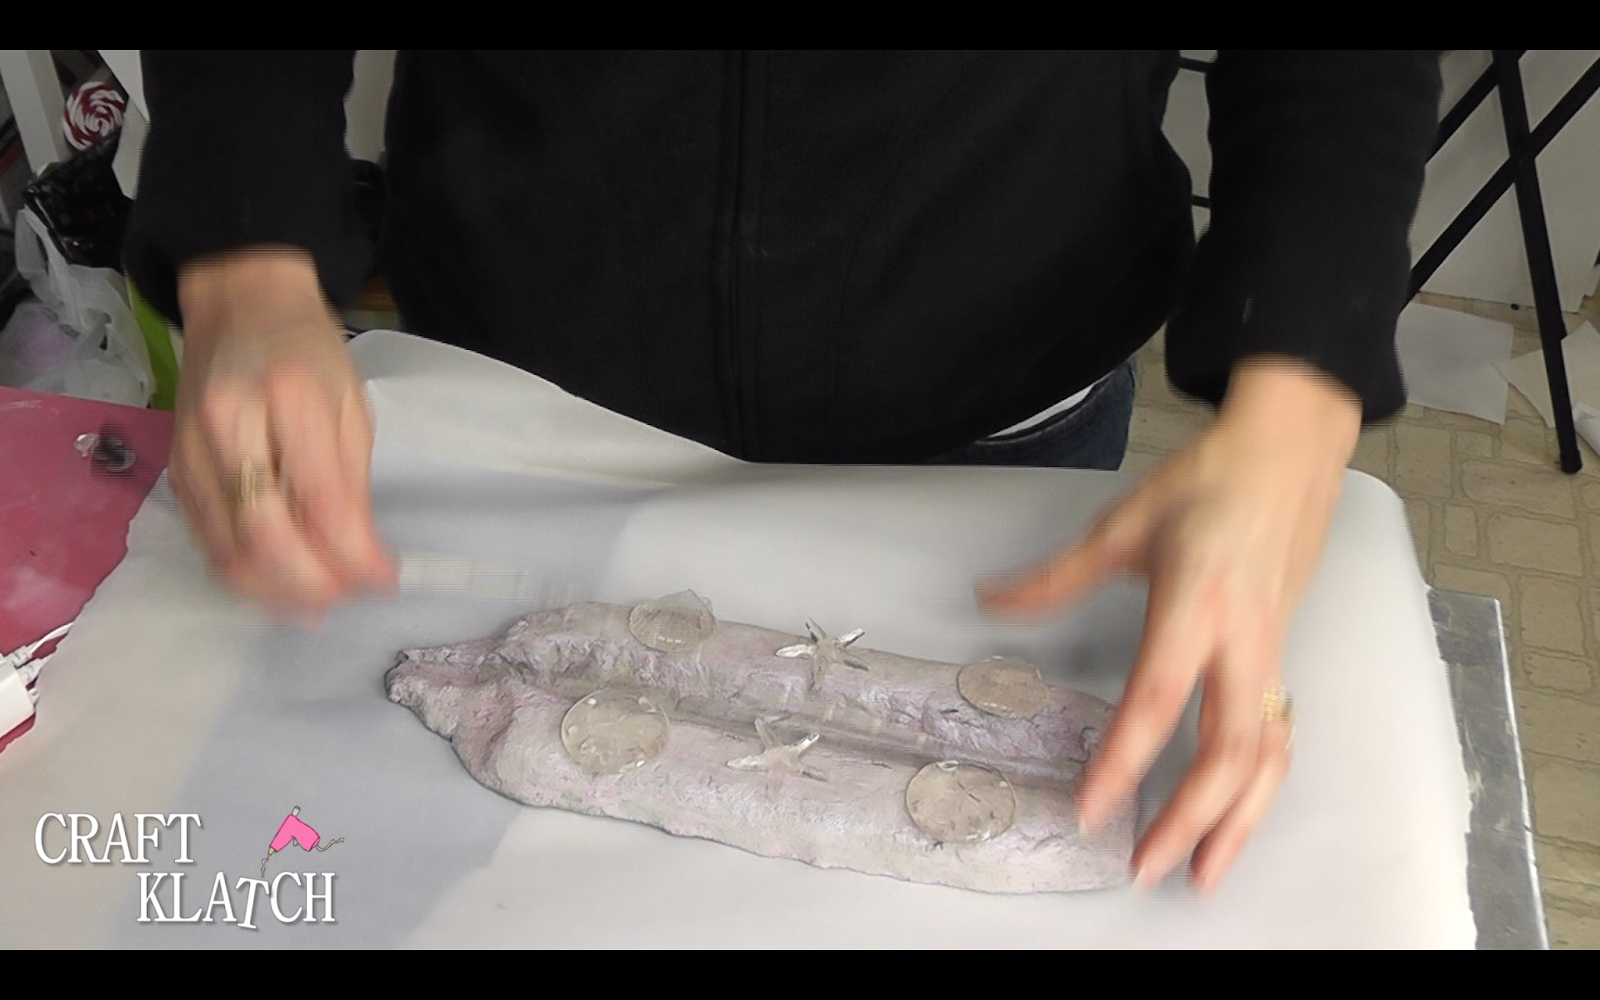
22. Working on a silicone mat or aluminum foil, shape your Shapecrete into a log. Make sure it is long enough that it is bigger than your resin piece. Press your resin piece into the concrete and make sure it stands on its own. Then carefully remove it. While you have your resin piece in the concrete, if you need to add onto the side for the cord, do that and sink the cord down in the concrete too. Once removed, you can unwrap your resin piece.

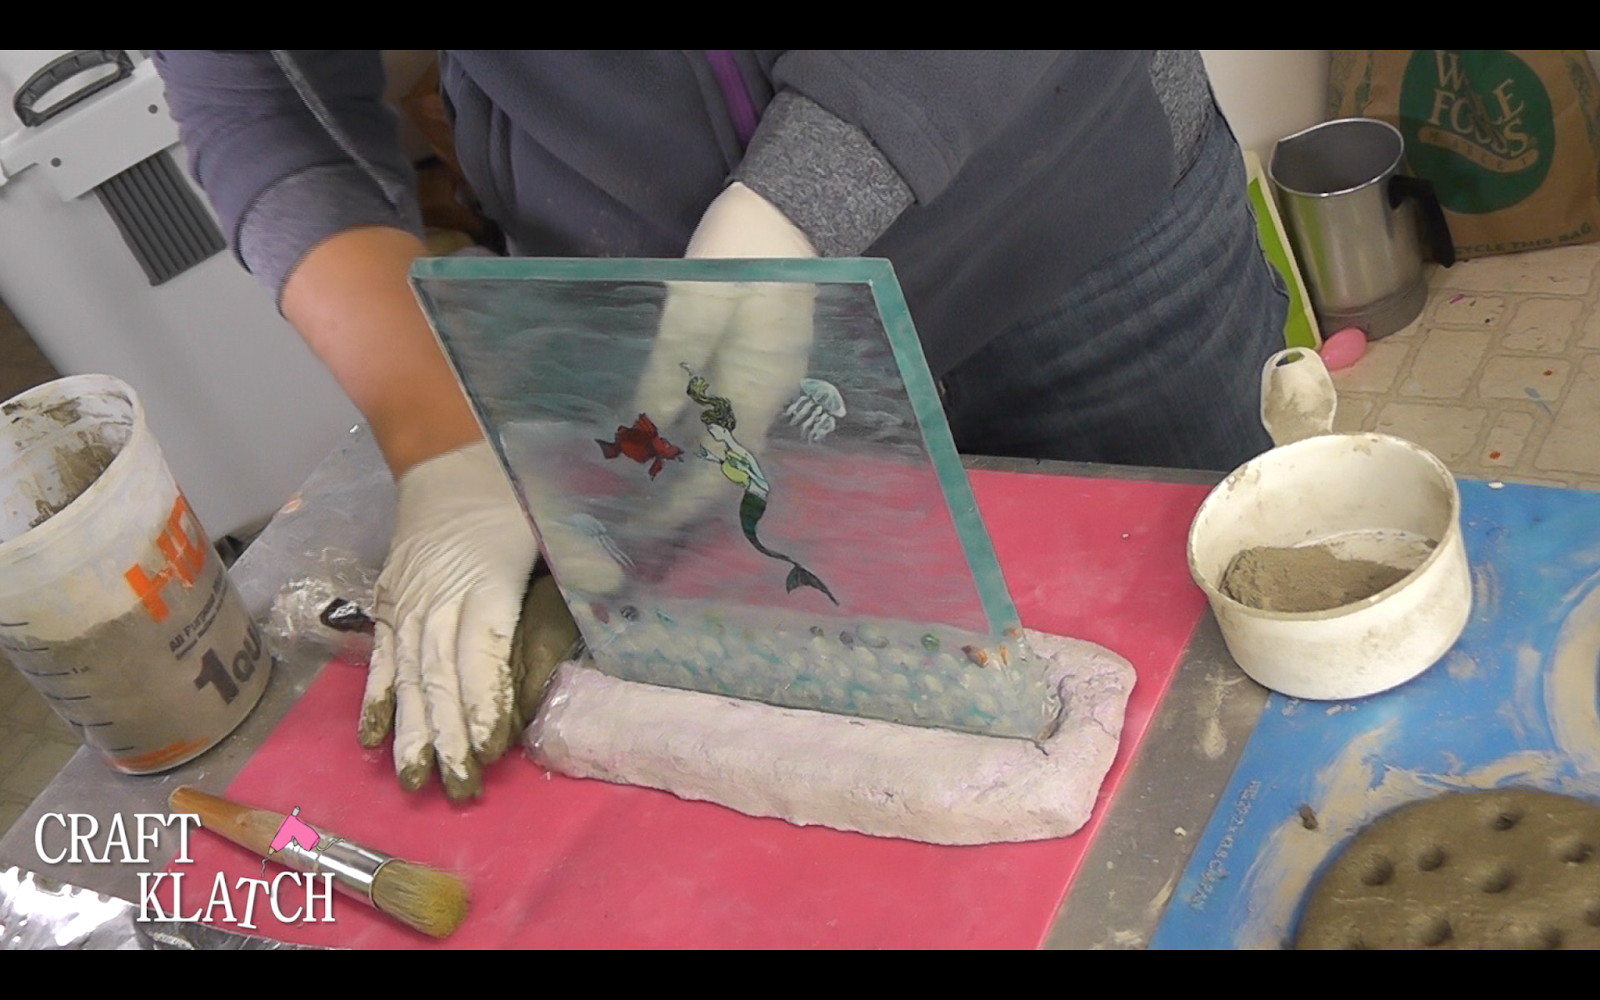
23. Gently brush purple pigment powder onto the base. Loosely lay plastic wrap over the base and allow to cure. Follow drying times on the product package. Once dry, you can rinse off any excess pigment powder and allow it to dry.
24. If you haven’t already, pour clear resin into the sea life mold. I used three sand dollars, three seashells, three starfish and one seahorse.
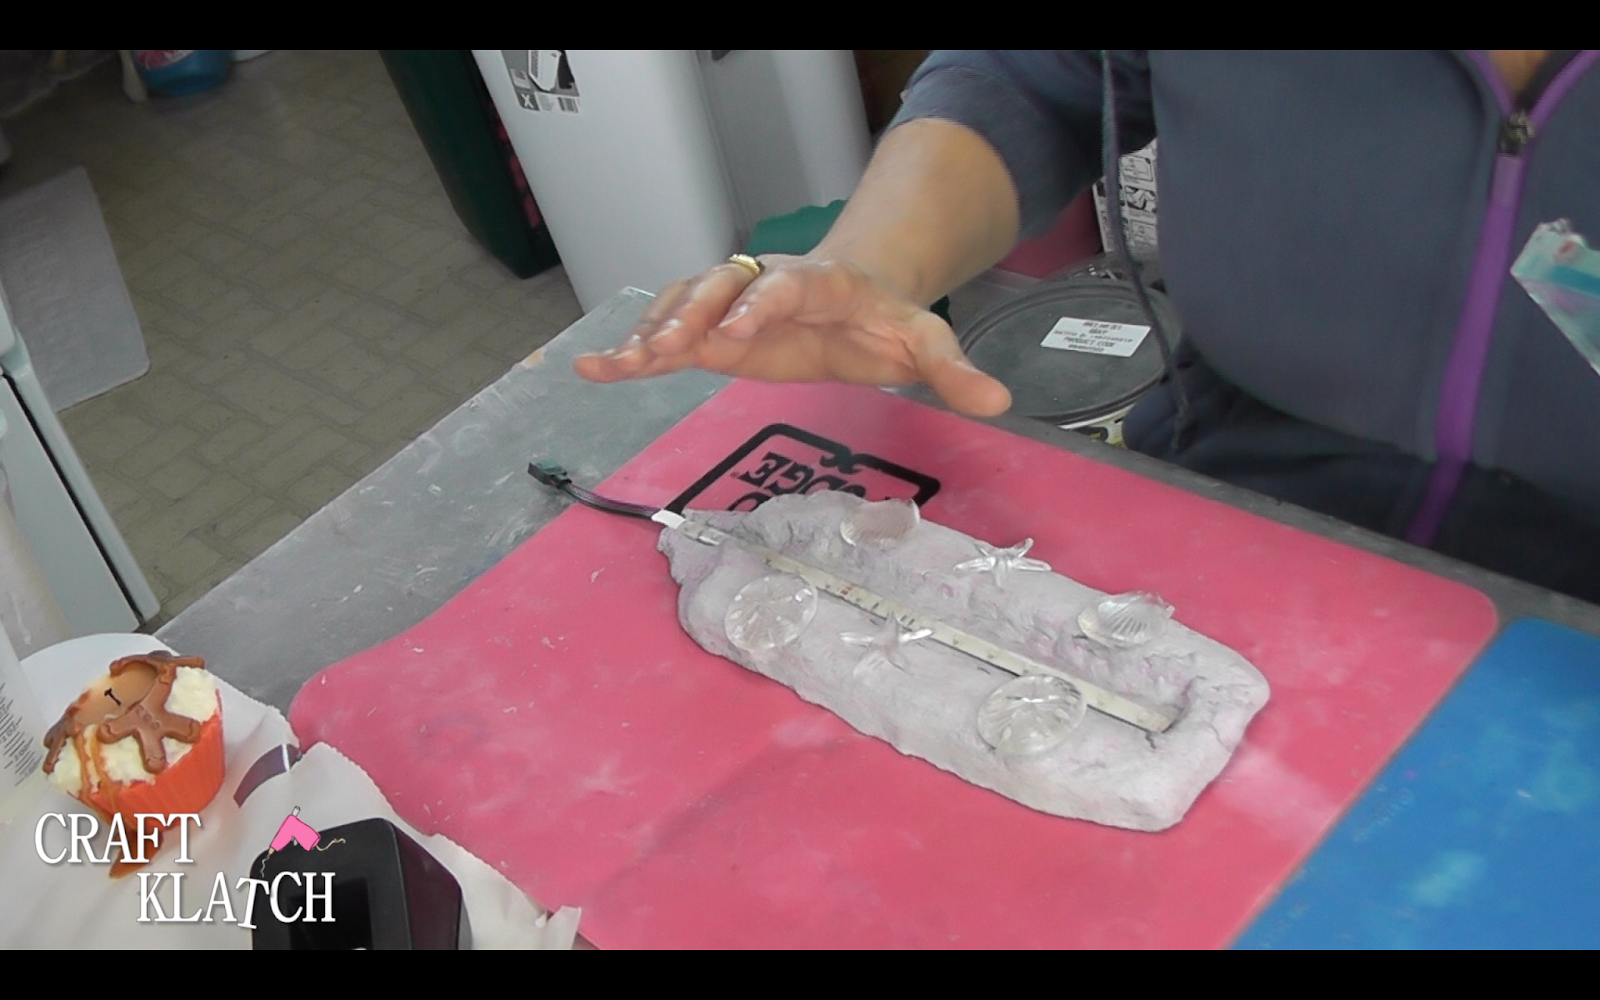
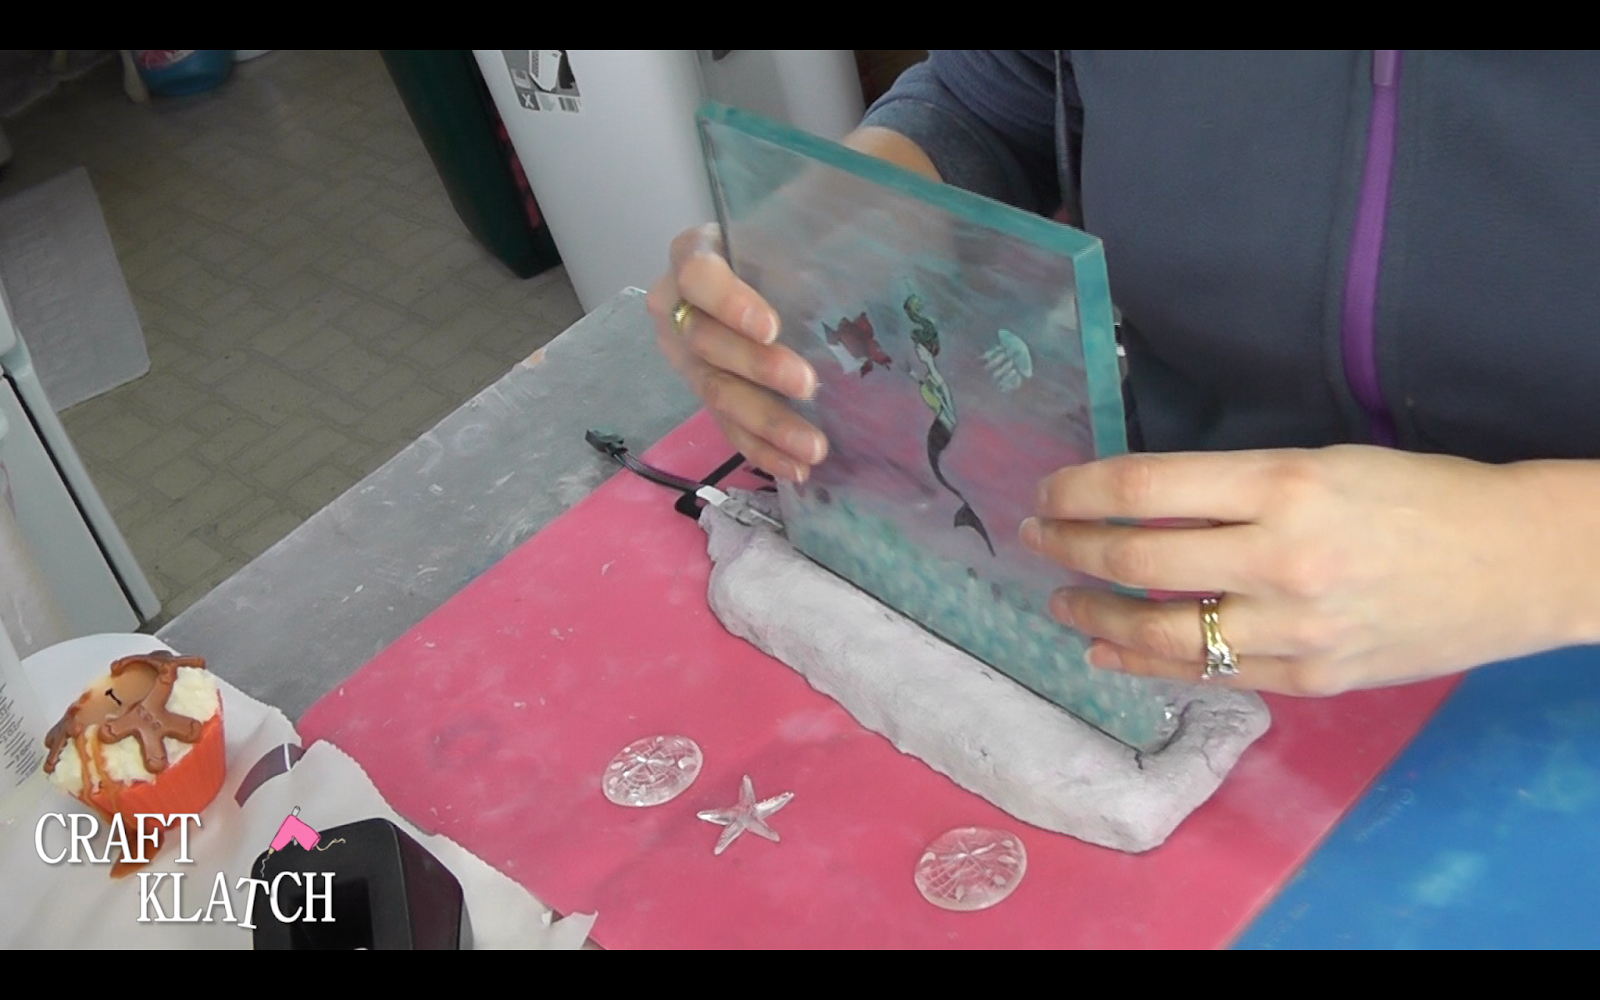
25. When your resin pieces are done, place the light kit and your resin piece into the base. Glue the sand dollars and one starfish onto the back of the base and make sure they are up against the resin piece. You are gluing them on there to be sure the piece doesn’t fall backwards.
26. Depending on how your piece has come together, you might need to make a cap for the cord, or in my case also where there were extra lights. Mix some more Shapecrete – you might only need a quarter of what you used before. Wrap the portion of the base that needs the cap in plastic wrap. Shape the cap over the plastic wrap and have it somewhat blend into the main base (if you can). Brush on the purple pigment powder, cover to cure. Once cured, rinse off excess pigment powder.
27. Glue on a sand dollar, starfish and seashell.
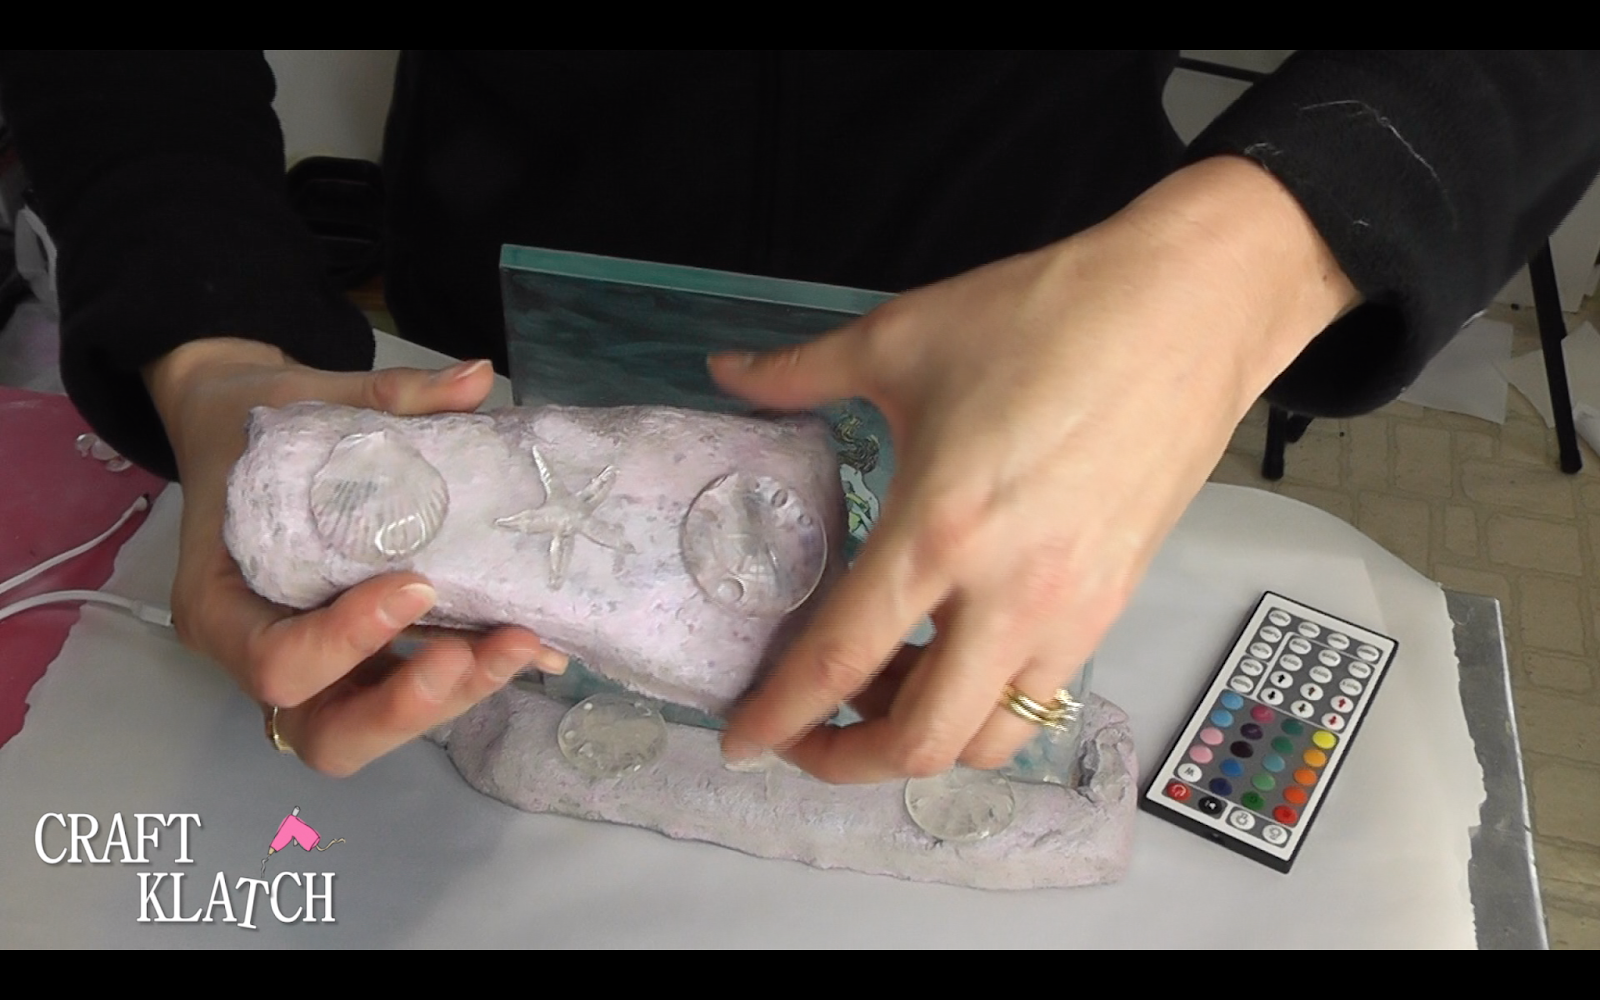
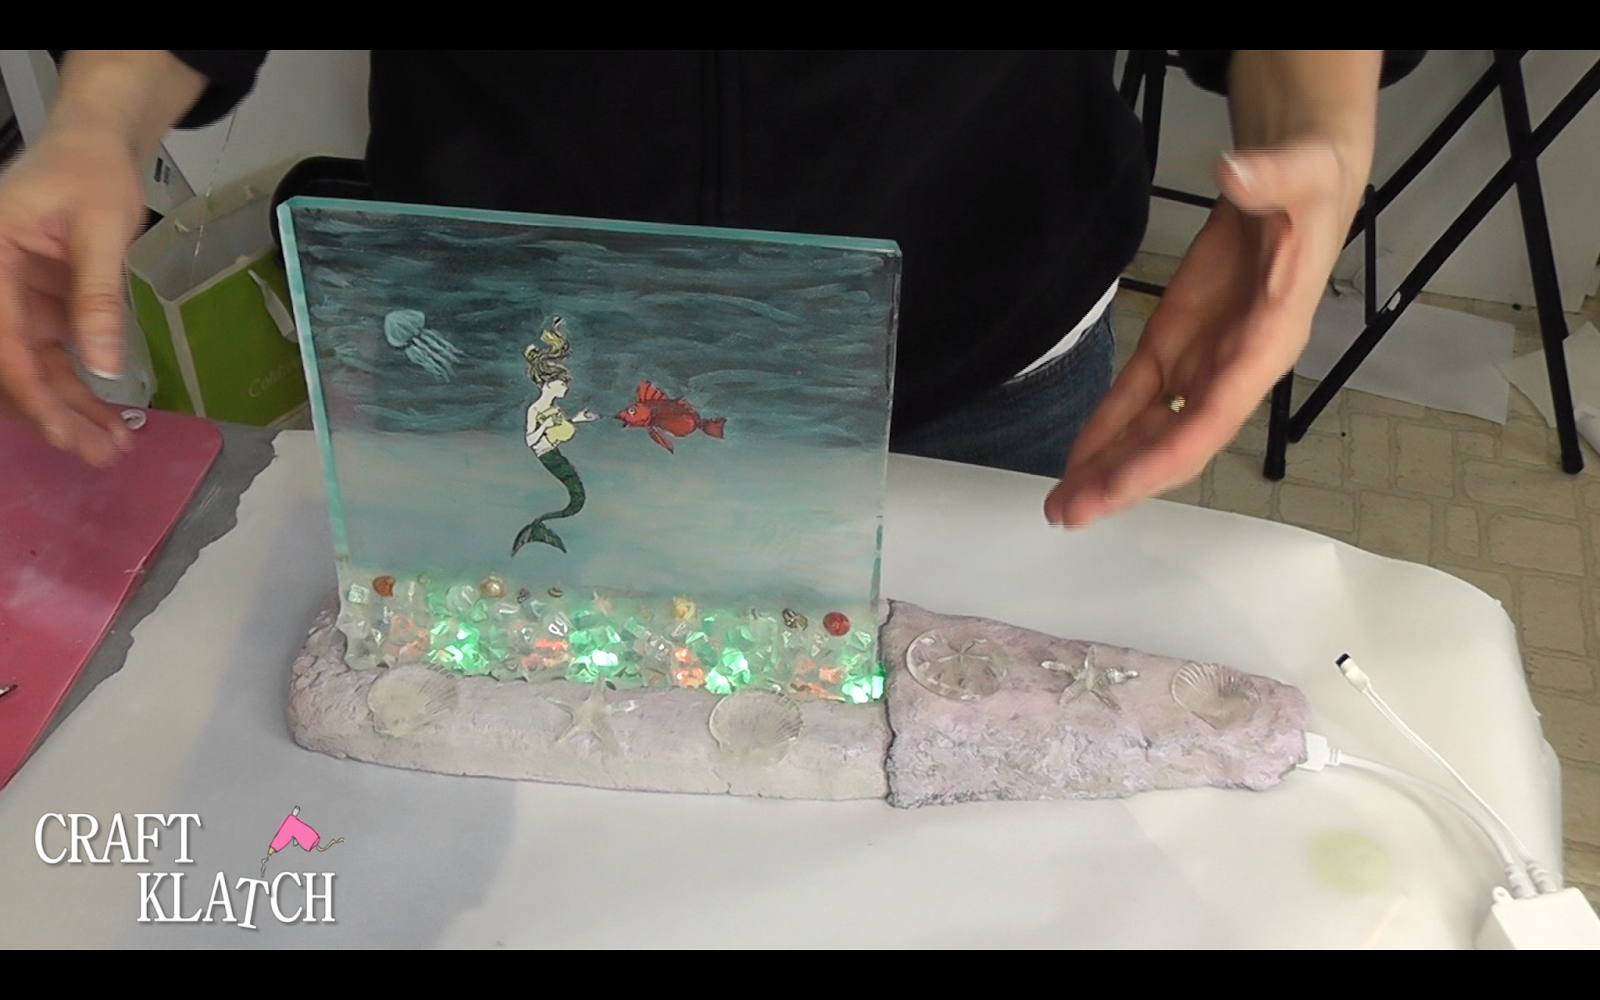
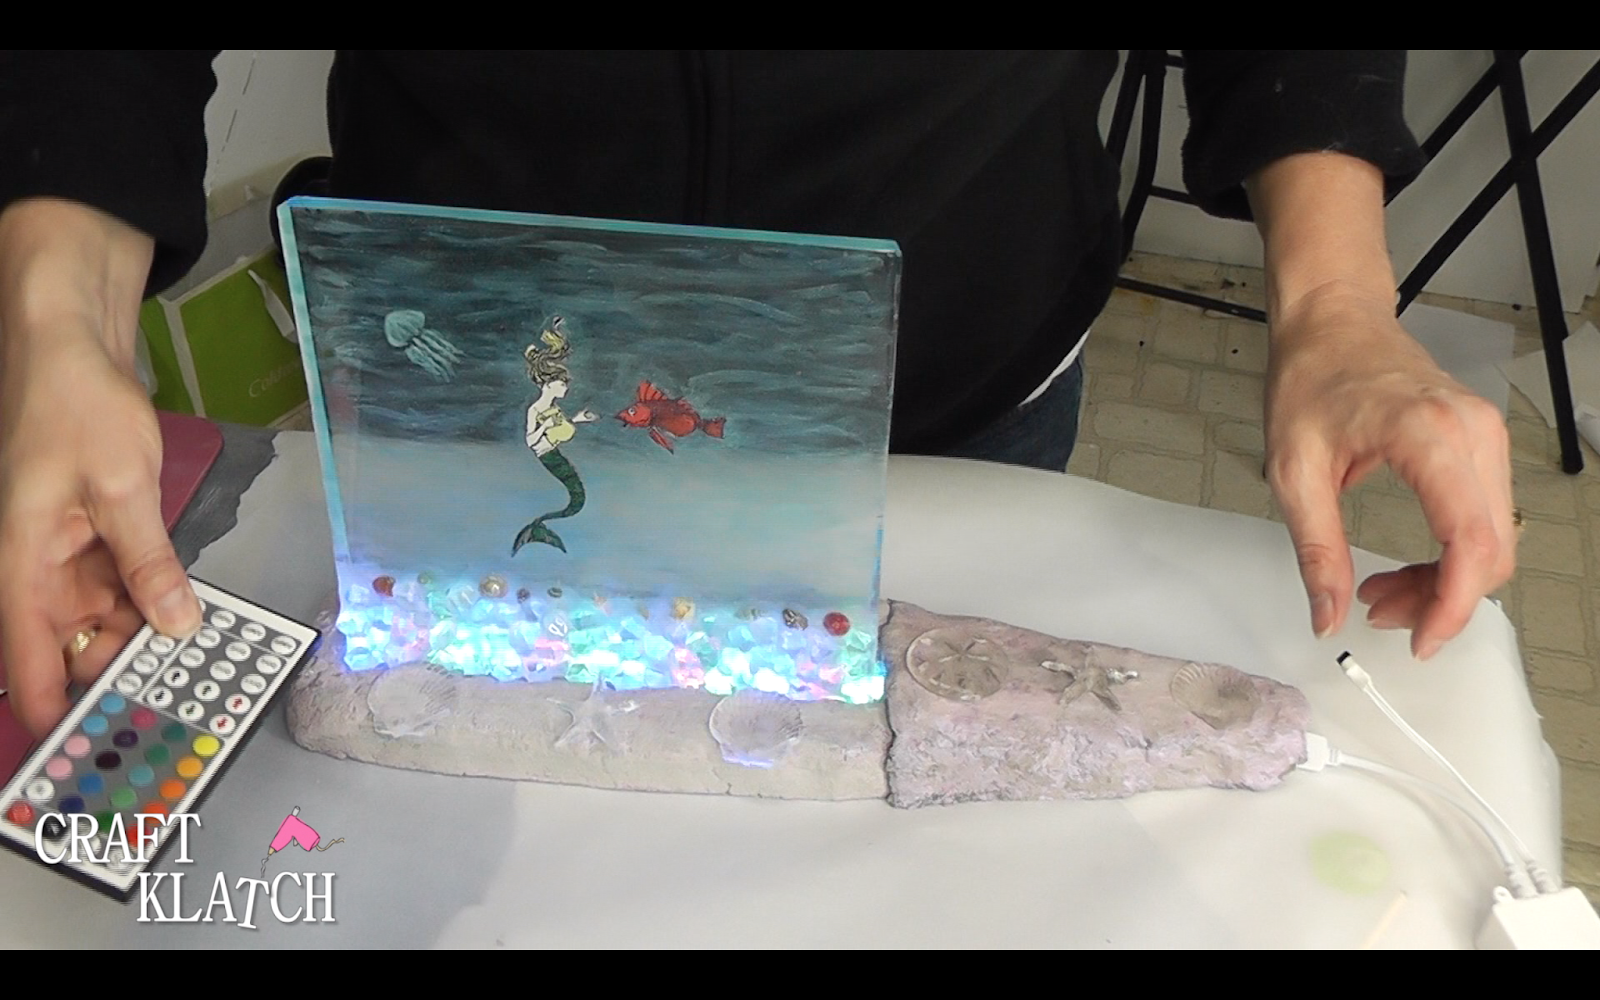
28. Remove sticker backing on the light kit and apply to the base. Add your resin piece and LIGHT…IT…UP!

This creates great mood lighting. It would make a great night light! Play with the settings on the light kit to see which you like the best!
Thank you for stopping by! Remember: Life’s too short not to shimmer, so grab your glue gun and your glitter!™ Stay safe!
Mona
I have been looking for a resin project to try. FOUND IT!!! LOL
WOW!!! THANKYOU for sharing this amazing idea!!! You really do beautiful work. This will look so fabulous in my nieces room.
Thank you so much! My niece has this one too!