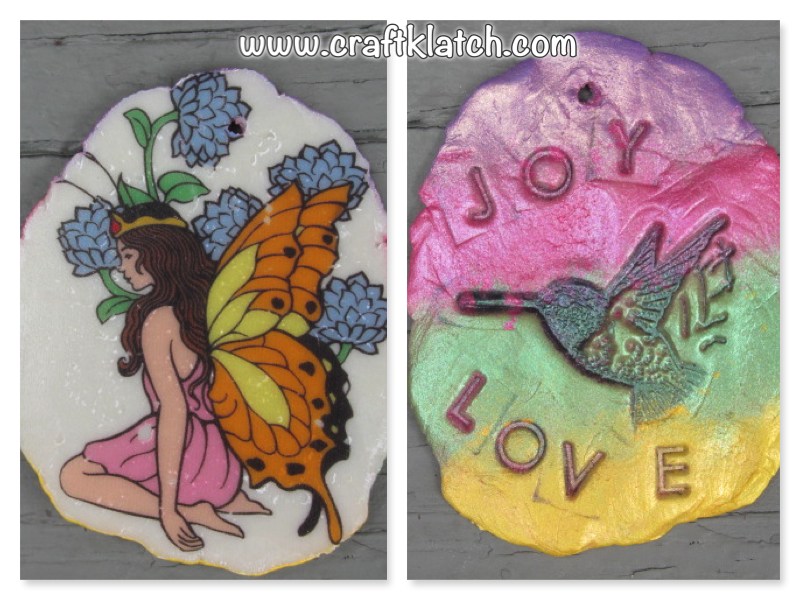
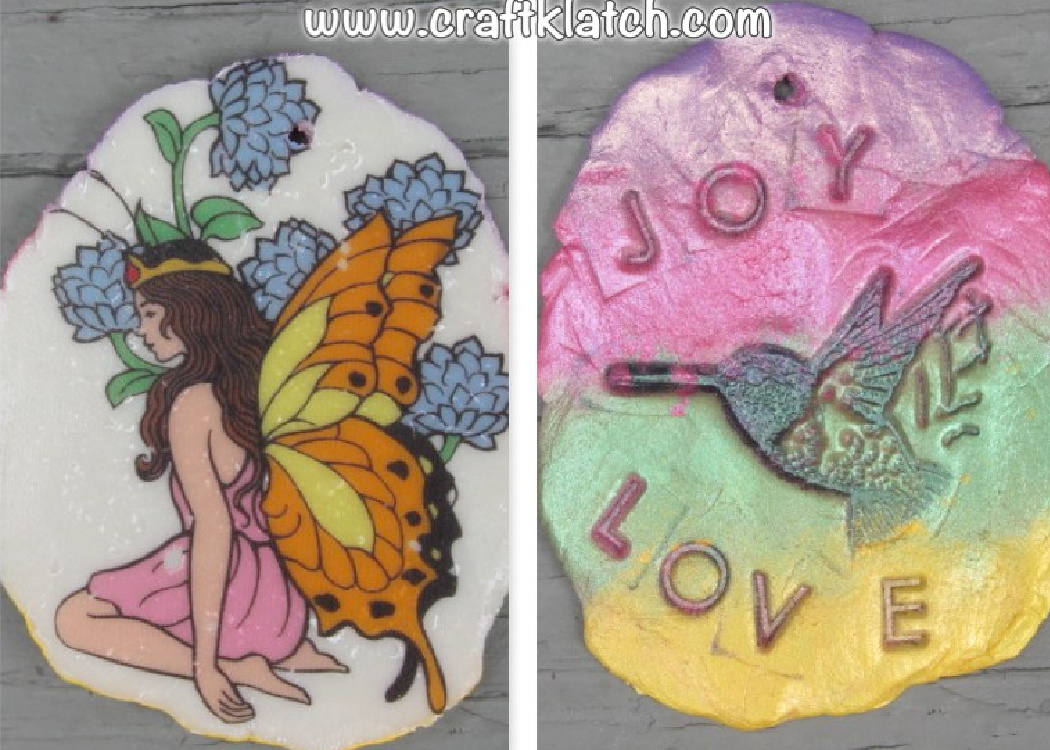
This is fun technique. I did it once before with pet photos. I thought it would be fun to do it with clipart!
Be sure to Pin It for later!

Just so you know, you don’t have to limit yourself to clip art! I also did this Pet Photo Transfer Project version!
I also did a fun Fairy Coaster that did not quite turn out as I expected!
Supplies You Will Need
*This blog uses affiliate links. As an Amazon Associate I earn from qualifying purchases.
- Jewelry Clay: https://amzn.to/2EVFHio
- Inkjet printer: https://amzn.to/2WTBRAE
- Pigment powder: https://amzn.to/2ETPWnl
- Letter stamps: https://amzn.to/2W81D3D
- Ink pad: https://amzn.to/2YCFSGZ
- Hummingbird stamp: https://amzn.to/2F0alrc
- Inkjet transfer paper (t-shirt transfer paper): https://amzn.to/2EZlhVM
Here is the Video Tutorial
Directions:
1. Prepare your Jewelry Clay, according to the package directions. It’s really easy!
2. Lay your printed photo on a flat surface.
3. Roll the clay into a ball and place it onto the printed photo.
Tip: Make your print a little larger because you don’t want the clay running off the edge of the picture and then having a white line.
4. Press the clay down on the printed photo. Take a needle tool or a pen and poke a hole into the top.
5. Brush pigment power onto the back and sides of the clay. The pigment powder will become part of the clay when it has finished curing.
6. Take a rubber stamp and a dye ink pad and stamp on the back (the freshly pigmented side that is currently face up) and stamp words or symbols or anything you like.
7. Allow to cure for at least 12 hours.
8. Peel the clay from the printed photo.
9. You can leave it that way, or you can put a layer of resin over the transferred photo for additional protection.
It will be rock solid and you can use it as a keychain, or hang it from your rearview mirror, or Christmas ornaments, or bookmarks, etc.

Magical Fairy Gifts
If you are looking for a magical fairy gift, be sure to check out these beautiful ideas!
That’s it! Thanks for stopping! Remember: Life’s too short not to shimmer, so grab your glue gun and your glitter!™ Stay safe!
Mona


