Learn how to make an easy resin coaster with a bee honeycomb theme! It’s a fun home decor project that everyone will be buzzing about!! 🐝
I especially love that this is a freeform coaster instead of the usual coasters I do in a mold.
I have so many coaster projects, but here is another Freeform Coaster you might enjoy and a fun Textured Coaster.
*This blog uses affiliate links. As an Amazon Associate I earn from qualifying purchases, at no additional cost to you.
Supplies Needed for the Bee Honeycomb Coaster
- Resin
- When deciding on which resin to use for your coasters, you need to keep in mind whether you want it just for cold cups or for hot ones as well.
- If only for cold drinks, you can be flexible and use whatever brand you like:
- If you want it to work for both hot and cold drinks, you need to look for a heat-resistant resin, like these:
- Stone Coat (Quick coat)
- Stone Coat (Heat resistant)
- FX Poxy ~ According to the manufacturer, this one is heat resistant to 500° F.
Be sure to FOLLOW Craft Klatch on Instagram!
Bee Honeycomb Coaster Video Tutorial
Here is a quick video tutorial, so you can see exactly how I made it:
Bee Honeycomb Coaster Directions
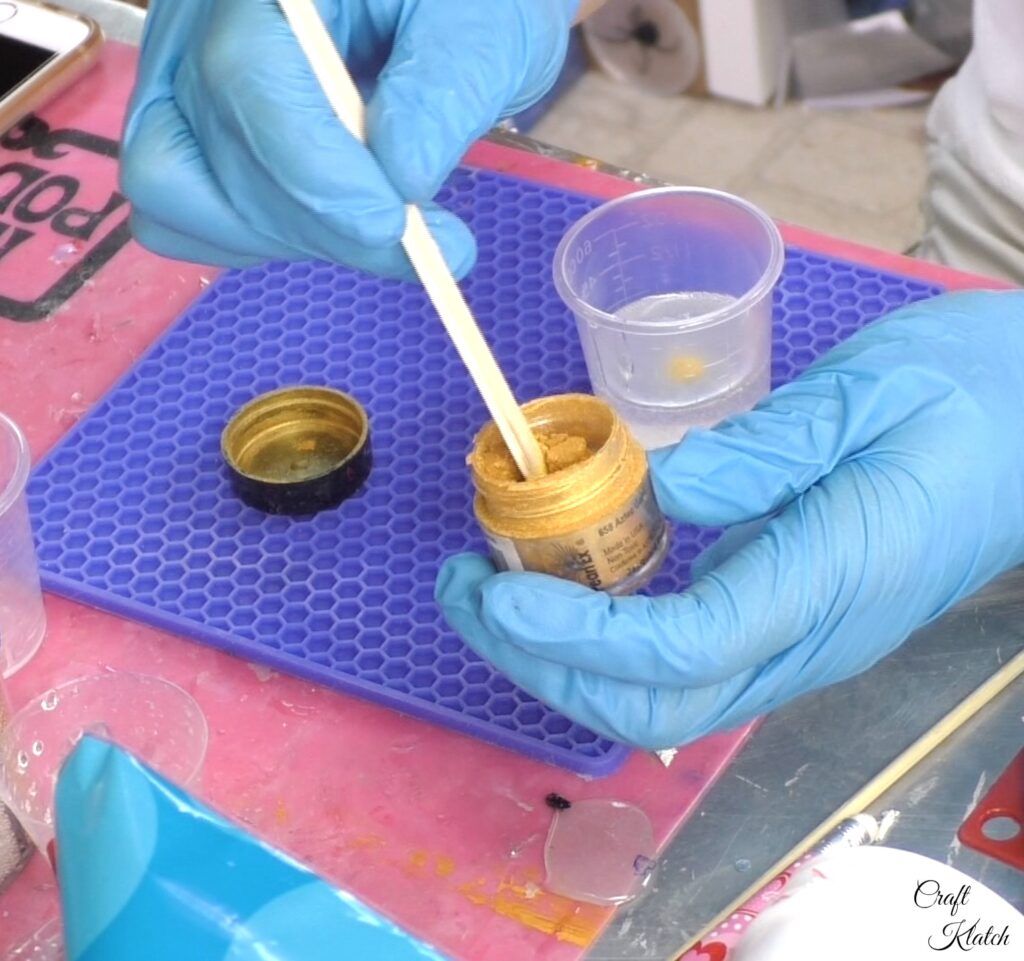
Step 1
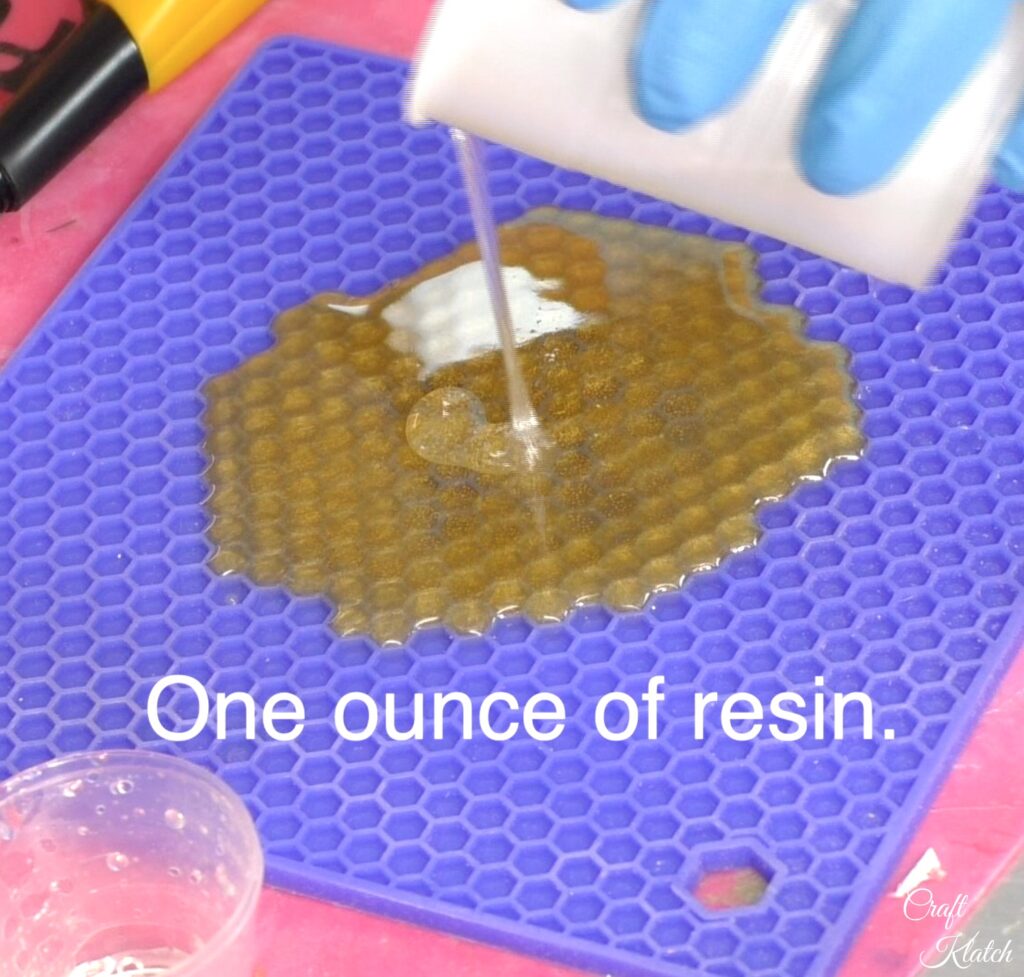
I mixed an ounce of resin with a yellow/gold pigment powder.
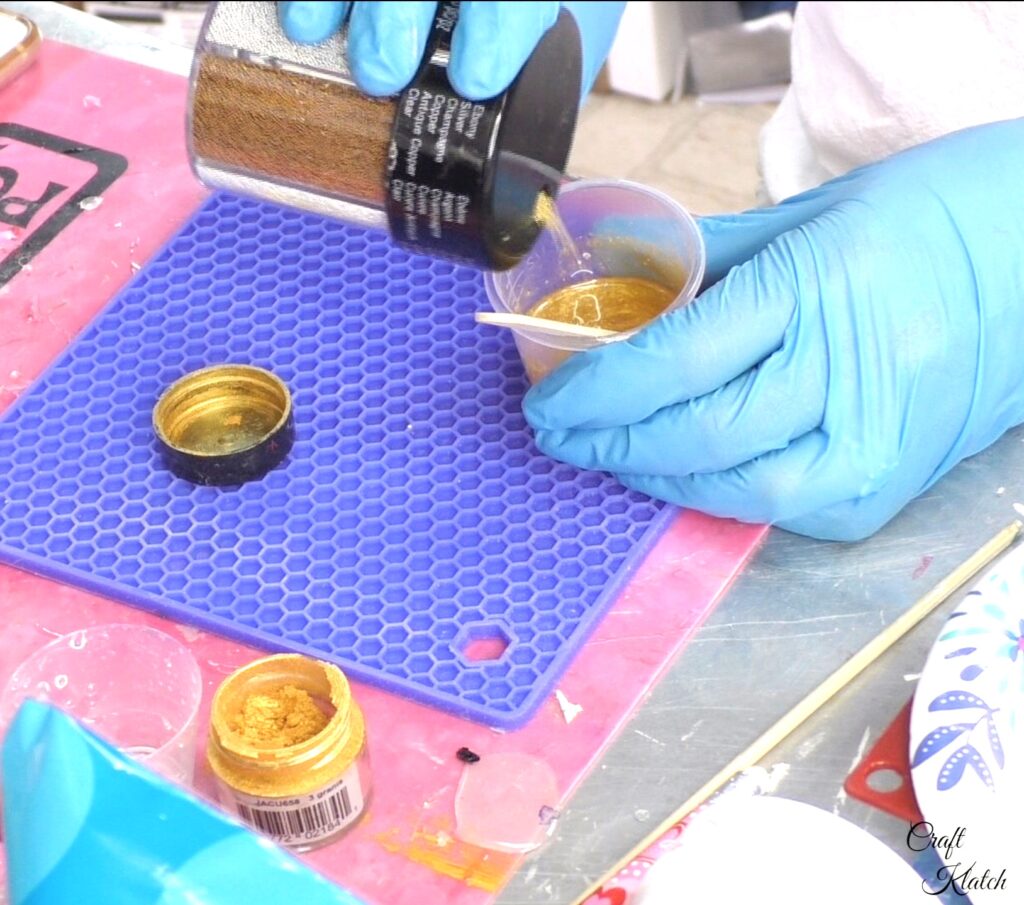
Step 2
I also added some gold micro-beads.
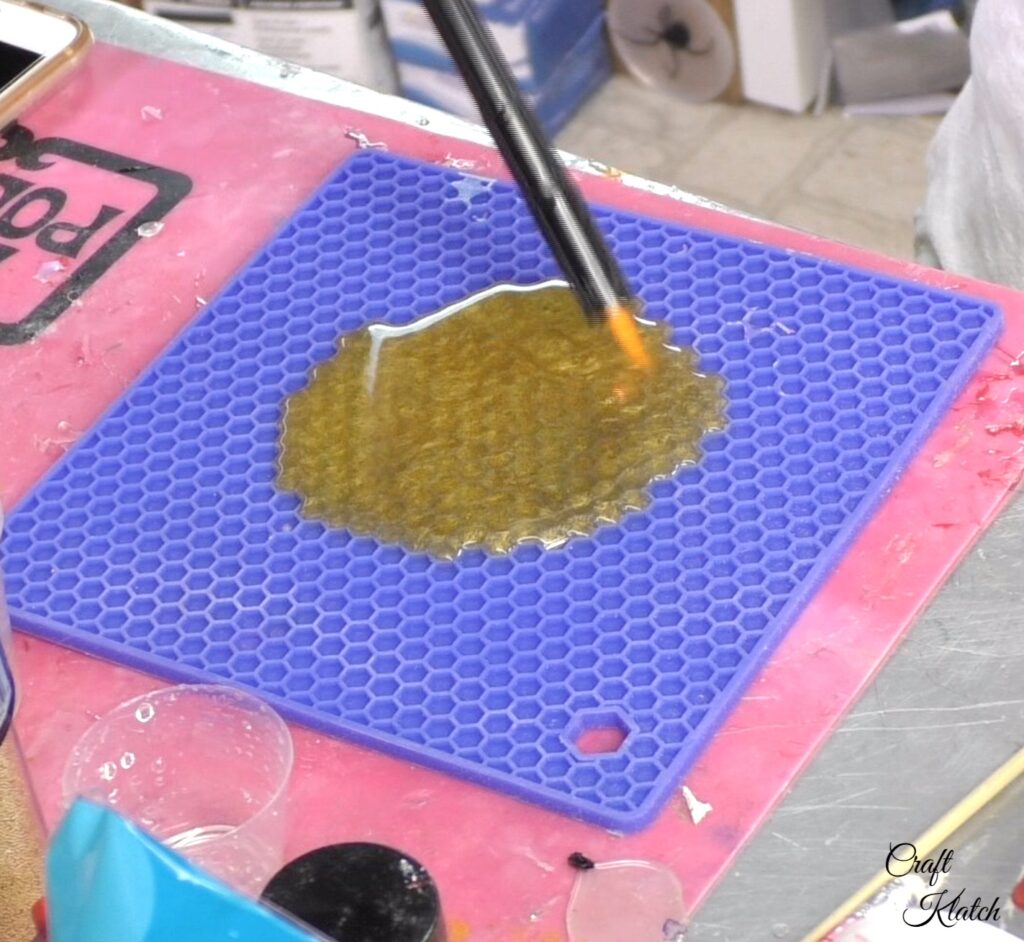
Step 3
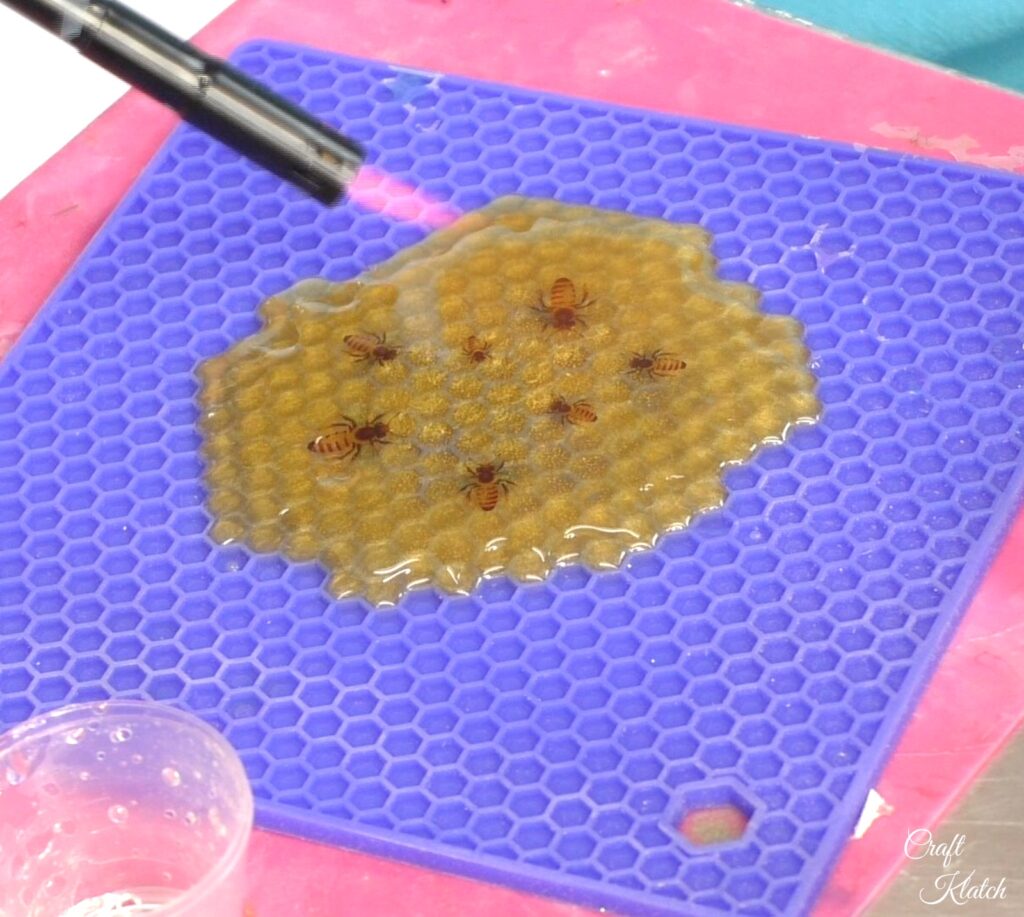
I poured the resin mix onto the silicone mat. This allows for a freeform style. I don’t really know if a bee honeycomb is freeform but I thought it would be more interesting.

Step 4
I let the resin spread out and popped the bubbles with a lighter. Then, I let it cure for 12 hours.
Step 5
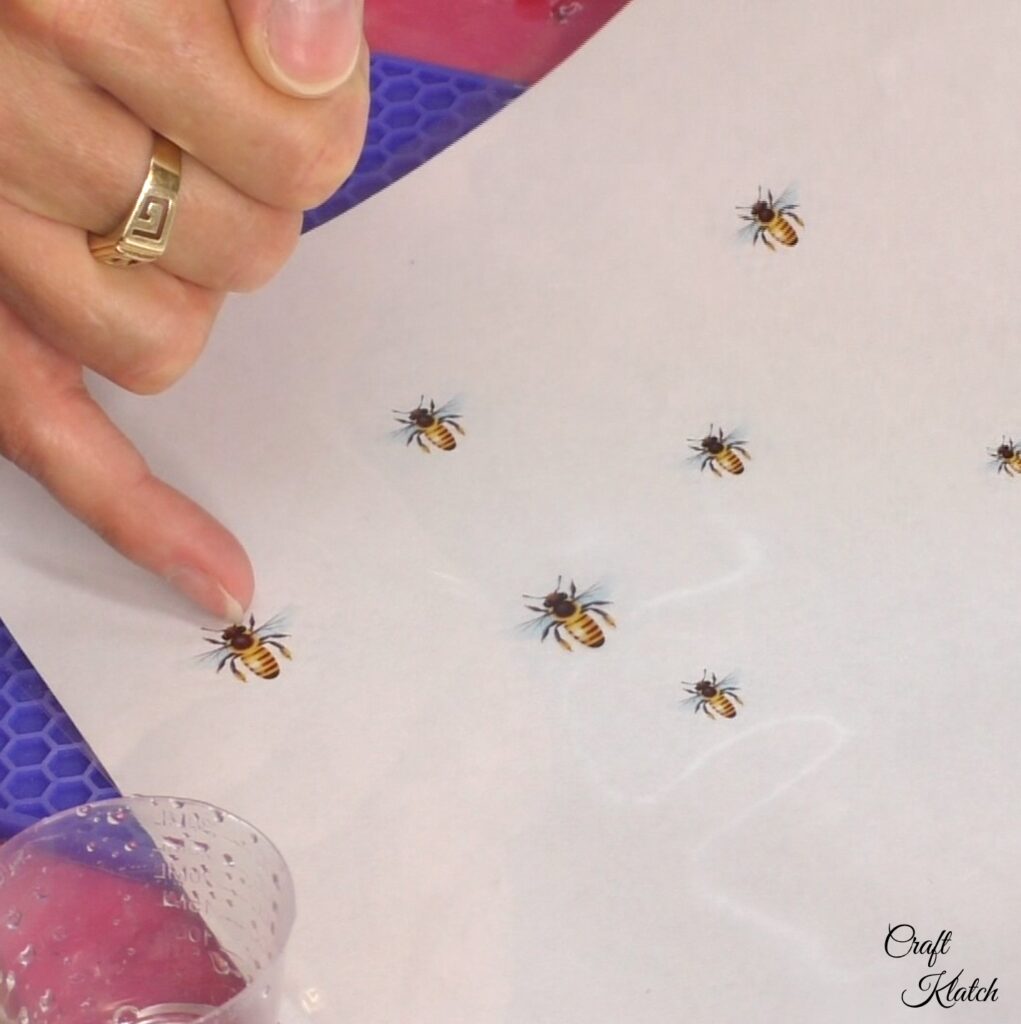
I printed the bees onto transparency film. The transparency film is laying on a white sheet of paper so you can see them.
Step 6
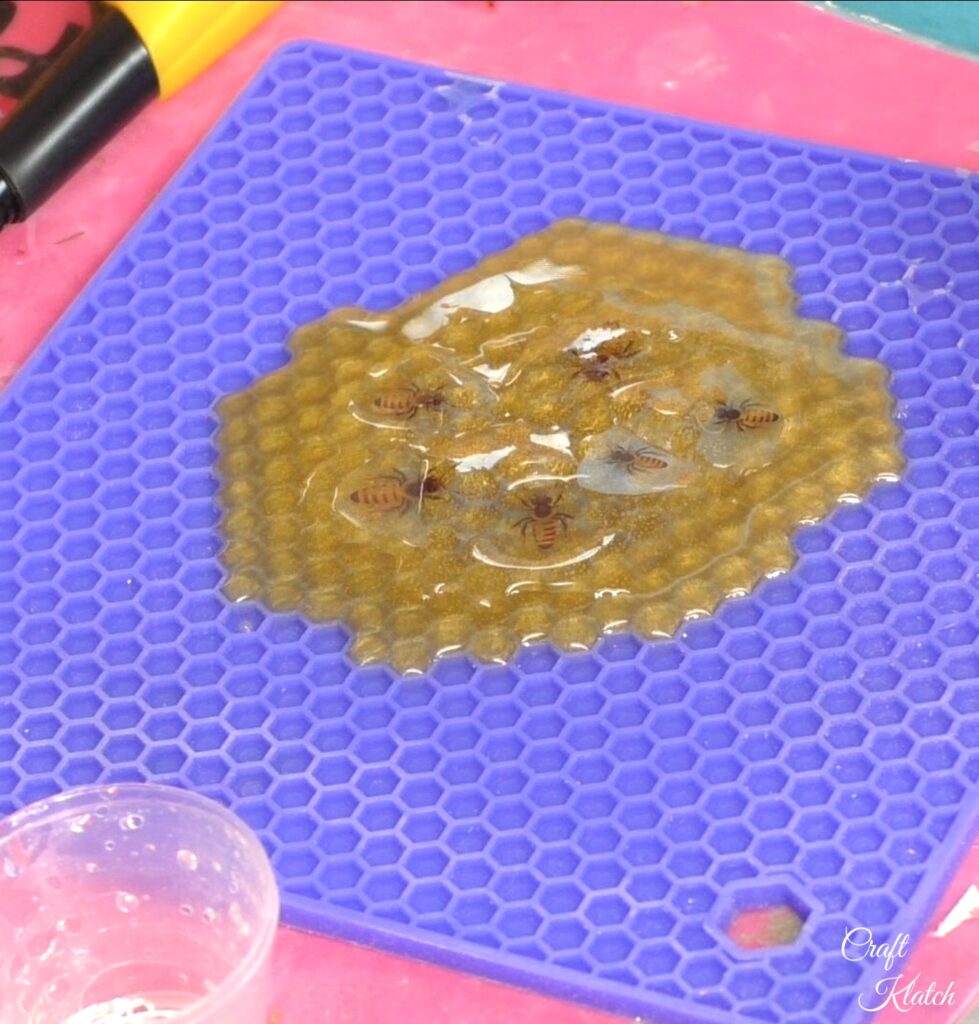
I mixed one ounce of resin and spread part of it over the gold resin.
Step 7
I cut out the bees and slid them into the resin.
Step 8
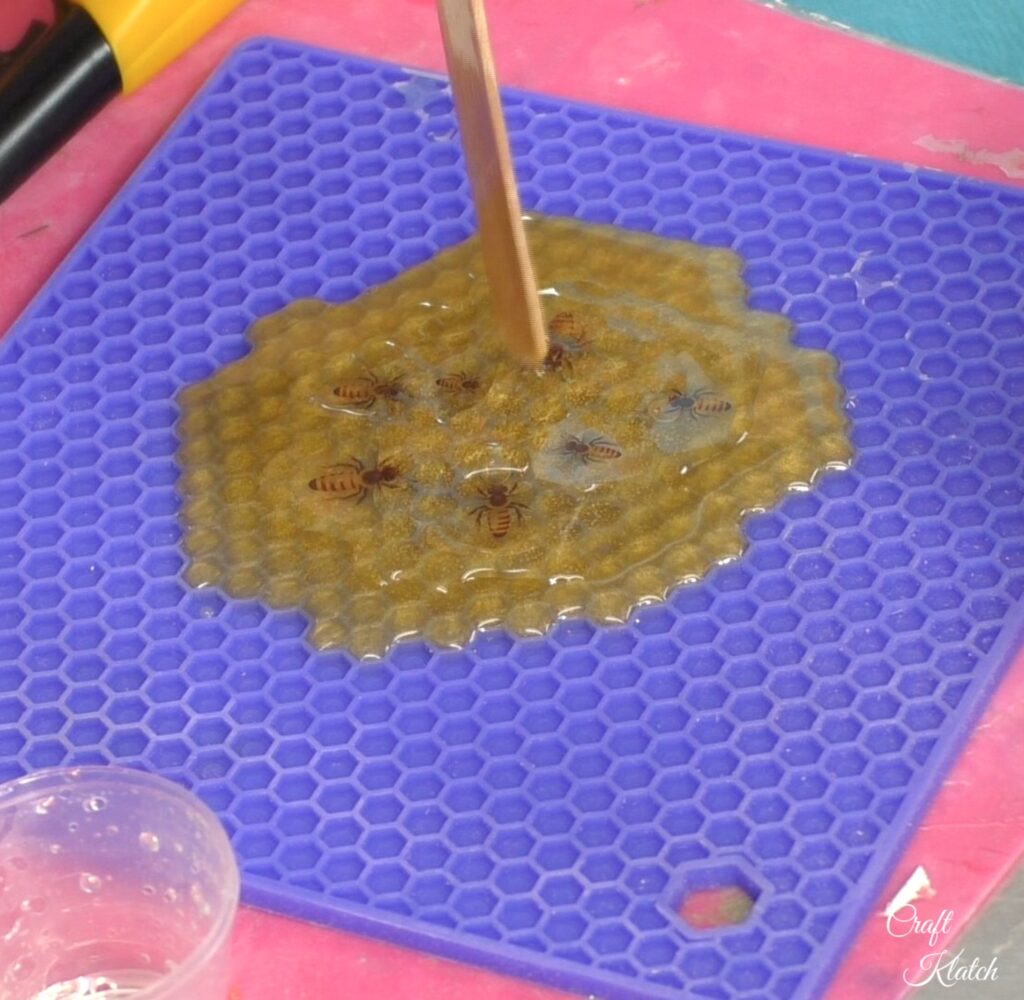
I pressed them down with my stir stick.
Step 9
I popped the bubbles with the lighter. Then, I poured the remainder of the resin on the coaster and popped the bubbles one more time and lt them cure a minimum of 12 hours.
Step 10
I then peeled it off of the silicone mat.
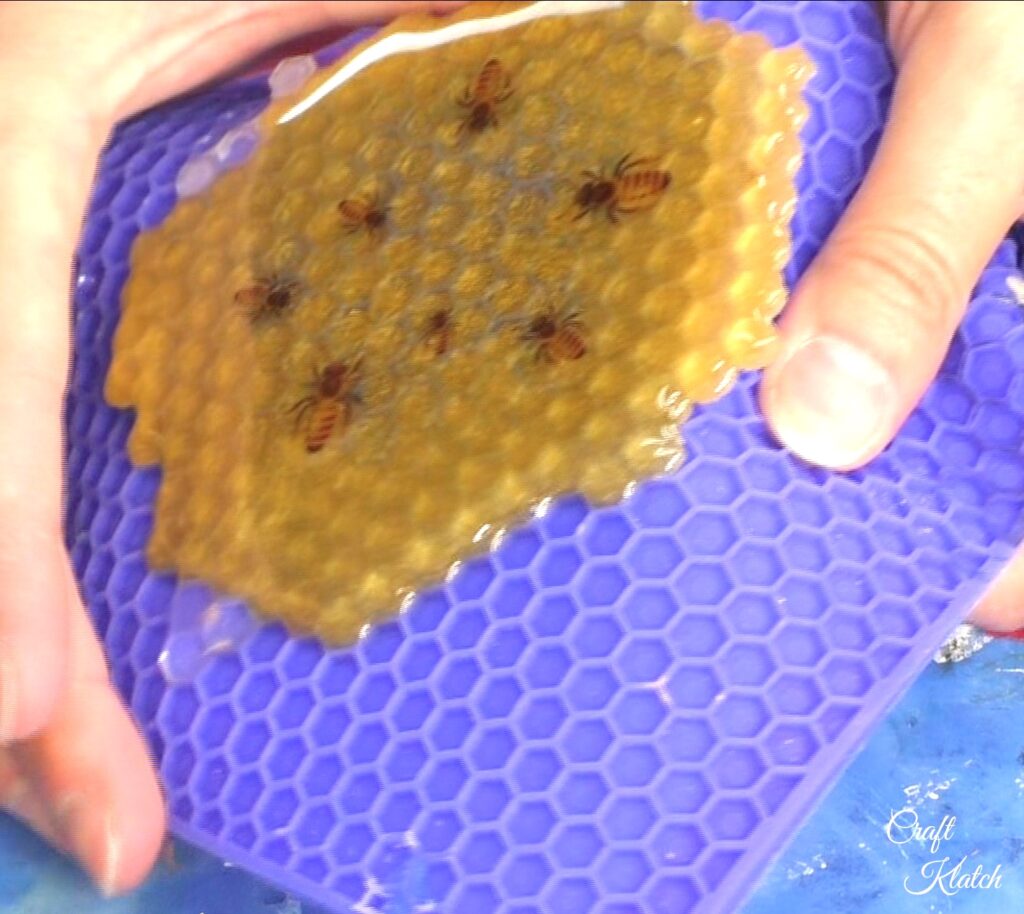
You can see the bee honeycomb shape through the resin, making it look like an a honeycomb with bees in it!
It’s definitely fun and easy coaster to try! I hope you like it!
The back has an interesting textured surface.

Fun Bee Honeycomb Decor Ideas
If you want people to buzz about your home decor, but don’t have time for this project, no problem! Here are some fun items you might like instead. They would make bee~utiful additions to your home!

Thanks for stopping by! Remember: Life’s too short not to shimmer, so grab your glue gun and your glitter!™ Stay safe!
Mona
Be sure to PIN IT for later!

Love it. Where did you get the Honey bees to copy?
Really love this, but I cant find the silicone mat like yours! I’m in ontario, canada so not sure you can recommend a place for me to scearch, but any ideas helpful!
This coaster has to be my favorite coaster of all, (I’ve been watching you for ever)!
mississaugarobinsnest on intstagram. Love your work,
Robin
Hi Robin- Thank you! Look at a Walmart or any large box store. It’s a trivet with a hexagon shape. You just want to make sure it is silicone. I don’t know where else you can get it in Ontario, but online is always a good place to look!