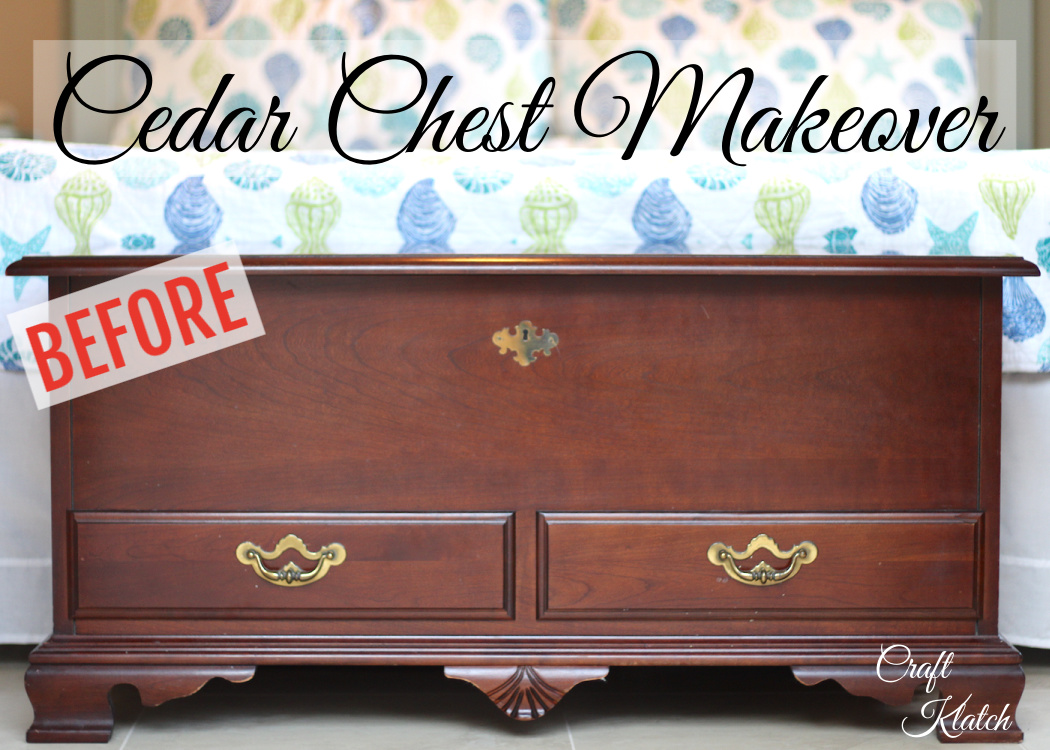
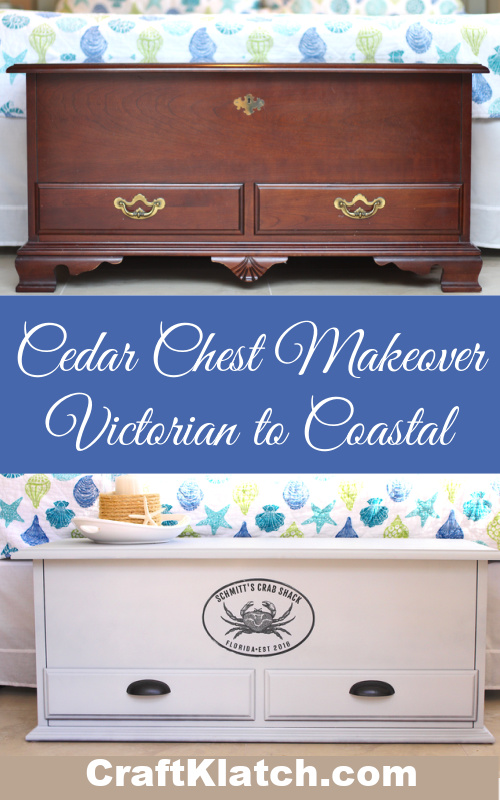
I’ll show you how to give your old cedar chest a new look by transforming it from a classic Victorian style to a coastal style.
And you can personalize it!
The cedar chest in question was a gift to me many years ago, from my parents. It was dark cherry wood and lived in our guest room up north. That room also had cherry furniture.
Since moving to Florida, our style has changed!
Our home is lighter and definitely has a coastal-style vibe.
Victorian style just doesn’t cut here.
I knew I wanted to keep it because it was a quality piece of furniture and it offered great storage, but…
…it’s been sitting at the foot of the bed, for 10 months, just begging for a makeover!
I really enjoyed this project but I have a few other coastal makeovers that you will love:
- I turned a broken down kids table into Coastal Side Table
- There is the Desk Makeover using stain and resin.
- I took a 1990’s lamp turned it into a Coastal Style Lamp
- If you want to add a high impact wow factor to your decor, I have a Large Sea Turtle Wall Art project.
Here is the Cedar Chest Makeover Video Tutorial
The cedar chest has seen an unbelievable makeover!
Materials needed to give the cedar chest a makeover
*This blog uses affiliate links. As an Amazon Associate I earn from qualifying purchases, at no additional cost to you.
Be sure to FOLLOW ME on INSTAGRAM!
Chest Makeover Directions
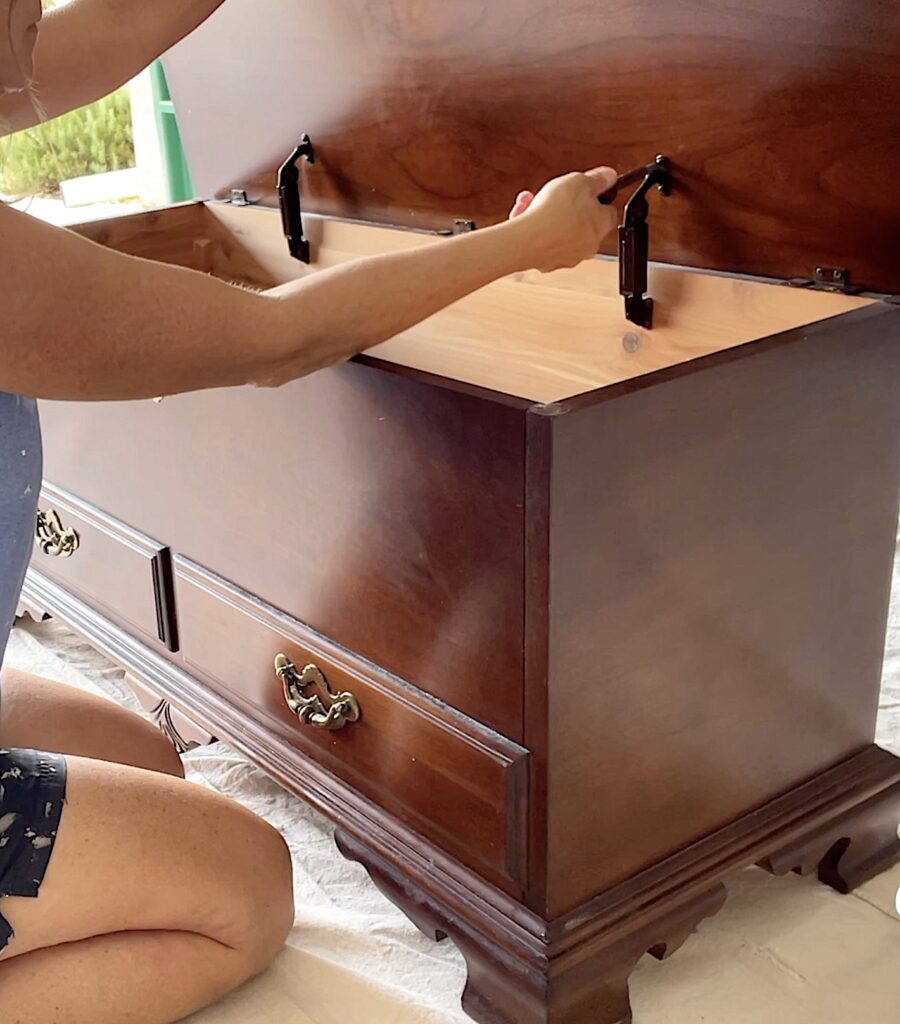
Step 1: Take It Apart
The first thing I wanted to do was to remove the lid and remove the ornate trim and feet from the bottom of the cedar chest.
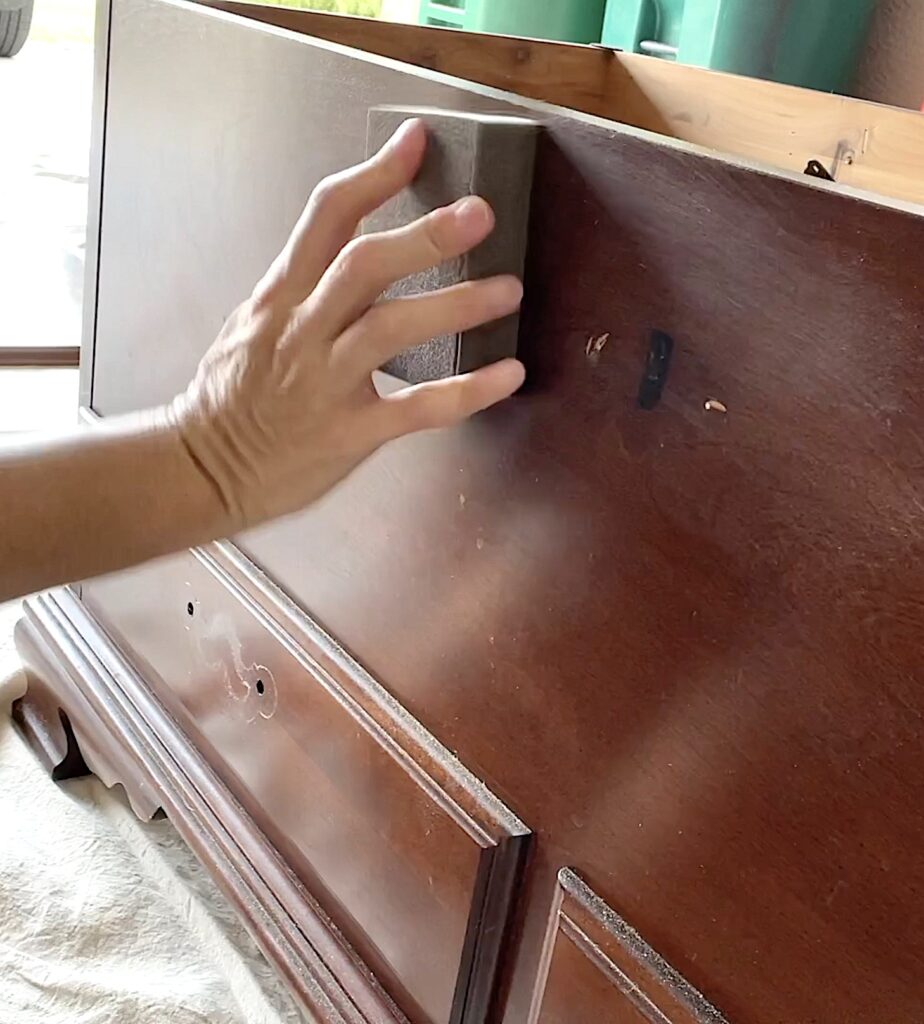
Step 2: Lightly Sand and Prep
I wanted to lightly sand the shiny surfaces, to make sure the paint would adhere to the cedar chest.
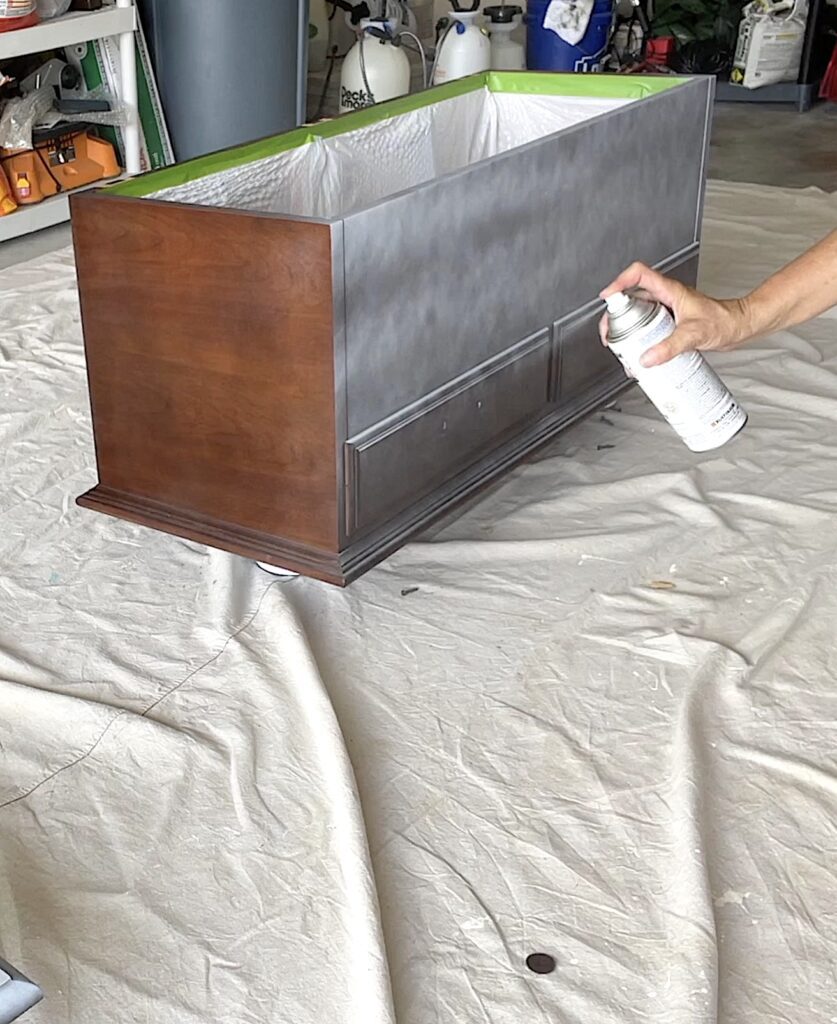
I also lined the inside of the chest with garbage bags and I put a tarp on it.

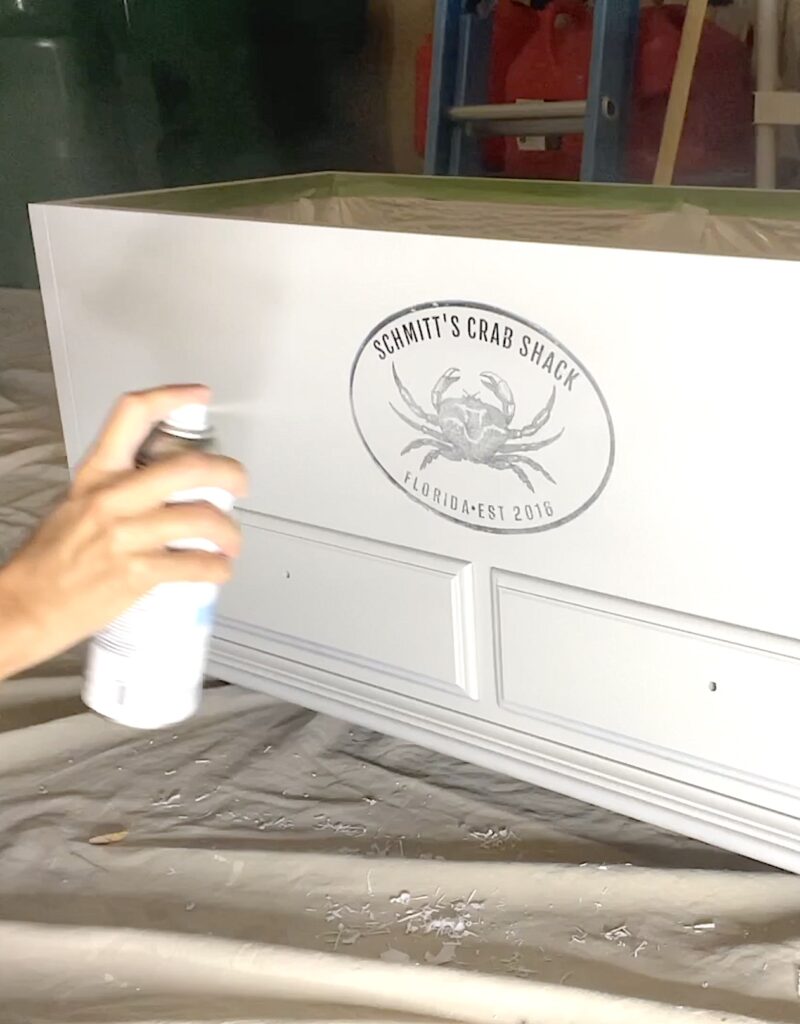
Step 3: Spray Paint the Cedar Chest
Using even strokes, I painted the cedar chest gray. It may take multiple coats.
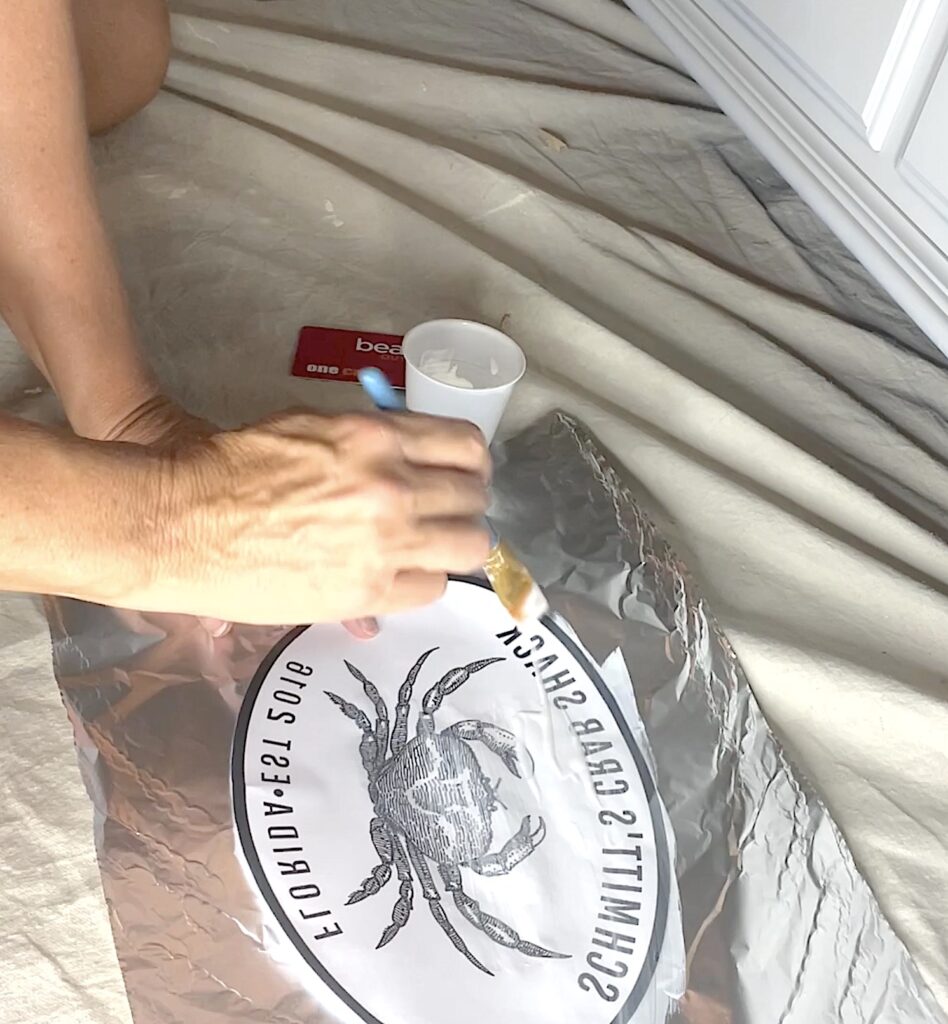
Step 4: Adhere the Transfer Image
I wanted something on the front of the cedar chest and decided it was a great opportunity to personalize it!
I made it Schmitt’s Crabby Shack and added the state we are in and added the year we bought the house.
Since there was writing on the image, I had to print it out backward.
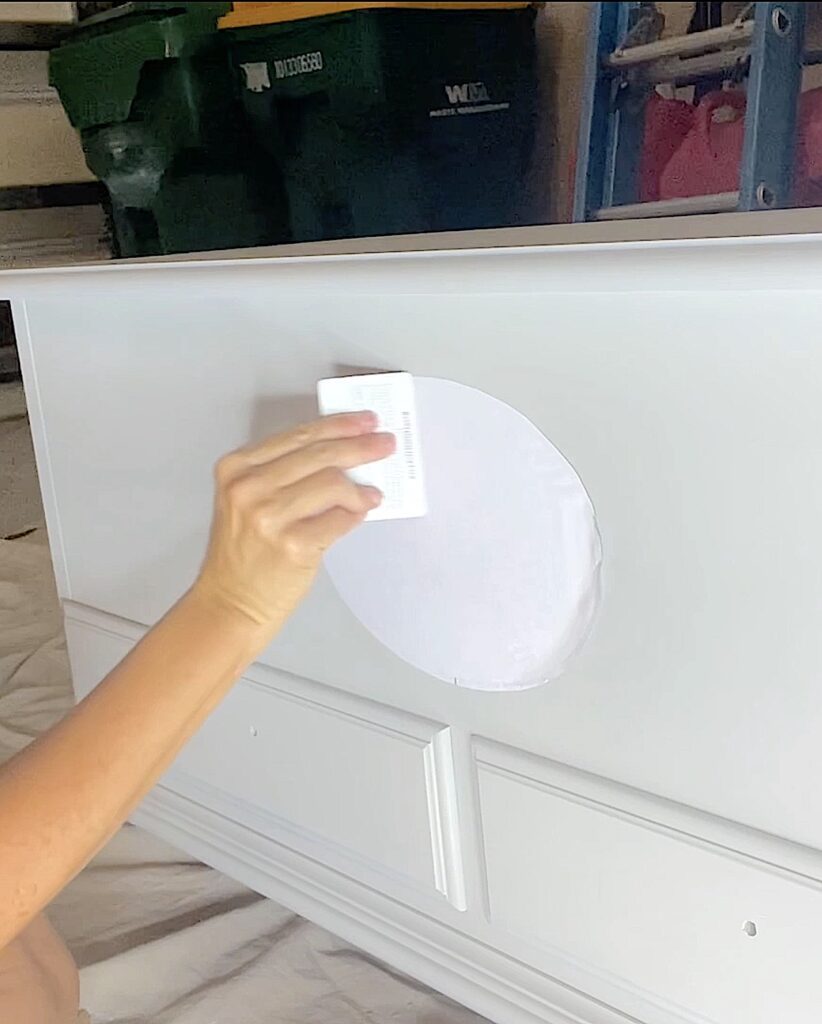
I brushed the transfer medium on the front of the image and applied it to the front of the chest. I burnished it down and let it dry.
Step 5: Rub that Paper off!
Once the image dried for 12 hours, I started to rub!
I wet the paper with a paper towel and started rubbing.
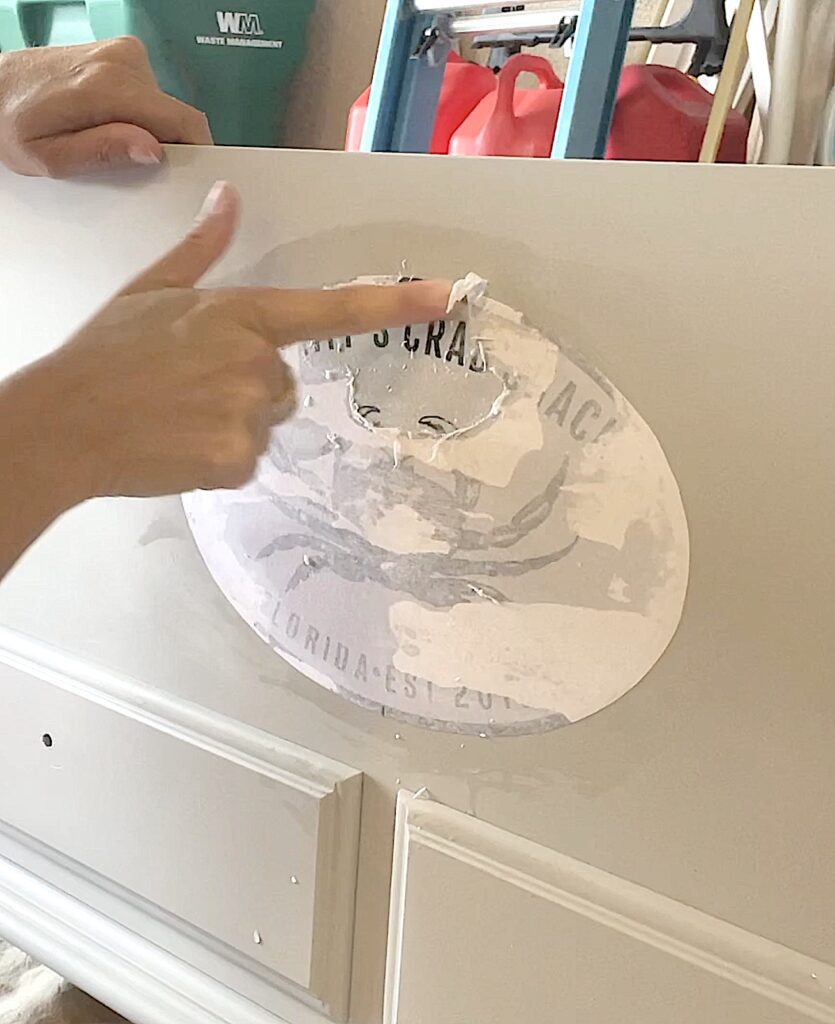
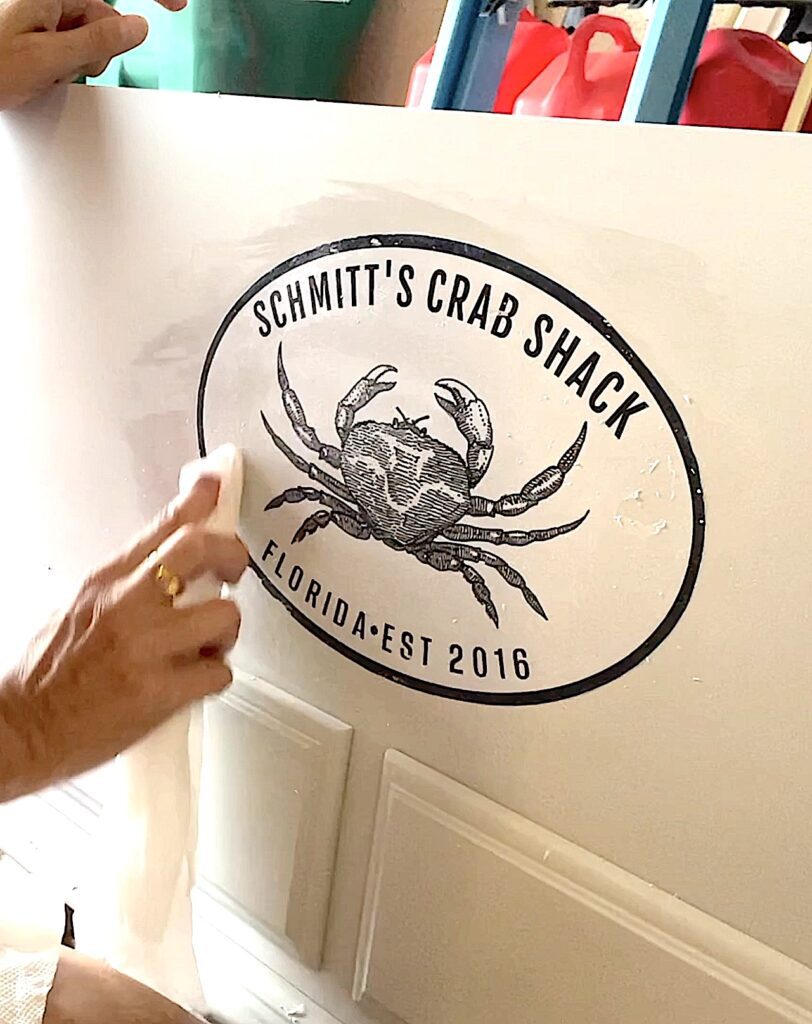
Soon, my image appeared!
Step 6: Clear Coat
I sprayed a clear coat to protect the piece and the image transfer.
Step 7: Put It Back Together
My dad helped me put on new handles and put it all back together.

Viola! Amazing makeover!
I was so happy with the way it turned out!
Be sure to PIN IT for later!
The image transfer adds a fun aspect to the cedar chest.

The handles give it such an updated look!
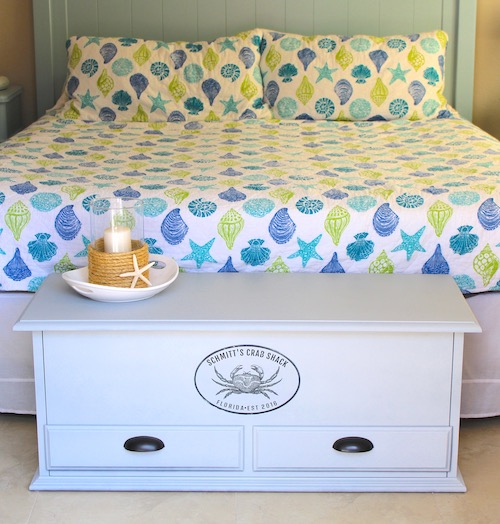
I was surprised at how much I liked it with no feet! But I did put little felt pads underneath to protect it and the floor.
I hope you like it! I really believe that with a little effort, you can change just about any piece of furniture to fit with your decor.
If you don’t have a cedar chest to makeover but still want one with coastal flair, I found these gems:

Thanks for stopping by!
Remember: Life’s too short not to shimmer, so grab your glue gun and your glitter!™ Stay safe!
Mona
That is definitely for my decor!!! Thank you so much Mona! ✌️☮️🙏♥️🦋🥀
I’m so glad you like it, Elizabeth! ❤️
How did you get the feet off? Magic? or a saw or did you just nock them off?
Teresa –
Sadly, nothing as exciting as magic! If you watch the video, you will see I was able to unscrew the trim/legs and with a little encouragement from my screwdriver, I was able to pop it right off.
Just love the make over..Will keep in mind this idea for my little cedar chest after my move.
Thank you so much, Annette! It’s such a fun makeover and it’ll be perfect in your new house!
Love your lil poem
Life is too short not to shimmer☺️
Awww…Thanks Jan! ❤️
Did you varnish just over the transfer or the whole front – Matt, satin or gloss? It looks wonderful.
Thank you, Audrey! I went over the whole thing with the Matte clearcoat I have listed in the supplies. You can probably use any other matte finish as well. Hope that helps!
Thank you so much. I have a cedar chest that is 75-100 years old that my grandfather antiqued for my mother. It is yellowed and does not go with my room. I am definitely adding this to my list of to-do’s.
I think that is wonderful Linda! You are still honoring your grandparent’s furniture and keeping it a part of your life and in your home. The update allows you to enjoy it!