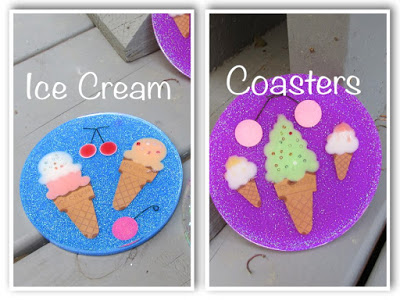
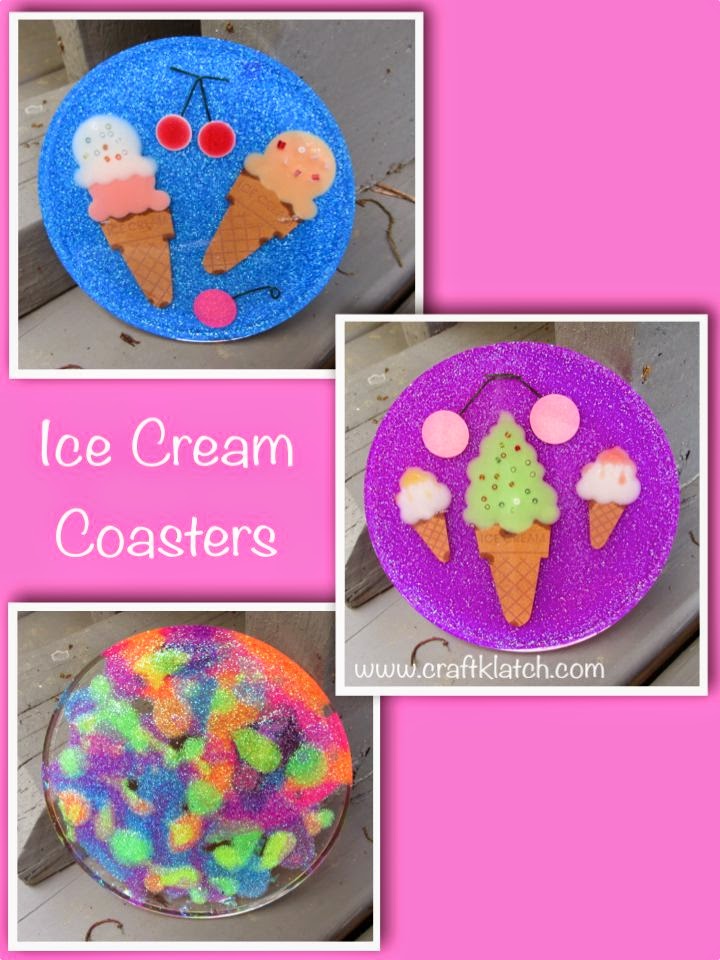
It’s summer and I had some leftover glitter, so I made ice cream themed coasters.

You will need:
– Coaster mold
– Easy Cast Resin (for more info. go to www.eti-usa.com)
– Glitter
– Ice cream stickers
– Mod Podge (optional)
Here is the coaster mold and resin, from Amazon:
Here is the video tutorial:
Directions:
1. Prepare your resin, according to the package directions.
2. Mix your glitter into your resin and pour into the mold. You want to make sure your have enough of a resin and glitter mixture to cover the bottom of the mold.
3. Allow to cure. Make sure it is hard enough, before putting on the stickers.
TIP: If you stickers have paper cones, like mine did, you want to make sure you seal them first. Put a couple of layers of Mod Podge on them. I thought I had them covered well enough, but I must not have because they discolored. If you can find stickers that are all plastic, use those instead!
4. Prepare more resin and pour over the tops of the stickers. Make sure you have enough resin to make it a level surface.
5. Allow to cure for a minimum of 12 hours before unmolding.
The other coaster pictured is a leftover coaster. Everytime I did a resin craft, I would scrap out the leftovers from the cup and drip it into the mold. Then I put a clear coat on top and there is a coaster from what would normally have been thrown away!

That’s it! Thanks for stopping by and Happy Crafting!
Mona


This comment has been removed by the author.
Thank you Rhonda! I would love to see them! You can share them on my Facebook page facebook.com/craftklatch1
Hi Mona, I love the ice cream coasters. I'm going to try and make some and hope they turn out as nice as yours do. I've just finished some wine glasses with glitter. I think they turned out pretty good. I wish you could see them. I'm new to this whole world of crafting and I'm hooked. 🙂 Thank you for all that you do.