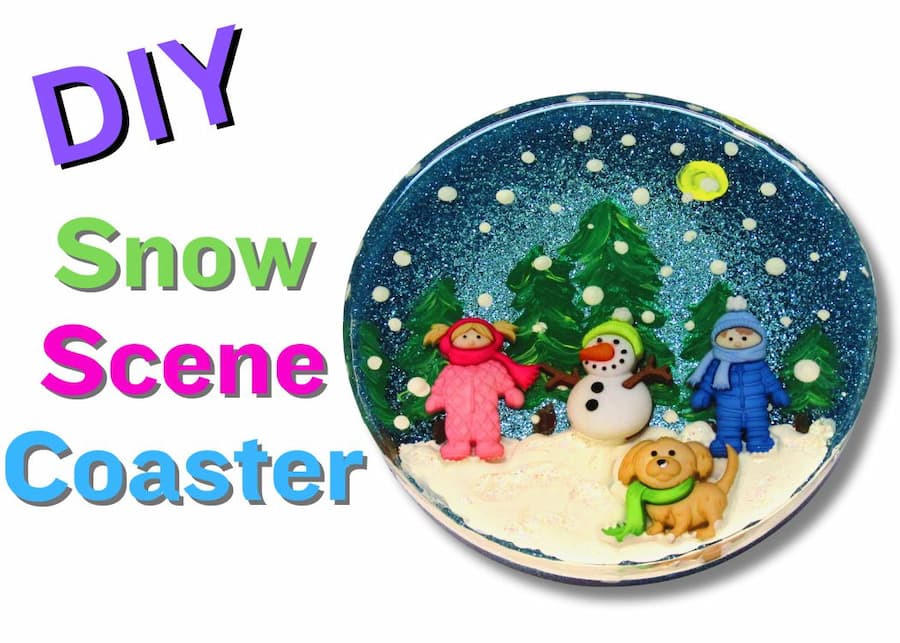
I’ll show you how to create an adorable snow scene coaster using resin, paint and buttons! It’s easy!
You will need:
- Coaster mold: https://amzn.to/2zluUd8
- Buttons: https://amzn.to/2yEq354
- Fine blue glitter: https://amzn.to/2ChfMOt
- Dimensional paint: https://amzn.to/2i6D55z
- White and green acrylic paint: https://amzn.to/2Al39V8
- Resin:
- When deciding on which resin to use for your coasters, you need to keep in mind whether you want it just for cold cups or for hot as well.
- If only for cold drinks, you can be flexible and use whatever brand you like:
- Easy Cast: https://amzn.to/2yjYmBC
- Art Resin: https://amzn.to/2yk9X3z
- Clear Cast: https://amzn.to/2z4rxGw
- If you want it to work for both hot and cold drinks, you need to look for a heat resistant resin, like these:
- FX Poxy: https://amzn.to/2AF3Pkk ~ According to the manufacturer, this one is heat resistant to 500 degrees F.
- Stone Coat: https://amzn.to/2FZoWX8
- If only for cold drinks, you can be flexible and use whatever brand you like:
- When deciding on which resin to use for your coasters, you need to keep in mind whether you want it just for cold cups or for hot as well.
Directions:
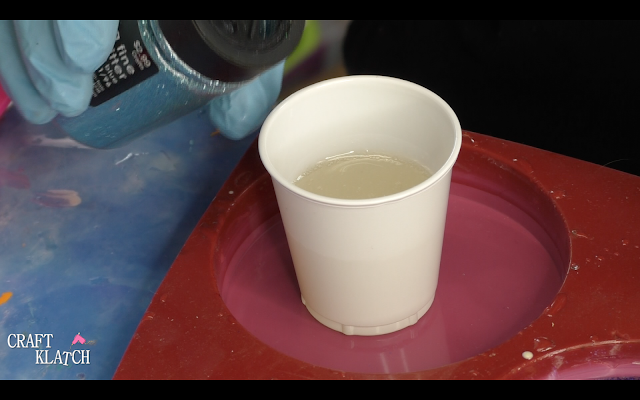
1. Mix one ounce of resin.
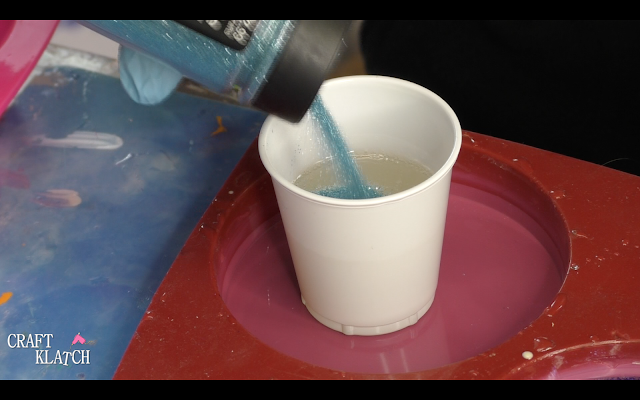
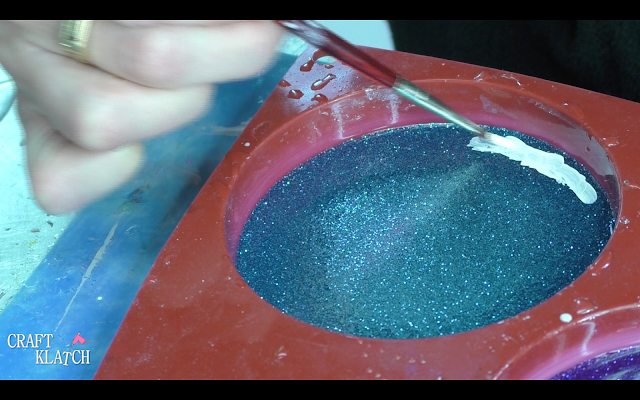
2. Add fine blue glitter and mix well.

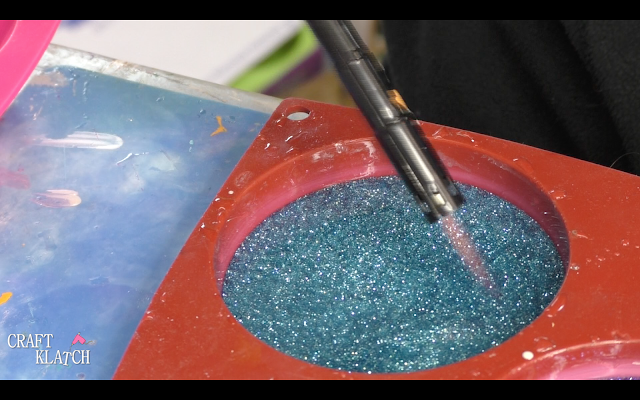
3. Pour the resin into the coaster mold.

4. With a lighter, pop the bubbles and let it cure a minimum of 12 hours.
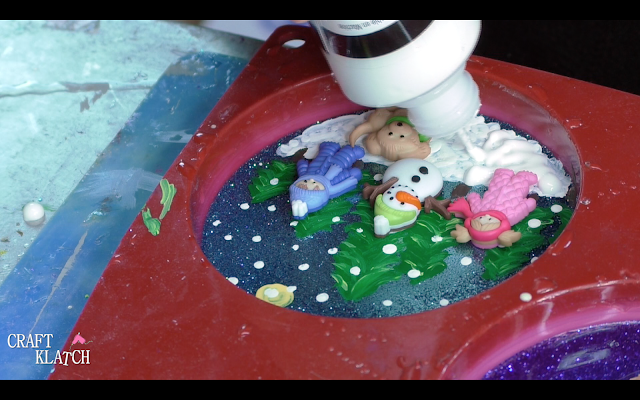
5. Cut off the backs of the buttons, using wire cutters.

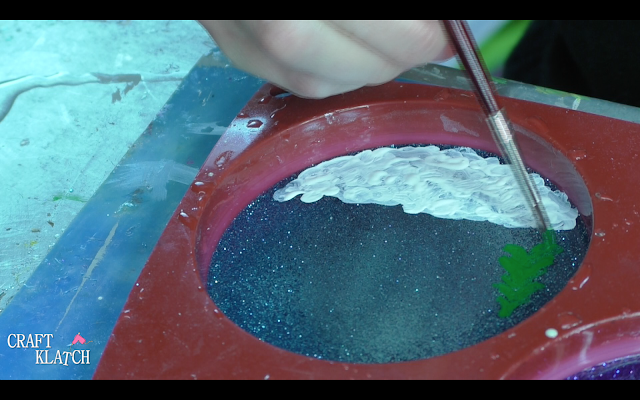
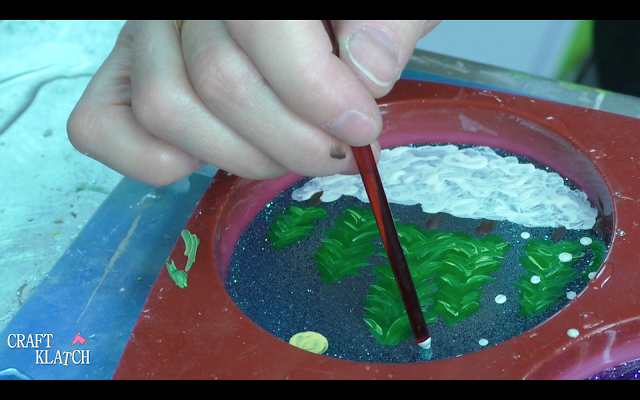
6. Think of the resin as a canvas. I used acrylic paint to paint a snowy scene. It was very simple!

7. Add glue to the backs of the buttons and put them into place.

8. Add dimensional fabric glue, for a dimensional look.
9. Once dry, add layer or resin. It will likely take two ounces.
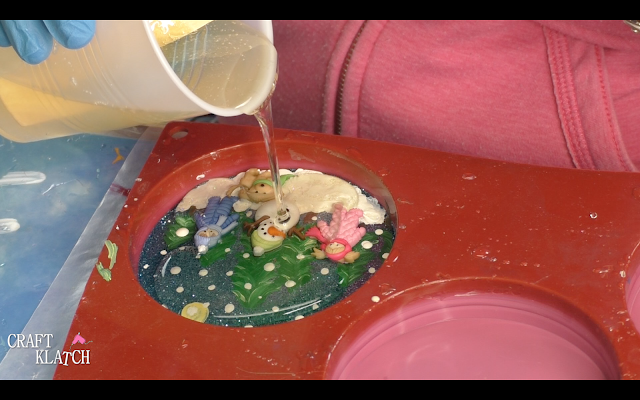
10. Pop the bubbles with a lighter and let it cure for a minimum of 12 hours.

11. Once cured, remove it from the mold.
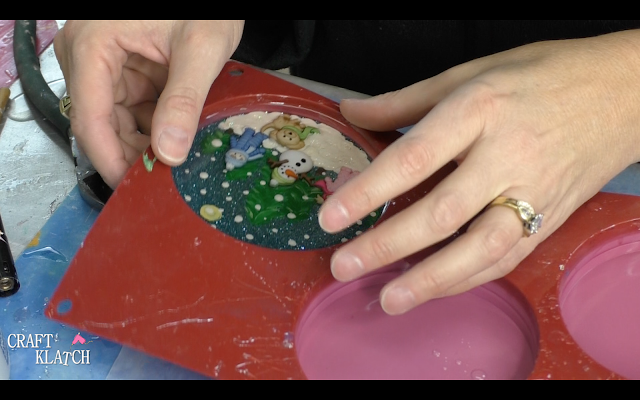
That’s it! Then, you have a fun winter coaster!


That’s it! Thanks for stopping by!
Remember: Life’s too short not to shimmer, so grab your glue gun and your glitter!™ Stay safe.
Mona

Thank you! I wanted to extend my resin art into the Christmas season. I looked at many pins and blogs for ideas. Most were just covered in glitter. Then I saw yours, with detailed directions. I made one with buttons from Amazon and it's great. Thanks especially for the links!
Debbie