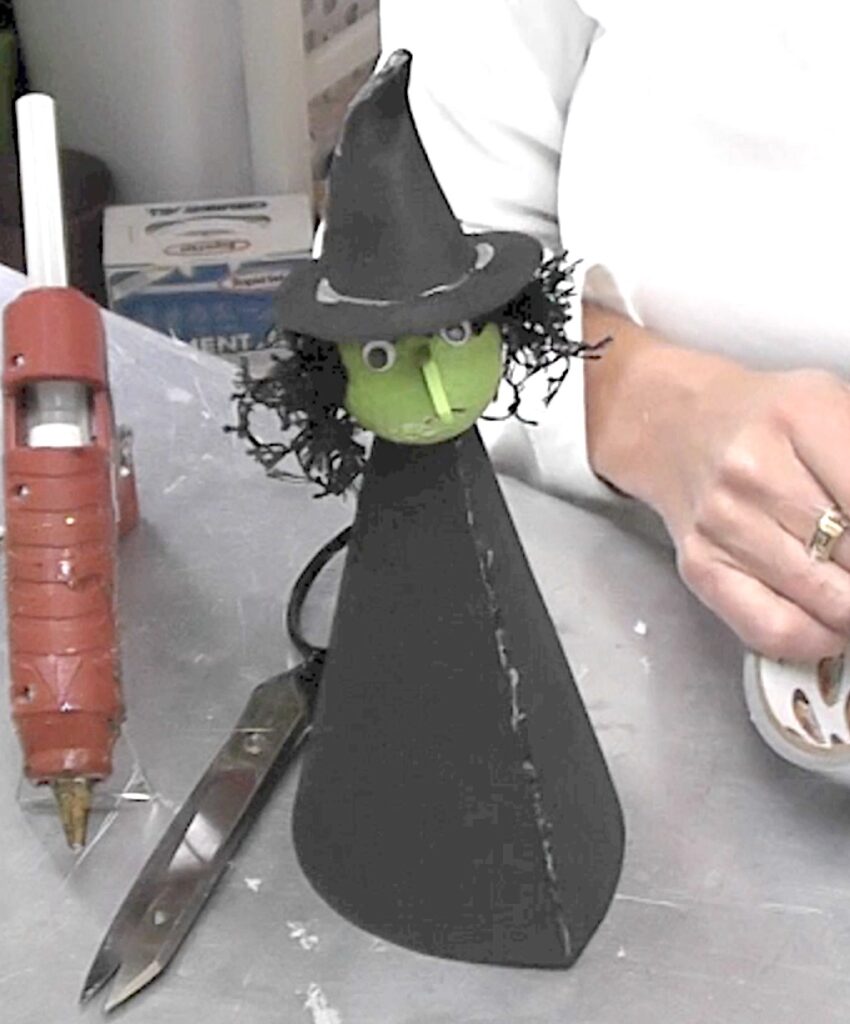
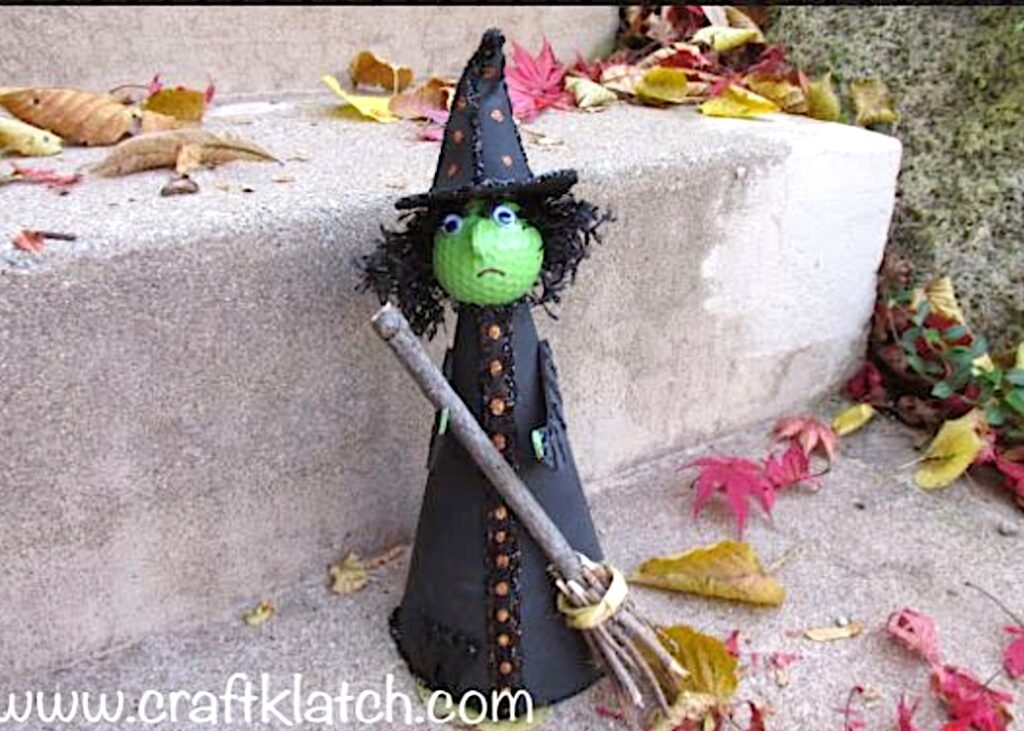
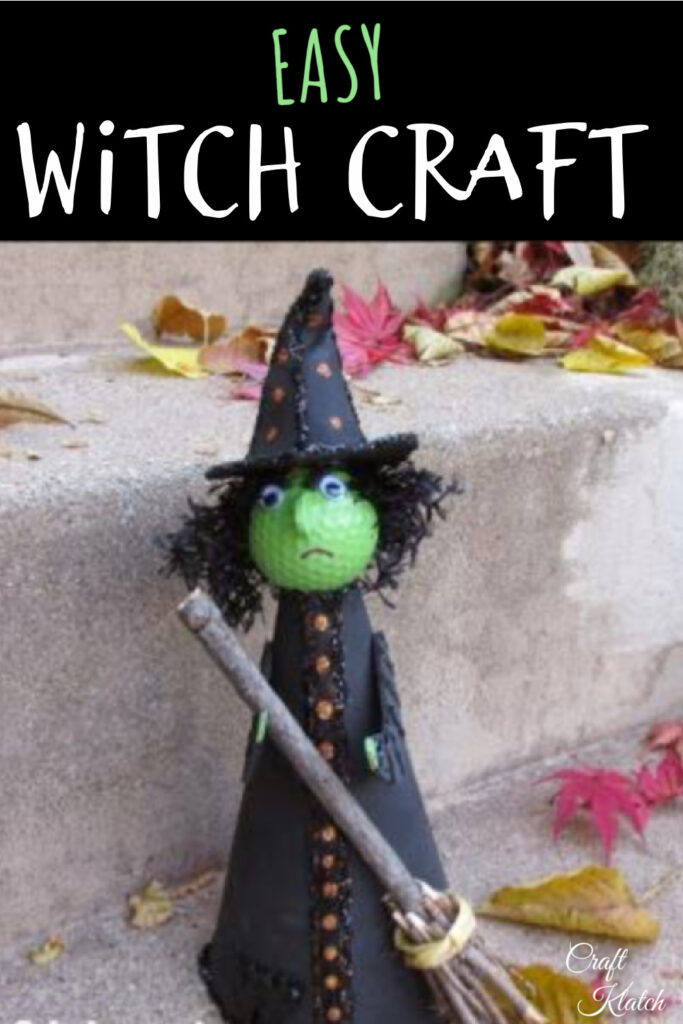
I decided to throw one more golf ball craft into the Halloween mix this year. I made a Golf Ball Witch Craft for Halloween!
At the bottom of the post I have some other fun witch crafts and fun witch stuff I found to buy!

Supplies You Will Need For The Witch Craft
- Golf ball
- Green acrylic paint
- Black craft foam
- Glue – I used hot glue, but you could use other glue – especially if kids are helping
- Black glitter (I used chunky)
- Copper or orange glitter (I used fine)
- Black trim, yarn, rope, or ribbons for hair – I used some old trim I had on hand
- Sticks and twigs from the yard
- Rope, twine, yarn, or ribbon for the broom
- White glue
- Two small googly eyes
- Red or pink permanent marker
- Black ribbon
- Piece of wire (optional)
- Sticker or resin cat (optional)
- Eye screw (optional – only if you want to hang it)
Witch Craft Video Tutorial
Witch Craft Directions
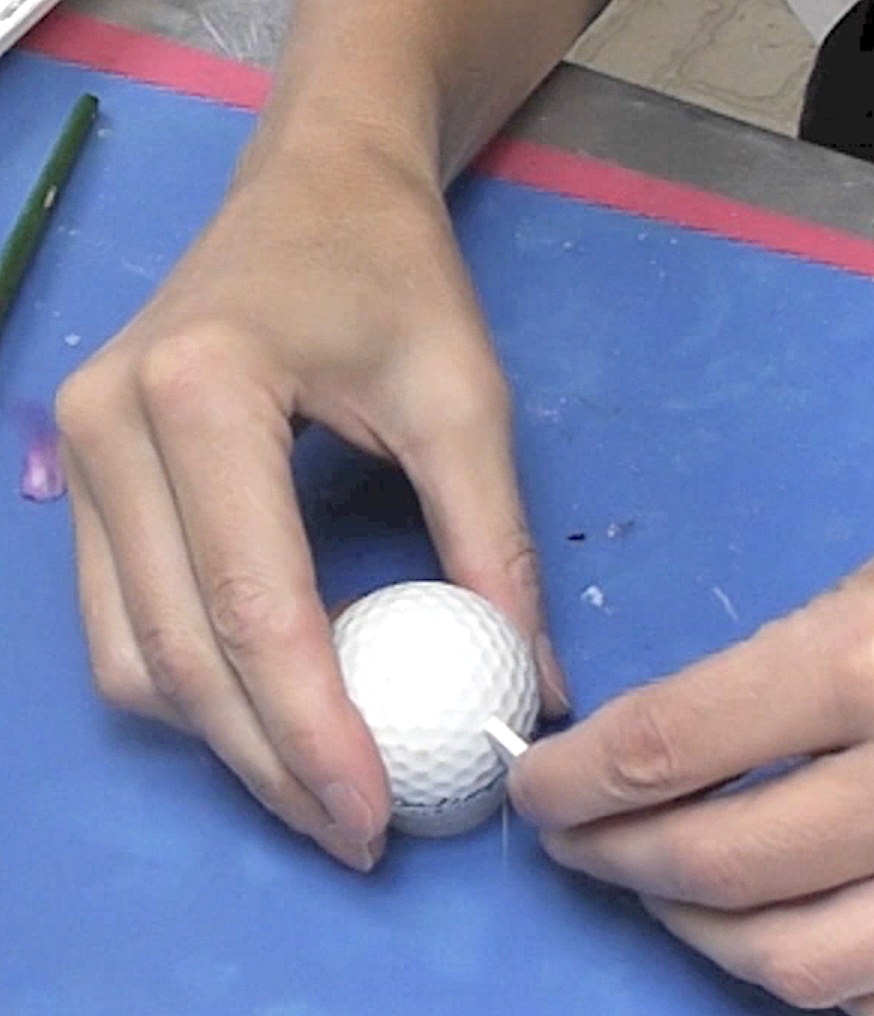
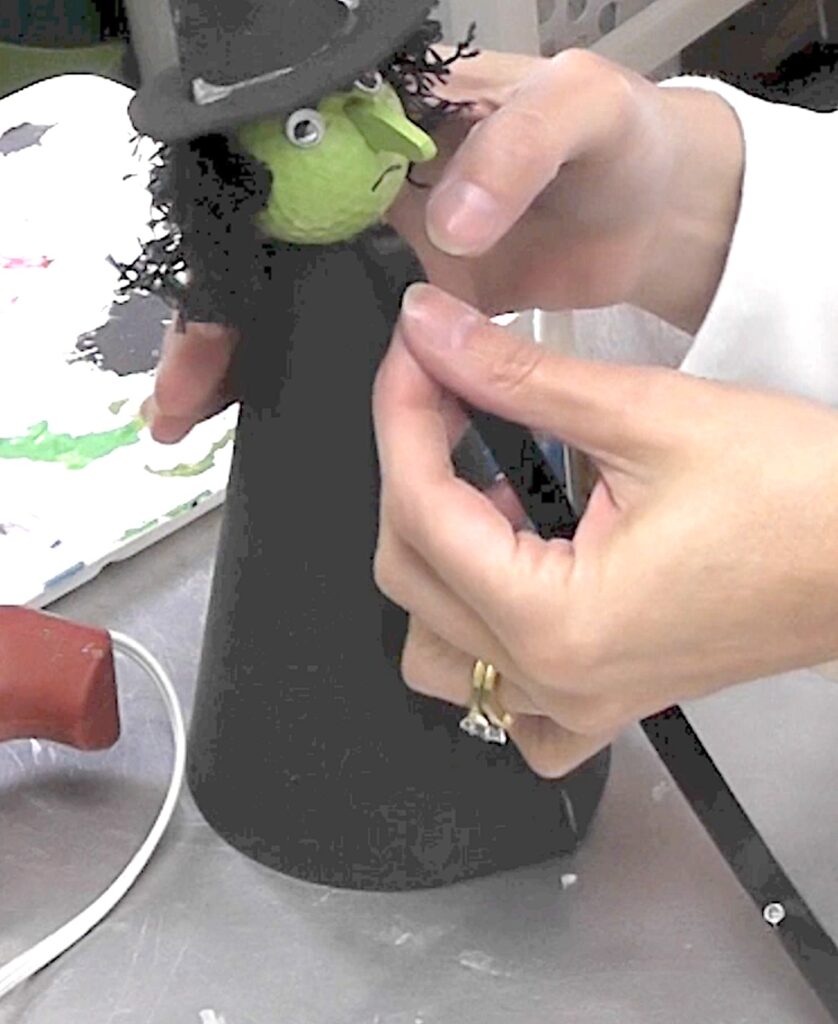
Step 1
Cut a nose out of craft foam and glue it onto the golf ball.
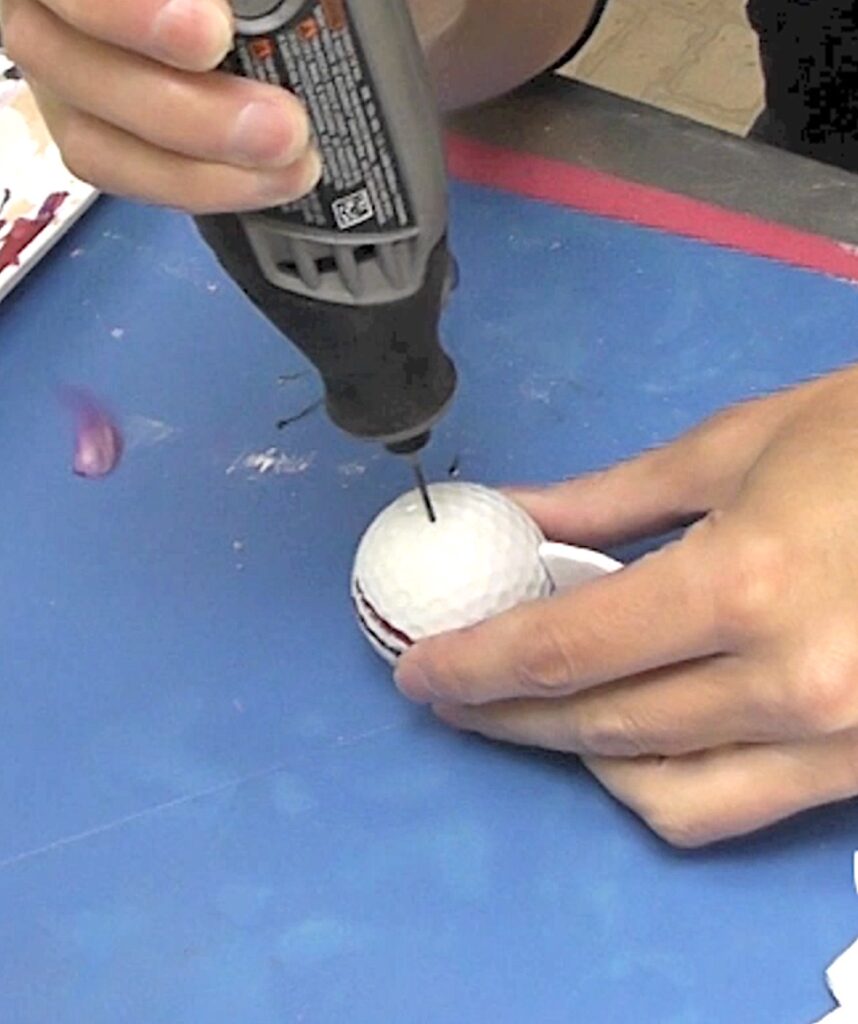
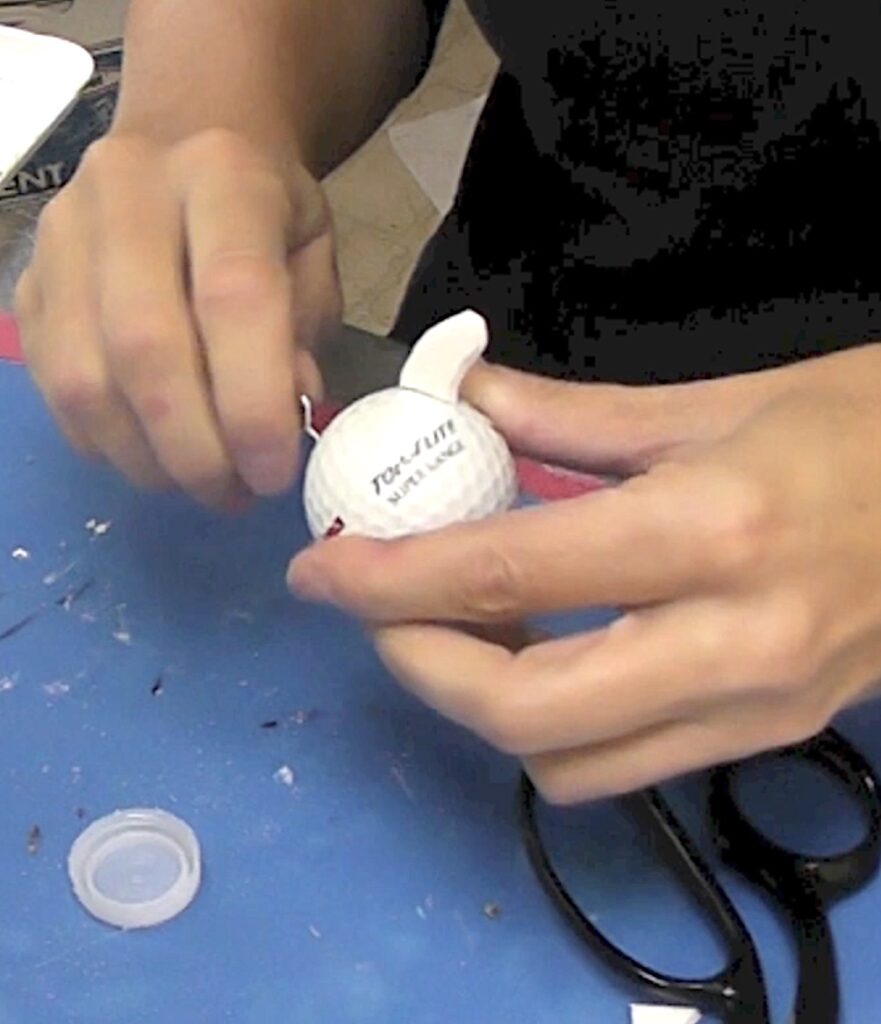
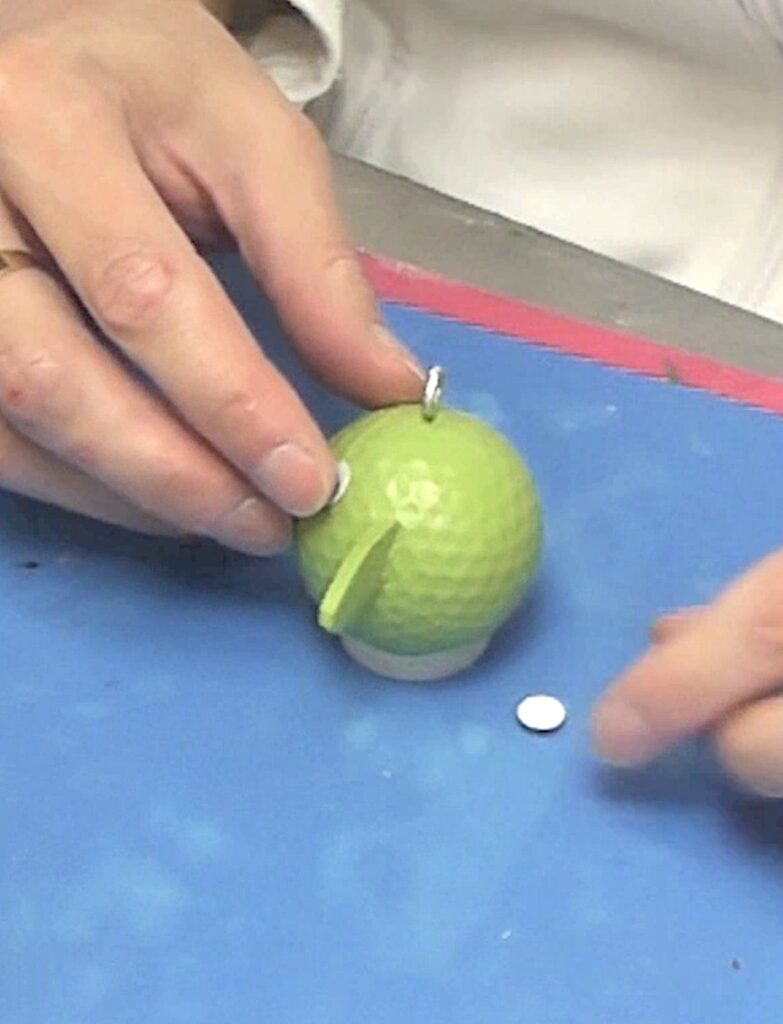
Step 2
If you want to hang her (or only want to make the head), drill a small hole into the top of the golf ball. Then, insert an eye screw. Remember, if you are planning on hanging it, make sure you tie some string or fishing line to the eye screw before you attach the hat. Also, make sure you thread it through the top of the hat before you glue the hat in place.
Step 3
Paint the golf ball, including the nose, green. This will take a minimum of two coats. Allow it to dry
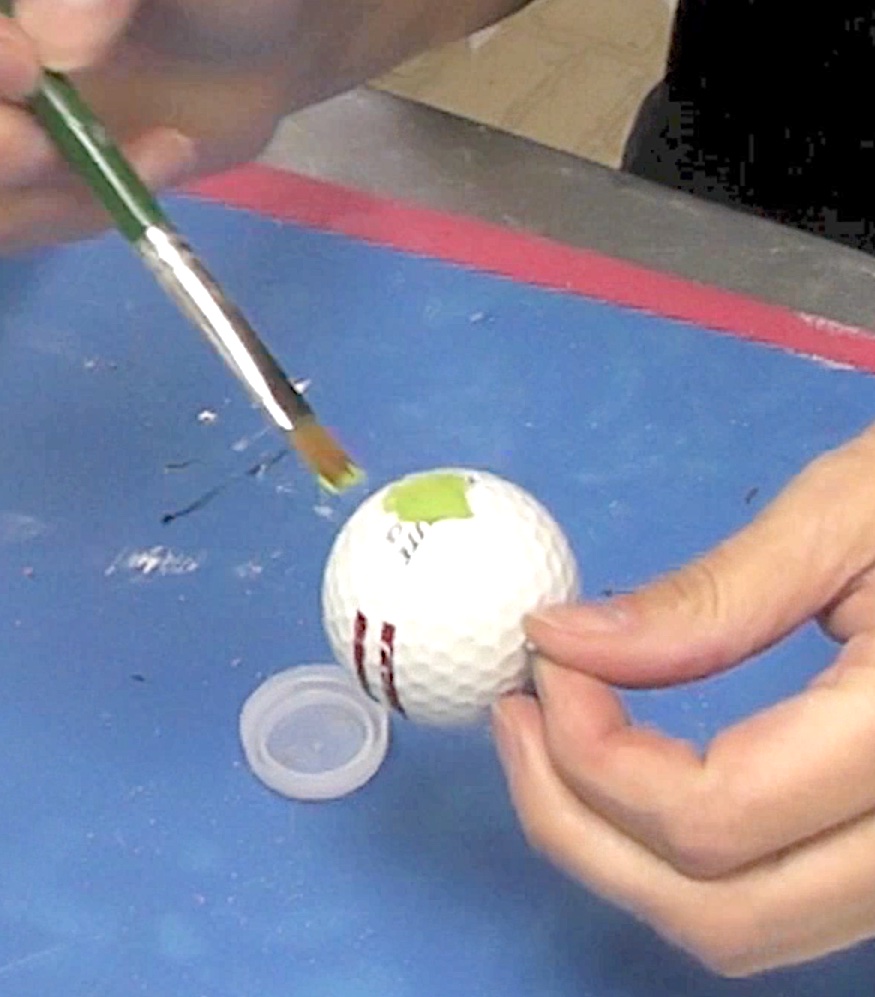
Step 4
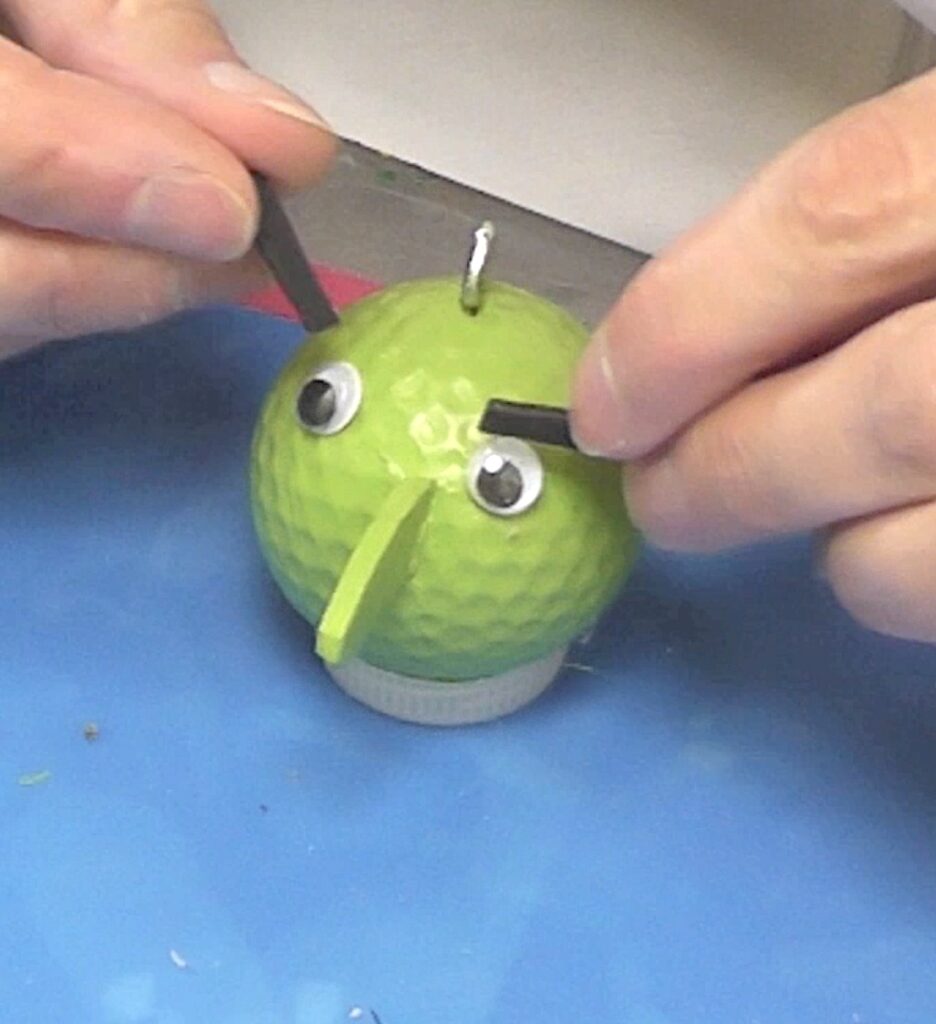
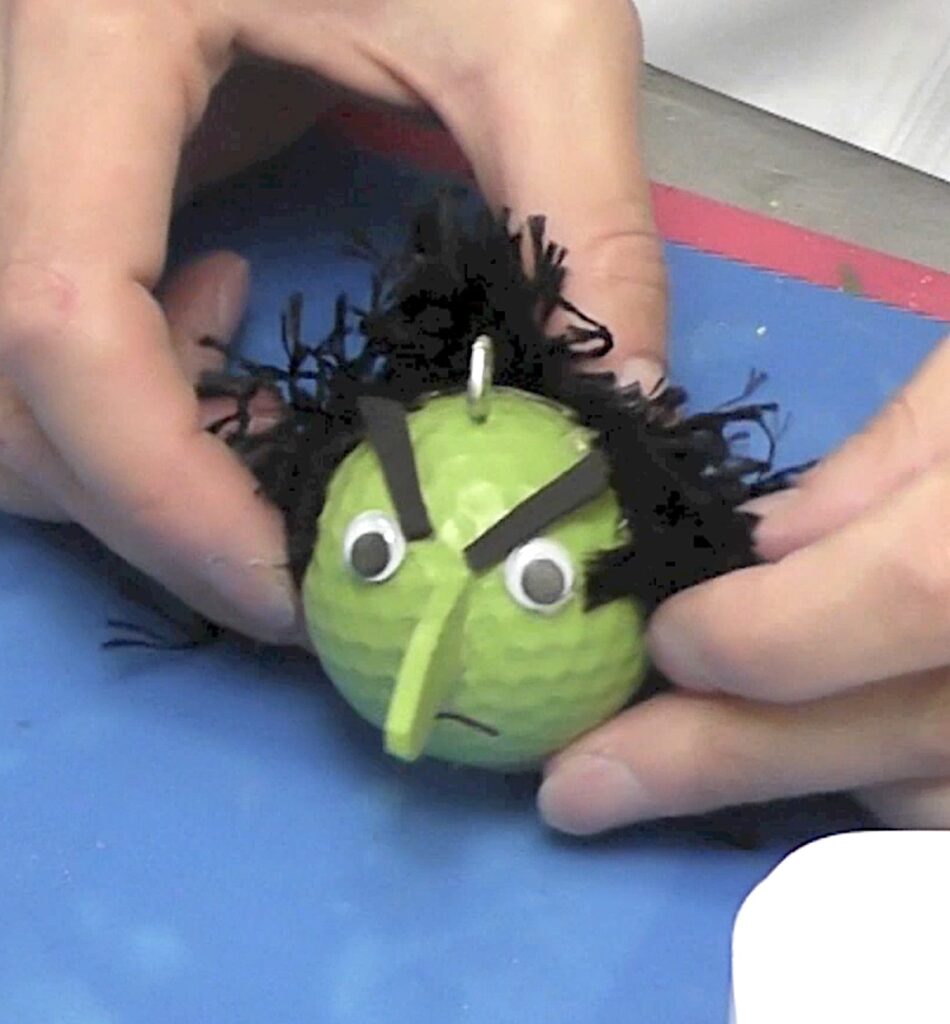
Glue on the eyes.
Step 5
Cut two small strips for eyebrows and glue them into place.
Step 6
Draw a frown for the mouth, with a permanent marker.
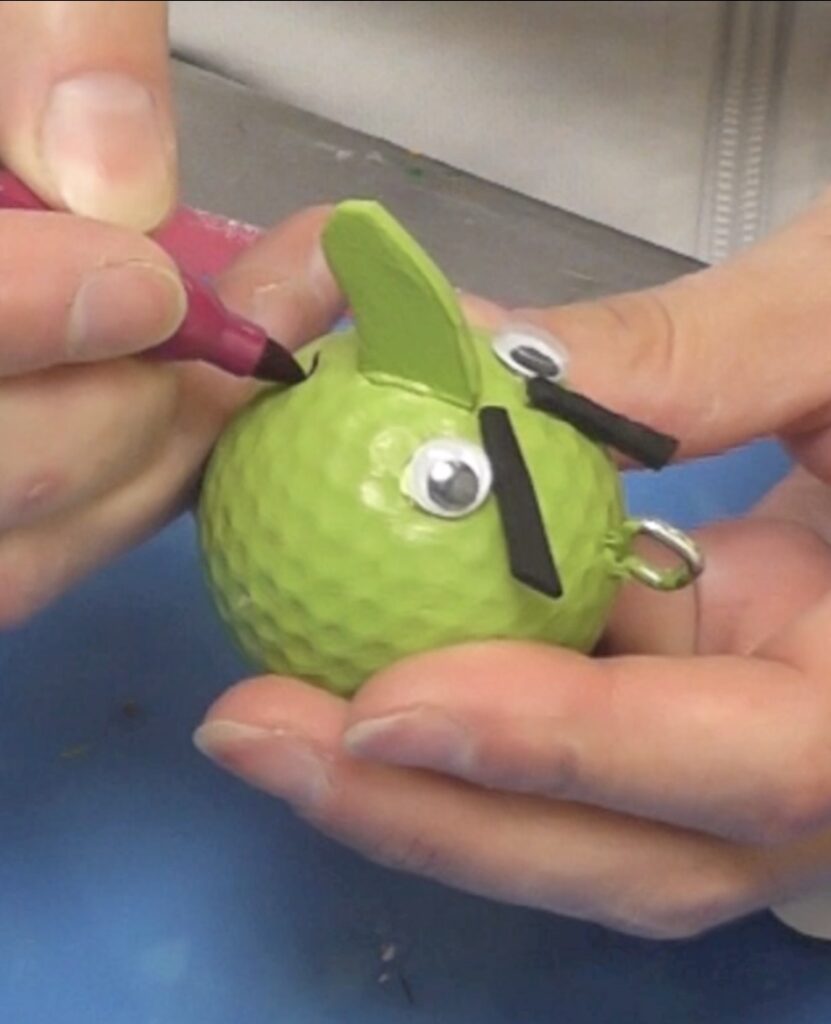
Step 7
Glue on the hair. I used some trim I had on hand. You can use any color hair for this witch craft and you can make her look as happy, angry, or grim as you like!
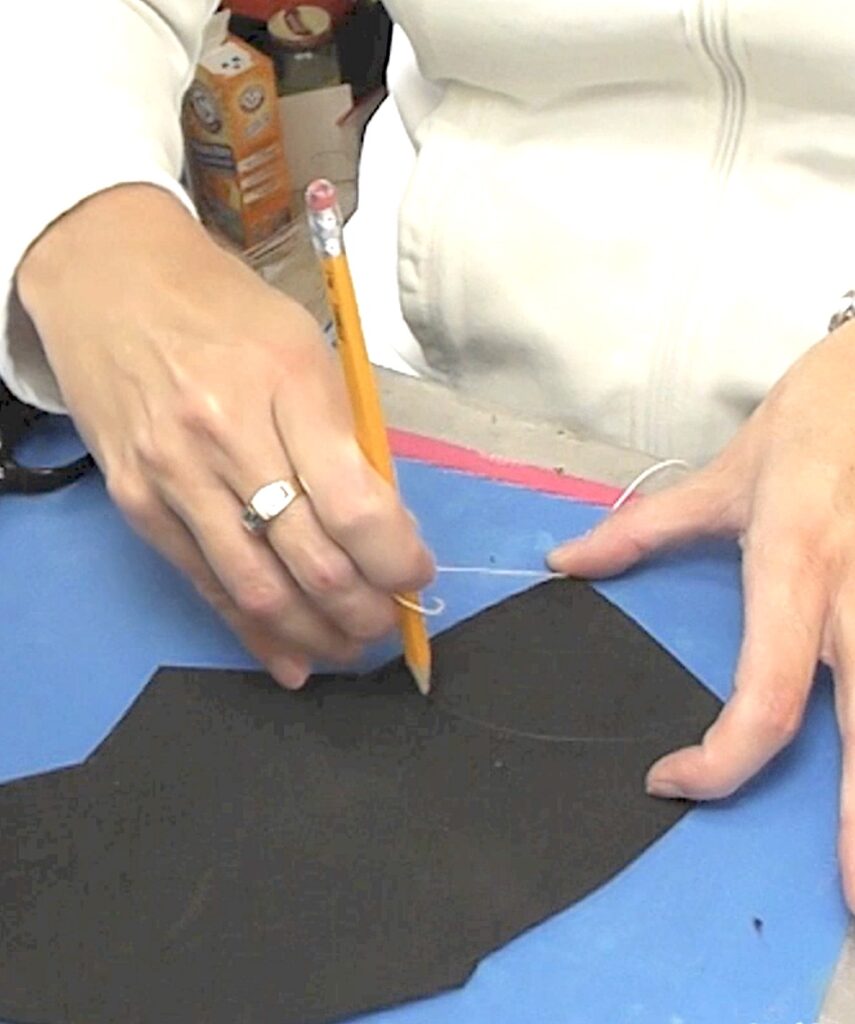
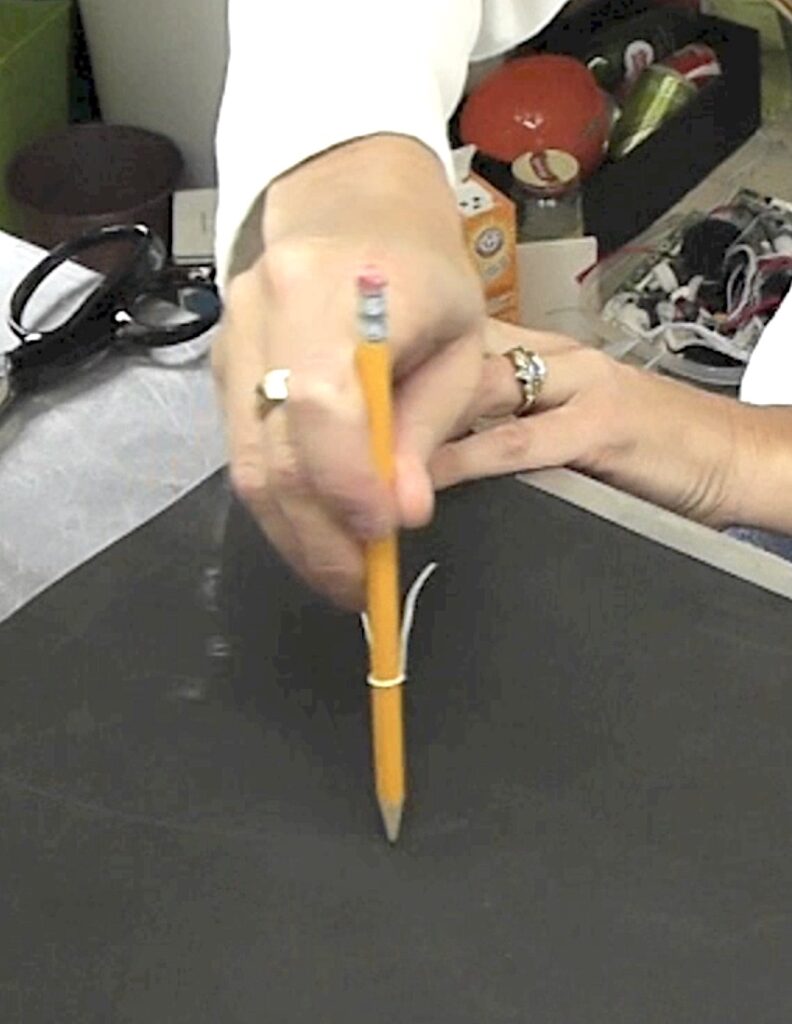
Step 8
Take a pencil and tie a string to it. Put the string into the corner of the craft foam and draw a small arch. This is for the hat, so keep that in mind when you are deciding how big to make it.
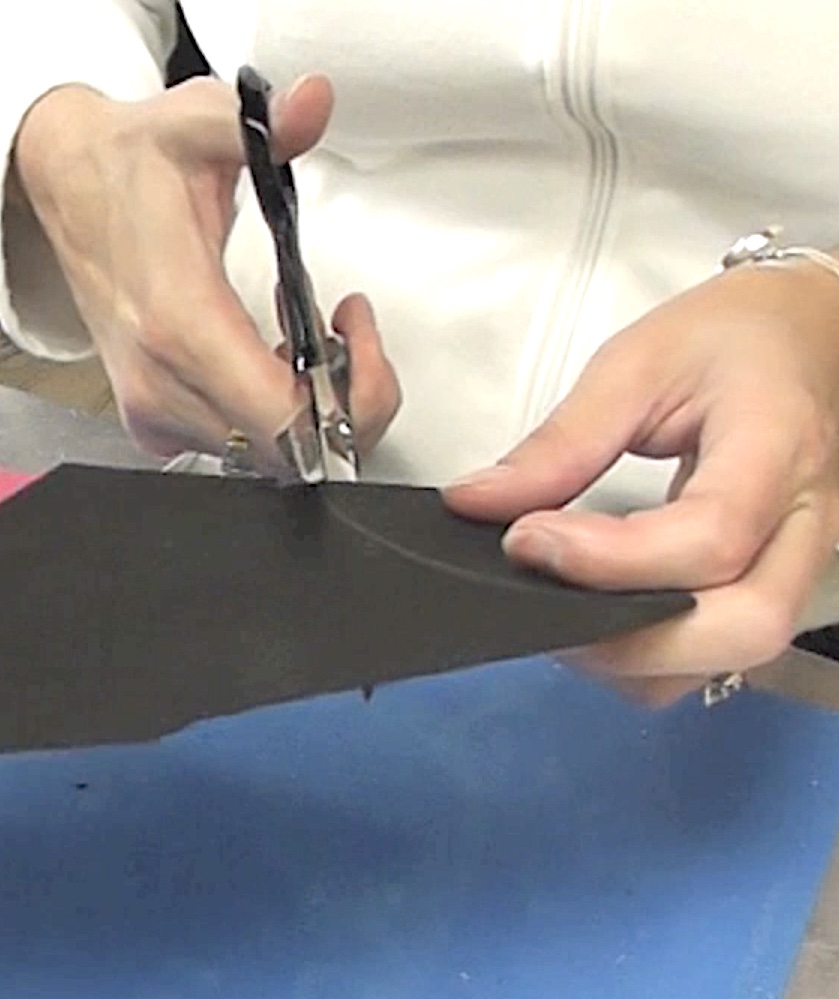
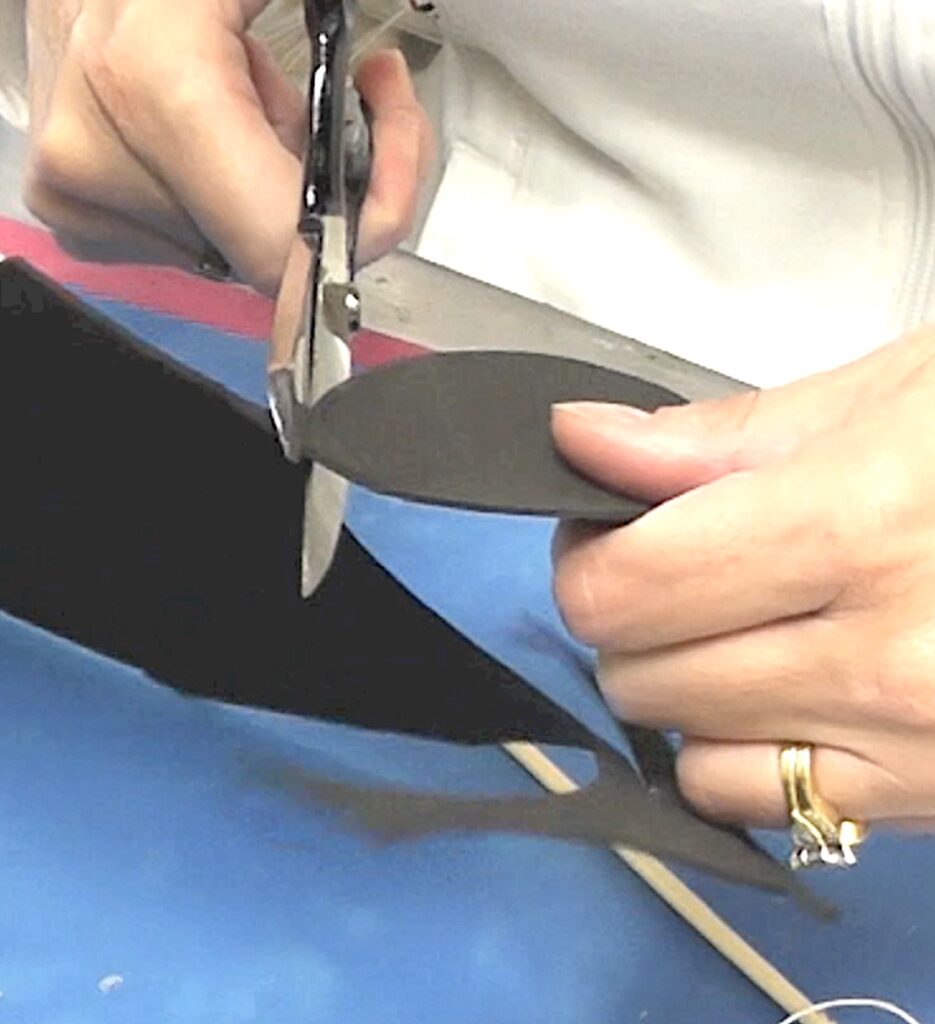
Step 9
Cut it out.
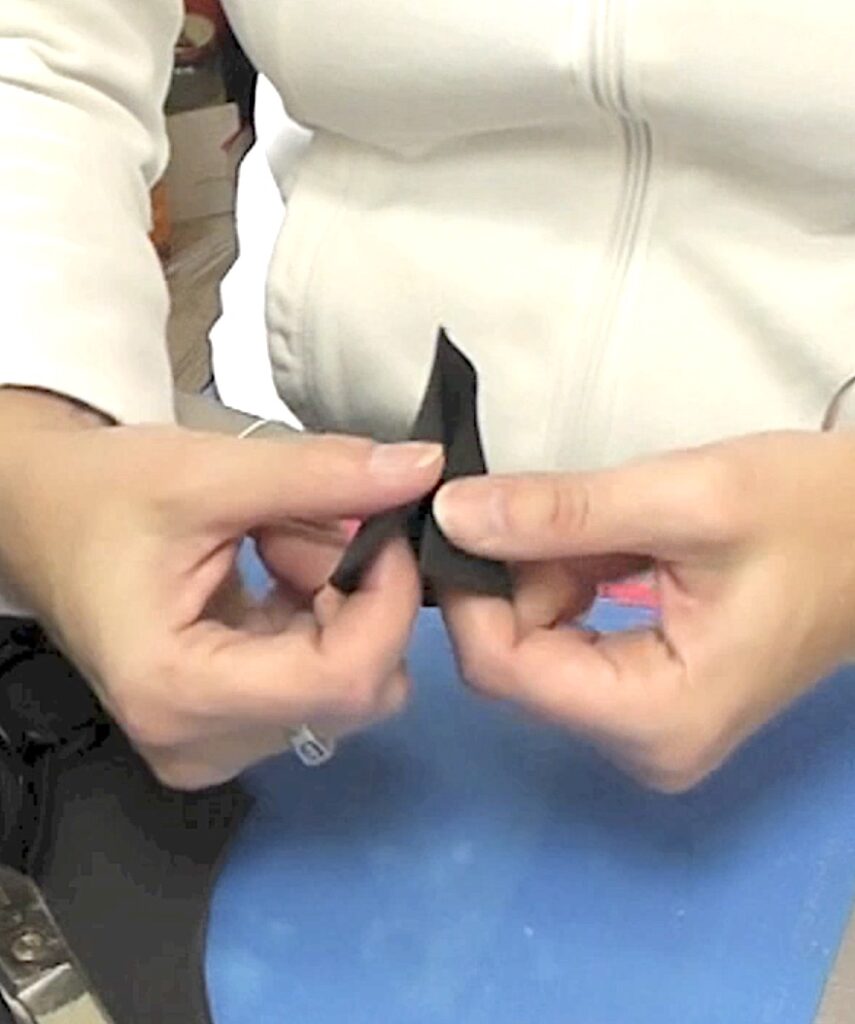
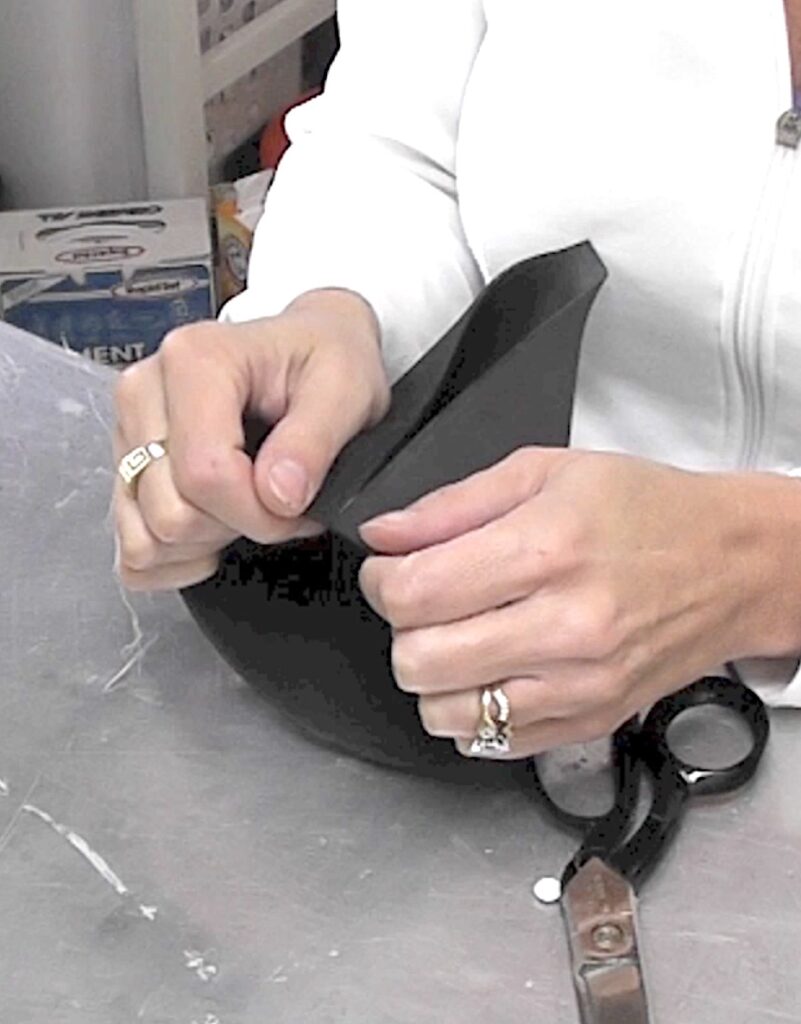
Step 10
Have the two long ends meet and you will see it will create a cone. Glue those together. It will probably be messy, but don’t worry. We will cover all that up!
Step 11
Cut a circle to form the base of the hat. Cut it out.
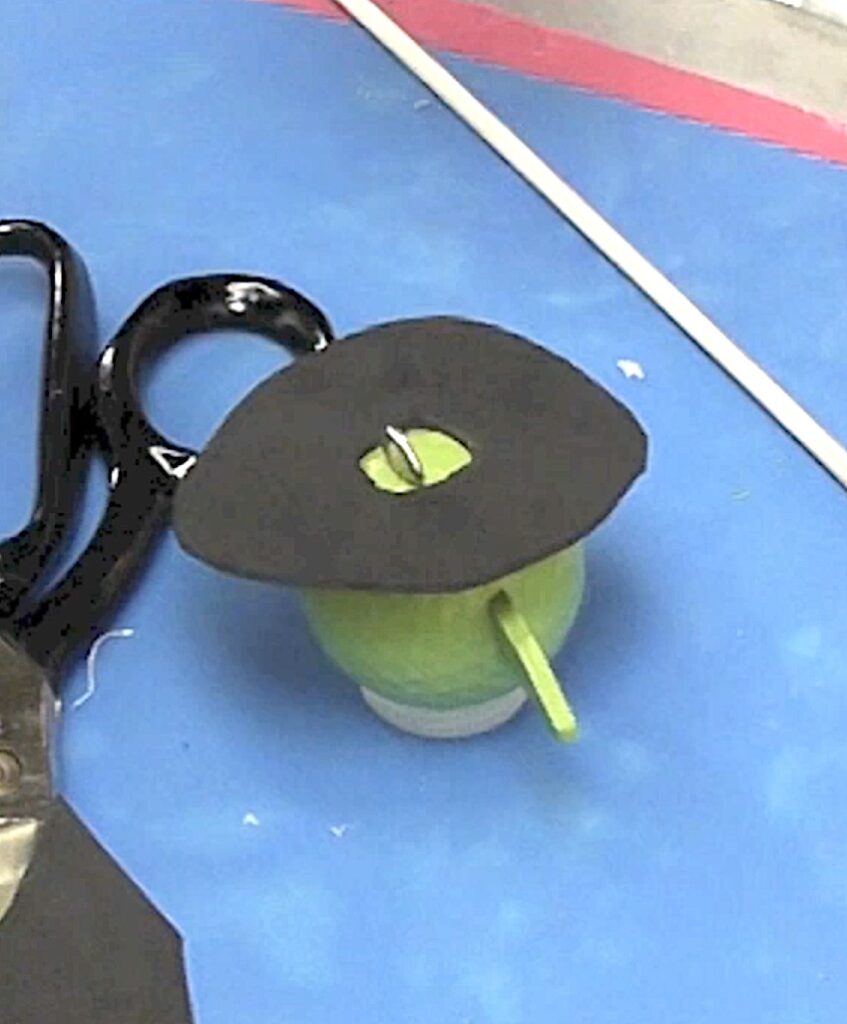
Step 12
Fold the circle in half and in half again. Cut a small piece of the corner out and that will give you a hole right in the middle. The hole helps the hat sit more securely on the head and also allows the eye screw to fit through.
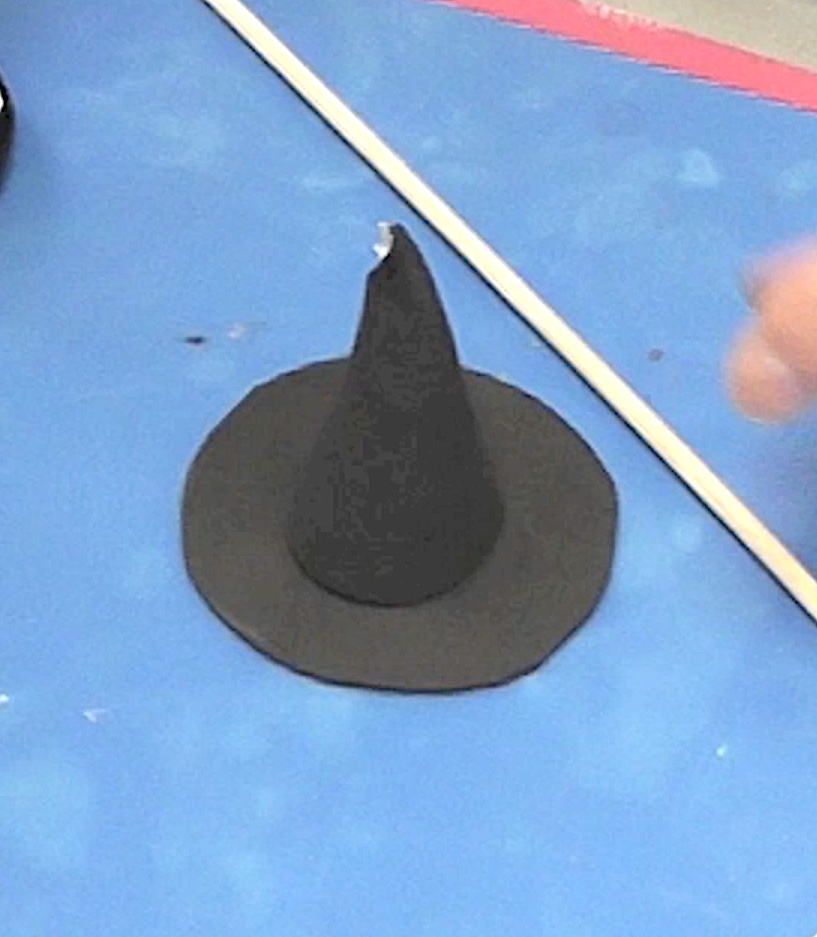
Step 13
Glue the hat together.
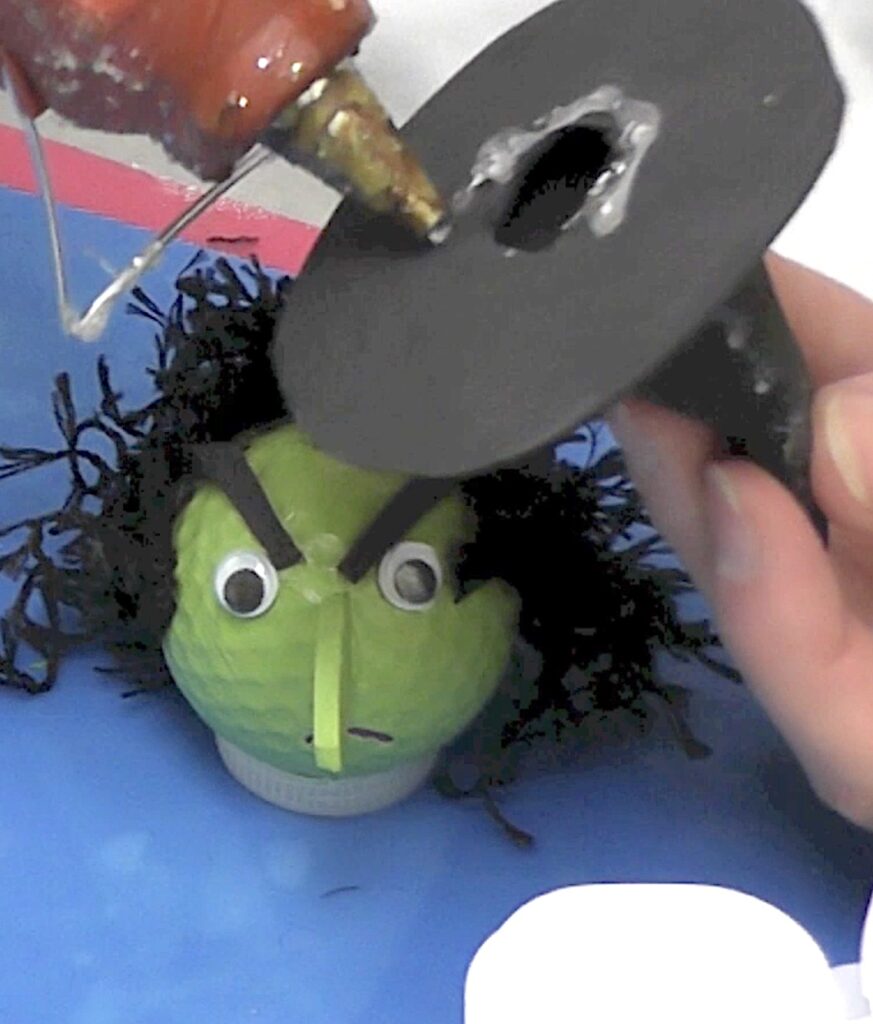
Step 14
Glue the hat on the golf ball.
Step 15
Create a larger cone, using the same method we used above and cut it out.
Step 16
Glue it together.
Step 17
Snip off the pointy part, so the head has somewhere to sit.

Step 18
Glue the head on the top of the body. You want the glue seam to be in front.
Step 19
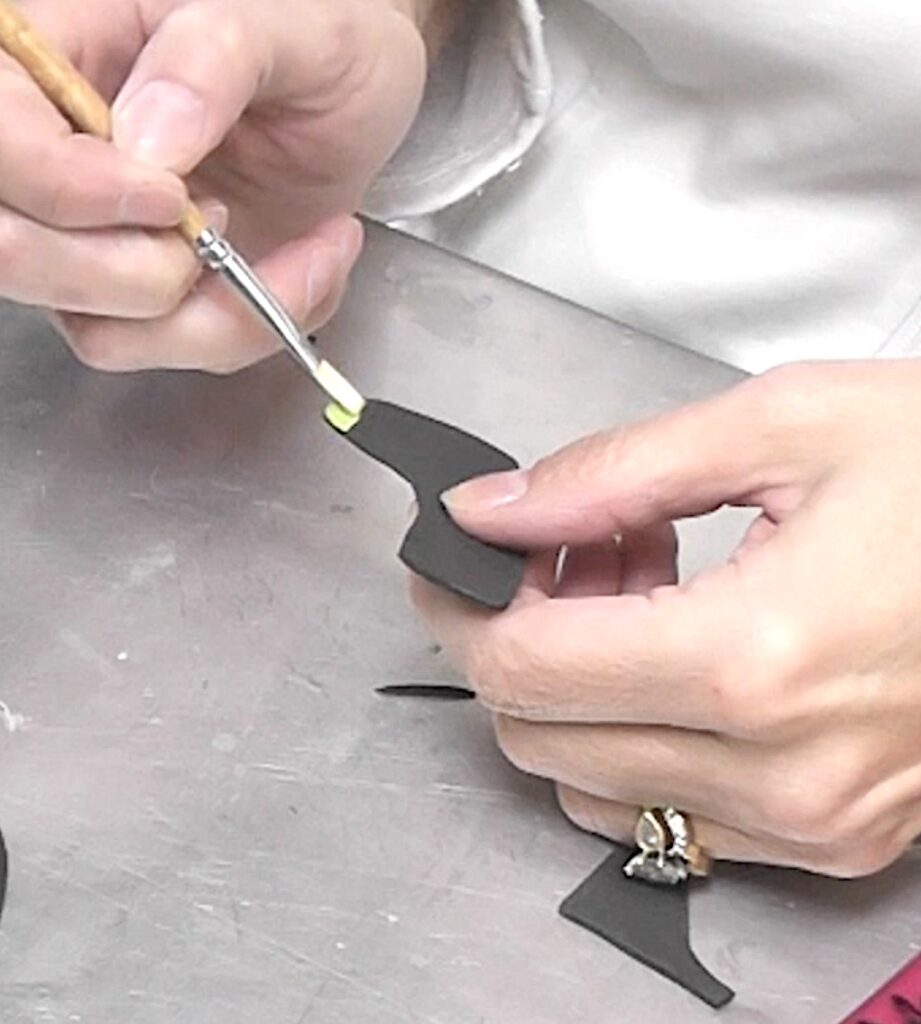
Cut out two arms. Mine looked like little socks. I painted the ends green for hands.
Step 20
Glue the black ribbon over the seam.
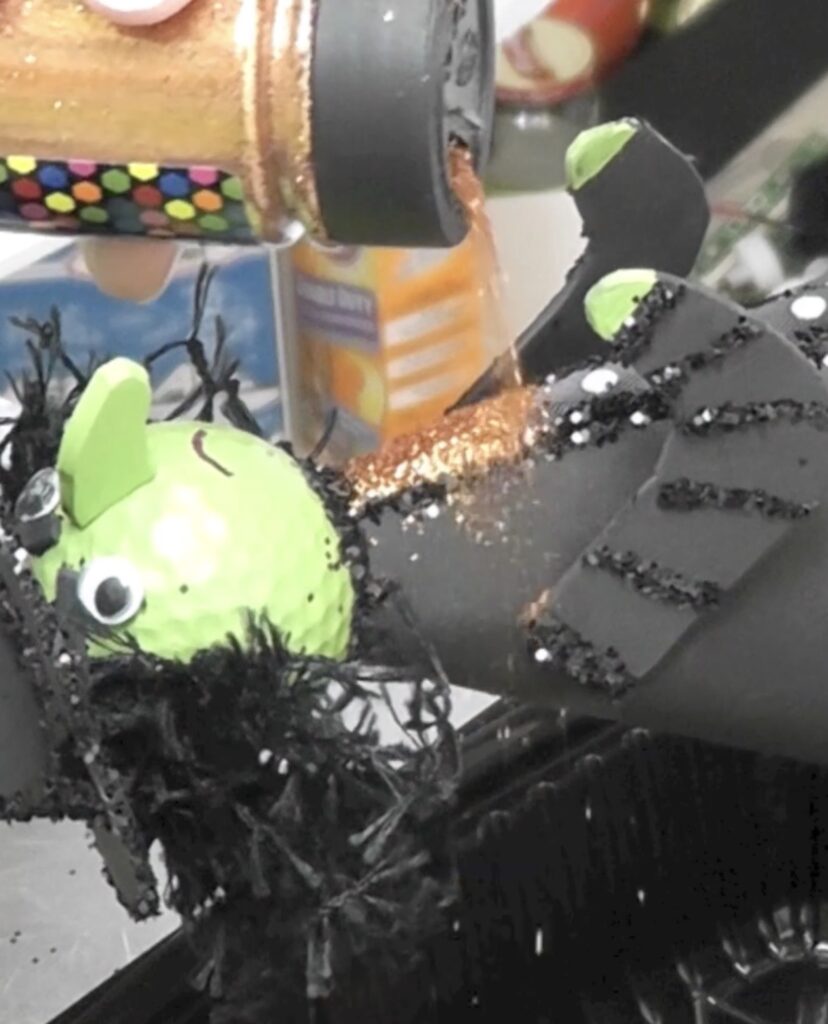
Step 21
Now, it is time to glitter! This is when you get to cover all your mistakes and the excess glue. I did stripes and polka dots on the hat. On the ribbon, I put dots to make it look like buttons. I added glue to the base and the brim of the hat. I added glitter to the sleeves and the bottom of the dress. Do patterns. Don’t do patterns. It is all up to you!
Step 22
Now it’s time to make the broom. Find some twigs – a bigger one and a bunch of small thin ones. Break the larger twig to the size of the broomstick and break the smaller ones to the size of the bristles. Glue the smaller ones to one end and put a ribbon or twine around them.

Step 23
I added a little resin cat I had leftover, but you could add a sticker instead.
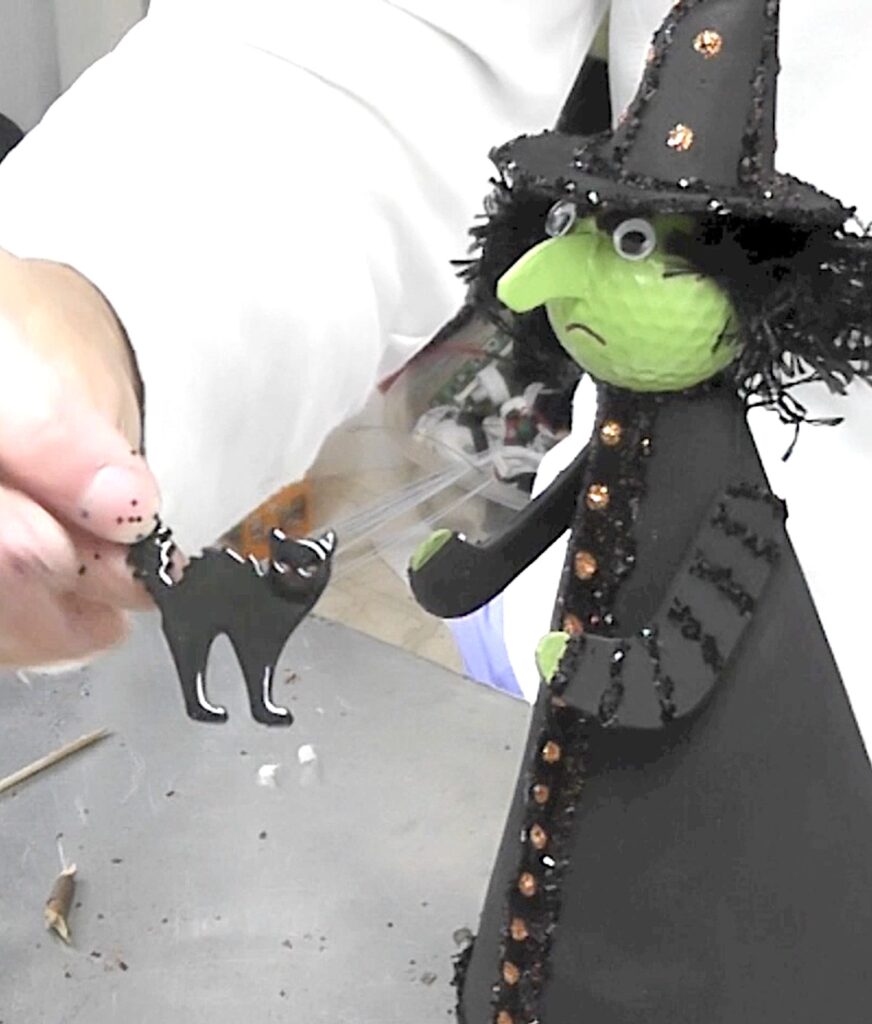
That’s it!
Be sure to PIN IT for later!

Have fun with it! I’d LOVE to see what you make! Be sure to share it over on my Craft Klatch Facebook Group! It’s Free! ❤️
Halloween Is A Witch Craft Affair
I have made a number of witch crafts over the years and 103 Fall and Halloween Crafts! Here are a sampling you are sure to love!
- Hocus Pocus Witch Coasters
- Witch Hat Resin Coaster
- How To Do Witch Makeup
- How To Make A Witch Hat
- Make A Wicked Witch Pumpkin
- How To Make A Witch Broom
- Halloween Witch Ornament
And for a little extra added fun, I’ll show you How To Be A Witch!
Amazing Witch Decorations Finds!
I found these amazing witch decorations while snooping around online! I think they are going to cast a spell on you!

Thanks for stopping by! Remember: Life’s too short not to shimmer, so grab your glue gun and your glitter!™ Stay safe and Happy Halloween!
Mona
This so cute You did great job Thank's for showing how make her ….