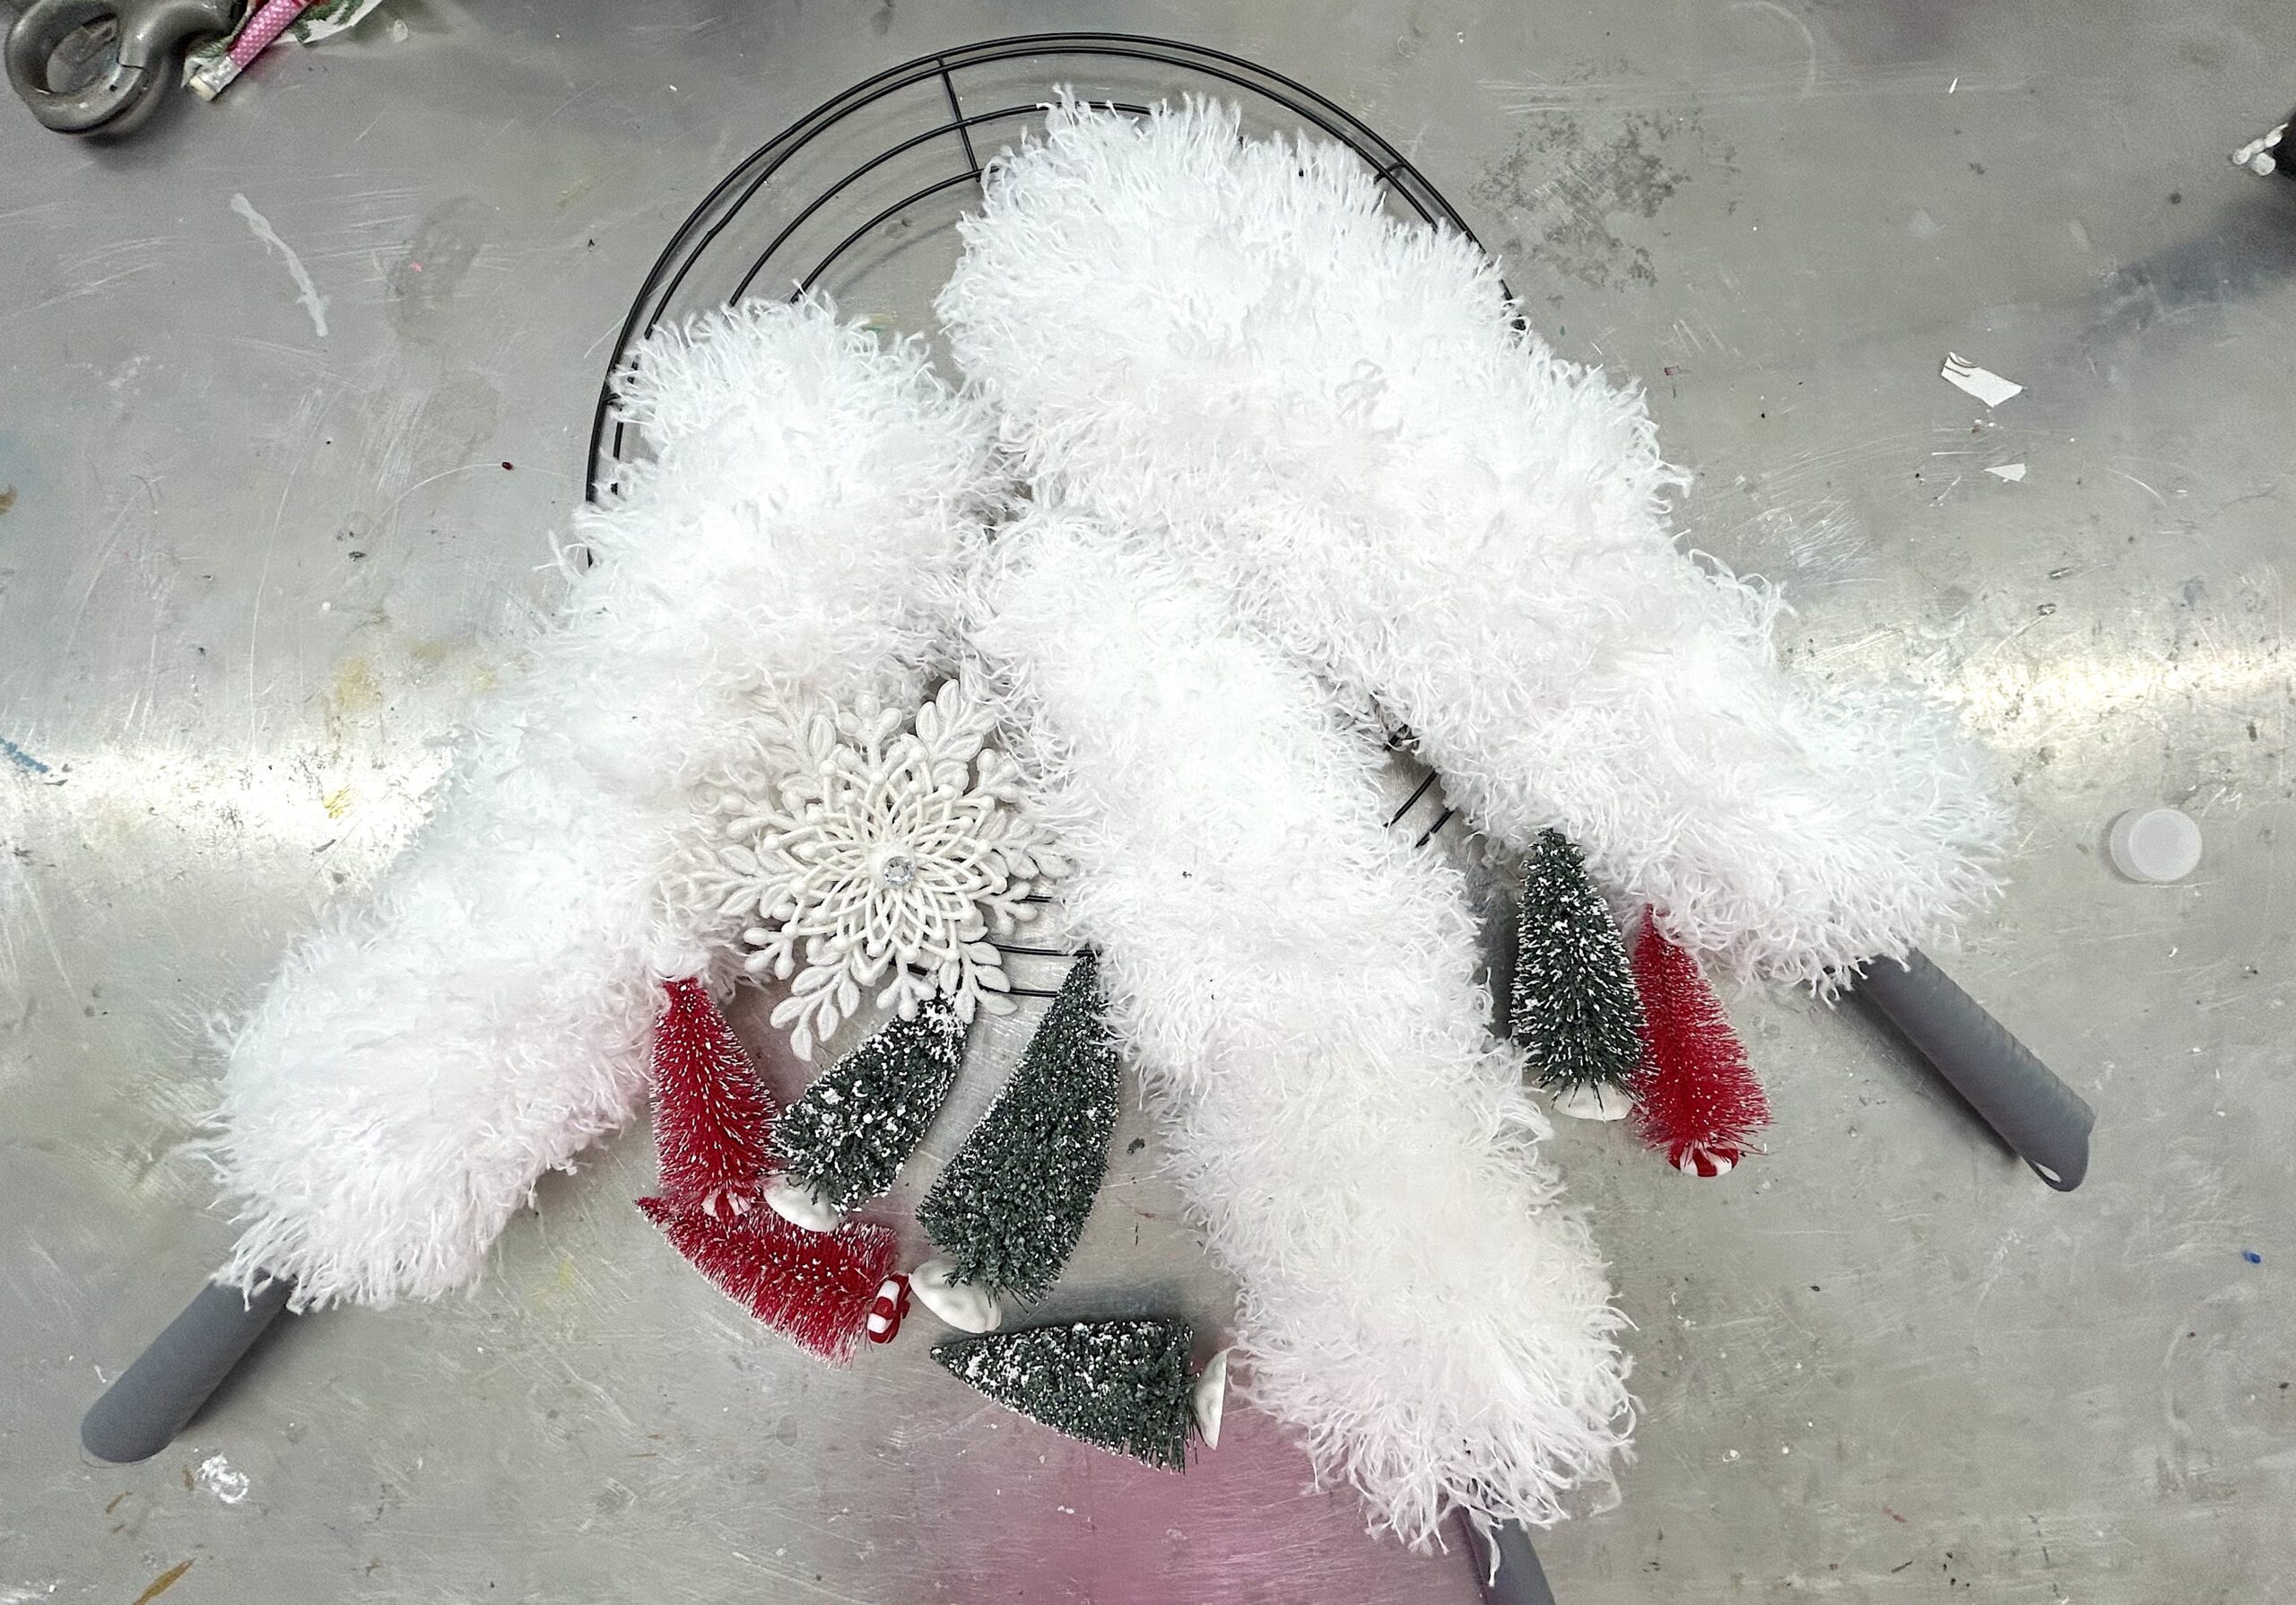
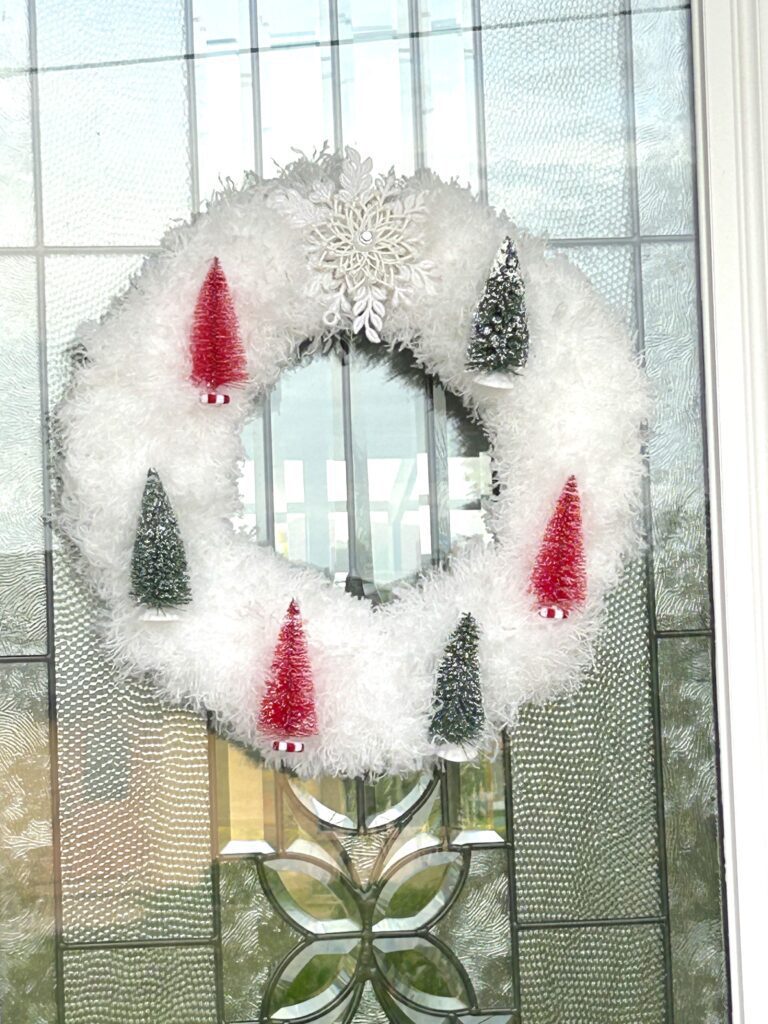
If you are intimidated by how to make a wreath, I have the easiest Christmas wreath ever! And it’s super affordable to make! I spent $10 on this wreath and about 10 minutes!
Unleash Your Creativity with a Dollar Tree Delight
As Christmas edges ever closer, there’s no better way to embrace the holiday spirit than by discovering how to make a Christmas wreath step by step.
I’m going to reveal the secret to crafting this masterpiece using affordable supplies from Dollar Tree. Get ready to deck your halls with a touch of DIY magic and create a wreath that captures the essence of the season!
This literally may be the easiest wreath you ever make!
Be sure to follow me on Instagram!
Step 1: Gather Your Supplies – The Foundation of How to Make a Wreath
If you have every asked yourself, “What do I need for wreath making?”
You were probably thinking wire cutters, glue guns, floral tape and all kinds of other supplies. Well, not for this project!
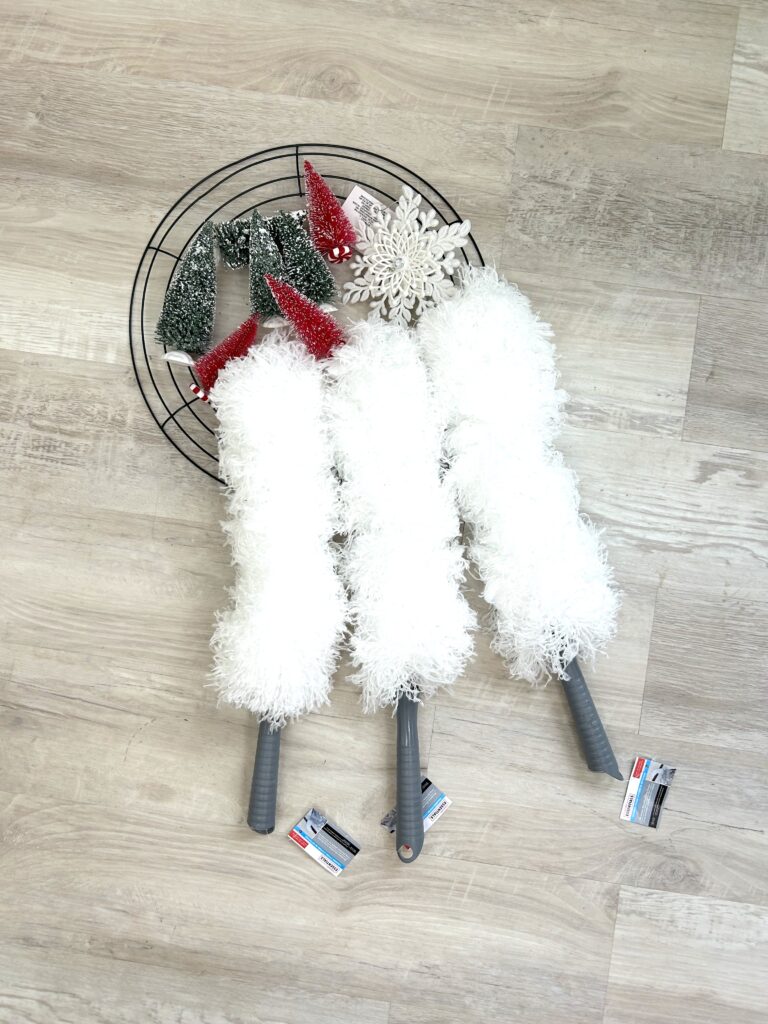
Before diving into the crafting fun, ensure you have all your supplies ready. Head to your local Dollar Tree or use the links below and grab the following from Amazon:
*Disclosure: This blog uses affiliate links from Amazon and other retailers. I earn a small amount from qualifying purchases at no additional cost to you.
- Wire wreath form
- Three fluffy dusters
- Bottle brush trees
- Alternative bottle brush trees
- Ornament
- Thin wire
- Suction cup hook
These budget-friendly finds will be the essential foundation for your enchanting wreath.
Step 2: Setting the Stage – Wire Form
The circular wire form serves as the base for the Christmas wreath and is the perfect size for the fluffy dusters.
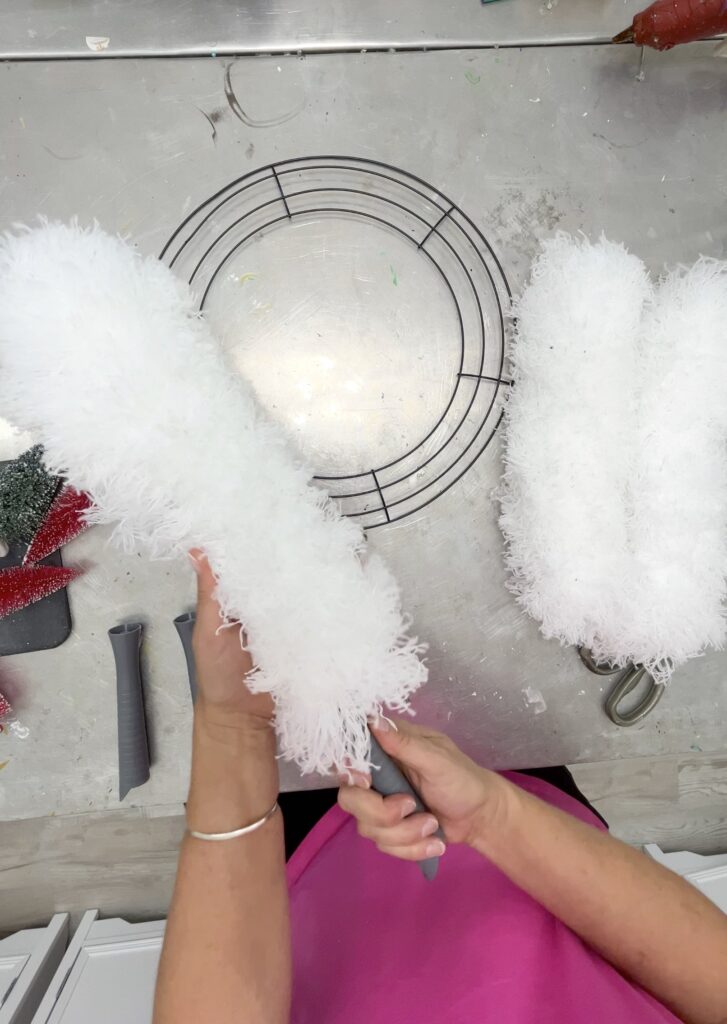
I twisted the handles off the dusters. There is a thick wire in the dusters but they are easy to bend. Bend all three to fit the curve of the wreath form. Then, tuck each end behind one of the vertical pieces.
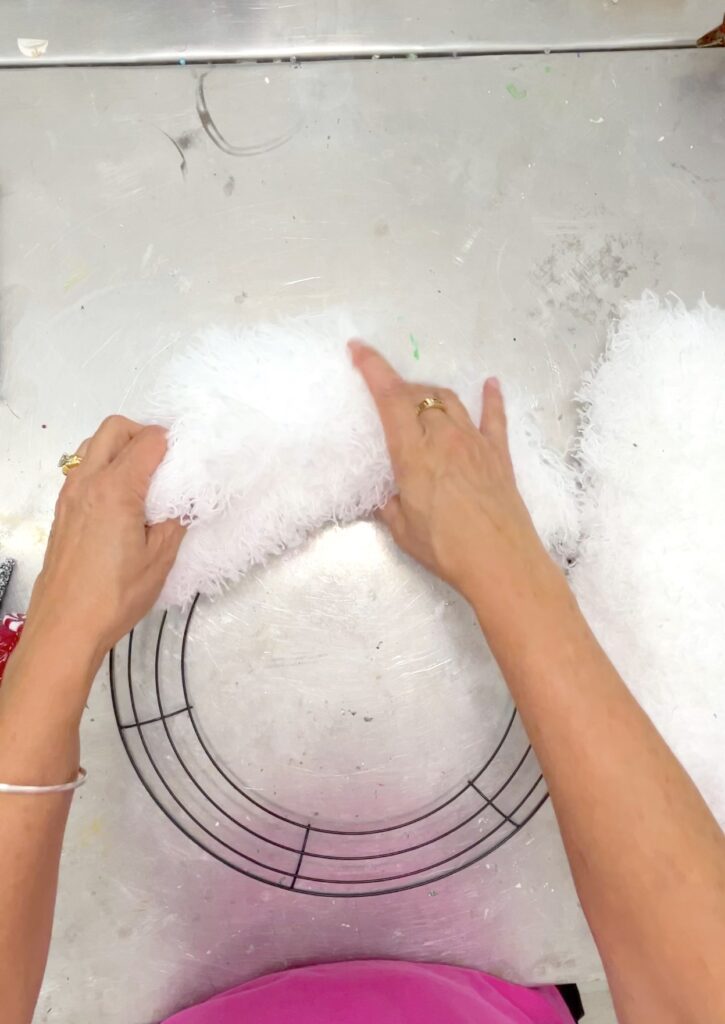
Step 3: Wiring & Fluffing
The dusters are pretty fluffy, so you won’t need to do much additional fluffling. The duster heads fit perfectly into the wreath form. I used a thin wire to better secure them. The fluff on the dusters cover up the wire without much effort from you!
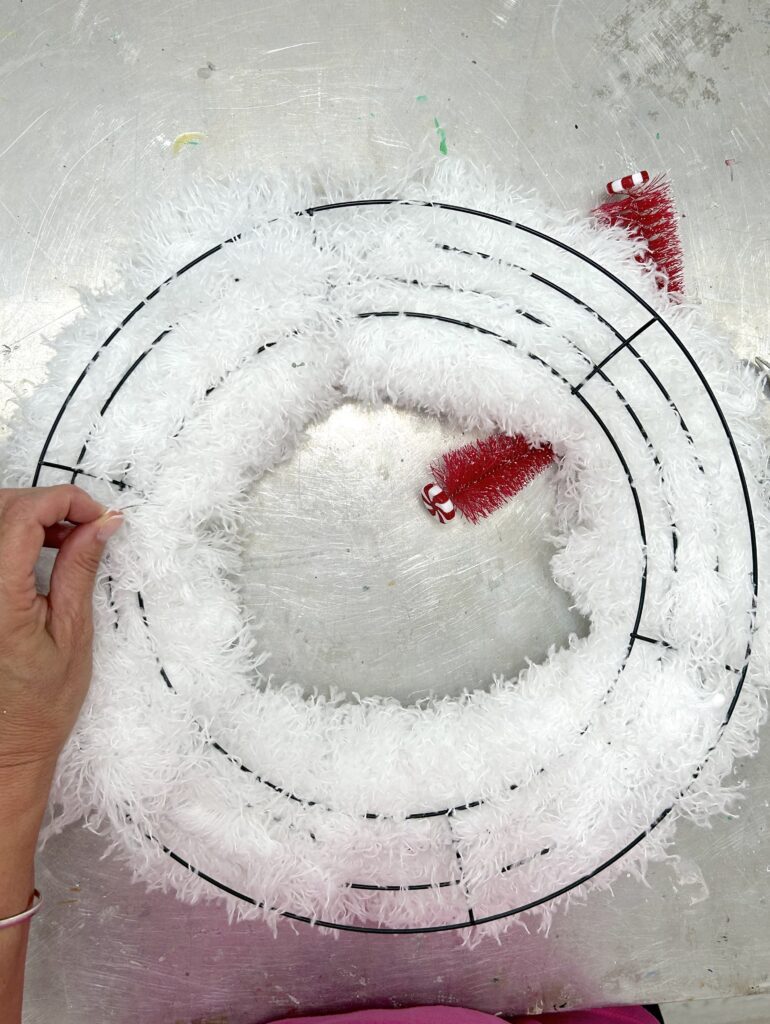
If you have a glass door that you will be hanging this on or if you want a fluffier wreath, you can add three more dusters on the backside.
Step 4: The Crowning Jewel – The Dazzling Ornament
Every Christmas wreath needs a show-stopping centerpiece! The snowflake ornament was just perfect!
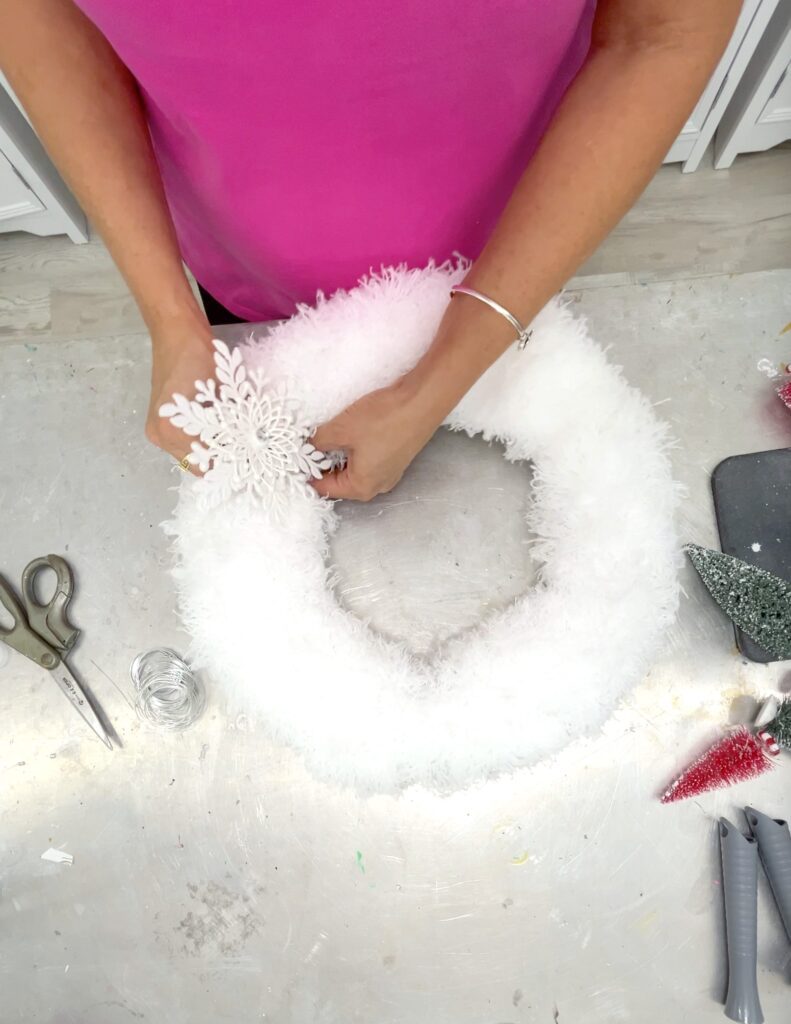
I wired it on, just as I wired the dusters.
Step 5: How to Work Bottle Brushes into It!
Bottles brush trees are hot! And really, how can you not love them? They are classic and decorative. So, it made sense to add a little bottle brush charm.
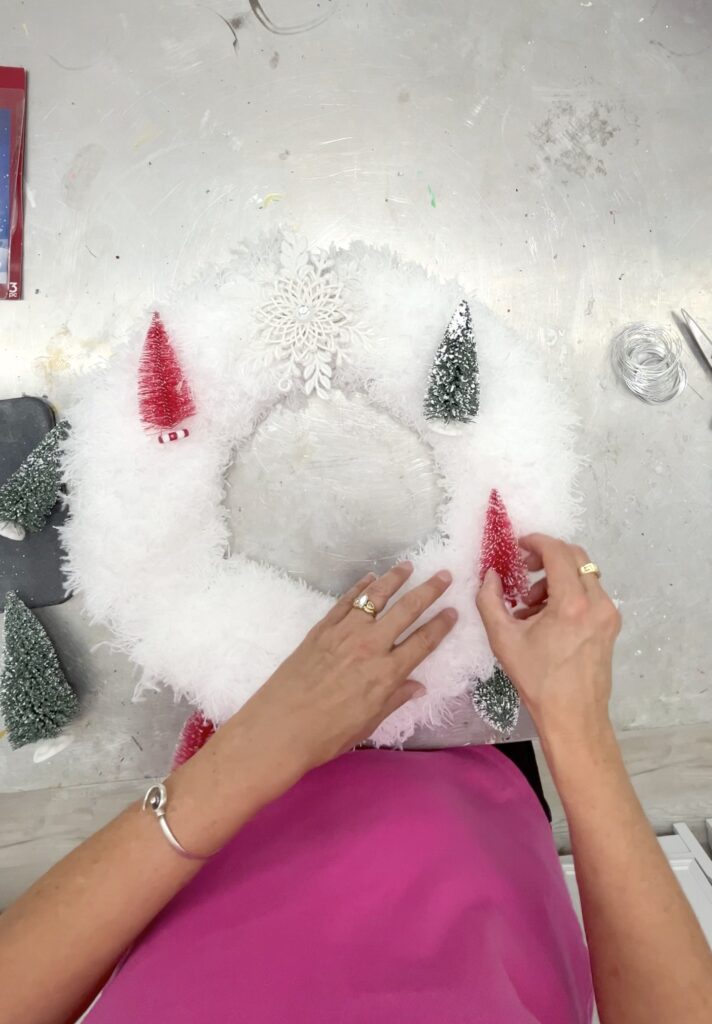
I added six of the trees. Mine were pretty plain in green and red, but they have some bottle brush trees that light up too!
I figured out by mistake that the bottle brushes really want to stick to the dusters. I didn’t have to glue or wire them in. The upside, you can move them around of change them out if you want to without ruining the wreath.
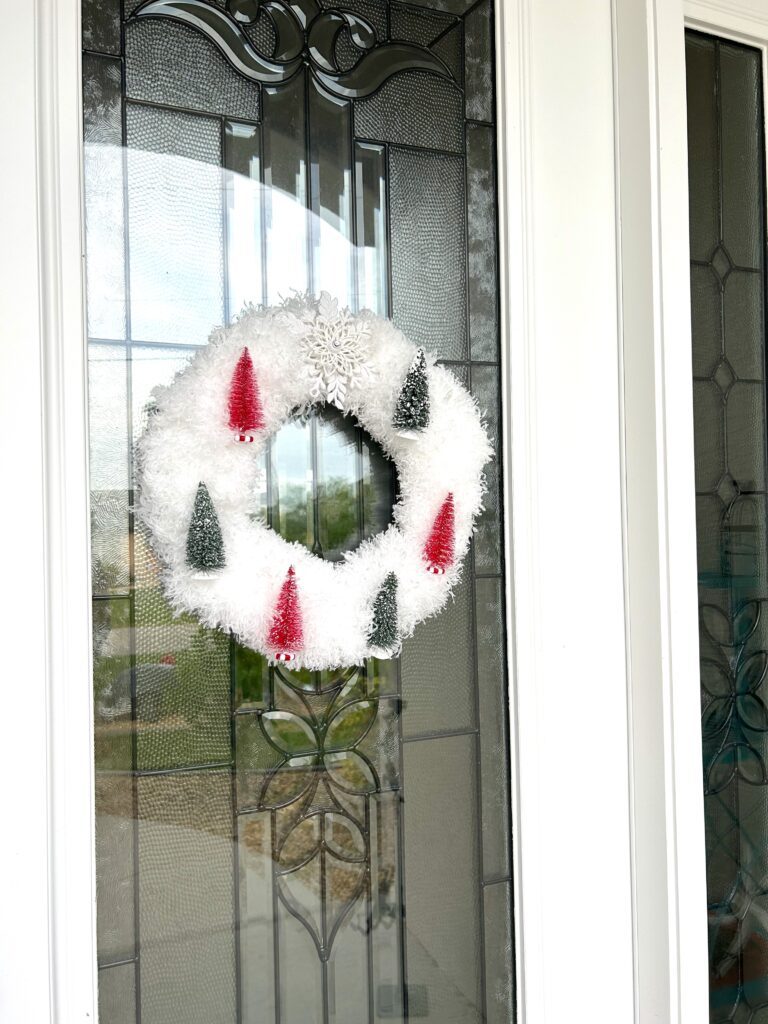
Now that you see how it was put together, you have to agree this is the easiest wreath ever!
The whole thing cost about $10 for supplies and took about 10 minutes to make.
A Dollar Tree Delight
Embrace the joy of DIY and proudly display your creation on your front door, above the fireplace, or as a charming centerpiece. Share your festive masterpiece with friends and family and spread the holiday cheer!
Other Fun Christmas Projects
This is a great project to jump on but be sure to check out these fun Christmas projects too!
- Large Decoupaged Christmas Ornament
- How to Make a Twig Christmas Wreath
- Twig Wreath Ornaments
- Huge Christmas Ornament!
- 5 Easy Christmas Ornaments
If You Love It But Don’t Want to Make It!
If you like the look of the bottle brush trees in the wreath but maybe you don’t have time to make one of your own. Luckily, I found a bunch of really amazing wreaths you can buy!
Check these beauties out!
Thanks for stopping by! Remember: Life’s too short not to shimmer, so grab your glue gun and your glitter!
Stay safe!
Mona
